


同理 搭建第二个模块 QDComponentsViewController 继承自QDCommonGridViewController .m 中添加
- (void)initDataSource {
    [super initDataSource];
    self.dataSource = [[QMUIOrderedDictionary alloc] initWithKeysAndObjects:
                       @"QMUIModalPresentationViewController", UIImageMake(@"icon_grid_modal"),
                       @"QMUIDialogViewController", UIImageMake(@"icon_grid_dialog"),
                       @"QMUIMoreOperationController", UIImageMake(@"icon_grid_moreOperation"),
                       @"QMUINavigationTitleView", UIImageMake(@"icon_grid_titleView"),
                       @"QMUIEmptyView", UIImageMake(@"icon_grid_emptyView"),
                       @"QMUIToastView", UIImageMake(@"icon_grid_toast"),
                       @"QMUIEmotionView", UIImageMake(@"icon_grid_emotionView"),
                       @"QMUIGridView", UIImageMake(@"icon_grid_gridView"),
                       @"QMUIFloatLayoutView", UIImageMake(@"icon_grid_floatView"),
                       @"QMUIStaticTableView", UIImageMake(@"icon_grid_staticTableView"),
                       @"QMUIPickingImage", UIImageMake(@"icon_grid_pickingImage"),
                       @"QMUIAssetsManager", UIImageMake(@"icon_grid_assetsManager"),
                       @"QMUIImagePreviewView", UIImageMake(@"icon_grid_previewImage"),
                       @"QMUIPieProgressView", UIImageMake(@"icon_grid_pieProgressView"),
                       @"QMUIPopupContainerView", UIImageMake(@"icon_grid_popupView"),
                       nil];
}

- (void)setNavigationItemsIsInEditMode:(BOOL)isInEditMode animated:(BOOL)animated {
    [super setNavigationItemsIsInEditMode:isInEditMode animated:animated];
    self.title = @"Components";
    self.navigationItem.rightBarButtonItem = [QMUINavigationButton barButtonItemWithImage:UIImageMake(@"icon_nav_about") position:QMUINavigationButtonPositionRight target:self action:@selector(handleAboutItemEvent)];
}

- (void)handleAboutItemEvent {

}然后改写AppDelegate 中的createTabBarController 添加一个tabbar
- (void)createTabBarController {
QDTabBarViewController *tabBarViewController = [[QDTabBarViewController alloc] init];
// QMUIKit
QDUIKitViewController *uikitViewController = [[QDUIKitViewController alloc] init];
uikitViewController.hidesBottomBarWhenPushed = NO;
QDNavigationController *uikitNavController = [[QDNavigationController alloc] initWithRootViewController:uikitViewController];
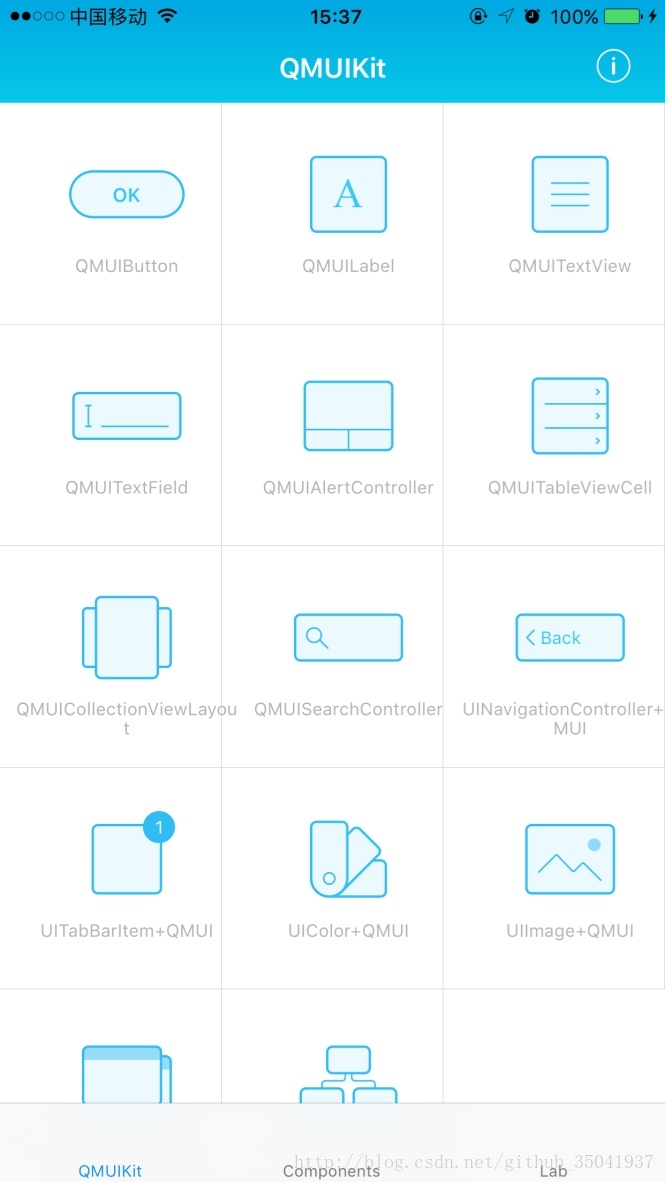
// UIComponents
QDComponentsViewController *componentViewController = [[QDComponentsViewController alloc] init];
componentViewController.hidesBottomBarWhenPushed = NO;
QDNavigationController *componentNavController = [[QDNavigationController alloc] initWithRootViewController:componentViewController];
tabBarViewController.viewControllers = @[uikitNavController, componentNavController];
self.window.rootViewController = tabBarViewController;
[self.window makeKeyAndVisible];
}完成效果

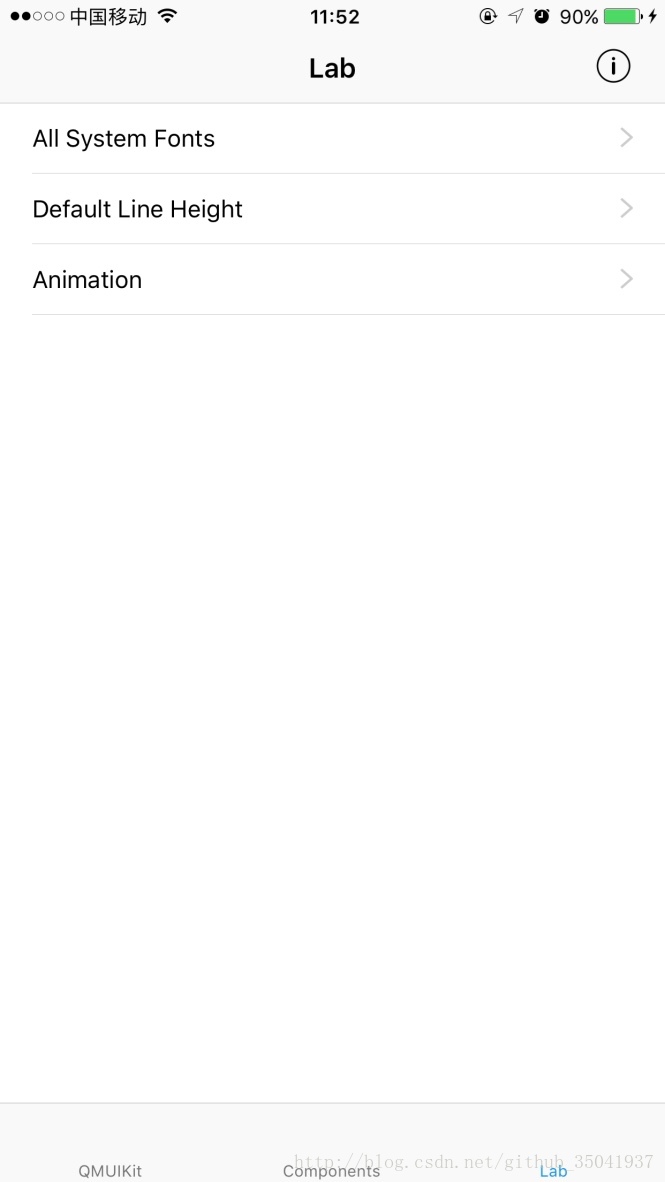
接下来添加第三个模块QDLabViewController
继承关系
-
QMUICommonTableViewController
-
– QDCommonTableViewController
-
– QDCommonListViewController
- – QDLabViewController
-
– QDCommonListViewController
-
– QDCommonTableViewController
这块就忽略了。直接添加即可。
接下来是about 界面

界面的布局和创建分离了,但是布局是算出来的,看上去好难读的样子。不如masnory方便。
导航栏点击过去还是存在bug,因此把导航栏和底部栏也添加上去。
找到QMUIConfigurationTemplate
更改以下配置
#pragma mark - NavigationBar
        QMUICMI.navBarBackgroundImage = [UIImageMake(@"navigationbar_background") resizableImageWithCapInsets:UIEdgeInsetsMake(0, 2, 0, 2)];// NavBarBackgroundImage : UINavigationBar 的背景图
        QMUICMI.navBarShadowImage = [UIImage new];
        QMUICMI.navBarTintColor = UIColorWhite;
        QMUICMI.navBarTitleColor = NavBarTintColor;
        QMUICMI.navBarBackIndicatorImage = [UIImage qmui_imageWithShape:QMUIImageShapeNavBack size:CGSizeMake(12, 20) tintColor:NavBarTintColor];
QMUICMI.navBarCloseButtonImage = [UIImage qmui_imageWithShape:QMUIImageShapeNavClose size:CGSizeMake(16, 16) tintColor:NavBarTintColor];这个更改了navigationbar 的背景图片,文字颜色,指示图片和关闭图片。
观察一下图片
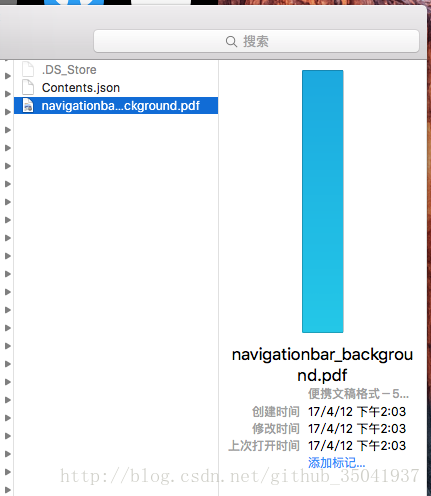
竟然是pdf 格式。。。。
参考一下这篇文章:
在xcode6中使用矢量图(iPhone6置配UI)
先不深究这个问题了
只要添加这些配置就好了


 456
456


 被折叠的 条评论
为什么被折叠?
被折叠的 条评论
为什么被折叠?
 到【灌水乐园】发言


