


现在,我们将使用我们的应用程序,并将其部署为 Android 应用程序。
将应用程序部署到 Android 的过程与部署为桌面应用程序的过程非常相似。Briefcase 负责为 Android 安装依赖项,包括 Android SDK、Android 模拟器和 Java 编译器。
创建一个Android应用并编译它
首先,运行create命令。这会下载一个 Android 应用模板并将您的 Python 代码添加到其中。
苹果系统
(beeware-venv) $ briefcase create android

[helloworld] Generating application template...
Using app template: https://github.com/beeware/briefcase-android-gradle-template.git
...
[helloworld] Installing support package...
...
[helloworld] Installing dependencies...
...
[helloworld] Installing application code...
...
[helloworld] Installing application resources...
...
[helloworld] Application created.
Linux
(beeware-venv) $ briefcase create android

[helloworld] Generating application template...
Using app template: https://github.com/beeware/briefcase-android-gradle-template.git
...
[helloworld] Installing support package...
...
[helloworld] Installing dependencies...
...
[helloworld] Installing application code...
...
[helloworld] Installing application resources...
...
[helloworld] Application created.
视窗
(beeware-venv) C:\...>briefcase create android

[helloworld] Generating application template...
Using app template: https://github.com/beeware/briefcase-android-gradle-template.git
...
[helloworld] Installing support package...
...
[helloworld] Installing dependencies...
...
[helloworld] Installing application code...
...
[helloworld] Installing application resources...
...
[helloworld] Application created.
首次运行时,Briefcase 会下载 Java JDK 和 Android SDK。文件大小和下载时间可能很长;这可能需要一段时间(10 分钟或更长时间,具体取决于您的 Internet 连接速度)。下载完成后,系统会提示您接受 Google 的 Android SDK 许可。briefcase create android
一旦完成,我们现在将android在我们的项目中有一个目录。该目录将包含一个文件夹,该文件夹将包含一个带有 Gradle 构建配置的 Android 项目。该项目将包含您的应用程序代码,以及一个包含 Python 解释器的支持包。Hello World
然后,我们可以使用 Briefcase 的build命令将其编译为 Android APK 应用程序文件。
苹果系统
(beeware-venv) $ briefcase build android
[helloworld] Building Android APK...
Starting a Gradle Daemon
...
BUILD SUCCESSFUL in 1m 1s
28 actionable tasks: 17 executed, 11 up-to-date
[helloworld] Built android/Hello World/app/build/outputs/apk/debug/app-debug.apk
Gradle 可能看起来卡住了
Linux
(beeware-venv) $ briefcase build android
[helloworld] Building Android APK...
Starting a Gradle Daemon
...
BUILD SUCCESSFUL in 1m 1s
28 actionable tasks: 17 executed, 11 up-to-date
[helloworld] Built android/Hello World/app/build/outputs/apk/debug/app-debug.apk
视窗
(beeware-venv) C:\...>briefcase build android
[helloworld] Building Android APK...
Starting a Gradle Daemon
...
BUILD SUCCESSFUL in 1m 1s
28 actionable tasks: 17 executed, 11 up-to-date
[helloworld] Built android\Hello World\app\build\outputs\apk\debug\app-debug.apk
在该步骤中,Gradle(Android 平台构建工具)将打印,并且似乎什么也没做。别担心,它没有卡住 - 它正在下载更多的 Android SDK 组件。根据您的 Internet 连接速度,这可能需要另外 10 分钟(或更长时间)。这种延迟应该只在您第一次运行时发生 ;这些工具被缓存,并且在您的下一次构建中,将使用缓存的版本。briefcase build androidCONFIGURING: 100%build
在虚拟设备上运行应用程序
我们现在准备好运行我们的应用程序了。您可以使用公文包的run命令在 Android 设备上运行该应用程序。让我们从在 Android 模拟器上运行开始。
要运行您的应用程序,请运行. 执行此操作时,系统会提示您提供可以运行该应用程序的设备列表。最后一项将始终是创建新 Android 模拟器的选项。briefcase run android苹果系统
(beeware-venv) $ briefcase run android

Select device:

  1) Create a new Android emulator

>
Linux
(beeware-venv) $ briefcase run android

Select device:

  1) Create a new Android emulator

>
视窗
(beeware-venv) C:\...>briefcase run android

Select device:

  1) Create a new Android emulator

>
我们现在可以选择我们想要的设备。选择“创建新的 Android 模拟器”选项,并接受设备名称的默认选择 ( beePhone)。
公文包run将自动启动虚拟设备。设备启动时,您将看到 Android 徽标:

Android 虚拟设备启动
Android 虚拟设备启动
设备完成启动后,公文包将在设备上安装您的应用程序。您将短暂看到一个启动器屏幕:
Android 虚拟设备已完全启动,在启动器屏幕上

Android 虚拟设备已完全启动,在启动器屏幕上
然后应用程序将启动。当应用程序启动时,您会看到一个启动画面:
应用启动画面
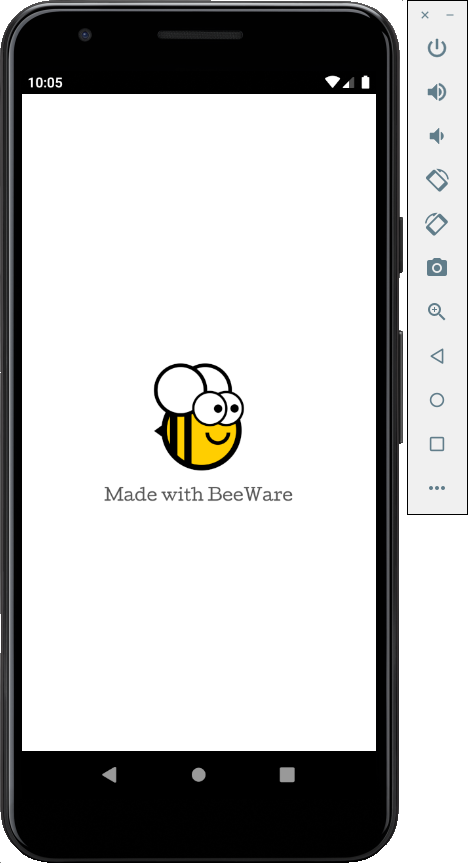
应用启动画面
应用程序第一次启动时,需要将自身解压到设备上。这可能需要几秒钟。解压后,您将看到我们桌面应用程序的 Android 版本:
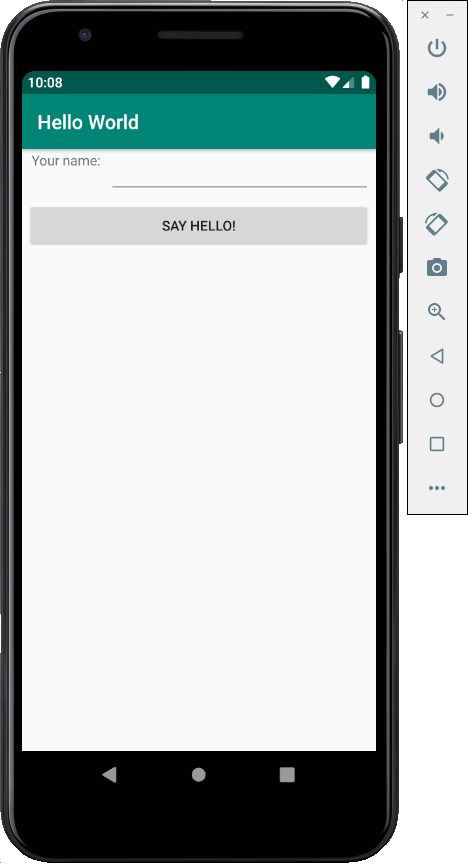
教程 2 中的应用程序,完全启动
演示应用程序完全启动
如果您没有看到您的应用程序启动,您可能需要检查您运行的终端并查找任何错误消息。briefcase run
以后,如果您想在此设备上运行而不使用菜单,您可以将模拟器的名称提供给公文包,用于直接在虚拟设备上运行。briefcase run android -d @beePhone
在物理设备上运行应用程序
如果您有实体 Android 手机或平板电脑,您可以使用 USB 数据线将其连接到您的计算机,然后使用公文包来定位您的实体设备。
如果公文包可以检测到设备,它将出现在run输出中。第一次使用设备进行开发时,它可能会将自己报告为“未知设备(未授权开发)”:
苹果系统
(beeware-venv) $ briefcase run android

Select device:

  1) Unknown device (not authorized for development) (94ZZY0LNE8)
  2) @beePhone (emulator)
  3) Create a new Android emulator

>
Linux
(beeware-venv) $ briefcase run android

Select device:

  1) Unknown device (not authorized for development) (94ZZY0LNE8)
  2) @beePhone (emulator)
  3) Create a new Android emulator

>
视窗
(beeware-venv) C:\...>briefcase run android

Select device:

  1) Unknown device (not authorized for development) (94ZZY0LNE8)
  2) @beePhone (emulator)
  3) Create a new Android emulator

>
Android 要求在您将应用程序加载到设备上之前,将设备置于“开发者”模式。选择“未知”设备,您将看到一个链接,显示如何启用开发者模式。
启用开发人员模式后,您可以重新运行:briefcase run android
苹果系统
(beeware-venv) $ briefcase run android

Select device:

  1) Pixel 3a (94ZZY0LNE8)
  2) @beePhone (emulator)
  3) Create a new Android emulator

>
Linux
(beeware-venv) $ briefcase run android

Select device:

  1) Pixel 3a (94ZZY0LNE8)
  2) @beePhone (emulator)
  3) Create a new Android emulator

>
视窗
(beeware-venv) C:\...>briefcase run android

Select device:

  1) Pixel 3a (94ZZY0LNE8)
  2) @beePhone (emulator)
  3) Create a new Android emulator

>
这一次,我们得到了设备的名称和序列号(在本例中为 Pixel 3a)。
将来,如果您想在此设备上运行而不使用菜单,您可以将手机的序列号提供给公文包,使用. Thi 将直接在设备上运行,无需提示。briefcase run android -d 94ZZY0LNE8
笔记
在为 Android 开发时,能够查看 Android 日志非常有用。要在没有来自系统其余部分的背景噪音的情况下查看 Android 日志,您可以运行. 您的应用程序写入标准输出的任何内容(例如, 语句的输出)都将在日志中可见。adb logcat -s MainActivity:* stdio:* Python:*print()
下一步
我们现在在手机上安装了一个应用程序!但是,这个应用程序相当简单,并且不涉及任何第三方库。我们可以在我们的应用程序中包含来自 Python 包索引 (PyPI) 的库吗?转到教程 6以了解...


 22
22


 被折叠的 条评论
为什么被折叠?
被折叠的 条评论
为什么被折叠?
 到【灌水乐园】发言


