


现在需要用到这个功能,然而opencv没有函数可以直接拿来用,看到一位网友说可以用邻域连通的算法尝试解决。大意是先建一个背景灰度值为0的图片,再把轮廓点集的灰度值设置成a,从轮廓外找一种子点P,以4邻域的方式扩充直到遇到轮廓点。按照这个思路我写了个demo程序。
#include <opencv2/highgui/highgui.hpp>
#include <opencv2/imgproc/imgproc.hpp>
#include <queue>
int main()
{
cv::Mat image = cv::imread("test.png", cv::IMREAD_GRAYSCALE);
//我的测试图片只有一个轮廓,直接获取最外侧轮廓
std::vector<std::vector<cv::Point>> contours;
cv::findContours(image,contours,CV_RETR_EXTERNAL,CV_CHAIN_APPROX_NONE);
/*获取轮廓外接矩形,这个矩形和轮廓保持1个像素的距离,这样矩形的顶点必定在轮廓外侧,
方便后面直接将矩形顶点作为连通算法的起始种子点*/
cv::Rect rect = cv::boundingRect(contours[0]);
rect.x -=1;
rect.y -= 1;
rect.width +=2;
rect.height += 2;
/*lamda表达式判断坐标点是否在外接矩形内,连通算法的计算区域控制在外接矩形内,
减少不必要的计算量
*/
auto fun_in_rect = [&rect](int x,int y)
{
return (x>=rect.x&&x<=rect.x+rect.width && y>=rect.y&&y<=rect.y+rect.height);
};
//队列里保存当前种子点4邻域内可扩展的点作为后续种子点
std::queue<std::pair<int,int>> neighbor_queue;
neighbor_queue.push(std::pair<int,int>(rect.x,rect.y));
//标记种子点,防止重复计算
image.at<uchar>(rect.y,rect.x) = 128;
while (!neighbor_queue.empty())
{
//从队列取出种子点,获取其4邻域坐标点
auto seed = neighbor_queue.front();
neighbor_queue.pop();
std::vector<std::pair<int,int>> pts;
pts.emplace_back(seed.first,seed.second-1);
pts.emplace_back(seed.first,seed.second+1);
pts.emplace_back(seed.first-1,seed.second);
pts.emplace_back(seed.first+1,seed.second);
for(auto& pt : pts)
{
if(fun_in_rect(pt.first,pt.second) && image.at<uchar>(pt.second,pt.first)==0)
{
//将矩形范围内且灰度值为0的可连通坐标点添加到队列
neighbor_queue.push(pt);
image.at<uchar>(pt.second,pt.first)=128;
}
}
}
//在外接矩形内搜索所有灰度值为0的坐标点即为轮廓内的坐标点
std::vector<cv::Point> ret;
for(int i=rect.y; i<rect.y+rect.height; i++)
{
for(int j=rect.x; j<rect.x+rect.width; j++)
{
if(image.at<uchar>(i,j) == 0)
{
ret.emplace_back(j,i);
}
}
}
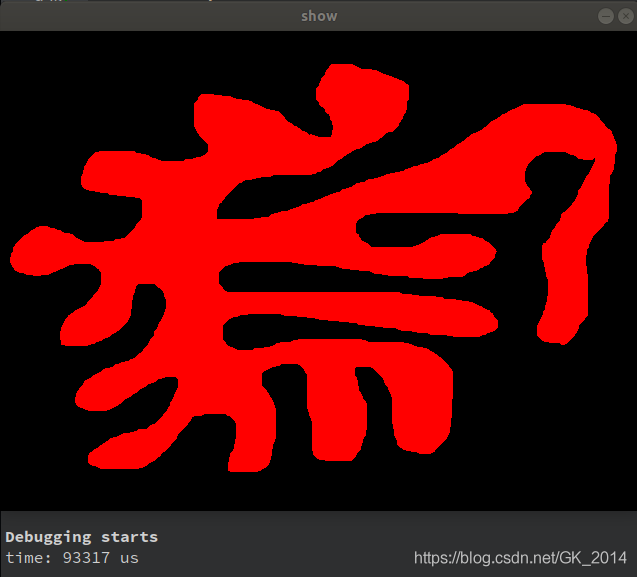
//测试一下吧,将轮廓内的坐标点全部填充为红色
cv::Mat showImg = cv::Mat::zeros(image.rows,image.cols,CV_8UC3);
for(auto& pt : ret)
{
cv::circle(showImg,pt,0,cv::Scalar(0,0,255));
}
cv::imshow("show", showImg);
cv::waitKey();
return 0;
}测试图片如下:

从已获取到轮廓开始到获得轮廓内的点集耗时93ms,测试效果如下:


 1960
1960


 被折叠的 条评论
为什么被折叠?
被折叠的 条评论
为什么被折叠?
 到【灌水乐园】发言


