DATAGRID 导出EXCEL的方法

DATAGRID 导出EXCEL的方法


许多朋友,在做DATAGRID中的数据导成EXCEL的时候,都碰到问题,需要些较多的代码,现在,大家可以用UltraWinGrid, UltraGridExcelExporter实现EXCEL导出。

 首先,分别拉一个UltraWinGrid, UltraGridExcelExporte控件到项目中,配置好UltraWinGrid数据源[这里省略了],然后就是导出数据:

//新建一个工作簿

       Workbook myWorkbook = new Workbook();

       Worksheet myWorksheep = myWorkbook.Worksheets.Add("新建工作表");

   //设置横向打印

      myWorksheep.PrintOptions.Orientation = Infragistics.Excel.Orientation.Landscape;

 //设置页眉

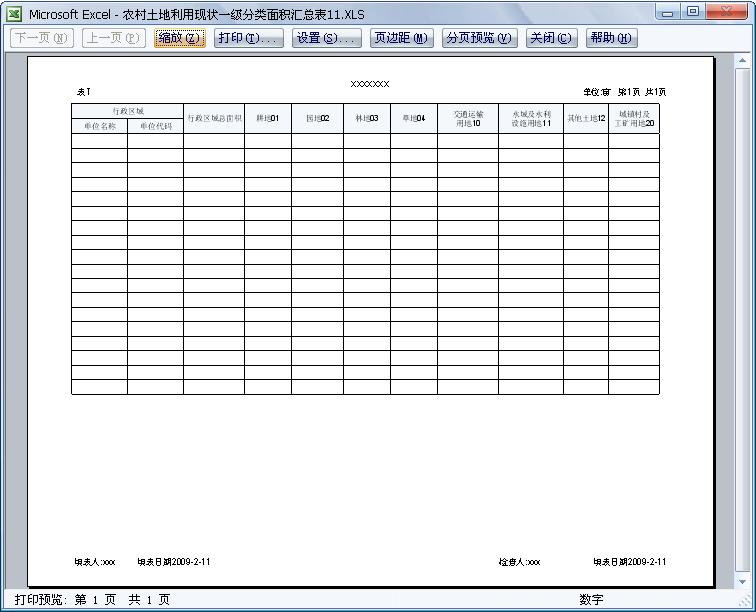
myWorksheep.PrintOptions.Header = "&L &/r/n 表Ⅰ" +"&C&13报表页眉" + "&R&/r/n单位:  &P页共&N";

 //设置页脚

   myWorksheep.PrintOptions.Footer = "&L填表人:xxx                填表日期&D   &R填表人:xxx                     填表日期&D   ";

//导出EXCEL

this.ExproterExel.Export(this.ultraGridmj,myWorksheep);

 BIFF8Writer.WriteWorkbookToFile(myWorkbook, this.savef.FileName.ToString());


以下是有关UltraWinGrid导出EXCEL的一些技术文档


Exports the passed in ultragrid to the specified worksheet.

-----------------------------------------------------------------------------------------------------------------

Gets or sets the header for each page of the printed worksheet.

Syntax

Visual Basic (Declaration) 
Public Property Header As String
C# 
public string Header {get; set;}
Return Value
The header for each page of the worksheet.

Remarks

The '&' character in the header and footer is a special character. Depending on what is after it, the formatting of the text can be controlled or dynamic text can be inserted. Below is a list of the available commands:

Section commands 
&LThe following text will appear in the left section. The formatting of new sections is always the default formatting, regardless of the formatting of the previous section.
&CThe following text will appear in the center section. The formatting of new sections is always the default formatting, regardless of the formatting of the previous section.
&RThe following text will appear in the right section. The formatting of new sections is always the default formatting, regardless of the formatting of the previous section.
Replacement commands 
&&Insert the '&' character.
&AInsert the current worksheet name.
&DInsert the current date.
&FInsert the current file name.
&GInsert an image (Note: This command is currently not supported).
&NInsert the number of pages the worksheet will need to print.
&PInsert the current page number.
&TInsert the current time.
&ZInsert the current file path (without the file name).
Formatting commands 
&BToggle bold.
&EToggle double underlining.
&IToggle italics.
&SToggle strikethrough.
&UToggle underlining.
&XToggle superscript.
&YToggle subscript.
&<FontSize>Sets a new font size for the following text. The size is expressed as a positive integer. If a number is to follow this command in the header, it must be separated by a space.
&"<FontName>"Sets a new font for the following text. If the font name is not recognized, the default font will be used.
&"<FontName>,<FontStyle>"Sets the new font and font style for the following text. The font style is usually "Regular", "Bold", "Italic", or "Bold Italic", but can be other styles depending on the font. The available font styles can be seen in the font dialog when a font is selected.

The header or footer string could look like this: &L&"Arial,Bold"&D&CPage &P of &N on &A&R&14&F.

Example

The following code demonstrates how to the look of each printed page of the worksheet.

Visual BasicCopy Code
Imports Infragistics.Excel

' Create a workbook with a worksheet
Dim workbook As New Workbook()
Dim worksheet1 As Worksheet = workbook.Worksheets.Add("Sheet1")

' The contents of each printed page of the workshete should be centered vertically
' and horizontally
worksheet1.PrintOptions.CenterHorizontally = True
worksheet1.PrintOptions.CenterVertically = True

' Each page should be printed with a landscape orientation
worksheet1.PrintOptions.Orientation = Infragistics.Excel.Orientation.Landscape

' Modify the margins of each page of the worksheet
worksheet1.PrintOptions.BottomMargin = 1
worksheet1.PrintOptions.TopMargin = 1
worksheet1.PrintOptions.LeftMargin = 1
worksheet1.PrintOptions.RightMargin = 1
worksheet1.PrintOptions.HeaderMargin = 0.5
worksheet1.PrintOptions.FooterMargin = 0.5

' Show the current date centered at the top of each page
worksheet1.PrintOptions.Header = "&C&D"

' Show "Page <page number> of <number of pages>" on the bottom right of each page
worksheet1.PrintOptions.Footer = "&RPage &P of &N"

' Print gridlines and row and column headers on each page
worksheet1.PrintOptions.PrintRowAndColumnHeaders = True
worksheet1.PrintOptions.PrintGridlines = True

' Print cell notes at the end of the worksheet
worksheet1.PrintOptions.PrintNotes = PrintNotes.PrintAtEndOfSheet

' Print all cell errors as "#N/A"
worksheet1.PrintOptions.PrintErrors = PrintErrors.PrintAsNA

' Print in black and white and in draft quality
worksheet1.PrintOptions.PrintInBlackAndWhite = True
worksheet1.PrintOptions.DraftQuality = True
C#Copy Code
using System.Windows.Forms;
using Infragistics.Excel;

// Create a workbook with a worksheet
Workbook workbook = new Workbook();
Worksheet worksheet1 = workbook.Worksheets.Add(
"Sheet1" );

// The contents of each printed page of the workshete should be centered vertically
// and horizontally
worksheet1.PrintOptions.CenterHorizontally = true;
worksheet1.PrintOptions.CenterVertically = true;

// Each page should be printed with a landscape orientation
worksheet1.PrintOptions.Orientation = Infragistics.Excel.Orientation.Landscape;

// Modify the margins of each page of the worksheet
worksheet1.PrintOptions.BottomMargin = 1;
worksheet1.PrintOptions.TopMargin = 1;
worksheet1.PrintOptions.LeftMargin = 1;
worksheet1.PrintOptions.RightMargin = 1;
worksheet1.PrintOptions.HeaderMargin = 0.5;
worksheet1.PrintOptions.FooterMargin = 0.5;

// Show the current date centered at the top of each page
worksheet1.PrintOptions.Header = "&C&D";

// Show "Page <page number> of <number of pages>" on the bottom right of each page
worksheet1.PrintOptions.Footer = "&RPage &P of &N";

// Print gridlines and row and column headers on each page
worksheet1.PrintOptions.PrintRowAndColumnHeaders = true;
worksheet1.PrintOptions.PrintGridlines = true;

// Print cell notes at the end of the worksheet
worksheet1.PrintOptions.PrintNotes = PrintNotes.PrintAtEndOfSheet;

// Print all cell errors as "#N/A"
worksheet1.PrintOptions.PrintErrors = PrintErrors.PrintAsNA;

// Print in black and white and in draft quality
worksheet1.PrintOptions.PrintInBlackAndWhite = true;
worksheet1.PrintOptions.DraftQuality = true;

See Also

Syntax

Visual Basic (Declaration) 
Public Overloads Function Export( _
   ByVal grid As UltraGrid, _
   ByVal worksheet As Worksheet _
) As Workbook
C# 
public Workbook Export( 
   UltraGrid grid,
   Worksheet worksheet
)
Parameters
grid
Grid to export.
worksheet
Destination Worksheet.
Return Value
Parent workbook of passed in worksheet.

Example

Following code shows how to use different Export overloads.

C#Copy Code
       private void button2_Click(object sender, System.EventArgs e)
       {
           
// overload 1
           
this.MyGridExporter.Export(this.ultraGrid1, "Test1.xls");
       }

       
private void button3_Click(object sender, System.EventArgs e)
       {
           
// overload 2
           
Workbook wb1 = this.MyGridExporter.Export(this.ultraGrid1);

           BIFF8Writer.WriteWorkbookToFile(wb1,
"Test2.xls");        

           Workbook wb2 =
new Workbook();

           
// overload 3
           
this.MyGridExporter.Export(this.ultraGrid1, wb2);

           Worksheet secondWS = wb2.Worksheets.Add(
"SecondSheet");

           
// overload 4
           
this.MyGridExporter.Export(this.ultraGrid1, secondWS);

           BIFF8Writer.WriteWorkbookToFile(wb2,
"Test3.xls");    

           Workbook wb3 =
new Workbook();

           
// overload 5
           
this.MyGridExporter.Export(this.ultraGrid1, wb3, 1, 2);

           Worksheet someWS = wb3.Worksheets.Add(
"SomeSheet");

           
// overload 6
           
this.MyGridExporter.Export(this.ultraGrid1, someWS, 2, 3);

           BIFF8Writer.WriteWorkbookToFile(wb3,
"Test4.xls");
       }
Visual BasicCopy Code
    Private Sub Button2_Click(ByVal sender As System.Object, ByVal e As System.EventArgs) Handles Button2.Click
        ' overload 1
        Me.MyGridExporter.Export(Me.UltraGrid1, "Test1.xls")
    End Sub

    Private Sub Button3_Click(ByVal sender As System.Object, ByVal e As System.EventArgs) Handles Button3.Click
        Dim wb1, wb2, wb3 As Workbook
        Dim secondWS, someWS As Worksheet

        ' overload 2
        wb1 = Me.MyGridExporter.Export(Me.UltraGrid1)

        BIFF8Writer.WriteWorkbookToFile(wb1, "Test2.xls")

        wb2 = New Workbook()

        ' overload 3
        Me.MyGridExporter.Export(Me.UltraGrid1, wb2)

        secondWS = wb2.Worksheets.Add("SecondSheet")

        ' overload 4
        Me.MyGridExporter.Export(Me.UltraGrid1, secondWS)

        BIFF8Writer.WriteWorkbookToFile(wb2, "Test3.xls")

        wb3 = New Workbook()

        ' overload 5
        Me.MyGridExporter.Export(Me.UltraGrid1, wb3, 1, 2)

        someWS = wb3.Worksheets.Add("SomeSheet")

        ' overload 6
        Me.MyGridExporter.Export(Me.UltraGrid1, someWS, 2, 3)

        BIFF8Writer.WriteWorkbookToFile(wb3, "Test4.xls")
    End Sub

See Also

  • 0
    点赞
  • 1
    收藏
    觉得还不错? 一键收藏
  • 0
    评论

“相关推荐”对你有帮助么?

  • 非常没帮助
  • 没帮助
  • 一般
  • 有帮助
  • 非常有帮助
提交
评论
添加红包

请填写红包祝福语或标题

红包个数最小为10个

红包金额最低5元

当前余额3.43前往充值 >
需支付:10.00
成就一亿技术人!
领取后你会自动成为博主和红包主的粉丝 规则
hope_wisdom
发出的红包
实付
使用余额支付
点击重新获取
扫码支付
钱包余额 0

抵扣说明:

1.余额是钱包充值的虚拟货币,按照1:1的比例进行支付金额的抵扣。
2.余额无法直接购买下载,可以购买VIP、付费专栏及课程。

余额充值