


1.创建父工程
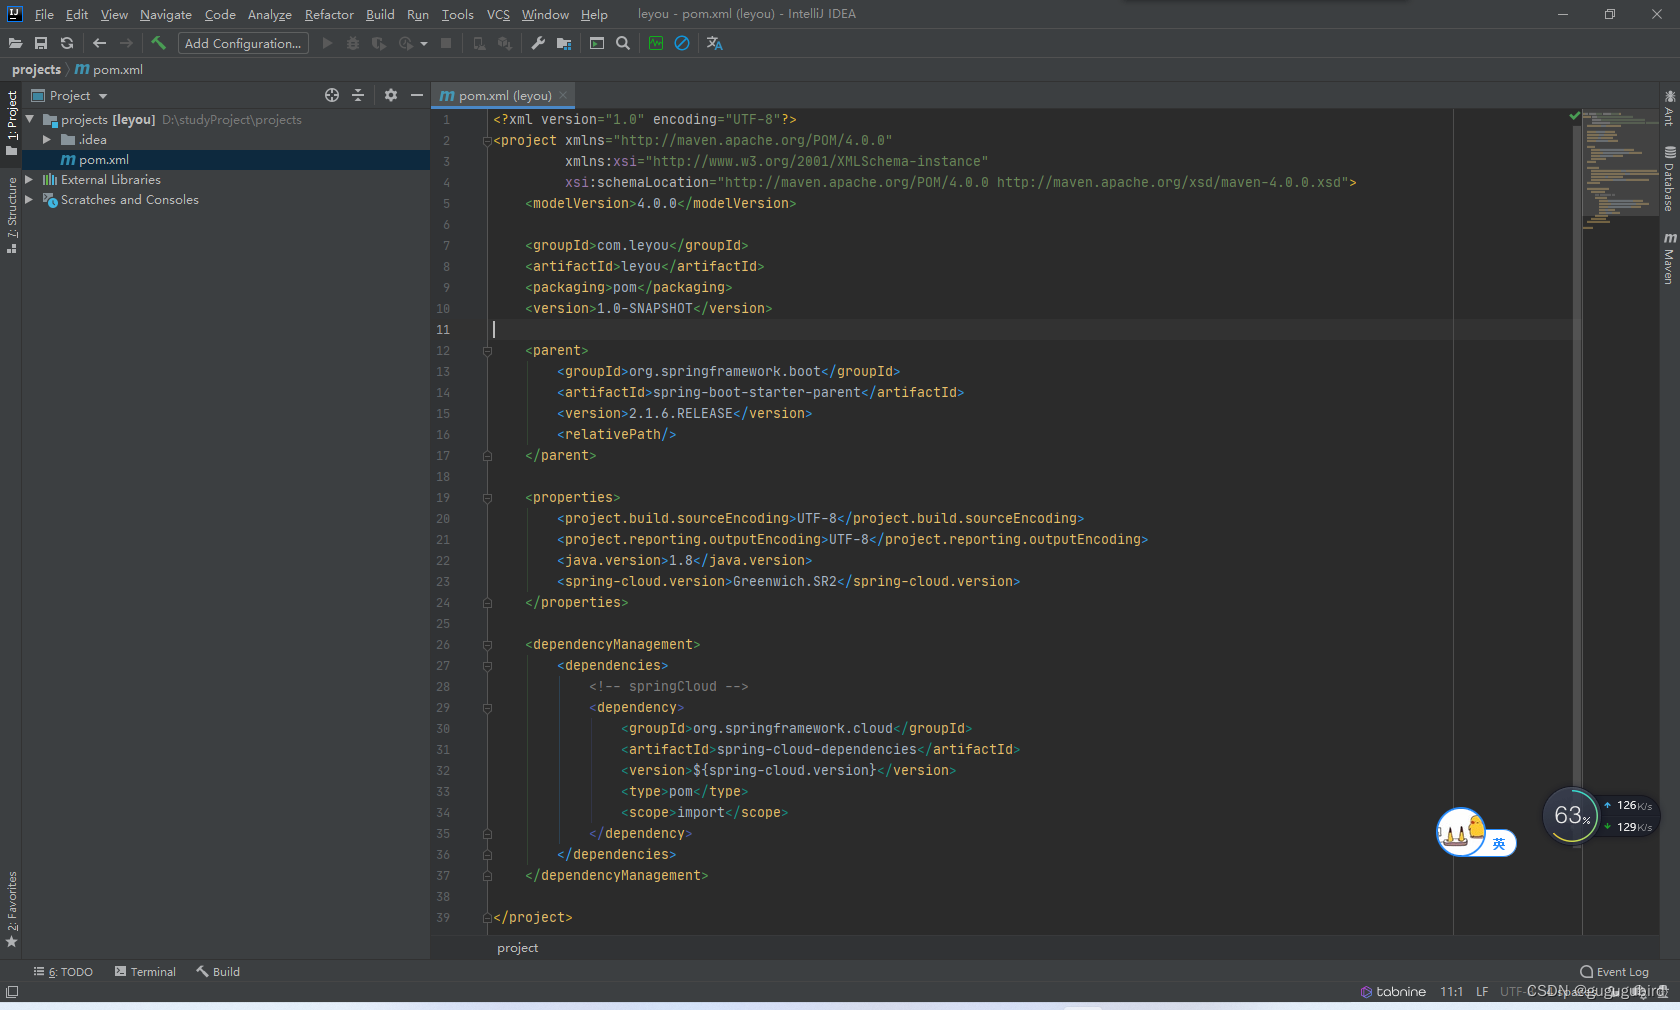
1.1添加依赖
    <parent>
        <groupId>org.springframework.boot</groupId>
        <artifactId>spring-boot-starter-parent</artifactId>
        <version>2.1.6.RELEASE</version>
        <relativePath/>
    </parent>

    <properties>
        <project.build.sourceEncoding>UTF-8</project.build.sourceEncoding>
        <project.reporting.outputEncoding>UTF-8</project.reporting.outputEncoding>
        <java.version>1.8</java.version>
        <spring-cloud.version>Greenwich.SR2</spring-cloud.version>
    </properties>

    <dependencyManagement>
        <dependencies>
            <!-- springCloud -->
            <dependency>
                <groupId>org.springframework.cloud</groupId>
                <artifactId>spring-cloud-dependencies</artifactId>
                <version>${spring-cloud.version}</version>
                <type>pom</type>
                <scope>import</scope>
            </dependency>
        </dependencies>
    </dependencyManagement>
2.创建子工程 ly-common
创建包名,导入工具类,并且导入依赖
 <dependencies>
        <dependency>
            <groupId>org.springframework</groupId>
            <artifactId>spring-web</artifactId>
        </dependency>
        <dependency>
            <groupId>javax.servlet</groupId>
            <artifactId>javax.servlet-api</artifactId>
        </dependency>
        <dependency>
            <groupId>org.springframework.boot</groupId>
            <artifactId>spring-boot-starter-logging</artifactId>
        </dependency>
        <dependency>
            <groupId>com.fasterxml.jackson.core</groupId>
            <artifactId>jackson-databind</artifactId>
        </dependency>
        <dependency>
            <groupId>org.apache.commons</groupId>
            <artifactId>commons-lang3</artifactId>
            <version>3.4</version>
        </dependency>
        <dependency>
            <groupId>org.projectlombok</groupId>
            <artifactId>lombok</artifactId>
        </dependency>
        <dependency>
            <groupId>joda-time</groupId>
            <artifactId>joda-time</artifactId>
        </dependency>
    </dependencies>
工具类
链接:https://pan.baidu.com/s/1xRKMo2b8yFlhr8jqTYJ2Ag
提取码:1ta1
3.安装nacos
可以查看前边的博客:nacos安装及基本介绍
4.搭建网关 ly-gateway
4.1添加依赖
   <dependencies>
        <!--网关-->
        <dependency>
            <groupId>org.springframework.cloud</groupId>
            <artifactId>spring-cloud-starter-gateway</artifactId>
        </dependency>
        <!--注册中心-->
        <dependency>
            <groupId>com.alibaba.cloud</groupId>
            <artifactId>spring-cloud-starter-alibaba-nacos-discovery</artifactId>
            <version>2.1.0.RELEASE</version>
        </dependency>
        <!--熔断器-->
        <dependency>
            <groupId>org.springframework.cloud</groupId>
            <artifactId>spring-cloud-starter-netflix-hystrix</artifactId>
        </dependency>
        <dependency>
            <groupId>com.leyou</groupId>
            <artifactId>ly-common</artifactId>
            <version>1.0-SNAPSHOT</version>
        </dependency>
    </dependencies>
    <build>
        <plugins>
            <plugin>
                <groupId>org.springframework.boot</groupId>
                <artifactId>spring-boot-maven-plugin</artifactId>
            </plugin>
        </plugins>
    </build>
2.在com.leyou包下创建启动类

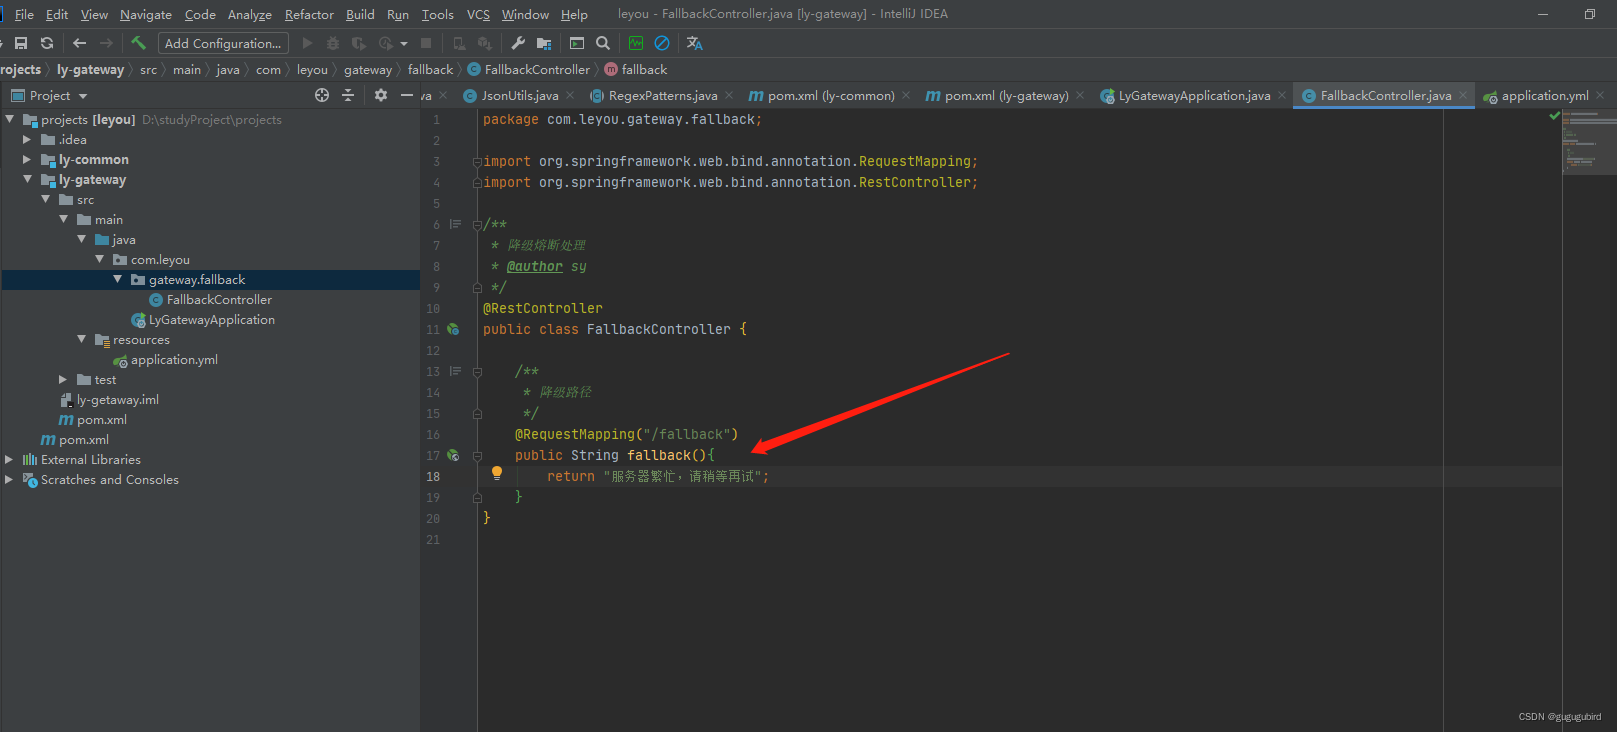
3.创建降级熔断处理业务
4.新建配置文件
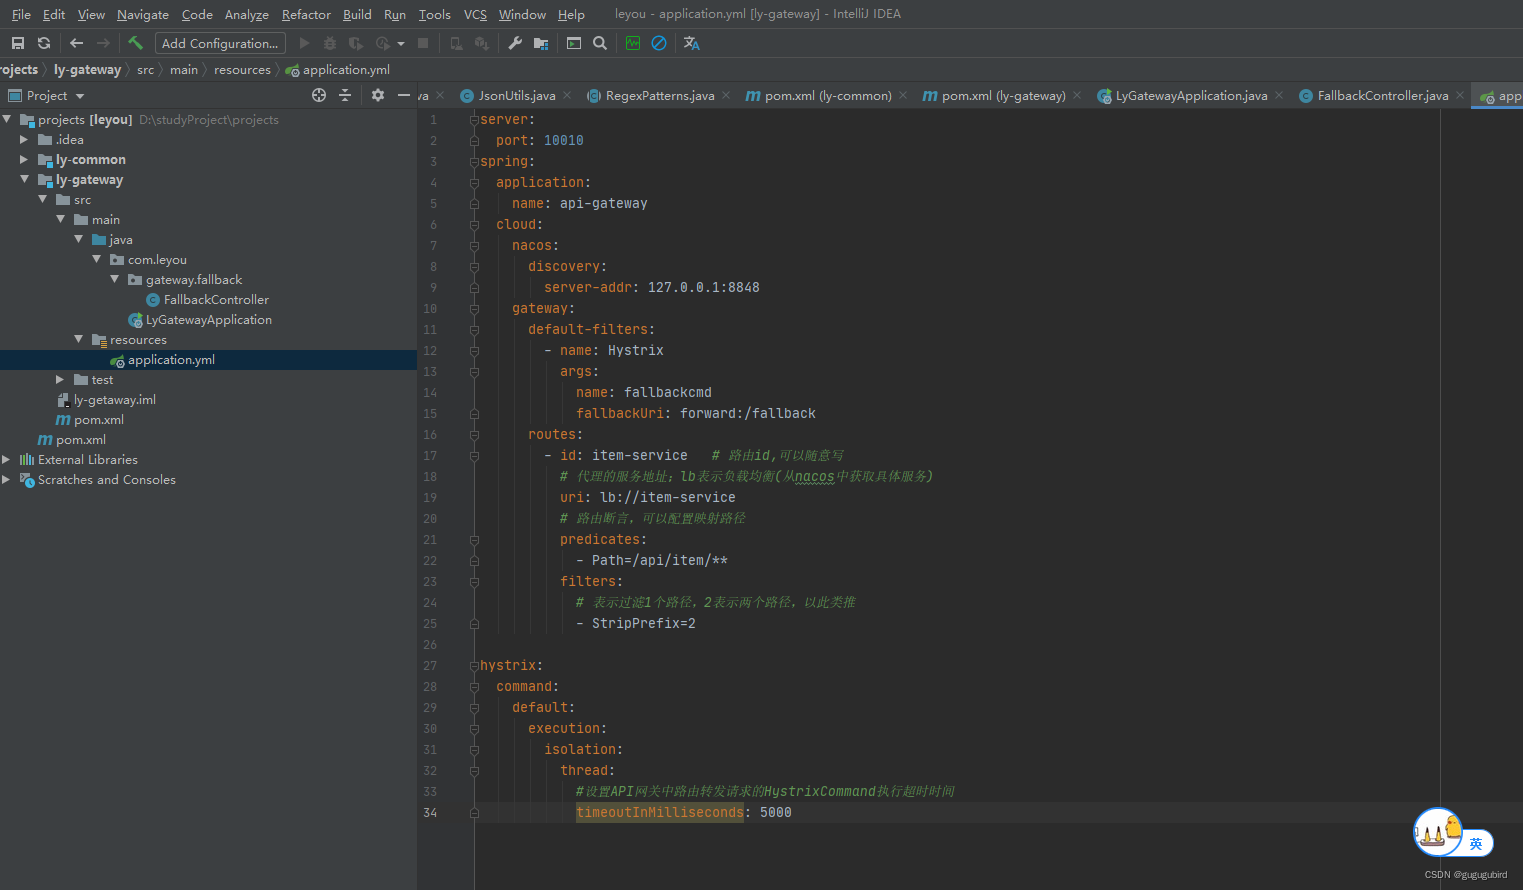
server:
  port: 10010
spring:
  application:
    name: api-gateway
  cloud:
    nacos:
      discovery:
        server-addr: 127.0.0.1:8848
    gateway:
      default-filters:
        - name: Hystrix
          args:
            name: fallbackcmd
            fallbackUri: forward:/fallback
      routes:
        - id: item-service   # 路由id,可以随意写
          # 代理的服务地址;lb表示负载均衡(从nacos中获取具体服务)
          uri: lb://item-service
          # 路由断言,可以配置映射路径
          predicates:
            - Path=/api/item/**
          filters:
            # 表示过滤1个路径,2表示两个路径,以此类推
            - StripPrefix=2

hystrix:
  command:
    default:
      execution:
        isolation:
          thread:
            #设置API网关中路由转发请求的HystrixCommand执行超时时间
            timeoutInMilliseconds: 5000
5.新建子工程POJO 方便后边统一管理实体等
5.1添加依赖
    <dependencies>
        <!--lombok-->
        <dependency>
            <groupId>org.projectlombok</groupId>
            <artifactId>lombok</artifactId>
        </dependency>
        <!-- 只能导入mybatis-plus的核心包,不能导入启动器-->
        <dependency>
            <groupId>com.baomidou</groupId>
            <artifactId>mybatis-plus-core</artifactId>
            <version>3.1.0</version>
        </dependency>
    </dependencies>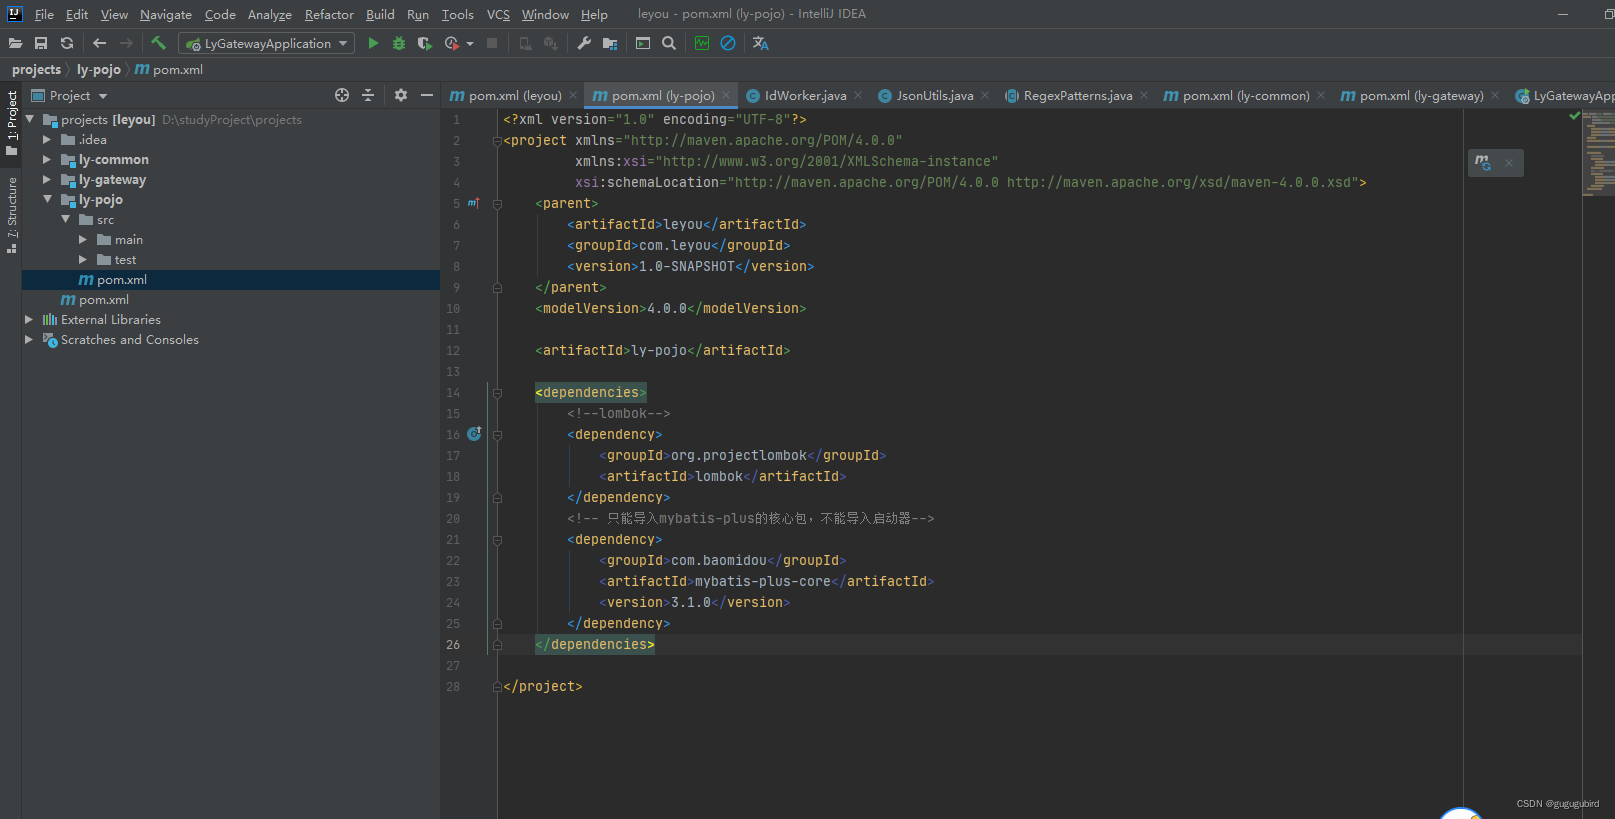
6.创建子工程feign
6.1导入依赖
    <dependencies>
        <!--feign的核心包-->
        <dependency>
            <groupId>org.springframework.cloud</groupId>
            <artifactId>spring-cloud-openfeign-core</artifactId>
        </dependency>
        <dependency>
            <groupId>org.springframework</groupId>
            <artifactId>spring-web</artifactId>
        </dependency>
    </dependencies>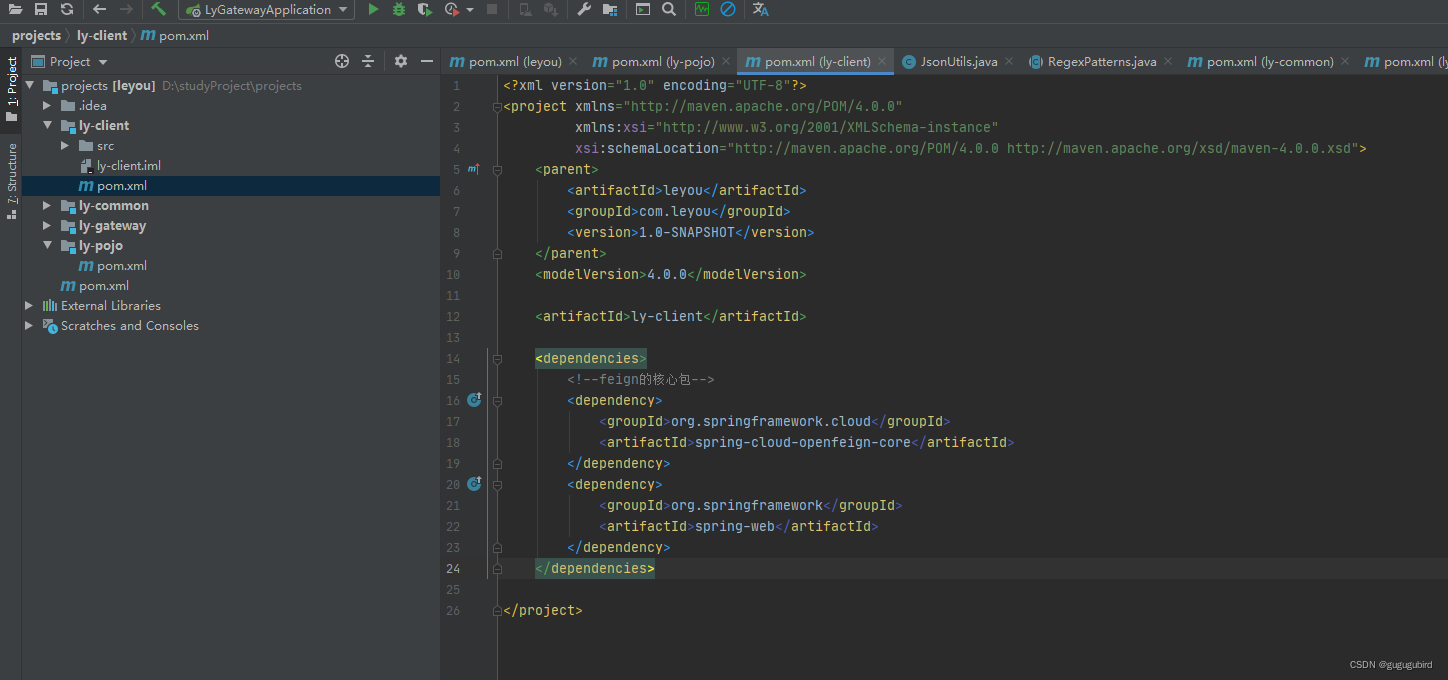
7.新建子模块item
7.1导入依赖
<dependencies>
<!--nacos客户端-->
<dependency>
<groupId>com.alibaba.cloud</groupId>
<artifactId>spring-cloud-starter-alibaba-nacos-discovery</artifactId>
<version>2.1.0.RELEASE</version>
</dependency>
<!--web环境-->
<dependency>
<groupId>org.springframework.boot</groupId>
<artifactId>spring-boot-starter-web</artifactId>
</dependency>
<!--数据库驱动-->
<dependency>
<groupId>mysql</groupId>
<artifactId>mysql-connector-java</artifactId>
</dependency>
<!--mybatis-plusd依赖-->
<dependency>
<groupId>com.baomidou</groupId>
<artifactId>mybatis-plus-boot-starter</artifactId>
<version>3.1.0</version>
</dependency>
<!--entity和dto-->
<dependency>
<groupId>com.leyou</groupId>
<artifactId>ly-pojo-item</artifactId>
<version>1.0-SNAPSHOT</version>
</dependency>
<!--通用工具-->
<dependency>
<groupId>com.leyou</groupId>
<artifactId>ly-common</artifactId>
<version>1.0-SNAPSHOT</version>
</dependency>
<!--测试-->
<dependency>
<groupId>org.springframework.boot</groupId>
<artifactId>spring-boot-starter-test</artifactId>
</dependency>
</dependencies>
<build>
<plugins>
<plugin>
<groupId>org.springframework.boot</groupId>
<artifactId>spring-boot-maven-plugin</artifactId>
</plugin>
</plugins>
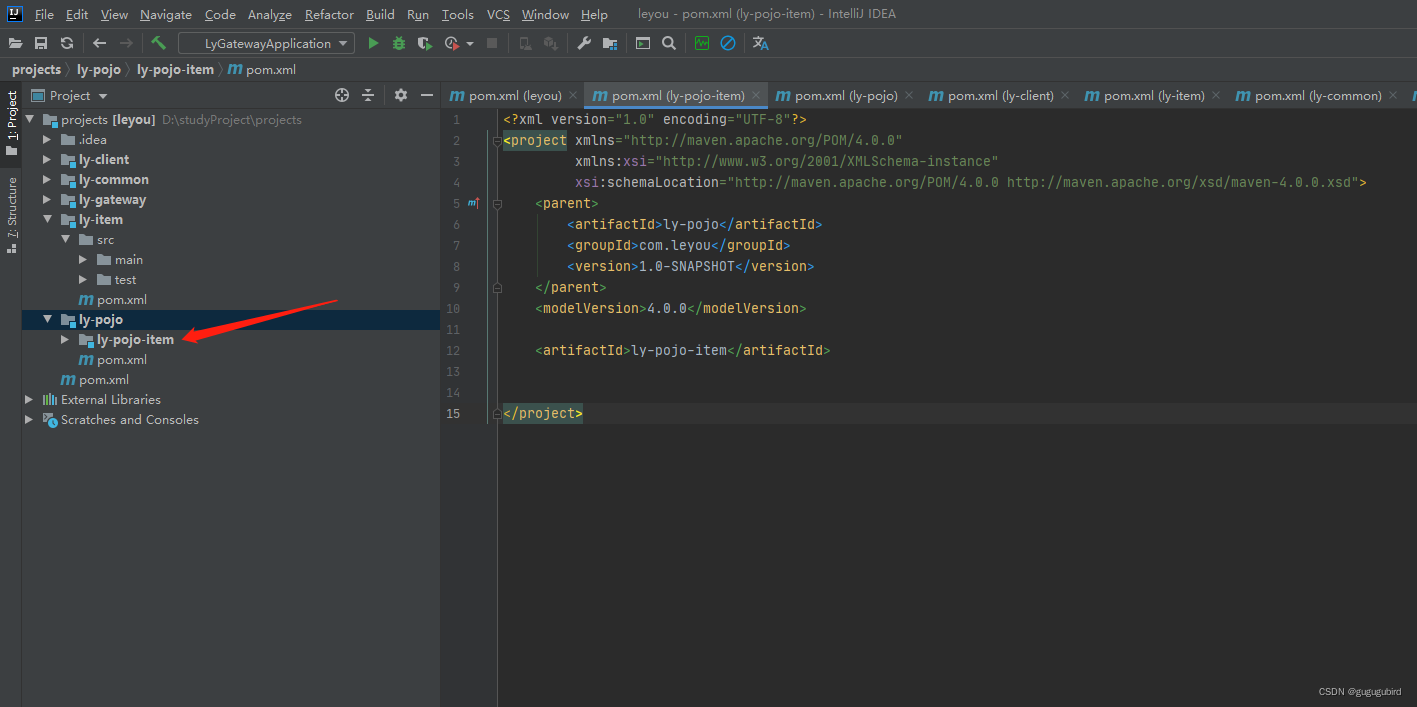
</build>7.2在ly-pojo模块下新建子模块 ly-pojo-item 并导入依赖
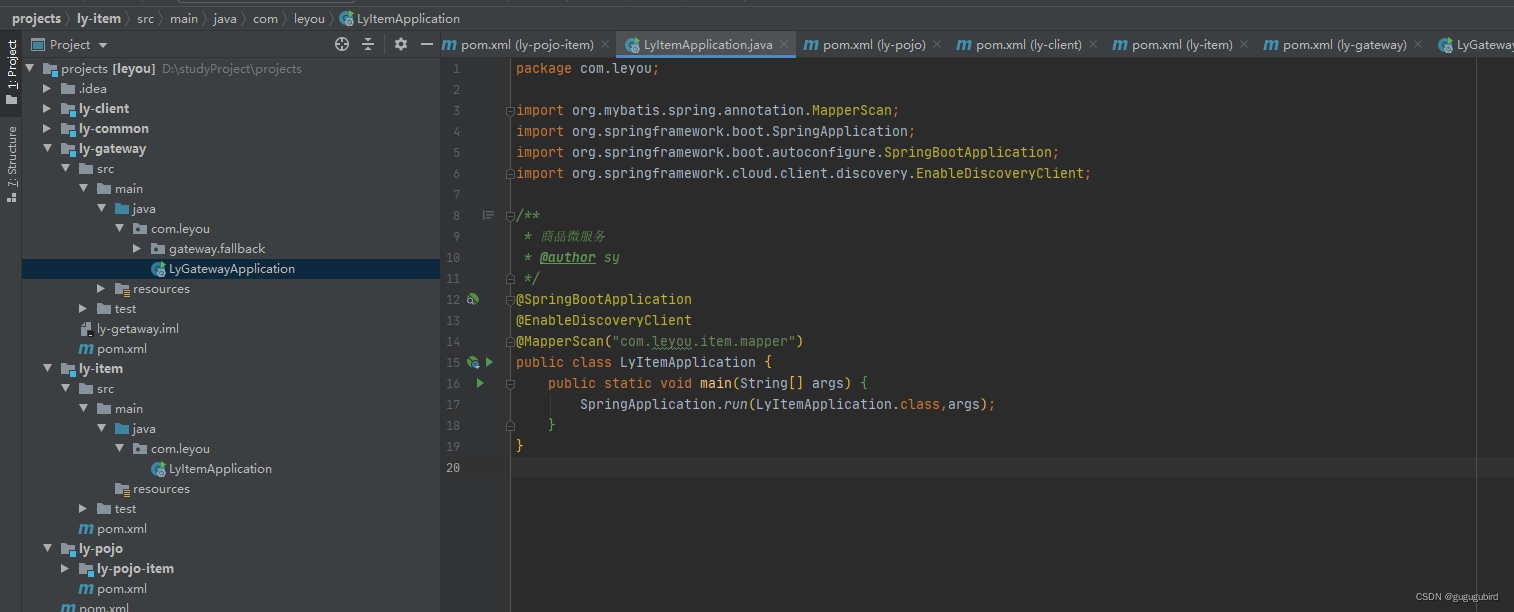
7.3在ly-item模块下新建启动类
7.4添加配置文件 并在ly-pojo-item下建实体类包com.leyou.item.pojo
server:
  port: 8081
spring:
  application:
    name: item-service
  datasource:
    driver-class-name: com.mysql.cj.jdbc.Driver
    url: jdbc:mysql:///leyou?serverTimezone=UTC&characterEncoding=utf8&useUnicode=true&useSSL=true
    username: root
    password: root
  cloud:
    nacos:
      discovery:
        server-addr: 127.0.0.1:8848
mybatis-plus:
  type-aliases-package: com.leyou.item.pojo
  configuration:
    map-underscore-to-camel-case: true

logging:
  level:
    com.leyou: debug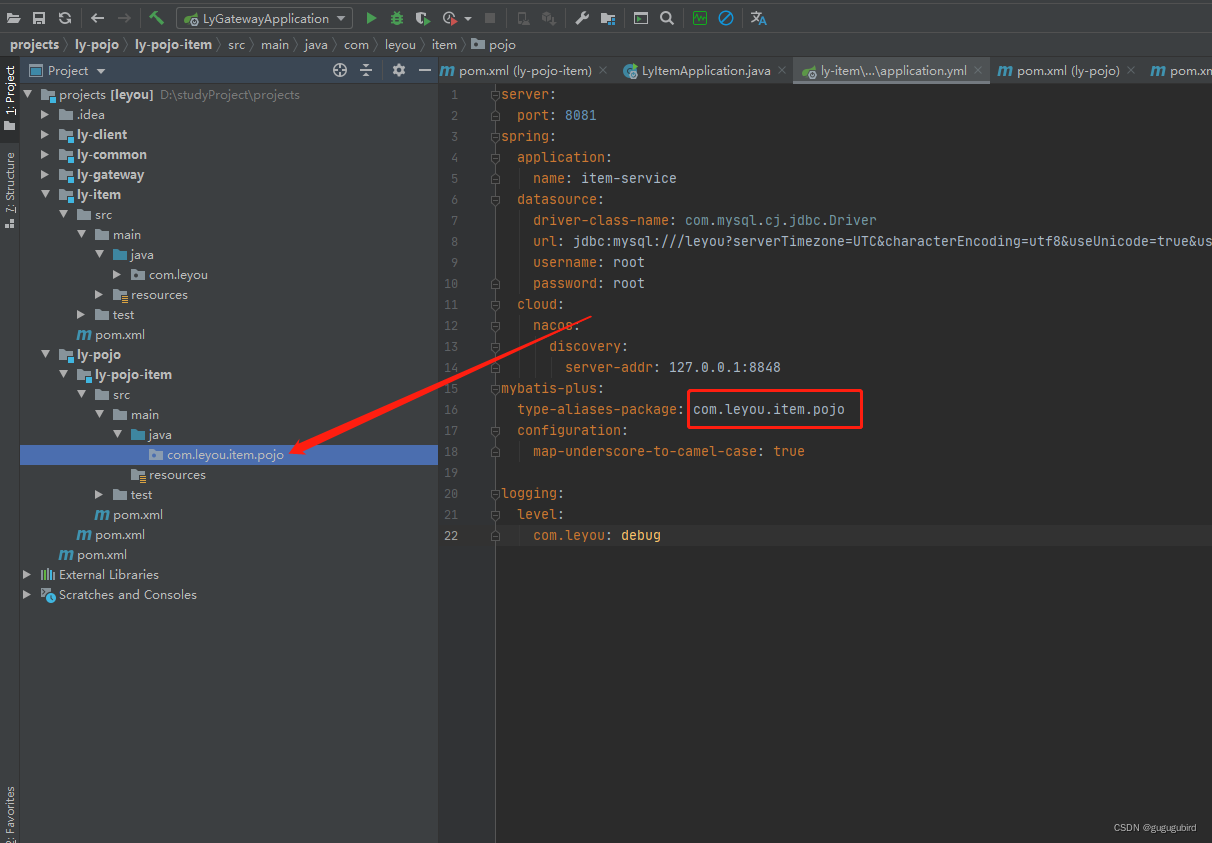
8.数据库脚本
链接:https://pan.baidu.com/s/1tmLMU5R3oI4IAsZsV8tzaw
提取码:3gy5
9.前端页面
链接:https://pan.baidu.com/s/1jYE-lzVmwDJa5DbTiYjWXA
提取码:ixdu
拉下用idea打开
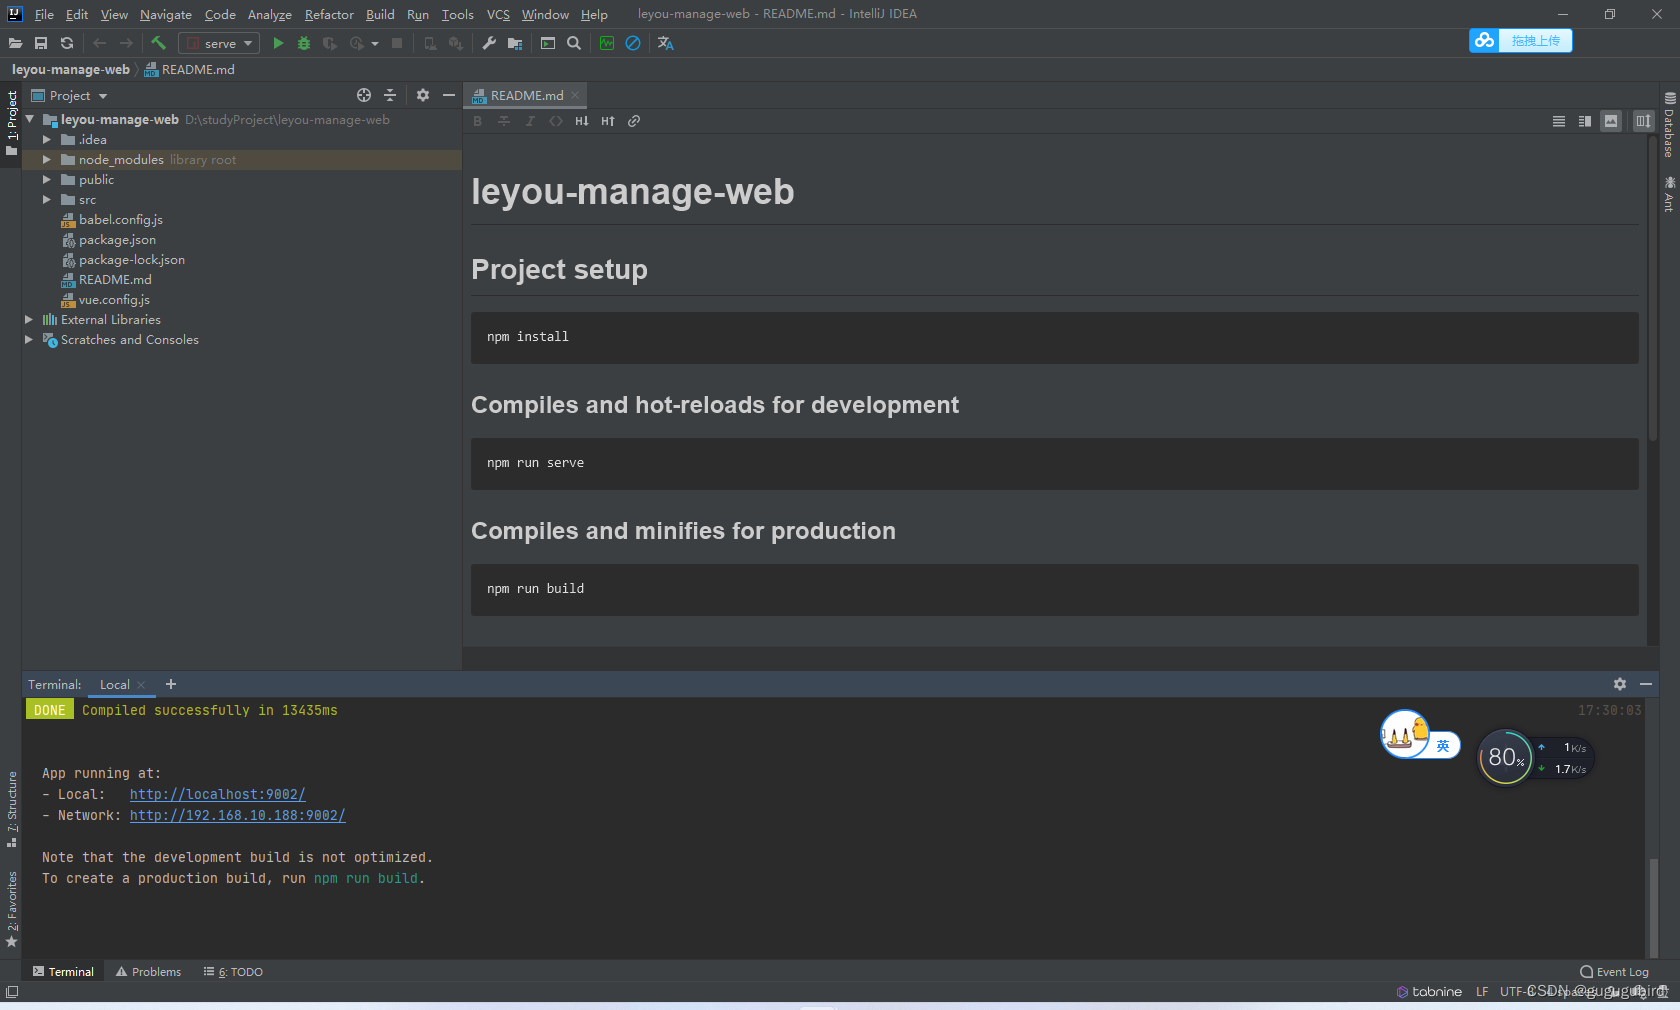
运行命令:
npm run serve


 471
471


 被折叠的 条评论
为什么被折叠?
被折叠的 条评论
为什么被折叠?
 到【灌水乐园】发言


