


一、安装apache
下载地址:apache下载
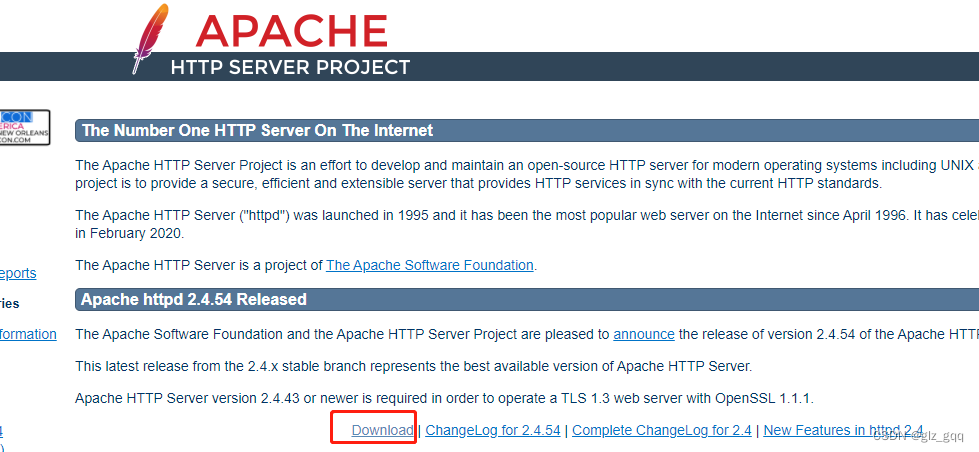
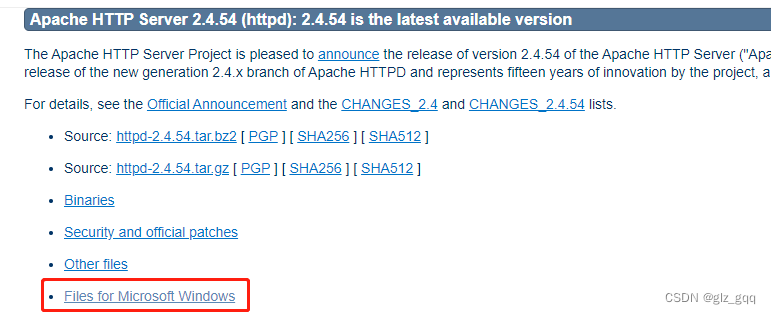

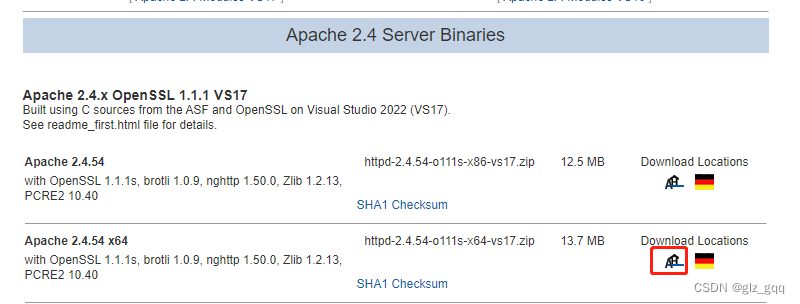
下载的是个压缩包,里面有个readme_first.html,直接安装那上面说明的步骤安装即可。
二、安装python环境
官网下载安装包安装即可:python下载
三、安装mod_wsgi
apache访问django是通过mod_wsgi模块来实现的,所以需要安装这个模块。
由于pip install mod_wsgi的安装方式需要本机上有visual c++ 编译环境,服务器上基本上是没这个环境,也不可能去安装的,所以我们直接下载编译好的whl包安装即可 :Archived: Unofficial Windows Binaries for Python Extension Packages
这个网站上有很多的python扩展包的windows编译包,找到mod_wsgi下载安装即可。
四、安装mysql
下载地址:mysql下载
这下载的是一个全面包,可以同时安装mysql server、client、workbench等等,选择自己需要的部分安装即可,一般也就是一个Server+workbench,通过custom方式安装。
具体安装步骤自行网上搜索即可,很多。
五、安装redis
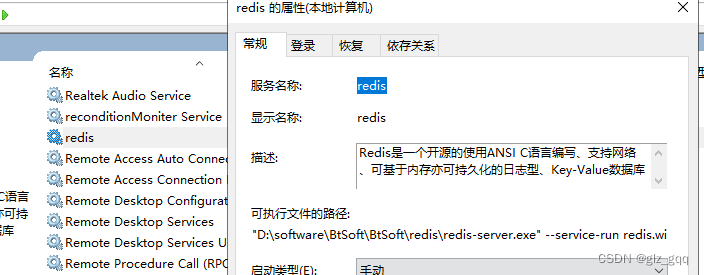
redis虽然已经7都出来了,但是很可惜,redis官方并不支持windows,所以我们只能安装微软修复版,最高版本3.2.100:redis下载地址,下载Redis-x64-3.2.100.msi并安装即可
安装好之后在windows服务中找到redis,查看它所使用的配置文件,然后按自己的实际需求修改配置即可。
六、配置apache
1、配置SRVROOT
apache安装之后SRVROOT初始配置一般并不是实际的安装目录,需要配置成安装目录
Define SRVROOT "D:\software\BtSoft\BtSoft\apache"
ServerRoot "${SRVROOT}"
2、配置监听端口
这里我把vue和django作为两个模块来配置,各有各的端口,彻底分离
#Listen 12.34.56.78:80
# vue端口
Listen 6789
# django端口
Listen 8890
ServerName localhost:67893、配置mod_wsgi模块
首先获取mod_wsgi配置
C:\Users\Administrator>mod_wsgi-express module-config
LoadFile "D:/software/Python310/python310.dll"
LoadModule wsgi_module "D:/software/Python310/lib/site-packages/mod_wsgi/server/mod_wsgi.cp310-win_amd64.pyd"
WSGIPythonHome "D:/software/Python310"
C:\Users\Administrator>
其次配置到apache
LoadFile "D:/software/Python310/python310.dll"
LoadModule wsgi_module "D:/software/Python310/lib/site-packages/mod_wsgi/server/mod_wsgi.cp310-win_amd64.pyd"
WSGIPythonHome "D:/software/Python310"
# 这是django项目(Reconciliation)目录
WSGIPythonPath D:/project/ac/Reconciliation
4、配置路由重写(防止vue子路由刷新报404)
打开mod_rewrite.so模块
#LoadModule reqtimeout_module modules/mod_reqtimeout.so
LoadModule rewrite_module modules/mod_rewrite.so
#LoadModule sed_module modules/mod_sed.so
<Directory />
AllowOverride all
RewriteEngine On
RewriteBase /
RewriteRule ^index\.html$ - [L]
RewriteCond %{REQUEST_FILENAME} !-f
RewriteCond %{REQUEST_FILENAME} !-d
RewriteRule . /index.html [L]
</Directory>说明:vue文件直接放在${SRVROOT}/htdocs下了
5、打开vhost
# Virtual hosts
Include conf/extra/httpd-vhosts.conf
6、配置django
前面都是在httpd.conf中配置,这个是在extra\httpd-vhosts.conf中配置的
# 这是前面监听的端口
<VirtualHost *:8890>
    # 如果django中使用了pandas、numpy等科学包,需要加上这个,不然django是无法访问的
    # 因为这些科学包在Python子解释器中无法工作。该指令将强制使用主解释器上下文
    WSGIApplicationGroup %{GLOBAL}
    # 指定所有的访问都由wsgi.py来处理
    WSGIScriptAlias / D:/project/ac/Reconciliation/Reconciliation/wsgi.py
    # 给wsgi.py增加访问权限
    <Directory D:/project/ac/Reconciliation/Reconciliation>
        <Files wsgi.py>
            Require all granted
        </Files>
    </Directory>
</VirtualHost>
七、使用celery
对于一个django项目来说,celery基本上算是标配。celery在linux下面使用是很方便的,但是对windows就不是很友好了,因为celery肯定是需要在后台运行的,不可能还开个窗口在那跑。
这里就不写celery的具体用法了,去官网看文档更好,这里只说怎么后台运行celery并且开机自启动。
1、制作成windows服务
这里就直接上网上弄到的代码了
'''
Usage : python celery_service.py install (start / stop / remove)
Run celery as a Windows service
'''
import sys

import logging
import os
import shlex
import subprocess
from logging.handlers import RotatingFileHandler
from pathlib import Path

import win32api
import win32event
import win32service
import win32serviceutil

# The directory for celery.log and celery_service.log
# Default: the directory of this script
INST_DIR = Path(__file__).parent
# The path of python Scripts
# Usually it is in path_to/venv/Scripts.
# If it is already in system PATH, then it can be set as ''
PYTHONSCRIPTPATH = INST_DIR / 'venv/Scripts'
# The directory name of django project
# Note: it is the directory at the same level of manage.py
# not the parent directory
PROJECTDIR = 'Reconciliation'
# the logger
log_file = INST_DIR / 'logs/celery_service.log'
celery_formatter = logging.Formatter(fmt='[%(asctime)-15s: %(levelname)-7.7s] %(message)s')
celery_handler = RotatingFileHandler(filename=log_file, maxBytes=1*1024*1024, backupCount=5, encoding='utf-8')
celery_handler.setFormatter(celery_formatter)
celery_logger = logging.getLogger('celery_logger')
celery_logger.addHandler(celery_handler)
celery_logger.setLevel(logging.INFO)


class CeleryService(win32serviceutil.ServiceFramework):
    _svc_name_ = "CeleryWorker"
    _svc_display_name_ = "Celery Distributed Task Queue Service"

    def __init__(self, args):
        celery_logger.info('__init__')
        win32serviceutil.ServiceFramework.__init__(self, args)
        self.hWaitStop = win32event.CreateEvent(None, 0, 0, None)

    def SvcStop(self):
        celery_logger.info('Stopping {name} service ...'.format(name=self._svc_name_))
        self.ReportServiceStatus(win32service.SERVICE_STOP_PENDING)
        win32event.SetEvent(self.hWaitStop)
        self.ReportServiceStatus(win32service.SERVICE_STOPPED)
        sys.exit()

    def SvcDoRun(self):
        celery_logger.info('Starting {name} service ...'.format(name=self._svc_name_))
        os.chdir(INST_DIR)  # so that proj worker can be found
        celery_logger.info('cwd: ' + os.getcwd())
        self.ReportServiceStatus(win32service.SERVICE_RUNNING)
        command = '"{celery_path}" -A {proj_dir} worker -f "{log_path}" -l info -P eventlet'.format(
            celery_path=PYTHONSCRIPTPATH / 'celery.exe',
            proj_dir=PROJECTDIR,
            log_path=log_file)
        celery_logger.info('command: ' + command)
        args = shlex.split(command)
        proc = subprocess.Popen(args)
        celery_logger.info('pid: {pid}'.format(pid=proc.pid))
        self.timeout = 3000
        while True:
            rc = win32event.WaitForSingleObject(self.hWaitStop, self.timeout)
            if rc == win32event.WAIT_OBJECT_0:
                # stop signal encountered
                # terminate process 'proc'
                PROCESS_TERMINATE = 1
                handle = win32api.OpenProcess(PROCESS_TERMINATE, False, proc.pid)
                win32api.TerminateProcess(handle, -1)
                win32api.CloseHandle(handle)
                break


if __name__ == '__main__':
    celery_logger.info('__main__')
    win32serviceutil.HandleCommandLine(CeleryService)
经过实测,在win10下面是没问题的,服务可以正常的安装和启动,但是在windows Server 2012 R2上面服务是启动不了的,后来研究半天也没弄出个所以然来,最终无奈放弃了。
2、制作成bat脚本
脚本start_celery.bat
@echo off
cd /d D:\project\ac\Reconciliation & celery -A Reconciliation worker -f D:/project/ac/Reconciliation/logs/celery_service.log -l info -P eventlet
pause runserver ok
可以直接运行,但是会有一个cmd窗口
脚本start.vbs
set ws=WScript.CreateObject("WScript.Shell")

ws.Run "D:\project\ac\Reconciliation\start_celery.bat",0
使用start.vbs来启动start_celery.bat,可以启动,并且cmd窗口也没有了,问题解决!
再把start.vbs脚本放到C:\ProgramData\Microsoft\Windows\Start Menu\Programs\StartUp下即可实现开机自启动。
自此整个项目部署完毕。
另、安装RabbitMQ
如果嫌弃redis版本太低,也可以安装rabbitMQ来作为celery的broker
1、下载安装erlang
RabbitMQ服务端代码是使用并发式语言Erlang编写的,安装Rabbit MQ的前提是安装Erlang
2、配置环境变量
新建环境变量ERLANG_HOME,值是上一步的安装目录,然后path添加%ERLANG_HOME%\bin
cmd下执行erl查看erlang是否安装成功
C:\Users\Administrator>erl
Eshell V13.1.2  (abort with ^G)
1>
3、下载安装RabbitMQ
先安装下载的exe,然后在cmd中进入安装目录下的sbin下执行rabbitmq-plugins enable rabbitmq_management
4、测试安装情况
访问 http://localhost:15672/ 看看是不是能访问,用户名密码都是guest


 567
567


 被折叠的 条评论
为什么被折叠?
被折叠的 条评论
为什么被折叠?
 到【灌水乐园】发言


