


编译安装nginx
1、安装perl
安装地址: https://strawberryperl.com,选择msi安装程序即可
2、安装sed for windows
下载地址:https://sourceforge.net/projects/gnuwin32/files/sed/,执行安装程序结束后,将安装包bin目录配置到环境变量下
3、安装visual studio 2022 community版
4、从https://github.com/nginx/nginx下载1.26.1版源码,在源码中新建目录objs\lib
下载nginx-http-flv-module:https://github.com/winshining/nginx-http-flv-module (1.2.10版)
下载pcre: https://github.com/PCRE2Project/pcre2/tags (10.2.39版)
下载zlib: https://github.com/madler/zlib (1.3.1版)
下载openssl:https://www.openssl.org/source/index.html (3.0.13版)
将nginx-http-flv-module、openssl、pcre、zlib拷贝到该目录中并解压
5、查看nginx编译参数
下载nginx-1.26.1已经编译完成的版本,执行 nginx.exe -V,得到如下结果:
configure arguments: --with-cc=cl --builddir=objs.msvc8 --with-debug --prefix= --conf-path=conf/nginx.conf --pid-path=logs/nginx.pid --http-log-path=logs/access.log --error-log-path=logs/error.log --sbin-path=nginx.exe --http-client-body-temp-path=temp/client_body_temp --http-proxy-temp-path=temp/proxy_temp --http-fastcgi-temp-path=temp/fastcgi_temp --http-scgi-temp-path=temp/scgi_temp --http-uwsgi-temp-path=temp/uwsgi_temp --with-cc-opt=-DFD_SETSIZE=1024 --with-pcre=objs.msvc8/lib/pcre2-10.39 --with-zlib=objs.msvc8/lib/zlib-1.3.1 --with-http_v2_module --with-http_realip_module --with-http_addition_module --with-http_sub_module --with-http_dav_module --with-http_stub_status_module --with-http_flv_module --with-http_mp4_module --with-http_gunzip_module --with-http_gzip_static_module --with-http_auth_request_module --with-http_random_index_module --with-http_secure_link_module --with-http_slice_module --with-mail --with-stream --with-stream_realip_module --with-stream_ssl_preread_module --with-openssl=objs.msvc8/lib/openssl-3.0.13 --with-openssl-opt='no-asm no-tests -D_WIN32_WINNT=0x0501' --with-http_ssl_module --with-mail_ssl_module --with-stream_ssl_module修改部分参数:
--with-pcre=objs/lib/pcre2-10.39 --with-zlib=objs/lib/zlib-1.3.1 --with-openssl=objs/lib/openssl-3.0.13 --add-module=objs/lib/nginx-http-flv-module-1.2.107、configure
运行MSYS2或者MINGW64,进入nginx源码nginx-release-1.26.1中,执行命令:
auto/configure --with-cc=cl --builddir=objs.msvc8 --with-debug --prefix= --conf-path=conf/nginx.conf --pid-path=logs/nginx.pid --http-log-path=logs/access.log --error-log-path=logs/error.log --sbin-path=nginx.exe --http-client-body-temp-path=temp/client_body_temp --http-proxy-temp-path=temp/proxy_temp --http-fastcgi-temp-path=temp/fastcgi_temp --http-scgi-temp-path=temp/scgi_temp --http-uwsgi-temp-path=temp/uwsgi_temp --with-cc-opt=-DFD_SETSIZE=1024 --with-http_v2_module --with-http_realip_module --with-http_addition_module --with-http_sub_module --with-http_dav_module --with-http_stub_status_module --with-http_mp4_module --with-http_gunzip_module --with-http_gzip_static_module --with-http_auth_request_module --with-http_random_index_module --with-http_secure_link_module --with-http_slice_module --with-mail --with-stream --with-stream_realip_module --with-stream_ssl_preread_module --with-openssl-opt='no-asm no-tests -D_WIN32_WINNT=0x0501' --with-http_ssl_module --with-mail_ssl_module --with-stream_ssl_module --with-pcre=objs/lib/pcre2-10.39 --with-zlib=objs/lib/zlib-1.3.1 --with-openssl=objs/lib/openssl-3.0.13 --add-module=objs/lib/nginx-http-flv-module-1.2.10修改objs.msvc8/Makefile,修改第三行:
CFLAGS = -O2 -W4 -WX -nologo -MT -Zi -Fdobjs.msvc8/nginx.pdb -DFD_SETSIZE=1024 -DNO_SYS_TYPES_H去掉-WX,加上-MP
CFLAGS = -O2 -W4 -MP -nologo -MT -Zi -Fdobjs.msvc8/nginx.pdb -DFD_SETSIZE=1024 -DNO_SYS_TYPES_H8、编译
打开Developer Command Prompt for VS 2022,进入nginx源码目录,输入命令:nmake,回车
编译时间需要10-30分钟,结束后,在objs.msvc8下的nginx.exe复制到nginx源码目录下。
新建目录logs、temp、html。
9、安装ffmpeg
下载安装,并将ffmpeg的bin目录设置为环境变量
配置nginx
修改conf/nginx.conf
worker_processes 1;

events {
    worker_connections 1024;
}

http {
    include mime.types;
    default_type application/octet-stream;

    sendfile on;
    keepalive_timeout 65;

    server {
        listen 8553;
        server_name localhost;

        location / {
            root html;
            index index.html index.htm;
        }

        location /live {
            flv_live on;
            chunked_transfer_encoding on;
            add_header 'Access-Control-Allow-Origin' '*';
            add_header 'Access-Control-Allow-Credentials' 'true';
            add_header 'Access-Control-Allow-Methods' '*';
        }

        location /hls {
            add_header 'Access-Control-Allow-Origin' '*';
            types {
                application/vnd.apple.mpegurl m3u8;
                video/mp2t ts;
            }
            alias /test;
            expires -1;
        }

        location /stat {
            rtmp_stat all;
            rtmp_stat_stylesheet stat.xsl;
        }
        #该文件在nginx-http-flv-module目录下
        location /stat.xsl {
            root D:\\nginx-release-1.26.1\\objs\\lib\\nginx-http-flv-module-1.2.10\\;
        }
    }
}

rtmp {
    server {
        listen 1938; #nginx监听的rtmp推流/拉流端口
        application myapp {
            live on; #当推流时,rtmp路径中的app(rtmp中的一个概念)匹配myapp时,开始直播
            meta off;
            gop_cache on;
            allow play all;
            record off;
            hls on;
            hls_path /test;
            hls_fragment 1s;
        }
    }
}
ffmpeg推流(海康摄像头)
ffmpeg -i rtsp://用户名:密码@ip:554/H.264/ch1/main/av_stream -c:v libx264 -an -f
flv rtmp://127.0.0.1:1938/myapp/main
测试
flv.html
<html>
<head>
    <meta content="text/html; charset=utf-8" http-equiv="Content-Type">
    <title>flv.js demo</title>
    <style>
        .mainContainer {
            display: block;
            width: 1024px;
            margin-left: auto;
            margin-right: auto;
        }

        .urlInput {
            display: block;
            width: 100%;
            margin-left: auto;
            margin-right: auto;
            margin-top: 8px;
            margin-bottom: 8px;
        }

        .centeredVideo {
            display: block;
            width: 100%;
            height: 576px;
            margin-left: auto;
            margin-right: auto;
            margin-bottom: auto;
        }

        .controls {
            display: block;
            width: 100%;
            text-align: center;
            margin-left: auto;
            margin-right: auto;
        }
    </style>
</head>

<body>

<p class="mainContainer">
    <video name="videoElement" id="videoElement" class="centeredVideo" controls muted autoplay width="1024"
           height="576">
        Your browser is too old which doesn't support HTML5 video.
    </video>
</p>

<script src="flv.min.js"></script>

<script>

    function start() {
        if (flvjs.isSupported()) {
            var videoElement = document.getElementById('videoElement');
            var flvPlayer = flvjs.createPlayer({
                type: 'flv',
				url: 'http://ip:8553/live?port=1938&app=myapp&stream=main'
            });
            flvPlayer.attachMediaElement(videoElement);
            flvPlayer.load();
            flvPlayer.play();
        }
    }

    document.addEventListener('DOMContentLoaded', function () {
        start();
    });
</script>
</body>

</html>
flv.min.js 下载地址: http://flv.jnyzh.cn/flv.min.js
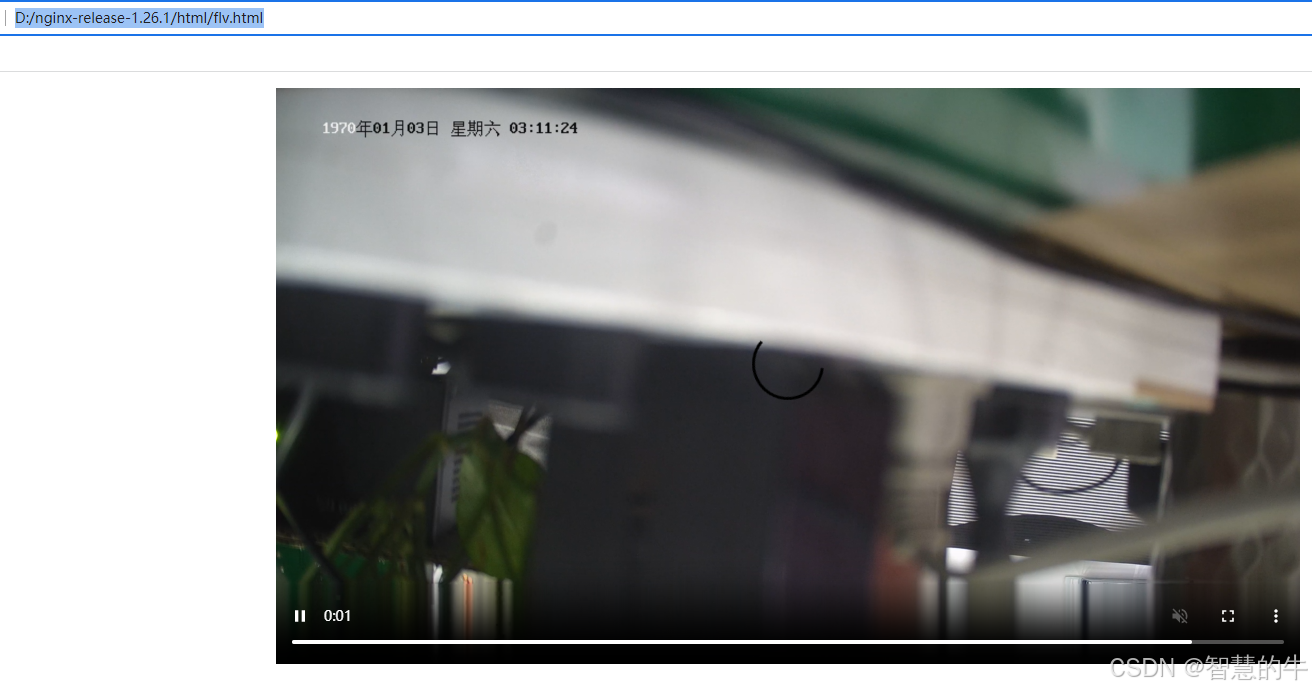
效果如下:


 1万+
1万+

 被折叠的 条评论
为什么被折叠?
被折叠的 条评论
为什么被折叠?
 到【灌水乐园】发言


