


写在前面的话
虽然Android中有原生ActionBar和ToolBar,但是在项目中用的比较少,还是以自定义为主,文字在中间,两边是小按钮的样式,以前项目中总是写一个布局文件然后include都每一个的布局中,在BaseActivity中初始化。一直想着将其封装成一个控件方便复用,现在快过年,闲着没事,就做了这样一个控件,应该能够满足日常需求!
实现
1.在values目录下创建attrs.xml文件:
<?xml version="1.0" encoding="utf-8"?>
<resources>
    <!-- TopTitleBar -->
    <declare-styleable name="TopBar">
        <attr name="leftSrc" format="reference"></attr>
        <attr name="centerText" format="string"></attr>
        <attr name="rightSrc" format="reference"></attr>

        <attr name="warnSrc" format="reference"></attr>

        <attr name="isShowWarn" format="boolean"></attr>
        <attr name="isShowLeft" format="boolean"></attr>
        <attr name="isShowRight" format="boolean"></attr>

        <attr name="isBack" format="boolean"></attr>

        <attr name="centerTextSize" format="dimension"></attr>
        <attr name="centerTextColor" format="color"></attr>
    </declare-styleable>
</resources>
可根据自己的需求可随意添加或删除;
在TopBar的左上角经常会学iOS放一个返回的按钮,实现也只是使用finish()将页面回收,很简单,上面的isBack就是为了要判断是不是返回,如果是返回就直接在控件里实现,后来发现没有很好的方法能拿到当前的页面,所以就没有实现关于isBack的方法,后面有好的方法在实现!
2.继承自RelativeLayout,因为我的布局文件的根布局用到RelativeLayout,所以继承RelativeLayout。在构造方法中利用TypedArray获取相应值:
public TopBar(Context context, AttributeSet attrs, int defStyle) {
        super(context, attrs, defStyle);

        this.mContext = context;

        TypedArray ta = context.obtainStyledAttributes(attrs, R.styleable.TopBar);

        leftSrc = ta.getResourceId(R.styleable.TopBar_leftSrc, R.mipmap.ic_launcher);
        centerText = ta.getString(R.styleable.TopBar_centerText);
        rightSrc = ta.getResourceId(R.styleable.TopBar_rightSrc, R.mipmap.ic_launcher);
        warnSrc = ta.getResourceId(R.styleable.TopBar_warnSrc, R.mipmap.topbar_warn_dot);
        isShowWarn = ta.getBoolean(R.styleable.TopBar_isShowWarn, false);
        isShowLeft = ta.getBoolean(R.styleable.TopBar_isShowLeft, false);
        isShowRight = ta.getBoolean(R.styleable.TopBar_isShowRight, false);
        isBack = ta.getBoolean(R.styleable.TopBar_isBack, false);

        centerTextSize = ta.getDimension(R.styleable.TopBar_centerTextSize, DisplayUtil.dip2px(mContext, 20));
        centerTextColor = ta.getColor(R.styleable.TopBar_centerTextColor, getResources().getColor(android.R.color.white));

        ta.recycle();

        initContentView();
        initView();
        // 初始化监听
        initListener();
    }
3.初始化相关数据,根据设置的值,显示相应的元素:
private void initContentView() {
        mView = View.inflate(mContext, R.layout.view_top_bar, this);
        ButterKnife.bind(this);
    }

    // 初始化页面,根据设置项显示
    private void initView() {
        // 标题
        mTitleTv.setTextSize(centerTextSize);
        mTitleTv.setTextColor(centerTextColor);
        mTitleTv.setText(centerText);
        // 是否显示左边图标
        if (isShowLeft) {
            mLeftIv.setVisibility(View.VISIBLE);
            mLeftIv.setImageResource(leftSrc);
        } else {
            mLeftIv.setVisibility(View.INVISIBLE);
        }
        // 是否显示右边图标
        if (isShowRight) {
            mRightIv.setVisibility(View.VISIBLE);
            mRightIv.setImageResource(rightSrc);
        } else {
            mRightIv.setVisibility(View.INVISIBLE);
        }

        showWarn();
    }

    //是否显示提醒
    private void showWarn() {
        if (isShowWarn) {
            mWarn.setImageResource(warnSrc);
            mWarn.setVisibility(View.VISIBLE);
        } else {
            mWarn.setVisibility(View.INVISIBLE);
        }
    }
4.实现点击回调:
为什么要用回调?
因为用户点击左右两边的小图标时,并不知道用户的具体操作,具体要实现什么样的需求,所以我们提供回调接口供用户使用!
在之前的 Android 带输入框圆角Dialog–EditDialog,Android 循环广告位轮播图的封装实现 中也用到了回调,不过并没有做说明,回调代码实现都是差不多的,模仿Android的click点击事件的回调写法!
1> 定义接口,定义方法:
interface OnTopBarClickListener {
    void onTopBarRightClick(View v);
    void onTopBarLeftClick(View v);
}
这里为什么要会传入View参数在后面会说明!
2> 设置对象调用的入口,一般将上面的接口当做参数:
private OnTopBarClickListener listener;

public void setOnTopBarClickListener(OnTopBarClickListener listener) {
    this.listener = listener;
}
3> 在onClick方法实现:
// 初始化监听
private void initListener() {
    mLeftIv.setOnClickListener(this);
    mRightIv.setOnClickListener(this);
}

@Override
public void onClick(View v) {
    switch (v.getId()) {
    case R.id.iv_top_bar_left: // 左边按钮
        if (listener != null) {
            listener.onTopBarLeftClick(v);
        }
        break;

    case R.id.iv_top_bar_right:
        if (listener != null) {
            listener.onTopBarRightClick(v);
        }
        break;
    }
}
通过上面的步骤就完成一次简单的回调操作,当然使用不自己写回调,直接在onClick()方法中用EventBus直接post出去也是可以,不过这种简单的回调没有必要!
为什么接口的方法中要会传入View参数?
最开始在实现的时候是没有传入参数,这样也能实现没有问题。在改原来使用include xml文件到布局的时,发现需要把在Activity和Fragment中的onClick()方法的实现全部在拿出来放到TopBar回调的方法中,这样做比较麻烦,这样只需要在回调方法中调用之前的onClick(v)方法即可,其他均不用动!具体的可以看用法!
用法
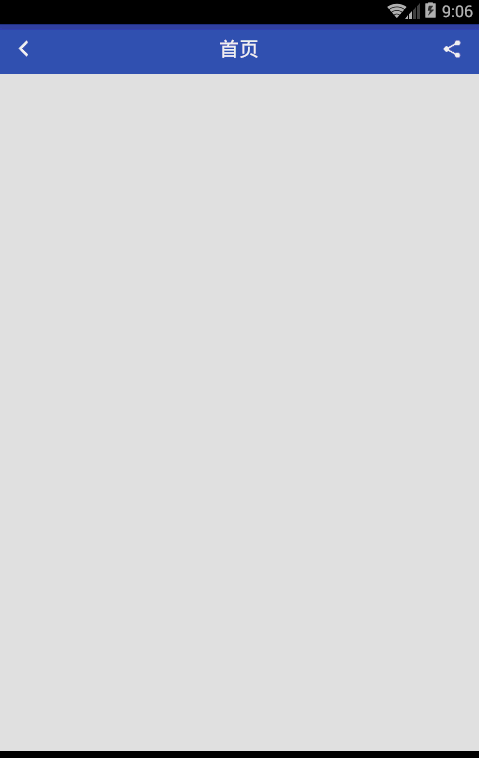
在布局文件中直接使用,左边要显示的图片,右边要显示的图片都可以直接设置:
<?xml version="1.0" encoding="utf-8"?>
<RelativeLayout xmlns:android="http://schemas.android.com/apk/res/android"
    xmlns:tools="http://schemas.android.com/tools"
    xmlns:g="http://schemas.android.com/apk/res-auto"
    android:layout_width="match_parent"
    android:layout_height="match_parent"
    tools:context="com.gyw.topbar.MainActivity">

    <com.gyw.topbar.TopBar
        android:id="@+id/topbar"
        android:layout_width="match_parent"
        android:layout_height="wrap_content"
        android:background="@color/colorPrimary"
        g:rightSrc="@drawable/topbar_share_selector"
        g:isShowRight="true"
        g:leftSrc="@drawable/topbar_back_selector"
        g:isShowLeft="true"
        g:centerText="首页"/>
</RelativeLayout>
在Activity或者Fragment的方法中通过对象调用方法:
        mTopBar.setOnTopBarClickListener(new TopBar.OnTopBarClickListener() {
            @Override
            public void onTopBarRightClick(View v) {
                Toast.makeText(MainActivity.this, "点击右边分享", Toast.LENGTH_SHORT).show();
                // onClick(v);
            }

            @Override
            public void onTopBarLeftClick(View v) {
                Toast.makeText(MainActivity.this, "点击左边返回", Toast.LENGTH_SHORT).show();
                // onClick(v);
            }
        });
不足: 这里只是使用了布局文件实例化控件,没有对外提供使用new创建对象的方法!
效果
源码
祝:
新年快乐!


 507
507

 被折叠的 条评论
为什么被折叠?
被折叠的 条评论
为什么被折叠?
 到【灌水乐园】发言


