


Xplico可以在pcap文件中提取邮件内容(通过POP,IMAP,SMTP协议),所有的HTTP内容,每个VoIP的访问(SIP),FTP,TFTP等等,但是Xplico不是一个网络协议分析工具。Xplico是一个开源的网络取证分析工具(NFAT)
特征
- Protocols supported: HTTP, SIP, IMAP, POP, SMTP, TCP, UDP, IPv6, …;
- Port Independent Protocol Identification (PIPI) for each application protocol;
- Multithreading;
- Output data and information in SQLite database or Mysql database and/or files;
- At each data reassembled by Xplico is associated a XML file that uniquely identifies the flows and the pcap containing the data reassembled;
- Realtime elaboration (depends on the number of flows, the types of protocols and by the performance of computer -RAM, CPU, HD access time, …-);
- TCP reassembly with ACK verification for any packet or soft ACK verification;
- Reverse DNS lookup from DNS packages contained in the inputs files (pcap), not from external DNS server;
- No size limit on data entry or the number of files entrance (the only limit is HD size);
- IPv4 and IPv6 support;
- Modularity. Each Xplico component is modular. The input interface, the protocol decoder (Dissector) and the output interface (dispatcher) are all modules;
- The ability to easily create any kind of dispatcher with which to organize the data extracted in the most appropriate and useful to you;
官网地址:http://www.xplico.org
github地址:https://github.com/xplico/xplico
官网上给出的编译安装是在Ubuntu上,由于工作上是在CentOS上用到, 所以记录一下再CentOS7 上的安装过程。
系统: CentOS 7 x86_64 Minimal 1511
准备工作
1、替换更新源为国内163的更新源,下载速度快些
2、安装扩展源
yum install epel-release3、生成缓存
    yum clean all
    yum makecache
安装开发包以及依赖库
yum groupinstall “Development Tools”
yum install tcpdump httpd php php-mysql sqlite sqlite-devel libzip-devel recode sox php-gd php-xml php-mbstring php-ldap php-pear php-xmlrpc mysql-connector-odbc libdbi-dbd-mysql httpd-manual mod_ssl mod_perl mod_auth_mysql libXt libXt-devel libX11-devel libX11 json-c-devel json-c libnet libnet-devel libXext libXext-devel  postgresql-devel psmisc
安装python3
源码安装:
下载python3最新源码
./configure
make
make install
cd /usr/local/bin
ln –s python3 python
ln –s python3-config python-config
安装python-pip
yum install python-pip
#升级
yum install --upgrade pip

#后面需要python的什么模块,通过pip安装:
pip install psycopg2
pip install httplib2
安装mysql
#下载安装
wget http://dev.mysql.com/get/mysql-community-release-el7-5.noarch.rpm
rpm –ivh mysql-community-release-el7-5.noarch.rpm
yum install mysql-community-server mysql-community-client mysql-community-libs
mysql-community-devel

#基本配置
mysql_secure_installation
#根据提示,进行配置

#设置开机自启动
chkconfig mysql on
安装apache
yum install httpd
#开机自启动
chkconfig httpd on
编译安装xplico
mkdir xbuild
cd xbuild

#下载xplico最新源码
git clone https://github.com/xplico/xplico.git

#下载ghostpdl-9.10
wget http://downloads.ghostscript.com/public/ghostpdl-9.10.tar.gz
tar –zxf ghostpdl-9.10.tar.gz
cd ghostpdl-9.10
./configure
make
cd ..
cp ghostpdl-9.10/main/obj/pcl6 xplico
rm –rf ghostpdl-9.10

#下载libpcap-1.8.1
wget http://www.tcpdump.org/release/libpcap-1.8.1.tar.gz
tar –zxf libpcap-1.8.1.tar.gz
cd libpcap-1.8.1
./configure
make
make install
cd ..

#下载videosnarf-0.63
wget http://downloads.sourceforge.net/project/ucsniff/videosnarf/videosnarf-0.63.tar.gz
tar –zxf videosnarf-0.63.tar.gz
cd videosnarf-0.63
./configure
make
cd ..
cp videosnarf-0.63/src/videosnarf xplico

#下载nDPI-1.7-stable
https://github.com/ntop/nDPI
unzip nDPI-1.7-stable.zip
mv nDPI-1.7-stable nDPI
cd nDPI
libtoolize
./autogen.sh
./configure
make
cd ..

#编译安装xplico
make DISABLE_GEOIP =1 LOCAL_NDPI =1

#默认安装在/opt/xplico目录
make install
配置
web配置
cp /opt/xplico/cfg/apache_xi /etc/httpd/conf.d/xplico.conf
service sshd restart
数据库配置
xplico输出支持多种数据库, 现在实现的数据库模块有sqlite、mysql和postgresql, 默认采用的sqlite数据库。我这里配置采用的是mysql数据库。
    #连接数据库配置路径
    /opt/xplico/xi/app/config/database.php

    var $default = array('driver' => 'mysql',
                         'host' => 'localhost',
                         'login' => 'xplico',
                         'password' => 'xplico',
                         'persistent' => false,
                         'database' => 'xplico',
                         'prefix' => '');

    #初始化数据库
    cd /opt/xplico/script/db/mysql
    ./create_xplico_db.sh root xplico   #root 为mysql数据库root密码, xplico为新建数据库用户的密码

    #然后,修改xplico运行需要的配置文件:
    cd /opt/xplico/cfg
    mv dema.cfg dema_lite.cfg
    mv dema_my.cfg dema.cfg

    vi dema.cfg

    DB_TYPE=mysql
    DB_HOST=localhost
    DB_NAME=xplico
    DB_USER=xplico
    DB_PASSWORD=xplico

    将mfbc_install_lite.cfg、mfile_install_lite.cfg、mpaltalk_install_lite.cfg、
    mwebymsg_install_lite.cfg、mwmail_install_lite.cfg、xplico_install_lite.cfg
    各自复制一份对应mysql数据库的配置文件,将lite换位mysql,然后修改配置文件中的配置:

    注释#DISPATCH=disp_lite.so
    打开DISPATCH=disp_mysql.so

    #最后
    cd /opt/xplico/script/
    cp sqlite_demo.sh mysql_demo.sh
    vi mysql_demo.sh
    修改最后一行,sqlite改为mysql
    (cd /opt/xplico/bin; ./dema -d /opt/xplico -b mysql) &
运行
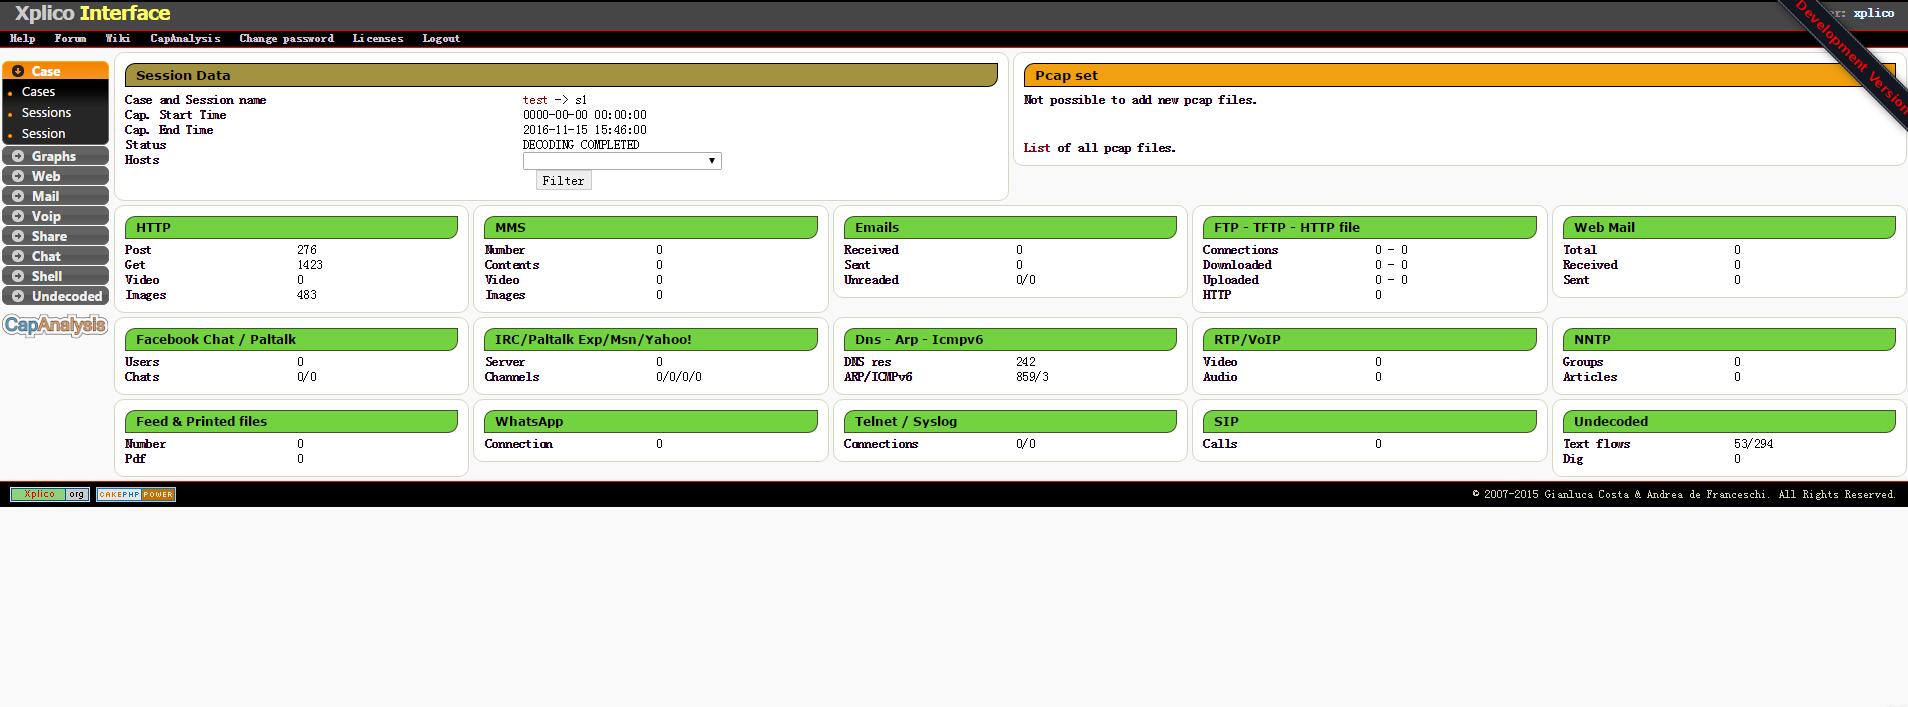
./mysql_demo.shweb界面


 442
442

 被折叠的 条评论
为什么被折叠?
被折叠的 条评论
为什么被折叠?
 到【灌水乐园】发言


