


在经历过无数次的错误实验之后,我终于基本搞懂了RN的开发环境搭建,不得不说,坑实在太多,比如 RN的版本和 Node的版本不适配问题,ReactNative 的导航组件 react-navigation 不同版本和 React Native 版本不适配的问题,不同第三方的依赖包和React Native 版本不适配问题,等等实在太多了。
下面只讲两种版本的,一种是 RN 0.60.0 版本,一种是 RN 0.67.1 版本,其他更高版本在等到其他时间补充,这里先留个坑。
1. 先说下基本的搭建环境
1.1 Java 环境,自己可以搜索资料进行安装和环境变量设置
1.2 Android Studio 安装 和 下载不同版本的SDK,这里搞Android 的基本都懂
1.3 下载 NVM 进行多个版本的 Nodejs 的环境管理,具体查看 Windows NVM管理多版本NodeJS
1.4 下载 Geneymotion 模拟器,下载 Android 9.0 模拟器,其他版本也可以
1.5 以上的环境设置完成之后,就可以开始正式的RN环境搭建
2. 不同的版本的NodeJs 和 React Native 的版本关系
React Native 中文网 · 使用React来编写原生应用的框架
官方推荐的是 注意 Node 的版本应大于等于 14,安装完 Node 后建议设置 npm 镜像(淘宝源)以加速后面的过程(或使用科学上网工具)。
高版本Android Studio打开低版本创建的安卓项目报错:Invalid keystore format
构建项目报错:Failed to read key AndroidDebugKey from store "C:\Users\Administrator\.android\debug.keystore": Invalid keystore format,读取安卓调试密钥失败。高版本Android Studio打开低版本创建的安卓项目报错:Invalid keystore format-pudn.com
2.1 先检查下环境
检查 node 环境
C:\Users\PCWin10>node -v
v16.10.0

C:\Users\PCWin10>npm -v
7.24.0
利用 nvm list 查看当前使用的 node 版本
C:\Users\PCWin10>nvm list

  * 16.10.0 (Currently using 64-bit executable)
    12.18.0
    12.2.0
检查下 react-native cli 命令行版本
C:\Users\PCWin10>react-native -v
react-native-cli: 2.0.1
react-native: n/a - not inside a React Native project directory
如果没有安装,则执行下面命令
C:\Users\PCWin10>npm install -g react-native-cli命令行安装完成之后,就可以准备开始初始化 React Native 项目。
2.2 创建 React Native 项目
C:\Users\PCWin10>cd e:
E:\
C:\Users\PCWin10>e:
E:\>dir
 驱动器 E 中的卷是 文档
 卷的序列号是 65F3-3762

 E:\ 的目录

2022/09/12  11:47    <DIR>          360Downloads
2022/09/16  10:29    <DIR>          360驱动大师目录
2022/10/20  09:23    <DIR>          BaiduNetdiskDownload
2022/09/26  10:09    <DIR>          c语言项目源码大全
2022/09/12  11:39    <DIR>          QMDownload
2022/10/20  10:27    <DIR>          ReactDemo
2022/10/19  22:41    <DIR>          ReactLove
2022/10/18  20:08         6,346,956 UNIX环境高级编程中文版.pdf
2022/10/18  18:11    <DIR>          WebFrontEnd
2022/09/26  08:57    <DIR>          良许嵌入式
               1 个文件      6,346,956 字节
               9 个目录 24,428,068,864 可用字节
以上是切换到 e 盘目录下的操作。
E:\ReactDemo>npx react-native init rnHello_060 --version 0.60.0进入到 rnHello_060 项目根目录,发现有如下目录和文件:
E:\ReactDemo\rnHello_060>dir
 驱动器 E 中的卷是 文档
 卷的序列号是 65F3-3762

 E:\ReactDemo\rnHello_060 的目录

2022/10/20  10:30    <DIR>          .
2022/10/20  10:30    <DIR>          ..
2022/10/20  10:30               114 .buckconfig
2022/10/20  10:30                74 .eslintrc.js
2022/10/20  10:30             3,234 .flowconfig
2022/10/20  10:30                16 .gitattributes
2022/10/20  10:30               817 .gitignore
2022/10/20  10:30                 2 .watchmanconfig
2022/10/20  10:30    <DIR>          android
2022/10/20  10:30             2,400 App.js
2022/10/20  10:30                59 app.json
2022/10/20  10:30                77 babel.config.js
2022/10/20  10:30               183 index.js
2022/10/20  10:30    <DIR>          ios
2022/10/20  10:30               300 metro.config.js
2022/10/20  10:30    <DIR>          node_modules
2022/10/20  10:30           786,431 package-lock.json
2022/10/20  10:30               592 package.json
2022/10/20  10:30    <DIR>          __tests__
              13 个文件        794,299 字节
               6 个目录 24,217,710,592 可用字节
首先不要不要着急运行,先修改几个文件,这样才能顺利运行,否则就会一步踩到坑,直接运行会报错,不要问为什么,因为我犯过错。
首先修改 babel.config.js 文件,内容如下:
module.exports = {
  presets: [[
    'module:metro-react-native-babel-preset',{
      unstable_disableES6Transforms: true
    }
  ]],
};
第二步,修改 package.json 文件
{
  "name": "rnHello_060",
  "version": "0.0.1",
  "private": true,
  "scripts": {
    "start": "react-native start",
    "test": "jest",
    "lint": "eslint ."
  },
  "dependencies": {
    "react": "16.8.6",
    "react-native": "0.60.0"
  },
  "devDependencies": {
    "@babel/core": "7.19.3",
    "@babel/runtime": "7.19.4",
    "@react-native-community/eslint-config": "0.0.3",
    "babel-jest": "24.9.0",
    "eslint": "5.16.0",
    "jest": "24.9.0",
    "metro-react-native-babel-preset": "0.59.0",
    "react-test-renderer": "16.8.6"
  },
  "resolutions": {
    "@babel/traverse": "7.16.7"
  },
  "jest": {
    "preset": "react-native"
  }
}
第三步,修改 node_modules\metro-config\src\defaults 目录下的 blacklist.js 文件内容
var sharedBlacklist = [
  /node_modules[\/\\]react[\/\\]dist[\/\\].*/,
  /website\/node_modules\/.*/,
  /heapCapture\/bundle\.js/,
  /.*\/__tests__\/.*/
];
第四步,打开模拟器,在项目根目录下 执行 react-native run-android
E:\ReactDemo\rnHello_060>react-native run-android然后,就可以看到运行的项目:
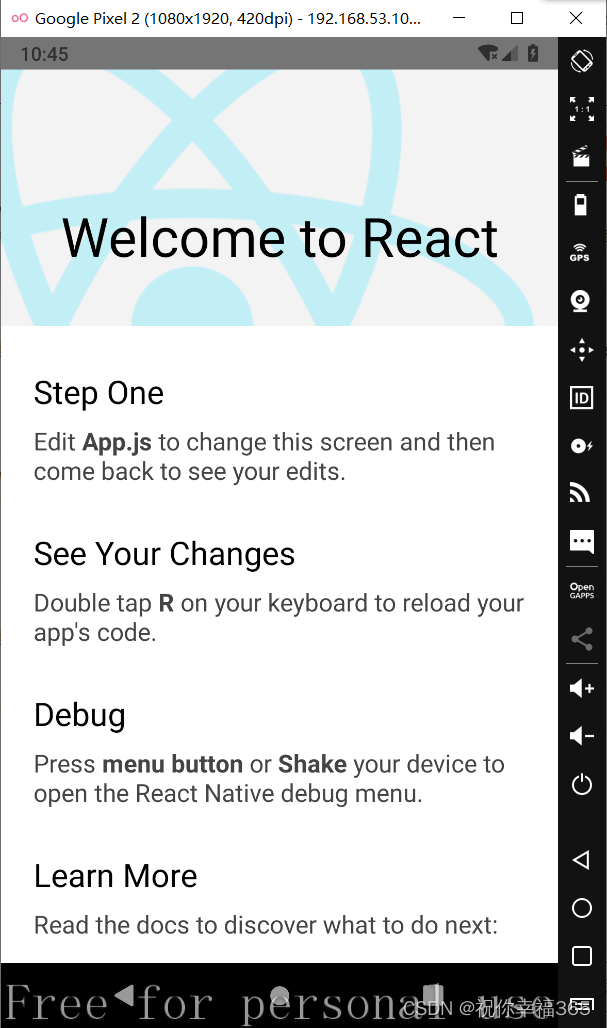
可以修改 App.js 文件中的内容,然后 键入两次 R 键就可以更新页面上的内容。
如果你使用的是 Android Studio 自带的模拟器,那么会因为没有菜单键而苦恼,可以尝试下面的方法:由于 windows 上 ctrl+m 快捷键不好使,所以使用下面的命令行来启动 debug。
C:\Users\PCWin10>adb shell input keyevent 82第五步,查看下当前项目的版本:
E:\ReactDemo\rnHello_060>react-native -v
react-native-cli: 2.0.1
react-native: 0.60.0
可以发现当前的 react-native 版本是 0.60.0。
第六步,安装导航组件 react-navigation。
不同版本的react-navigation 有不同的版本要求,比如 6.x 版本需要更新的RN版本
react-native>= 0.63.0
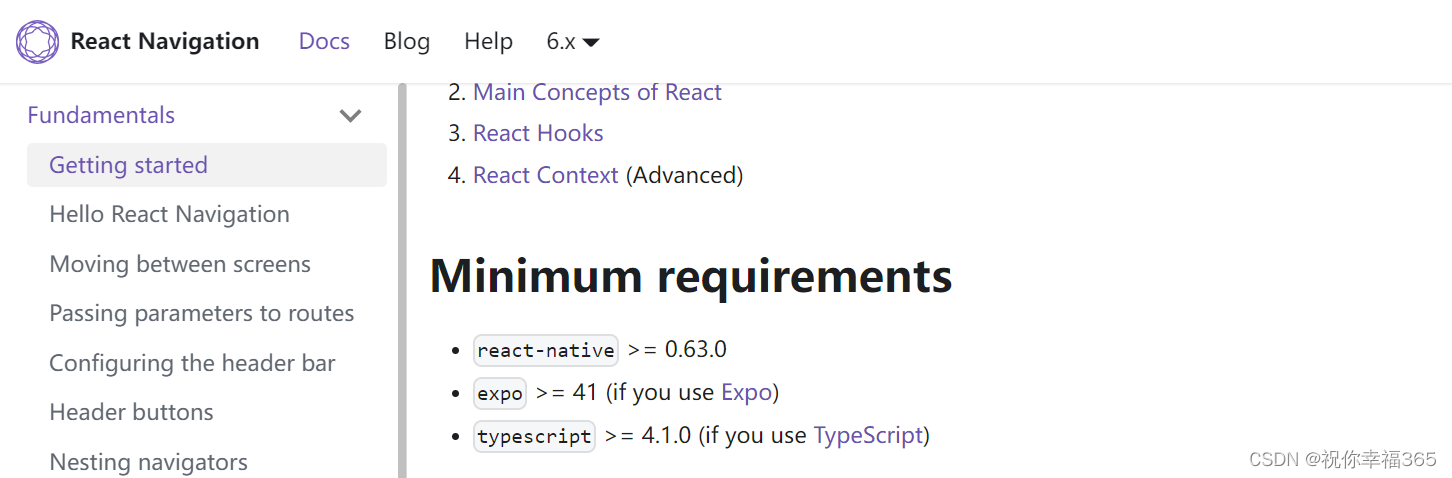
我们这里使用的是 3.x 版本,相应的网上资料也比较多,方便学习和入门。
E:\ReactDemo\rnHello_060>npm install --save react-navigation@3.10.1安装完成之后,因为 react-navigation 依赖 react-native-gesture ,因此需要安装此依赖包,命令如下:
E:\ReactDemo\rnHello_060>npm install --save react-native-gesture-handler@1.10.3如果不安装此依赖,在抽屉导航的时候,就无法正常拉出左侧的抽屉布局。
安装完成之后,还需要修改 android 目录下的 MainActivity 的内容,否则也是无法正常使用的,内容如下:
package com.rnhello_060;

import com.facebook.react.ReactActivity;
import com.facebook.react.ReactActivityDelegate;
import com.facebook.react.ReactRootView;
import com.swmansion.gesturehandler.react.RNGestureHandlerEnabledRootView;

public class MainActivity extends ReactActivity {

    /**
     * Returns the name of the main component registered from JavaScript.
     * This is used to schedule rendering of the component.
     */
    @Override
    protected String getMainComponentName() {
        return "rnHello_060";
    }

     @Override
     protected ReactActivityDelegate createReactActivityDelegate() {
        return new ReactActivityDelegate(this, getMainComponentName()){
              @Override
              protected ReactRootView createRootView() {
                  return new RNGestureHandlerEnabledRootView(MainActivity.this);
              }
        };
     }
}
最后,看下package.json 内容:
{
  "name": "rnHello_060",
  "version": "0.0.1",
  "private": true,
  "scripts": {
    "start": "react-native start",
    "test": "jest",
    "lint": "eslint ."
  },
  "dependencies": {
    "react": "16.8.6",
    "react-native": "0.60.0",
    "react-native-gesture-handler": "^1.10.3",
    "react-navigation": "^3.10.1"
  },
  "devDependencies": {
    "@babel/core": "7.19.3",
    "@babel/runtime": "7.19.4",
    "@react-native-community/eslint-config": "0.0.3",
    "babel-jest": "24.9.0",
    "eslint": "5.16.0",
    "jest": "24.9.0",
    "metro-react-native-babel-preset": "0.59.0",
    "react-test-renderer": "16.8.6"
  },
  "resolutions": {
    "@babel/traverse": "7.16.7"
  },
  "jest": {
    "preset": "react-native"
  }
}
再次执行 react-native run-android, 确认下安装的依赖包是否正确,最后确定没有问题。
E:\ReactDemo\rnHello_060>react-native run-android安装 React Native 0.67.1 版本
E:\ReactDemo>npx react-native init rnHello_067 --version 0.67.1运行项目
E:\ReactDemo\rnHello_067>react-native run-android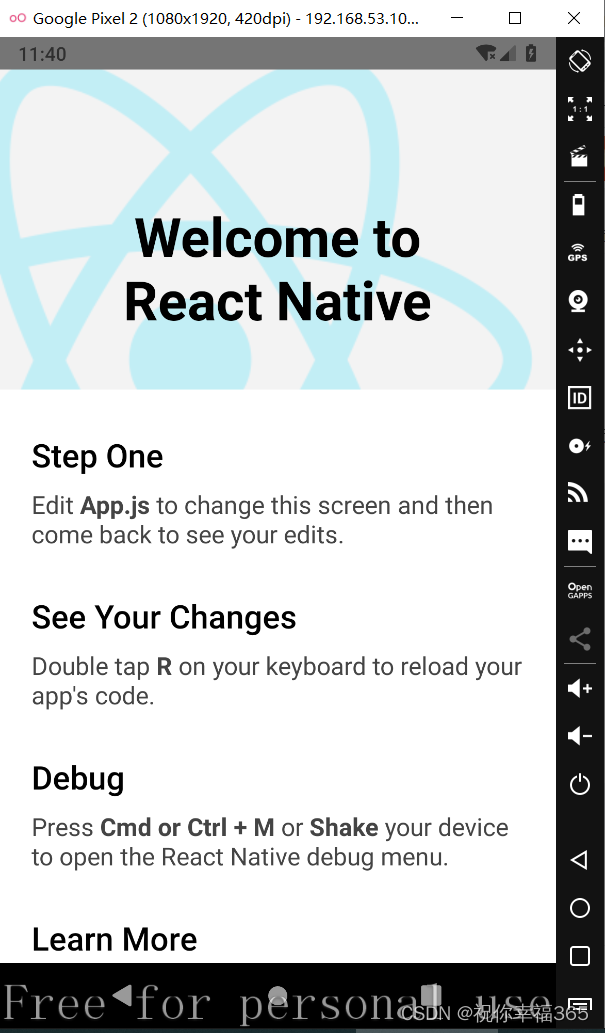
查看 package.json 文件
{
  "name": "rnHello_067",
  "version": "0.0.1",
  "private": true,
  "scripts": {
    "android": "react-native run-android",
    "ios": "react-native run-ios",
    "start": "react-native start",
    "test": "jest",
    "lint": "eslint ."
  },
  "dependencies": {
    "react": "17.0.2",
    "react-native": "0.67.1"
  },
  "devDependencies": {
    "@babel/core": "7.19.3",
    "@babel/runtime": "7.19.4",
    "@react-native-community/eslint-config": "2.0.0",
    "babel-jest": "26.6.3",
    "eslint": "7.14.0",
    "jest": "26.6.3",
    "metro-react-native-babel-preset": "0.66.2",
    "react-test-renderer": "17.0.2"
  },
  "jest": {
    "preset": "react-native"
  }
}
E:\ReactDemo\rnHello_067>react-native -v
react-native-cli: 2.0.1
react-native: 0.67.1
关于调试问题:
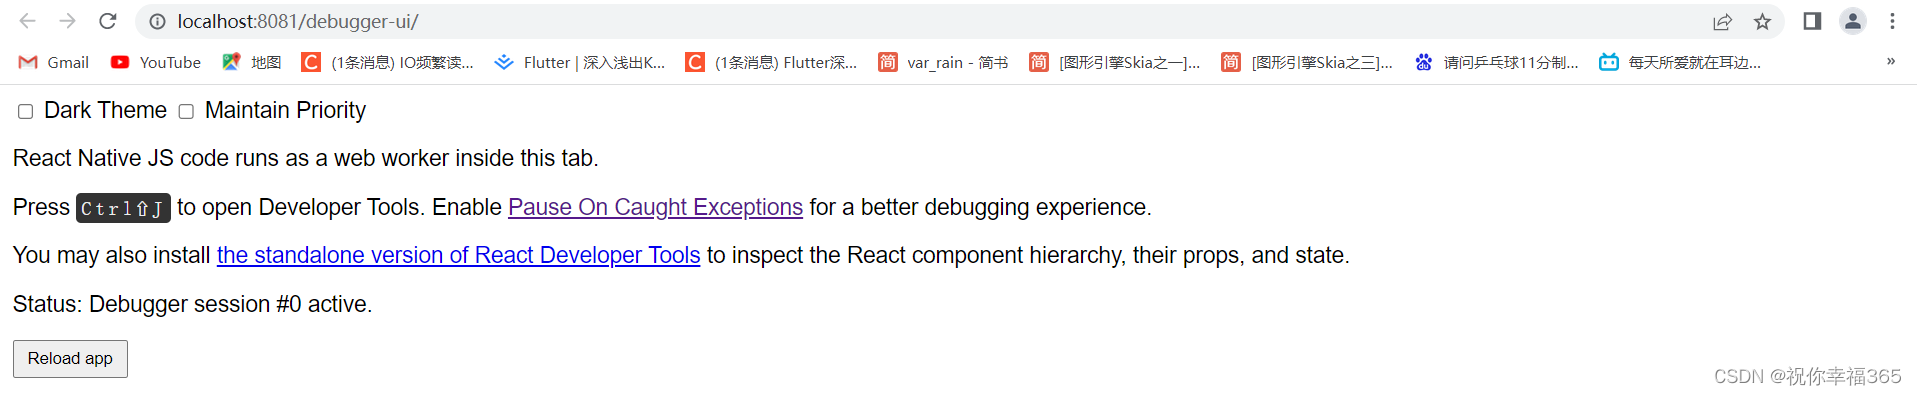
1. 首先打开调试对话框,点击模拟器的菜单按钮,就会弹出如下对话框
2. 选择 Debug JS remotely
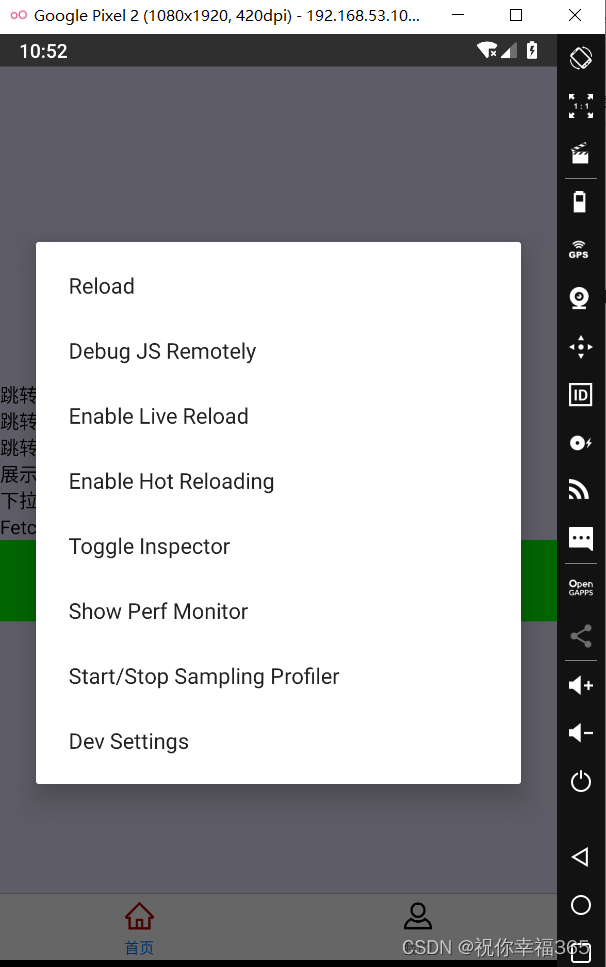
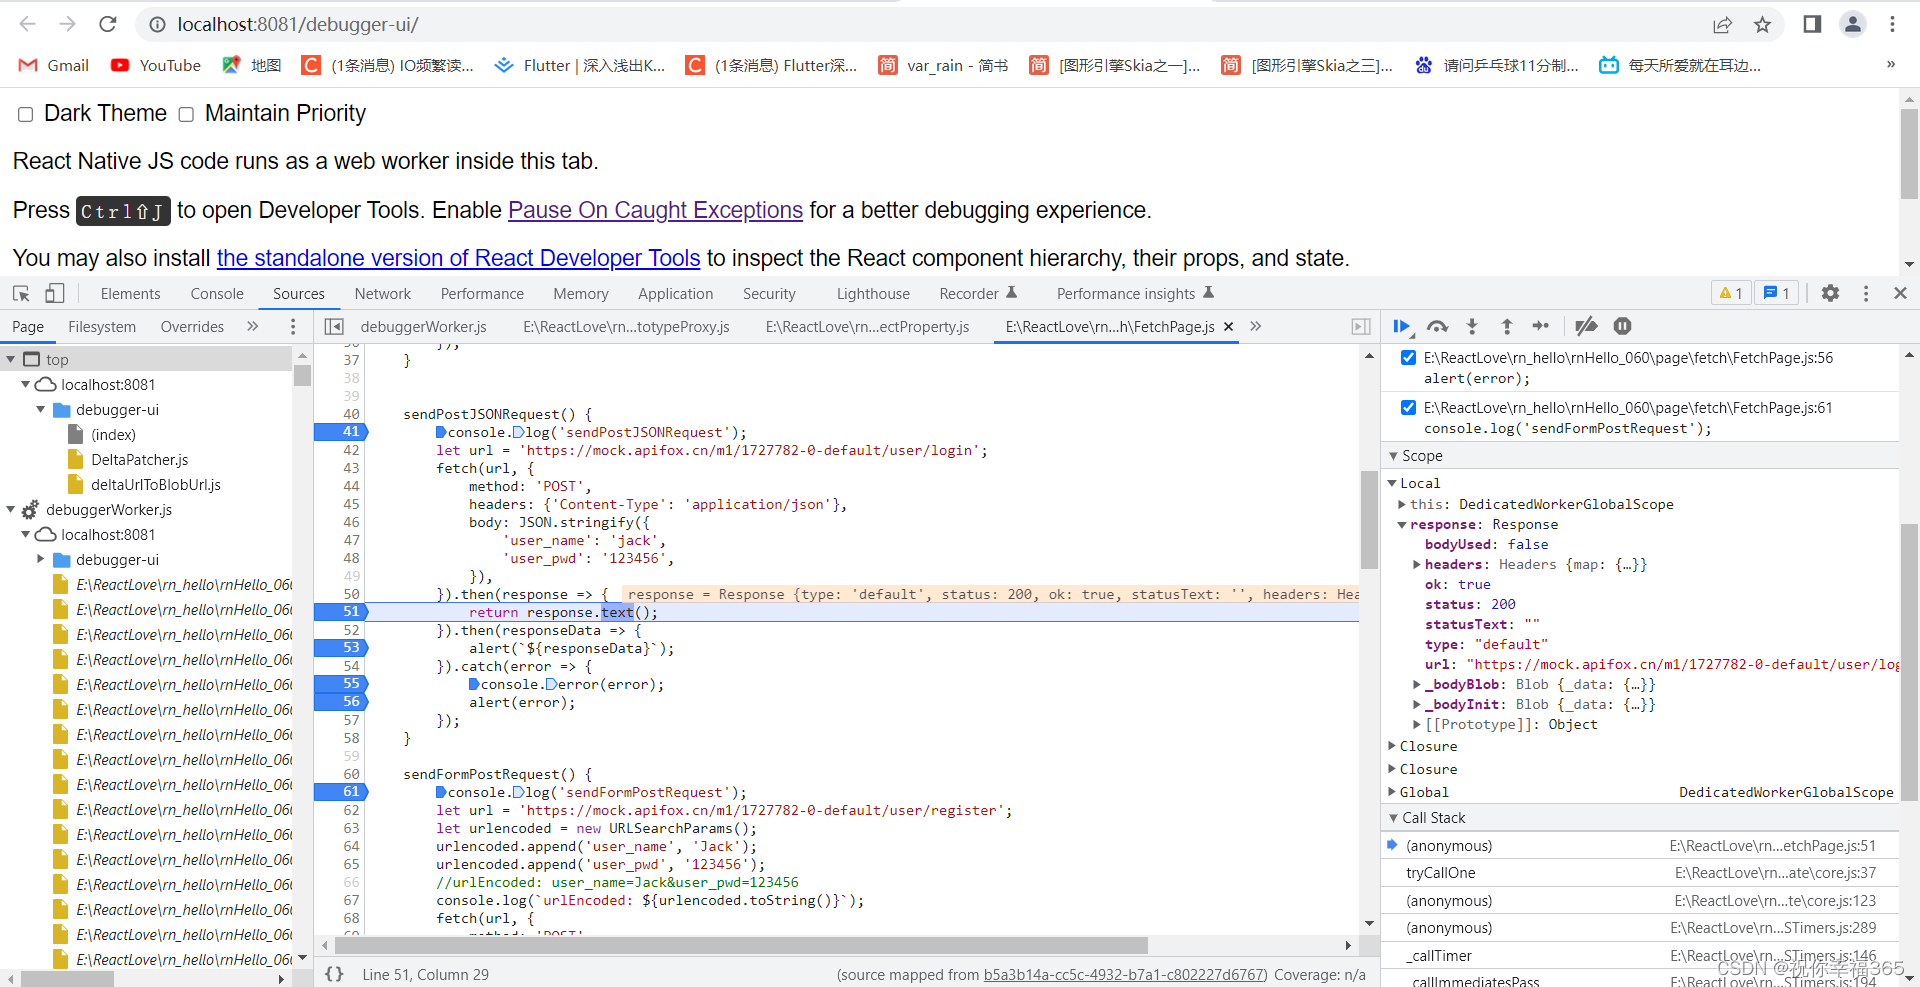
3. 在自动弹出浏览器页面之后,按住 CTRL+SHIFT+I 键,弹出开发者工具
4. 在source 中选择 debuggerWorker.js ,然后查找要debug的文件,然后下断点,然后开始debug
5. 结束远程 Debug,再次点击模拟器的菜单键,弹出对话框,选择 Stop Remote JS Debugging

参考:


 1076
1076


 被折叠的 条评论
为什么被折叠?
被折叠的 条评论
为什么被折叠?
 到【灌水乐园】发言


