


经过两天的时间折腾了redmine软件在Windows7下的安装,也是结合了许多cdsn前辈们的安装经验 自己总结了一下
一:.准备安装文件
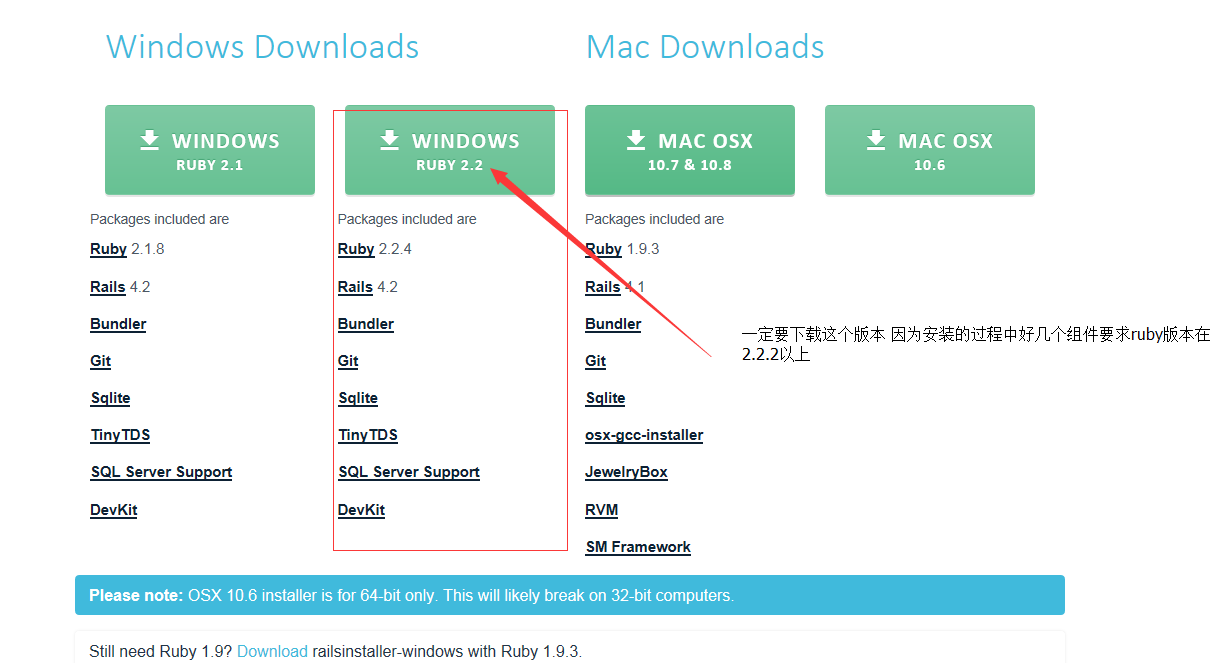
1.railsinstaller-3.2.0.exe 下载地址 http://railsinstaller.org/en 点击打开链接
安装railsinstaller 一直点next就可以了,安装完成之后C盘会生成一个Sites的文件夹
2.redmine-3.3.1 http://www.redmine.org/projects/redmine/wiki/Download/
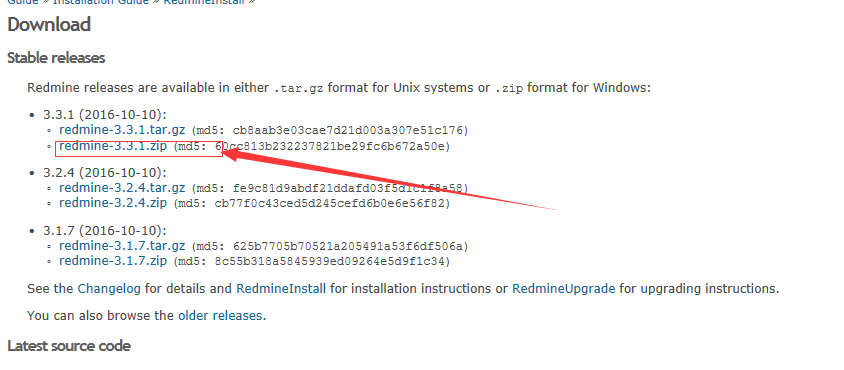
下载完成之后解压缩redmine-3.3.1 把解压后的文档放到C盘中的Sites文件夹中
3.准备mysql 也可以使用xampp中的mysql也是可以的 本文中使用的是mysql安装。mysql安装在这里就不过多介绍了,网上有好多资料可以借鉴
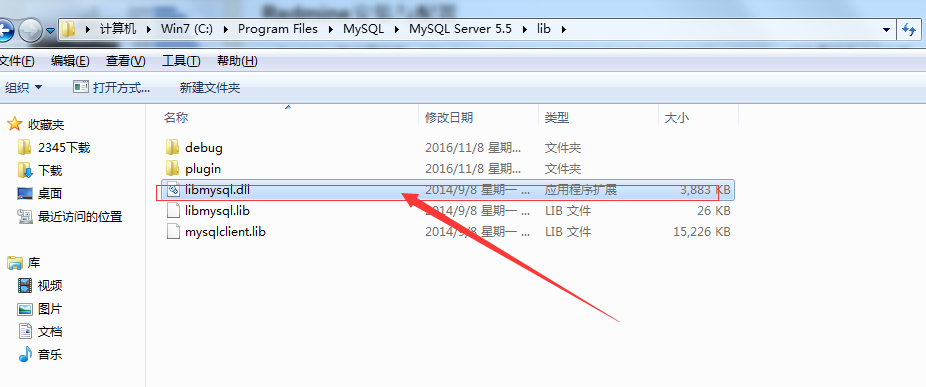
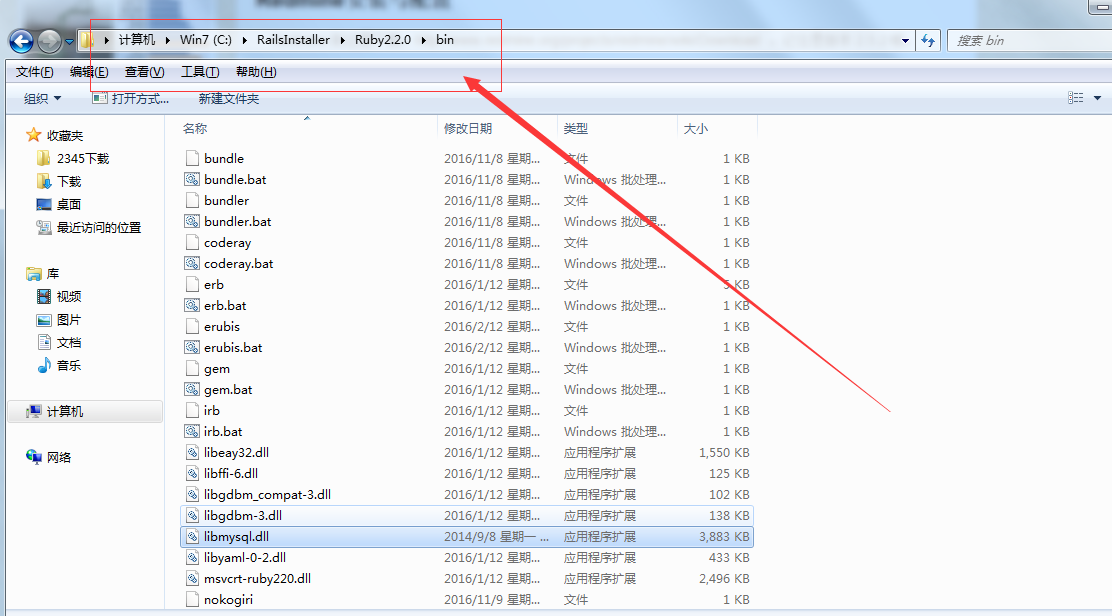
把mysql中lib下的libmysql.dll复制到 RailsInstaller下ruby2.2.0的bin文件中去
4.这三个准备文件安装完成之后开始
4.1.打开刚才安装的mysql 在mysql的命令行中输入以下
create database redmine character set urf-8;
create user 'redmine'@'localhost' identified by 'my_password';
grant all privileges on redmine.* to 'redmine'@'localhost'identified ;
5.配置数据库。将C:\Sites\redmine\config下的database.yml.example文件拷贝一份,改名为database.yml,打开文件进行编辑,
主要目的是配置数据库的信息。由于我们bundler的时候去掉了development和test版本,所以只关注“production”部分就好了。修改如下
# Default setup is given for MySQL with ruby1.9.
# Examples for PostgreSQL, SQLite3 and SQL Server can be found at the end.
# Line indentation must be 2 spaces (no tabs).
production:
adapter: mysql2
database: redmine
host: localhost
username: redmine
password: "my_password"
encoding: utf8
development:
adapter: mysql2
database: redmine_development
host: localhost
username: redmine
password: "my_password"
encoding: utf8
6.打开cmd 进入到C:/Sites/redmine-3.3.1 gem list 查看已经安装的文件
在安装文件之前首先: 输入 更改下载地址: gem sources -l 查看当前的下载地址
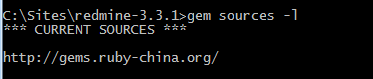
如果不是这个下载地址 先移除原来的地址 然后 gem sources -a http://gems.ruby-china.org/
然后安装 gem install mysql2
然后 bundle install --without development test rmagick安装所有需要的gems
安装过程中如果提示出错 根据提示内容安装所需要的 gem XXX -v=XXXX
一直到安装完成
7 开始命令生成一个随机的 Key , Rails 用它来加密 cookie ……
bundle exec rake generate_secret_token
创建数据库结构,使用下面的命令:
set RAILS_ENV=production
bundle exec rake db:migrate
使用下面的命令来向数据库中插入默认的配置数据
set RAILS_ENV=production
bundle exec rake redmine:load_default_data
出现输入zh
执行下面的命令:
rails server webrick -e production

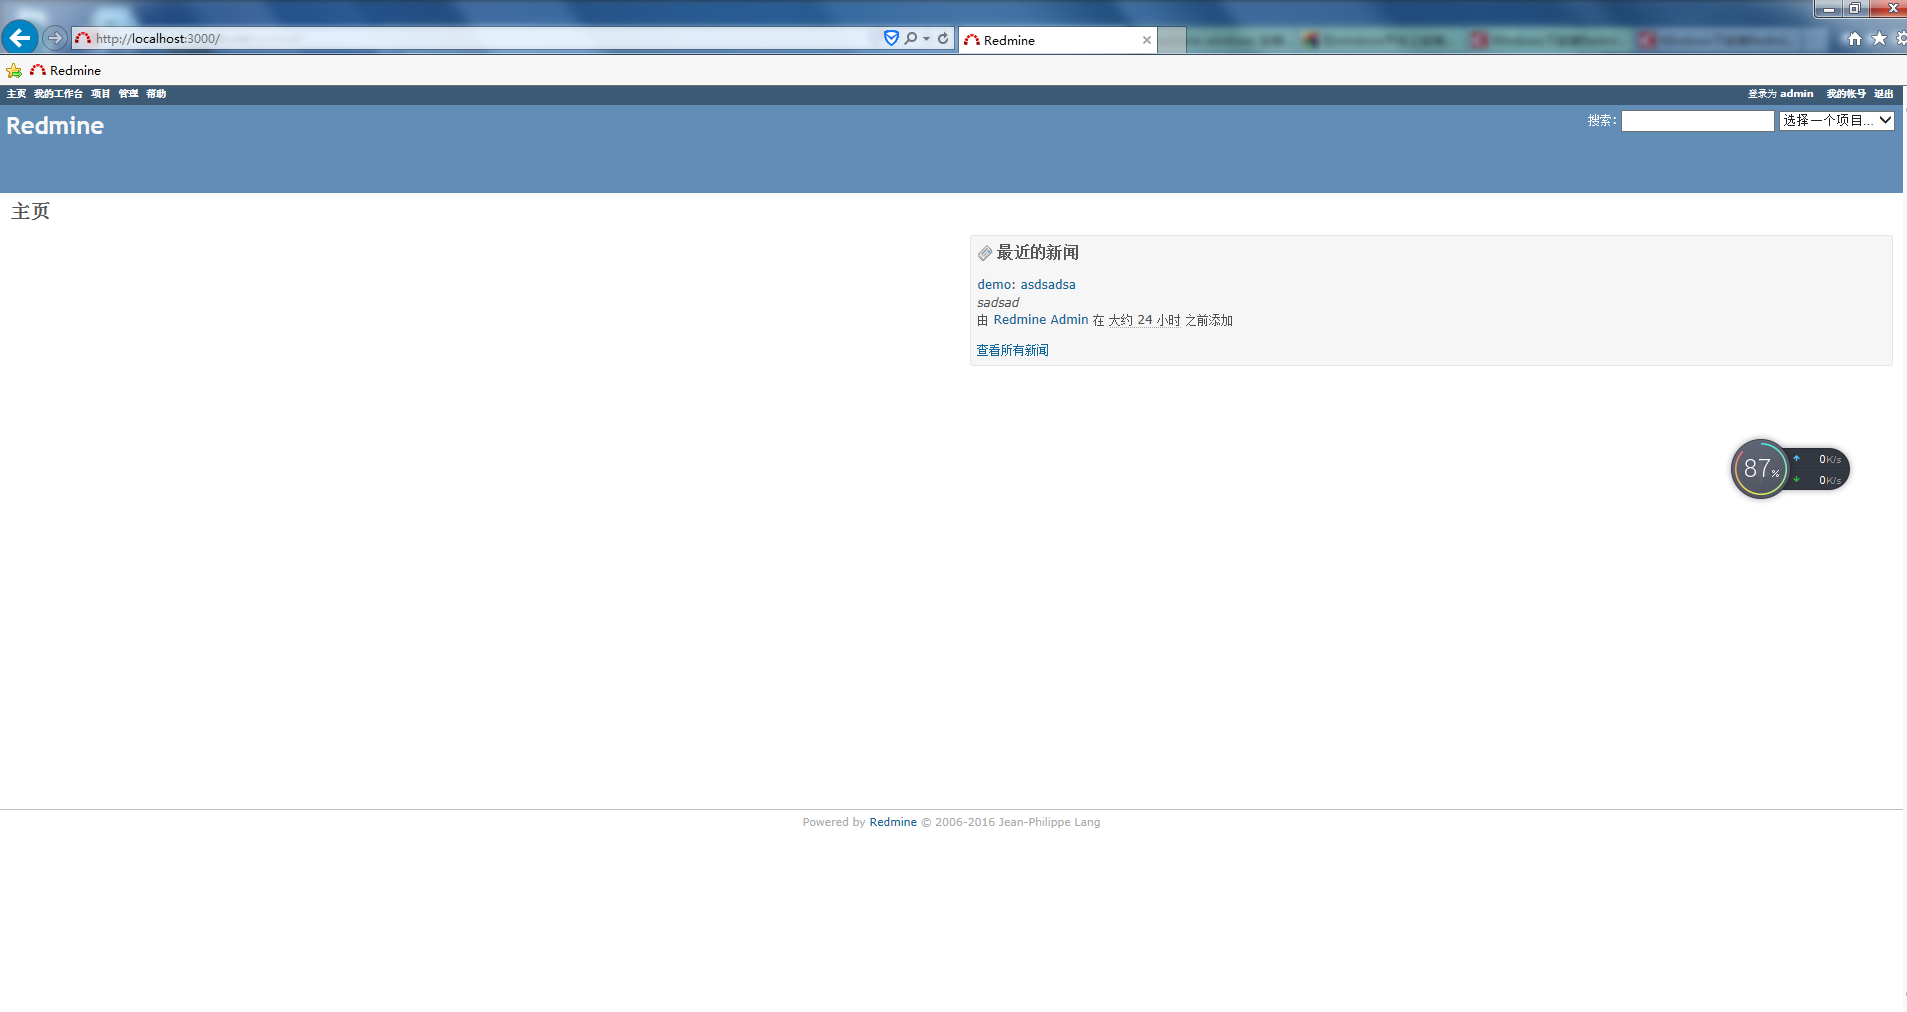
这个时候完成了所有操作 使用留浏览器打开 http://localhost:3000 默认账号和密码都是admin
附录: 1.这样配置好有个问题就是 只有自己的主机才可以打开这个路径 局域网内却无法访问 这个时候我们要修改写配置参数:
可以先输入rails s -h
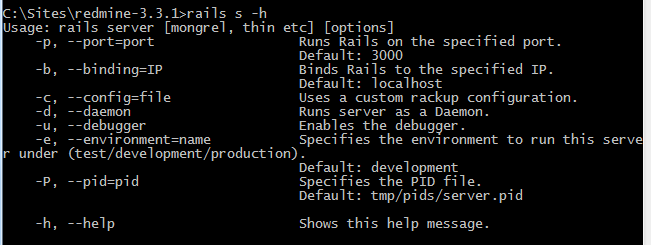
rails s -b 0.0.0.0之后重启服务就可以了
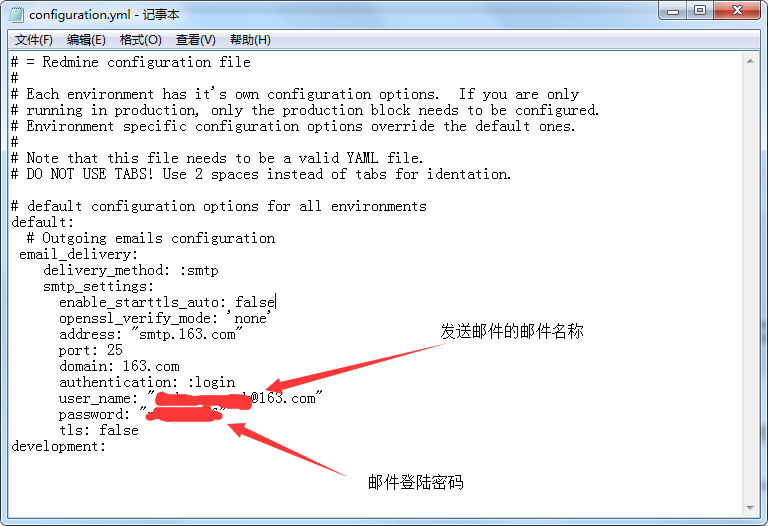
2: 配置邮件:
以163邮箱服务位例子

复制一份configuration.yml 使用记事本打开
# = Redmine configuration file
#
# Each environment has it's own configuration options. If you are only
# running in production, only the production block needs to be configured.
# Environment specific configuration options override the default ones.
#
# Note that this file needs to be a valid YAML file.
# DO NOT USE TABS! Use 2 spaces instead of tabs for identation.
# default configuration options for all environments
default:
# Outgoing emails configuration
email_delivery:
delivery_method: :smtp
smtp_settings:
enable_starttls_auto: false
openssl_verify_mode: 'none'
address: "smtp.163.com"
port: 25
domain: 163.com
authentication: :login
user_name: "邮箱名称@163.com"
password: "邮箱密码"
tls: false
development:
致次所有的都安装完成了 ~~~有点小瑕疵 就是没有安装成功rmagick 有点遗憾!
参考文章:http://blog.csdn.net/foruok/article/details/40184247


 1万+
1万+

 被折叠的 条评论
为什么被折叠?
被折叠的 条评论
为什么被折叠?
 到【灌水乐园】发言


