


 本文介绍了如何使用Feign和Eureka搭建微服务架构,包括服务提供者和消费者的创建,以及通过Feign进行服务调用。同时,文章还展示了如何启用Hystrix进行服务降级,确保系统稳定性。
feign/openfeign和dubbo是常用的微服务RPC框架,由于feigin内部已经集成ribbon,自带了负载均衡的功能,当有多个同名的服务注册到注册中心时,会根据ribbon默认的负载均衡算法将请求分配到不同的服务。这篇文章就简单介绍一下怎么使用feign来调用远程的服务。
首先,需要有一个微服务注册中心来提供服务注册与发现,本章就使用nacos作为注册中心。
springboot整合nacos搭建注册中心和配置中心![]() https://blog.csdn.net/heyl163_/article/details/128536799
https://blog.csdn.net/heyl163_/article/details/128536799
目录
首先,要实现服务间的调用,需要有服务提供者和服务消费者,创建两个项目,分别用于服务提供者和服务消费者。
一、服务提供者
1、创建项目
在IntelliJ IDEA中创建一个springboot项目provider

2、添加依赖
修改pom.xml,添加nacos注册中心的依赖。
<?xml version="1.0" encoding="UTF-8"?>
<project xmlns="http://maven.apache.org/POM/4.0.0" xmlns:xsi="http://www.w3.org/2001/XMLSchema-instance"
         xsi:schemaLocation="http://maven.apache.org/POM/4.0.0 https://maven.apache.org/xsd/maven-4.0.0.xsd">
    <modelVersion>4.0.0</modelVersion>

    <parent>
        <groupId>org.springframework.boot</groupId>
        <artifactId>spring-boot-starter-parent</artifactId>
        <version>2.3.4.RELEASE</version>
        <relativePath />
    </parent>

    <groupId>cn.edu.sgu.www</groupId>
    <artifactId>provider</artifactId>
    <version>0.0.1-SNAPSHOT</version>
    <name>provider</name>
    <description>Spring Boot整合Feign服务提供者项目</description>

    <properties>
        <java.version>1.8</java.version>
    </properties>

    <dependencies>
        <dependency>
            <groupId>org.springframework.boot</groupId>
            <artifactId>spring-boot-starter-web</artifactId>
        </dependency>

        <dependency>
            <groupId>org.springframework.boot</groupId>
            <artifactId>spring-boot-starter-test</artifactId>
            <scope>test</scope>
        </dependency>

        <!--nacos注册中心-->
        <dependency>
            <groupId>com.alibaba.cloud</groupId>
            <artifactId>spring-cloud-starter-alibaba-nacos-discovery</artifactId>
            <version>2.2.6.RELEASE</version>
        </dependency>
    </dependencies>

    <build>
        <plugins>
            <plugin>
                <groupId>org.springframework.boot</groupId>
                <artifactId>spring-boot-maven-plugin</artifactId>
            </plugin>
        </plugins>
    </build>
</project>
3、修改配置
将配置文件application.properties重命名为bootstrap.yml,修改配置文件的内容。
server:
  port: 8088

spring:
  application:
    name: provider
  cloud:
    nacos:
      discovery:
        register-enabled: true
        server-addr: ${nacos.server}
        namespace: ${nacos.namespace}

nacos:
  server: localhost:8848
  namespace: 21baf036-a74d-4c13-9209-dc69e7c1c1ad
4、创建接口
在项目根包下创建controller包,在controller包下创建一个UserController类,创建一个控制器接口/user/getUserInfo
package cn.edu.sgu.www.provider.controller;

import org.springframework.web.bind.annotation.RequestMapping;
import org.springframework.web.bind.annotation.RequestMethod;
import org.springframework.web.bind.annotation.RestController;

import java.util.HashMap;
import java.util.Map;

/**
 * @author heyunlin
 * @version 1.0
 */
@RestController
@RequestMapping(path = "/user", produces = "application/json;charset=utf-8")
public class UserController {

    @RequestMapping(value = "/getUserInfo", method = RequestMethod.GET)
    public Map<String, String> getUserInfo() {
        Map<String, String> resultMap = new HashMap<>();

        resultMap.put("age", "18");
        resultMap.put("name", "沐雨橙风ιε");
        resultMap.put("phone", "18888888888");
        resultMap.put("email", "h*****@163.com");

        return resultMap;
    }

}
4、启动类上添加@EnableDiscoveryClient注解
package com.example.provider;

import org.springframework.boot.SpringApplication;
import org.springframework.boot.autoconfigure.SpringBootApplication;
import org.springframework.cloud.client.discovery.EnableDiscoveryClient;

@EnableDiscoveryClient
@SpringBootApplication
public class ProviderApplication {

    public static void main(String[] args) {
        SpringApplication.run(ProviderApplication.class, args);
    }

}
二、服务消费者
1、创建项目
在IntelliJ IDEA中创建一个springboot项目consumer
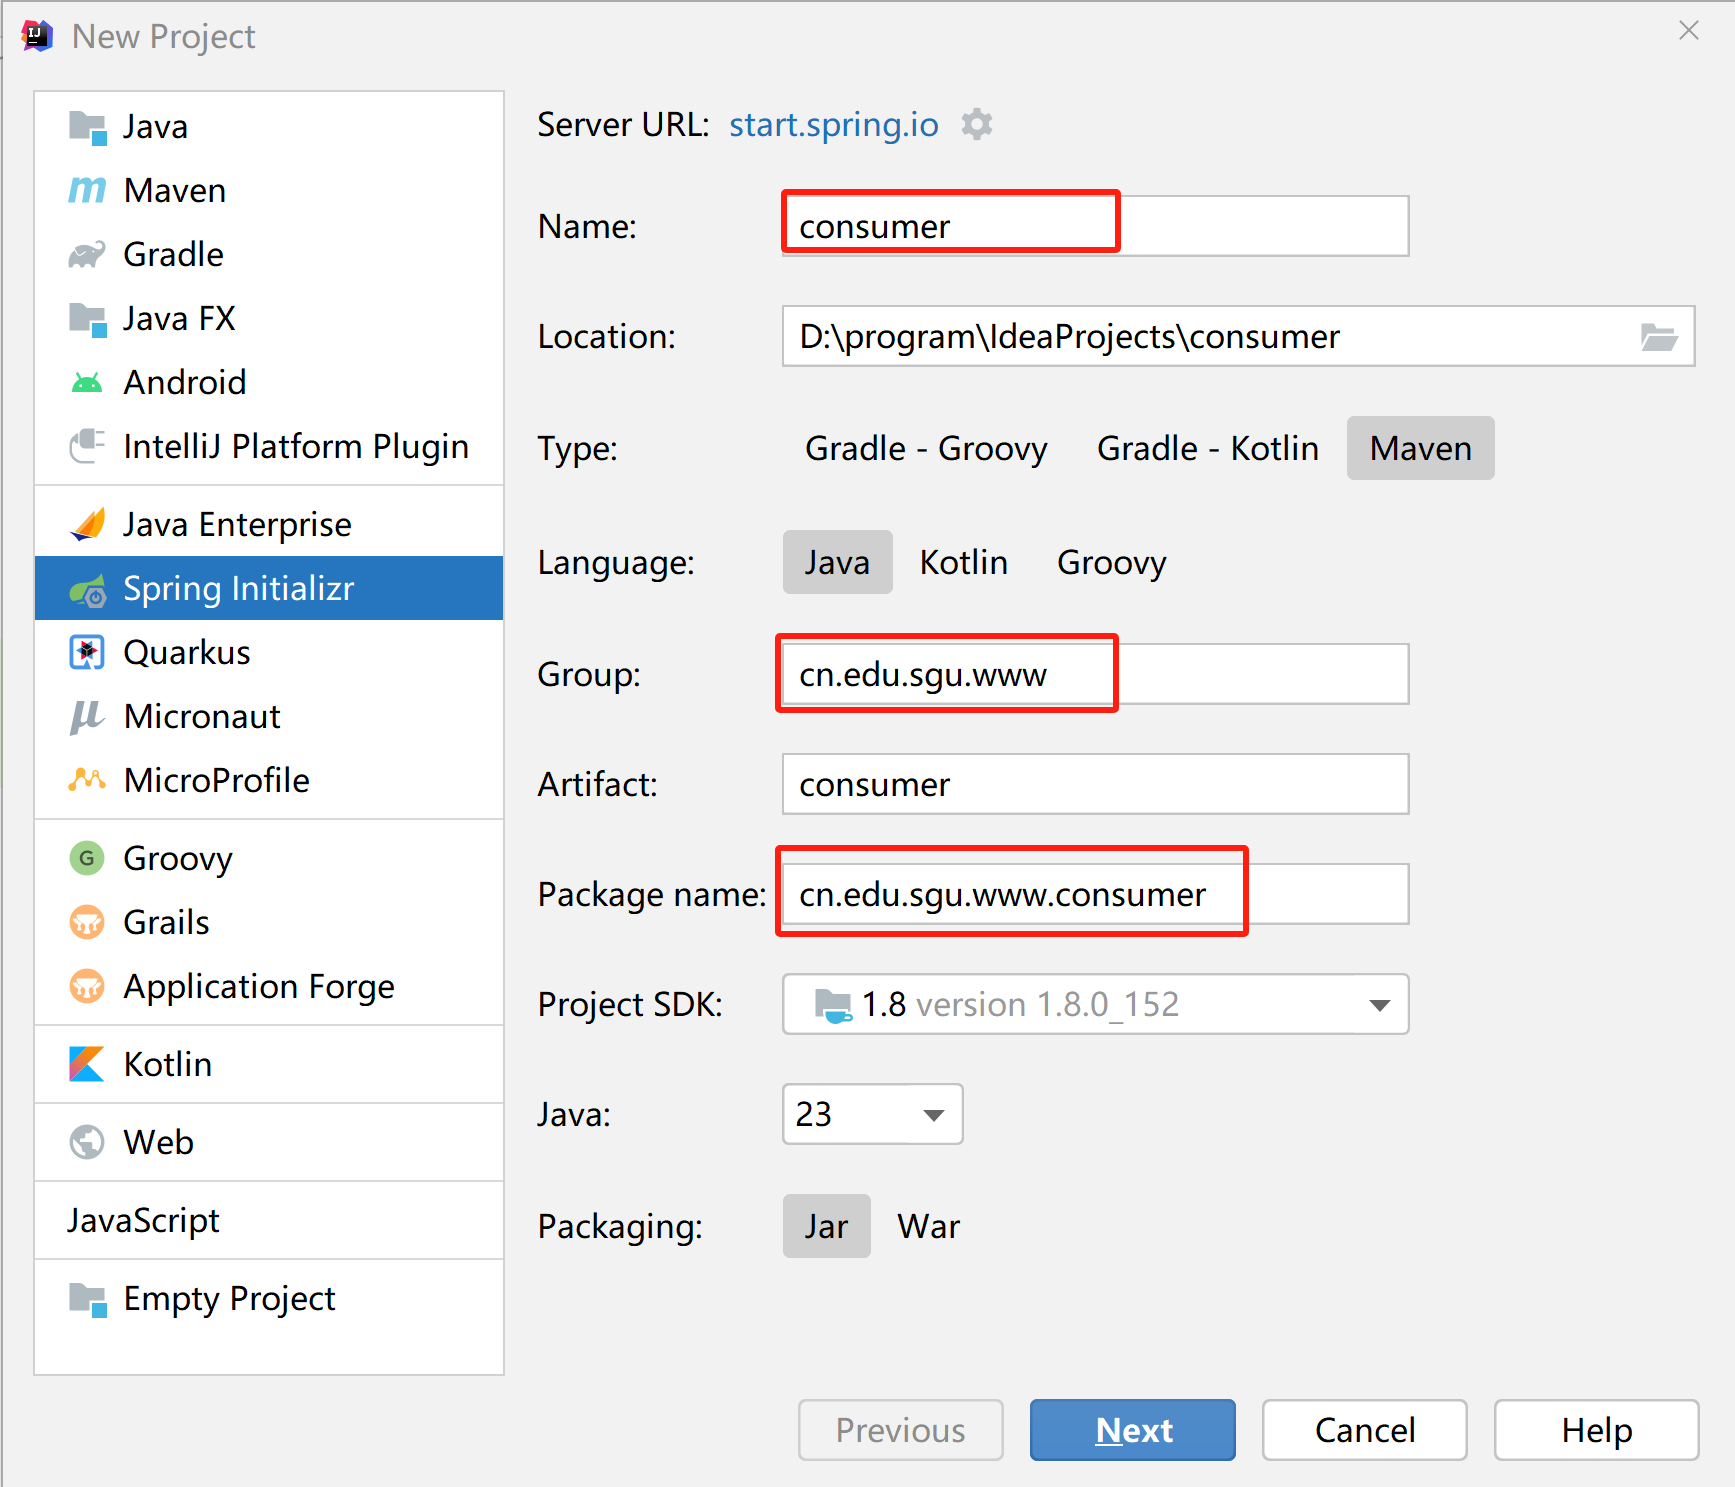
2、添加依赖
修改pom.xml,添加feign、nacos注册中心的依赖。
<?xml version="1.0" encoding="UTF-8"?>
<project xmlns="http://maven.apache.org/POM/4.0.0" xmlns:xsi="http://www.w3.org/2001/XMLSchema-instance"
         xsi:schemaLocation="http://maven.apache.org/POM/4.0.0 https://maven.apache.org/xsd/maven-4.0.0.xsd">
    <modelVersion>4.0.0</modelVersion>

    <parent>
        <groupId>org.springframework.boot</groupId>
        <artifactId>spring-boot-starter-parent</artifactId>
        <version>2.3.4.RELEASE</version>
        <relativePath />
    </parent>

    <groupId>cn.edu.sgu.www</groupId>
    <artifactId>consumer</artifactId>
    <version>0.0.1-SNAPSHOT</version>
    <name>consumer</name>
    <description>Spring Boot整合Feign服务消费者项目</description>

    <properties>
        <java.version>1.8</java.version>
    </properties>

    <dependencies>
        <dependency>
            <groupId>org.springframework.boot</groupId>
            <artifactId>spring-boot-starter-web</artifactId>
        </dependency>

        <dependency>
            <groupId>org.springframework.boot</groupId>
            <artifactId>spring-boot-starter-test</artifactId>
            <scope>test</scope>
        </dependency>

        <!--feign-->
        <dependency>
            <groupId>org.springframework.cloud</groupId>
            <artifactId>spring-cloud-starter-openfeign</artifactId>
            <version>2.2.9.RELEASE</version>
        </dependency>

        <!--nacos注册中心-->
        <dependency>
            <groupId>com.alibaba.cloud</groupId>
            <artifactId>spring-cloud-starter-alibaba-nacos-discovery</artifactId>
            <version>2.2.6.RELEASE</version>
        </dependency>
    </dependencies>

    <build>
        <plugins>
            <plugin>
                <groupId>org.springframework.boot</groupId>
                <artifactId>spring-boot-maven-plugin</artifactId>
            </plugin>
        </plugins>
    </build>
</project>
3、修改配置
将配置文件application.properties重命名为bootstrap.yml,修改配置文件的内容。
server:
  port: 8089

spring:
  application:
    name: consumer
  cloud:
    nacos:
      discovery:
        register-enabled: true
        server-addr: ${nacos.server}
        namespace: ${nacos.namespace}

nacos:
  server: localhost:8848
  namespace: 21baf036-a74d-4c13-9209-dc69e7c1c1ad
4、使用feign
创建接口
在项目根包下创建feign包,在feign包下创建一个接口FeignService
package cn.edu.sgu.www.consumer.feign;

import org.springframework.cloud.openfeign.FeignClient;
import org.springframework.web.bind.annotation.RequestMapping;
import org.springframework.web.bind.annotation.RequestMethod;

import java.util.Map;

/**
 * @author heyunlin
 * @version 1.0
 */
@FeignClient("provider")
public interface FeignService {

    @RequestMapping(value = "/user/getUserInfo", method = RequestMethod.GET)
    Map<String, String> getUserInfo();
}
@FeignClient("provider")指定注册到nacos的服务名,需要调用哪个服务的接口,就写哪个。
直接把要调用的控制器接口的方法签名连同@RequestMapping注解复制过来,然后修改一下请求路径,在前面添加控制器类上指定的路径/user
使用注解
这时候@Autowired会报错,找不到FeignService的bean,因为没有在启动类上面添加@EnableFeignClients注解
package cn.edu.sgu.www.consumer;

import org.springframework.boot.SpringApplication;
import org.springframework.boot.autoconfigure.SpringBootApplication;
import org.springframework.cloud.openfeign.EnableFeignClients;

/**
 * @author heyunlin
 * @version 1.0
 */
@EnableFeignClients
@SpringBootApplication
public class Consumer {

    public static void main(String[] args) {
        SpringApplication.run(Consumer.class, args);
    }

}
调用接口
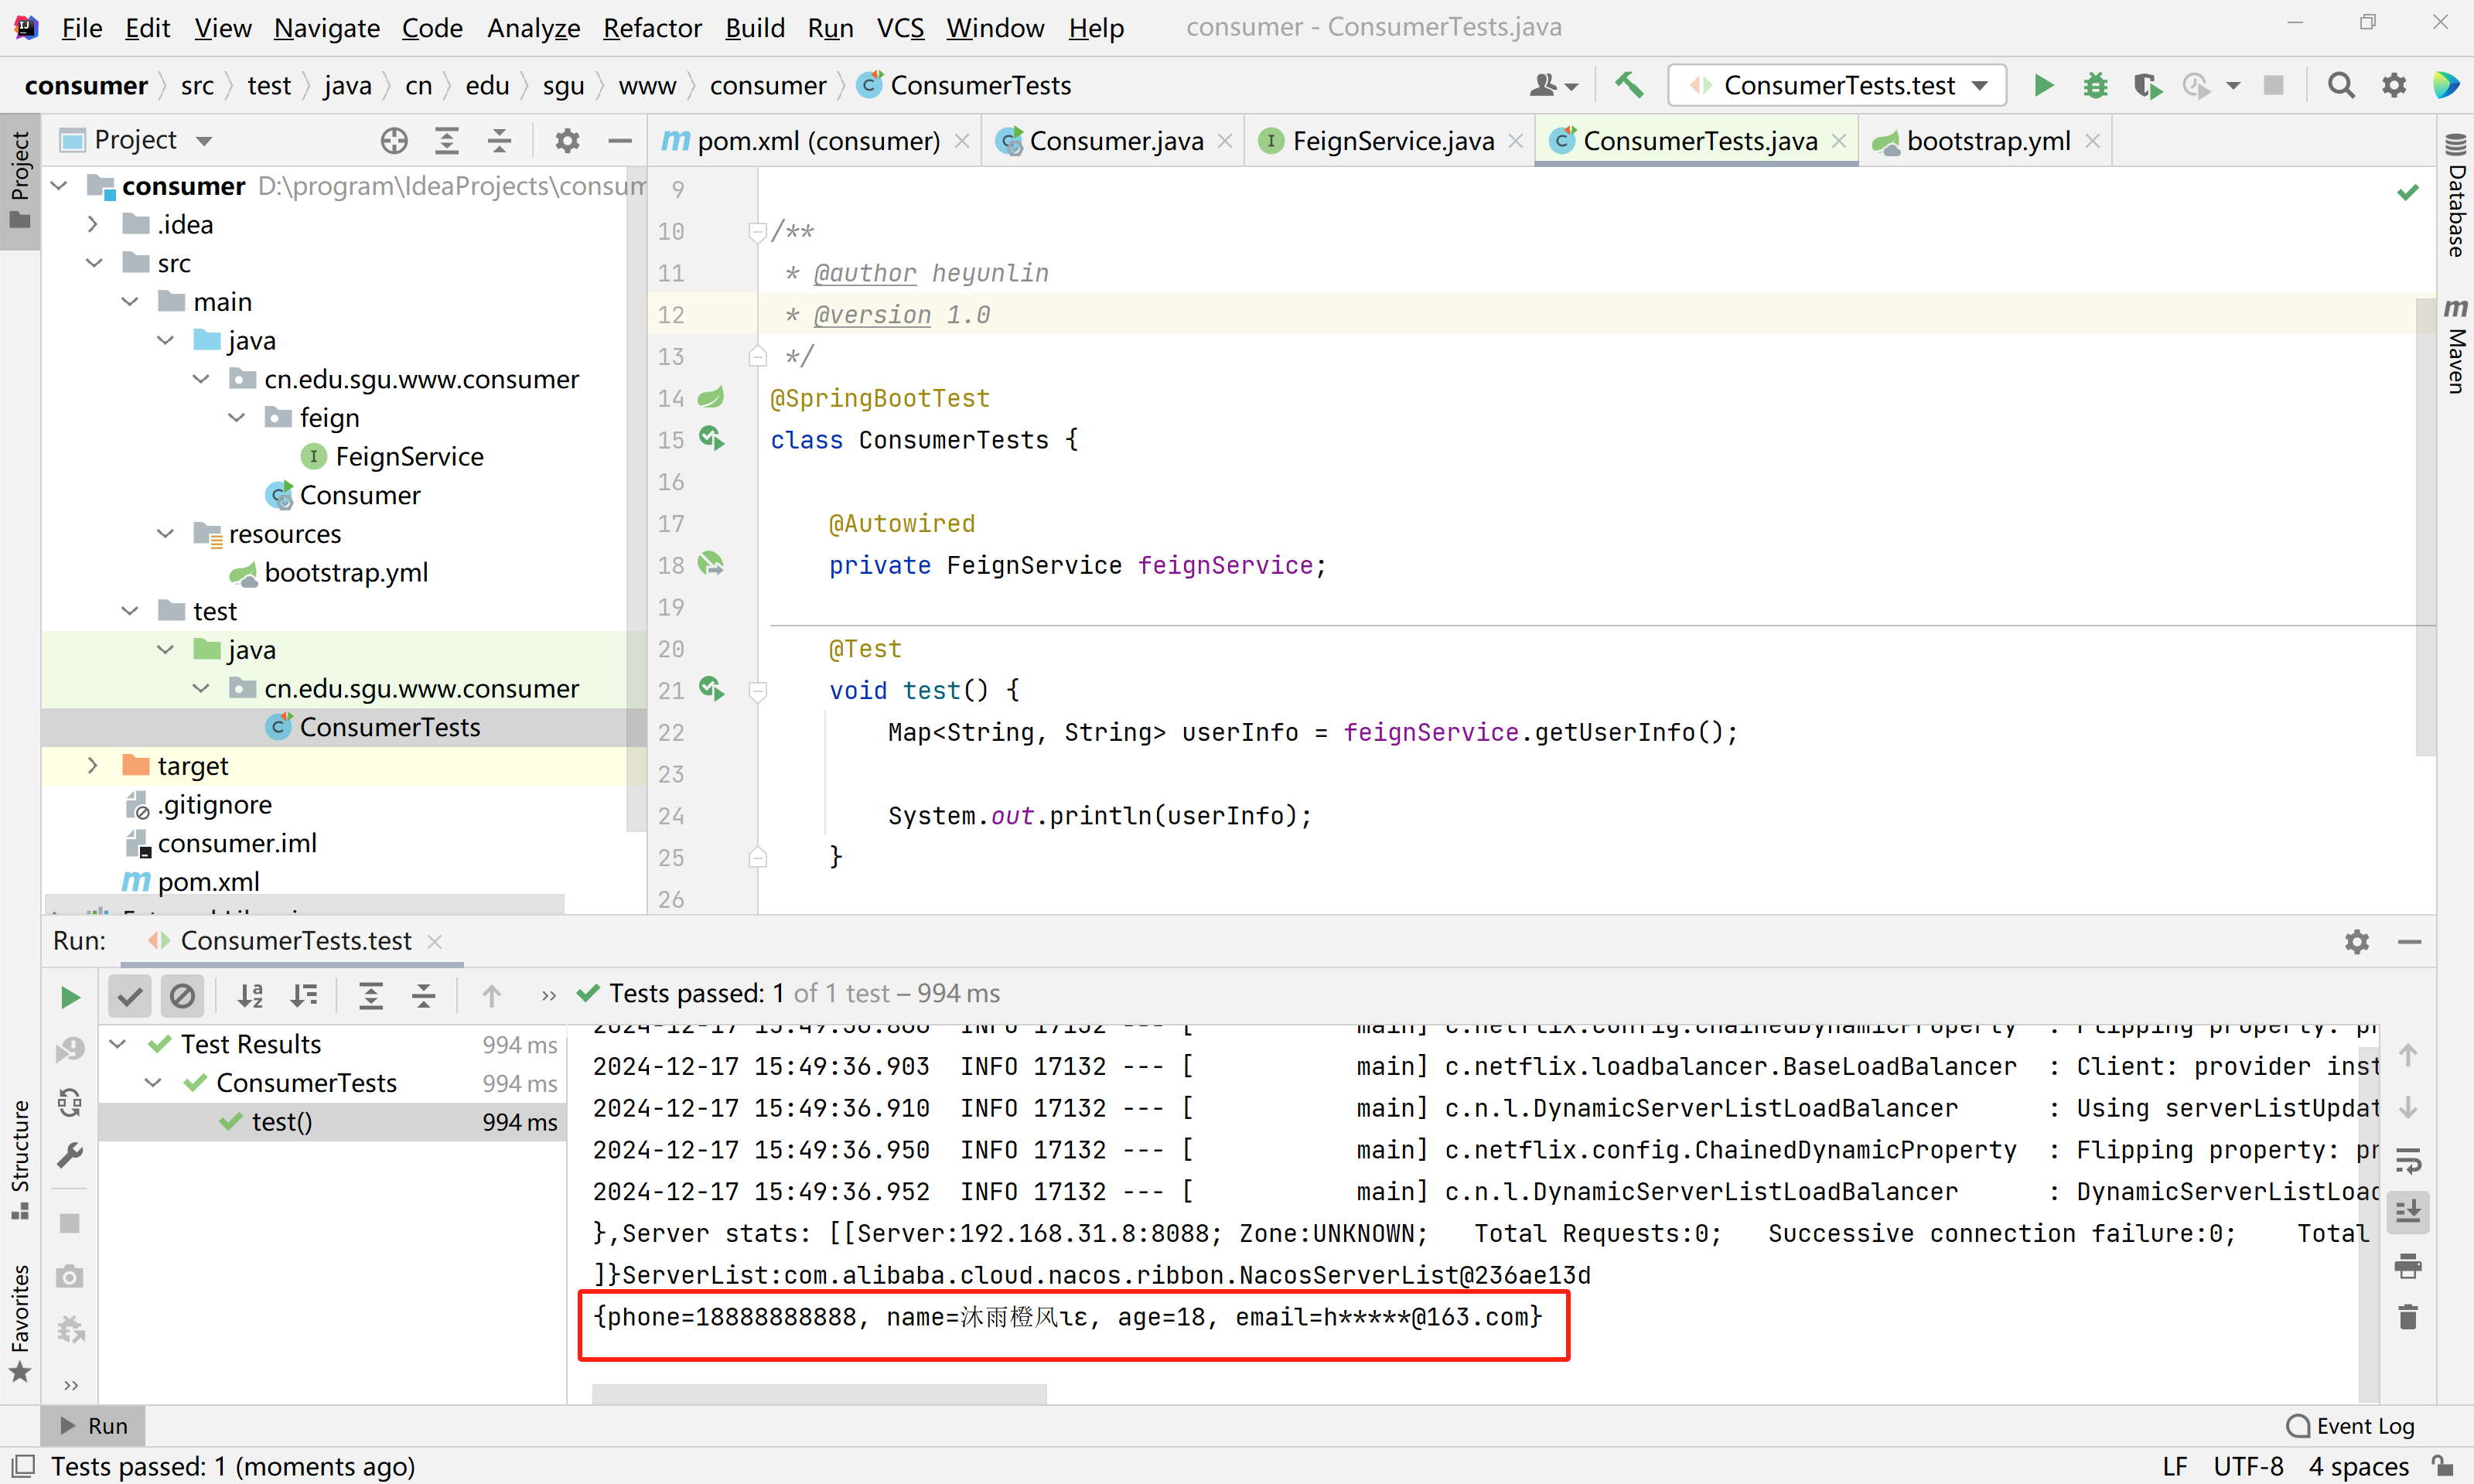
依次启动nacos服务器和provider项目,在测试类上调用FeignService的RPC接口方法。
package cn.edu.sgu.www.consumer;

import cn.edu.sgu.www.consumer.feign.FeignService;
import org.junit.jupiter.api.Test;
import org.springframework.beans.factory.annotation.Autowired;
import org.springframework.boot.test.context.SpringBootTest;

import java.util.Map;

/**
 * @author heyunlin
 * @version 1.0
 */
@SpringBootTest
class ConsumerTests {

    @Autowired
    private FeignService feignService;

    @Test
    void test() {
        Map<String, String> userInfo = feignService.getUserInfo();

        System.out.println(userInfo);
    }

}
查看测试类运行结果,成功获取并打印出了provider服务的/user/getUserInfo接口的返回值。
三、开启Hystrix实现服务降级
1、开启hystrix
bootstrap.yml
在comsumer项目的bootstrap.yml文件中添加以下配置
feign:
  hystrix:
    enabled: true
完整的bootstrap.yml文件内容
server:
  port: 8089

feign:
  hystrix:
    enabled: true

spring:
  application:
    name: consumer
  cloud:
    nacos:
      discovery:
        register-enabled: true
        server-addr: ${nacos.server}
        namespace: ${nacos.namespace}

nacos:
  server: localhost:8848
  namespace: 21baf036-a74d-4c13-9209-dc69e7c1c1ad
2、创建实现类
然后创建一个FeignService的实现类,交给spring管理。
FeignServiceImpl.java
package cn.edu.sgu.www.consumer.feign;

import org.springframework.stereotype.Component;

import java.util.HashMap;
import java.util.Map;

/**
 * @author heyunlin
 * @version 1.0
 */
@Component
public class FeignServiceImpl implements FeignService {

    @Override
    public Map<String, String> getUserInfo() {
        Map<String, String> resultMap = new HashMap<>();

        resultMap.put("code", "404");
        resultMap.put("message", "服务请求失败,已经执行降级方法!");

        return resultMap;
    }

}
3、指定降级类
最后,在FeiginService接口的的@FeiginCilent注解上指定fallback=FeignServiceImpl.class
@FeignClient(value = "provider", fallback = FeignServiceImpl.class)FeignService.java
package cn.edu.sgu.www.consumer.feign;

import org.springframework.cloud.openfeign.FeignClient;
import org.springframework.web.bind.annotation.RequestMapping;
import org.springframework.web.bind.annotation.RequestMethod;

import java.util.Map;

/**
 * @author heyunlin
 * @version 1.0
 */
@FeignClient(value = "provider", fallback = FeignServiceImpl.class)
public interface FeignService {

    @RequestMapping(value = "/user/getUserInfo", method = RequestMethod.GET)
    Map<String, String> getUserInfo();
}
4、测试降级功能
创建接口
UserController.java
把UserController.java从provider项目中连同controller包复制过来,修改接口的代码,调用FeignService的方法。
package cn.edu.sgu.www.consumer.controller;
import cn.edu.sgu.www.consumer.feign.FeignService;
import org.springframework.beans.factory.annotation.Autowired;
import org.springframework.web.bind.annotation.RequestMapping;
import org.springframework.web.bind.annotation.RequestMethod;
import org.springframework.web.bind.annotation.RestController;
import java.util.Map;
/**
* @author heyunlin
* @version 1.0
*/
@RestController
@RequestMapping(path = "/user", produces = "application/json;charset=utf-8")
public class UserController {
private final FeignService feignService;
@Autowired
public UserController(FeignService feignService) {
this.feignService = feignService;
}
@RequestMapping(value = "/getUserInfo", method = RequestMethod.GET)
public Map<String, String> getUserInfo() {
Map<String, String> resultMap = feignService.getUserInfo();
return resultMap;
}
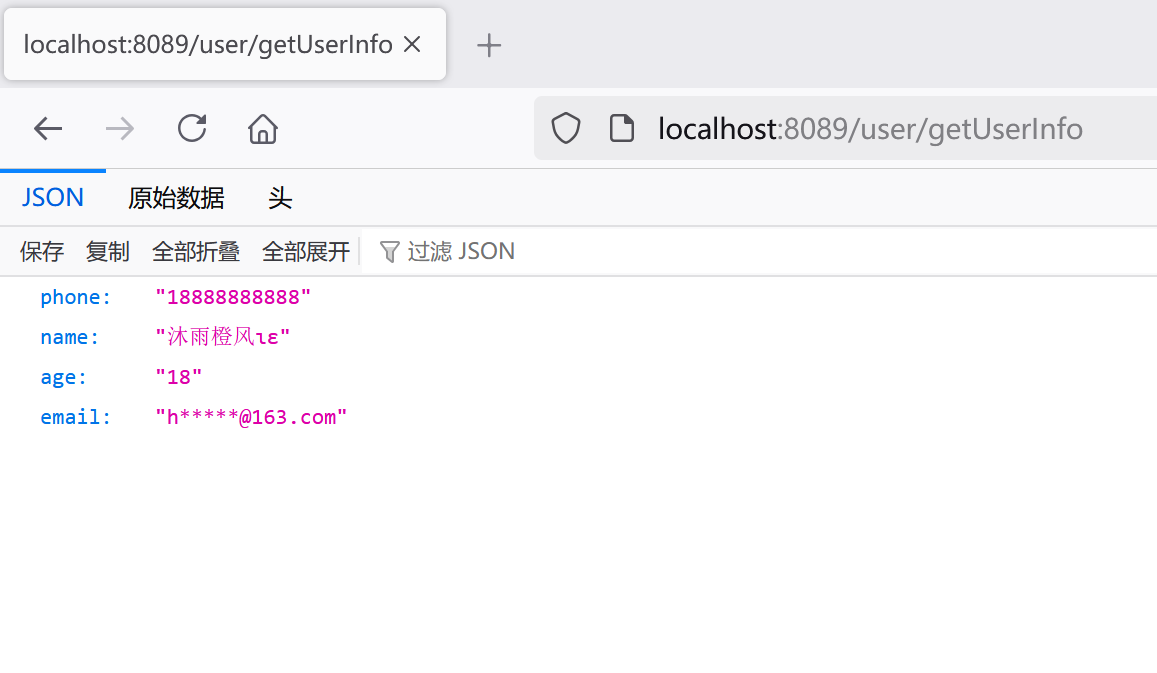
}正常访问
启动consumer项目,在浏览器地址栏输入以下网址。
http://localhost:8089/user/getUserInfo可以看到正常返回了数据。
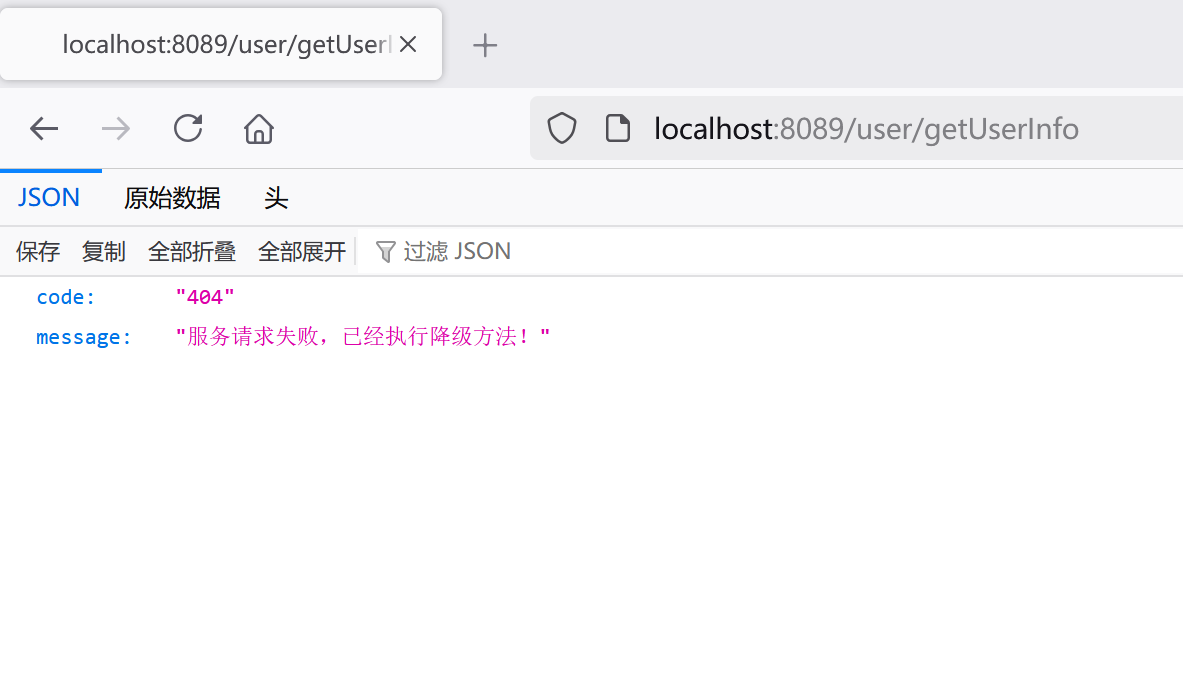
服务降级
接着关掉provider项目,刷新页面,成功执行降级方法,返回了错误提示。
好了,springboot整合feign的介绍到这里了,
文章代码已上传到Gitee,可按需获取~
服务提供者
Spring Boot整合Feign服务提供者项目![]() https://gitee.com/muyu-chengfeng/provider.git服务消费者
https://gitee.com/muyu-chengfeng/provider.git服务消费者
Spring Boot整合Feign服务消费者项目![]() https://gitee.com/muyu-chengfeng/consumer.git
https://gitee.com/muyu-chengfeng/consumer.git


 8547
8547

 被折叠的 条评论
为什么被折叠?
被折叠的 条评论
为什么被折叠?
 到【灌水乐园】发言


