一、Srpingboot集成
1、引入swagger+bootstrap ui+security
<dependency> <groupId>io.springfox</groupId> <artifactId>springfox-swagger2</artifactId> <version>2.9.2</version> </dependency> <dependency> <groupId>com.github.xiaoymin</groupId> <artifactId>swagger-bootstrap-ui</artifactId> <version>1.9.6</version> </dependency> <dependency> <groupId>org.springframework.boot</groupId> <artifactId>spring-boot-starter-security</artifactId> <version>xxxx</version>// 根据springboot版本 </dependency>
2、增加配置文件bootstrap.yml
    swagger:
      enable: true
      path: /doc.html
      user: root
      pwd: 123456
3、新建SecurityConfig配置类
@Configuration
@EnableWebSecurity
public class SecurityConfig extends WebSecurityConfigurerAdapter {

    @Value("${swagger.username:root}")
    private String username;
    @Value("${swagger.password:123456}")
    private String password;
    /**
     * 存放了Swagger需要加入Spring Security认证的URL
     */
    private static final String[] AUTH_LIST = {
            "/v2/api-docs",
            "/configuration/ui",
            "/swagger-resources/**",
            "/configuration/security",
            "swagger-ui.html",
            "/doc.html",
            "/webjars/**"
    };
    /**
     * 让Spring Security接管Swagger认证授权的核心是configure(HttpSecurity http)方法
     * @param auth
     * @throws Exception
     */
    @Override
    protected void configure(AuthenticationManagerBuilder auth) throws Exception {
        auth.inMemoryAuthentication()
                .passwordEncoder(passwordEncoder())
                .withUser(username)
                .password(passwordEncoder().encode(password))
                .roles("USER");
    }
    @Override
    protected void configure(HttpSecurity http) throws Exception {
        http.authorizeRequests()
                .antMatchers(AUTH_LIST)
                .authenticated()
                .and()
                .formLogin()
                .and()
                .httpBasic();
        http.csrf().disable()
                .authorizeRequests()
                .antMatchers("/**").permitAll()
                .anyRequest()
                .authenticated().and().httpBasic();
    }

    @Bean
    public PasswordEncoder passwordEncoder() {
        return NoOpPasswordEncoder.getInstance();
    }
}
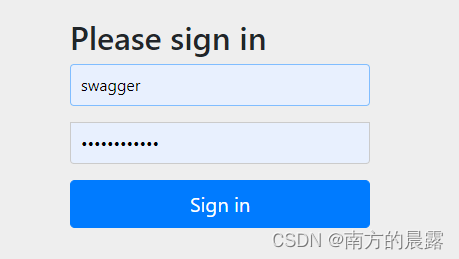
4、访问验证http://ip:port/doc.html


 本文介绍了如何在SpringBoot项目中集成Swagger、BootstrapUI和Security,包括添加依赖、配置文件设置、SecurityConfig类的编写以及访问验证过程,确保API文档的安全访问。


 1786
1786


 被折叠的 条评论
为什么被折叠?
被折叠的 条评论
为什么被折叠?
 到【灌水乐园】发言


