


Mybatis-generator插件安装使用
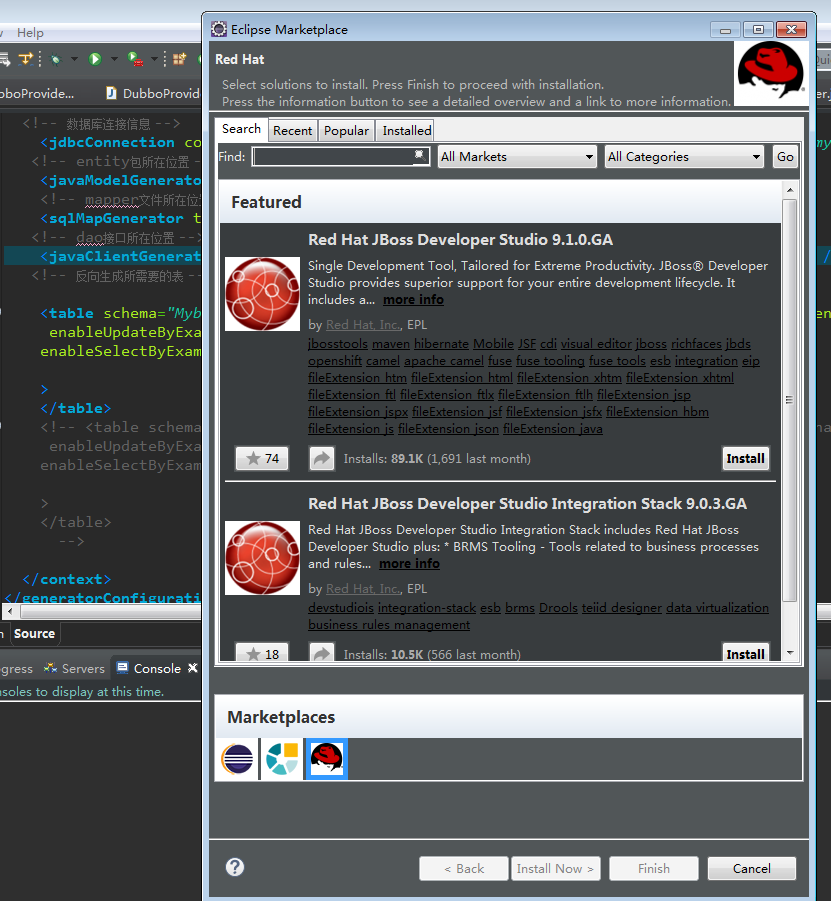
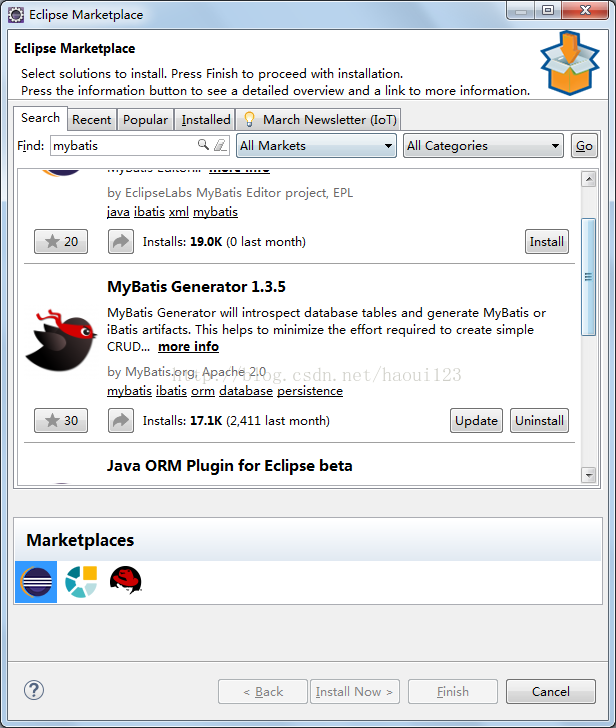
在搜索栏中搜索 Mybatis Generator 之后点击 Install 安装
之后重启eclipse 在创建项目栏 -->右击新建项目
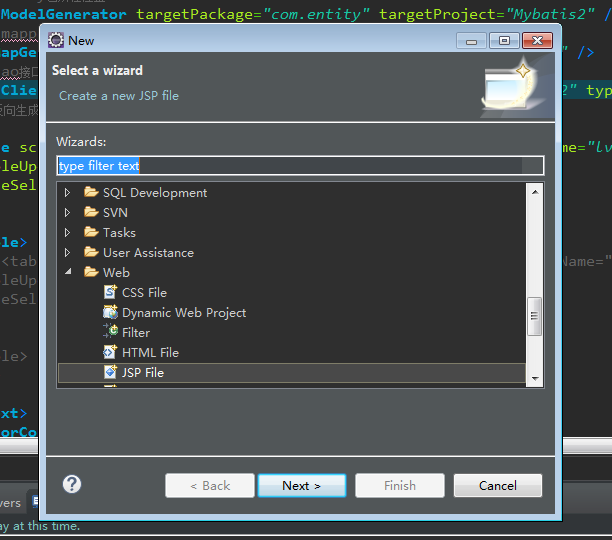
查找 Mybatis Generator 出现一个小鸟图标,点击创建项目,自动生成 generator.xml文件,下面是generator.xml文件的配置信息:
<?xml version="1.0" encoding="UTF-8"?>
<!DOCTYPE generatorConfiguration PUBLIC "-//mybatis.org//DTD MyBatis Generator Configuration 1.0//EN" "http://mybatis.org/dtd/mybatis-generator-config_1_0.dtd">
<generatorConfiguration>
<context id="context1">
<!-- 注释 -->
<commentGenerator>
<property name="suppressAllComments" value="true"/><!-- 是否取消注释 -->
<property name="suppressDate" value="false" /> <!-- 是否生成注释代时间戳-->
</commentGenerator>
<!-- 数据库连接信息 -->
<jdbcConnection connectionURL="jdbc:mysql:数据库路径" driverClass="com.mysql.jdbc.Driver" password="密码" userId="用户名" />
<!-- entity包所在位置 -->
<javaModelGenerator targetPackage="com.entity" targetProject="创建项目的项目名字" />
<!-- mapper文件所在位置 -->
<sqlMapGenerator targetPackage="com.mapper" targetProject="创建项目的项目名字" />
<!-- dao接口所在位置 -->
<javaClientGenerator targetPackage="com.dao" targetProject="创建项目的项目名字" type="XMLMAPPER" />
<!-- 反向生成所需要的表 -->
<table schema="创建项目的项目名字" tableName="数据库对应的表名" domainObjectName="需要生成文件的名字" enableCountByExample="false"
enableUpdateByExample="false" enableDeleteByExample="false"
enableSelectByExample="false" selectByExampleQueryId="false"
>
</table>
直接粘到你的里面就可以使用,
End;


 9493
9493

 被折叠的 条评论
为什么被折叠?
被折叠的 条评论
为什么被折叠?
 到【灌水乐园】发言


