


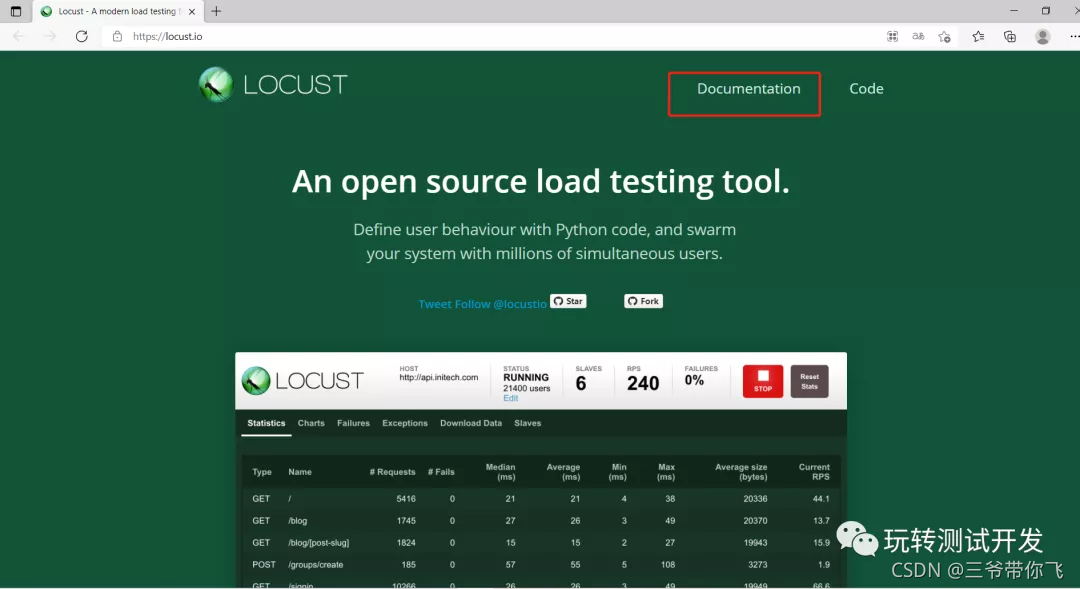
locust安装完毕之后,我们可以通过pip show locust看到locust的Home-page主页,即: https://locust.io/。
下一步我们进入Documentation文档说明,并且点击进入Getting started。官网提供的开始使用案例。如图所示:

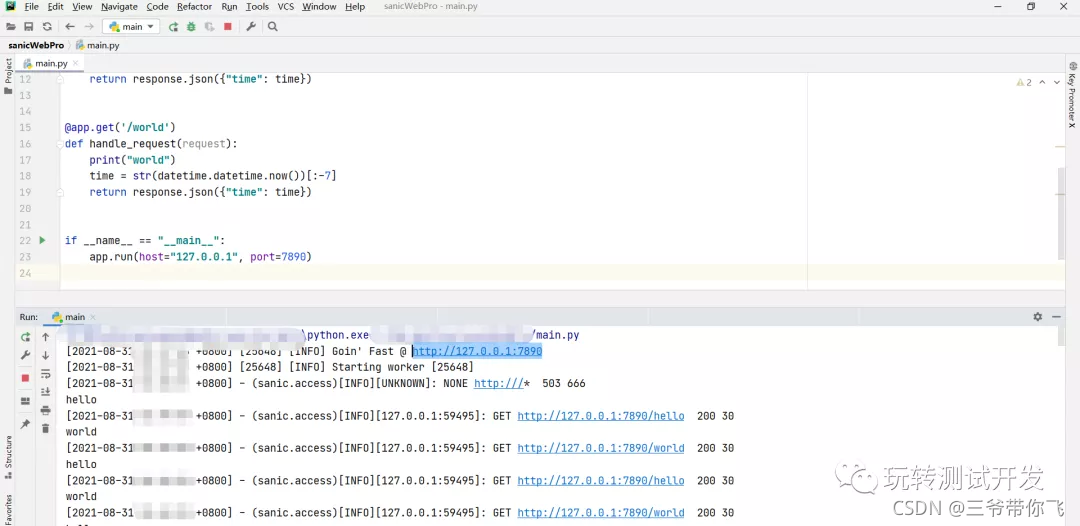
为方便查看后端的运行情况,首先创建服务端接口。以sanic为例。
源码1:main.py。并且运行服务。
from sanic import Sanic
import datetime
from sanic import response

app = Sanic('myapp')


@app.get('/hello')
def handle_request(request):
    print("hello")
    time = str(datetime.datetime.now())[:-7]
    return response.json({"time": time})


@app.get('/world')
def handle_request(request):
    print("world")
    time = str(datetime.datetime.now())[:-7]
    return response.json({"time": time})


if __name__ == "__main__":
    app.run(host="127.0.0.1", port=7890)
locust脚本源码:my_locust.py
from locust import HttpUser, task


class HelloWorldUser(HttpUser):
    @task
    def hello_world(self):
        self.client.get("/hello")
        self.client.get("/world")
如何运行呢?先看看locust命令行提示。
locust --help,得到运行的命令,即:locust -f xxx.py

运行locust:locust -f my_locust.py
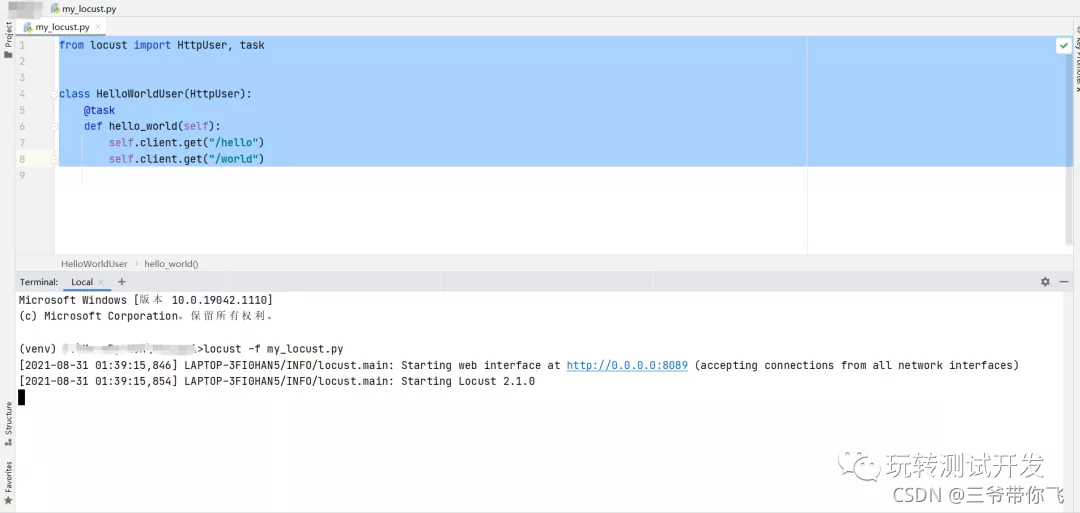
点击:http://0.0.0.0:8089 ,但是很遗憾。
嗯… 无法访问此页面网址为http://0.0.0.0:8089/ 的页面可能存在问题,或者已永久移动到新的网址。
更换成: http://127.0.0.1:8089/
但是依然报错:嗯… 无法访问此页面127.0.0.1 已拒绝连接。
试试:http://localhost:8089/ 成功了。

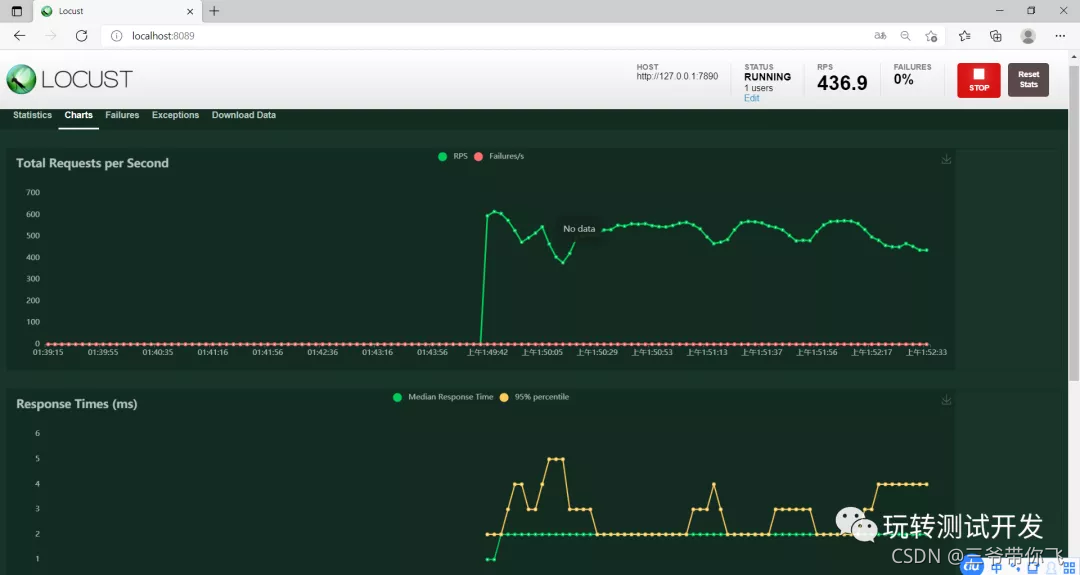
设置用户数、孵化率、host,然后点击Start swarming。
Number of users:1
Spawn rate     :1
Host           :http://127.0.0.1:7890
运行起来之后,sanic服务端响应效果:
locust界面运行效果:

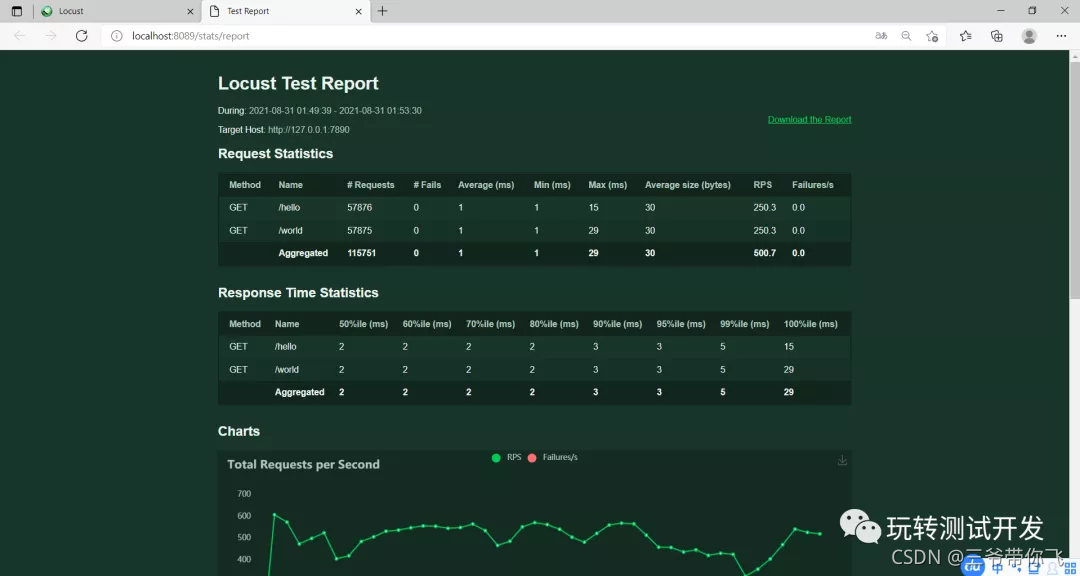
locust报告图表效果:
**下载报告和效果:**点击界面的Download Data
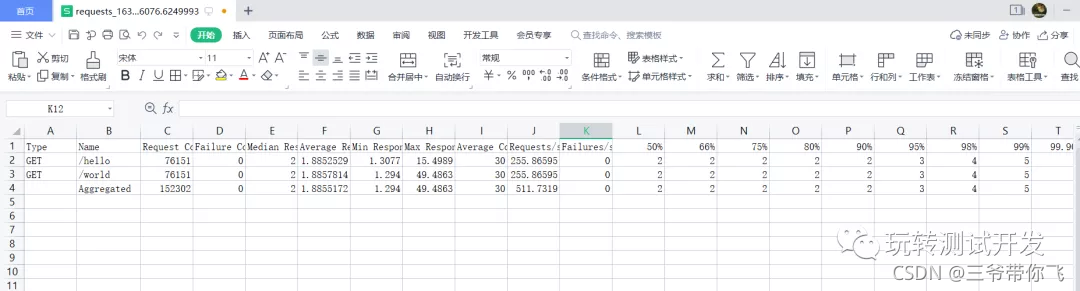
报告1:Download request statistics CSV
报告4:Download Report
微信公众号:玩转测试开发
欢迎关注,共同进步,谢谢!


 3581
3581


 被折叠的 条评论
为什么被折叠?
被折叠的 条评论
为什么被折叠?
 到【灌水乐园】发言


