


前言
在app中,我们可能会用到上传、预览、删除图片功能并且获取当前位置信息的功能
思路
首先是把页面画出来,然后分别对上传照片以及获取当前位置信息部门进行处理
代码部分
我将分为三个模块进行解答
template部分
<template>
	<view class="container">
		<view class="card shadow">
			<view class="uni-textarea">
				<textarea @blur="bindTextAreaBlur" auto-height />
			</view>
			<view class="uni-title uni-common-pl">随手拍</view>
			<view class="uni-textarea">
				<textarea v-model="inputValue" placeholder-style="color:#F76260" placeholder="这一刻的想法...." />
			</view>
			<view>
				<view class="content">
					<view class="images" v-for="(item,index) in tempFiles" :key="index">
						<image @click="previewImg(index)" class="img" :src="item.path" mode="aspectFill"></image>
						<view class="remove" @click="removeImg(index)">x</view>
					</view>
					<view class="files" @click="addFiles" v-if="tempFiles.length<9">
						<view class="add">+</view>
					</view>
				</view>
				<view class="">
					<text>所在位置:{{locationName}}</text>
				</view>
				<button @click="goUpload" class="upload" :disabled="tempFiles.length > 0 ? false : true">发表</button>
			</view>
		</view>
	</view>
</template>
js部分-----分为两块(照片、位置信息)
上传-预览-删除照片功能
<script>
	import request, {
		host
	} from '@/common/request'
	export default {
		data() {
			return {
				tempFiles: [],
				inputValue: '',
				list: [],
			}
		},
		onLoad() {

		},
		methods: {
			addFiles() {
				uni.chooseImage({
					count: 9, // 最大选择的张数,默认是九张,可以不写
					success: res => {
						console.log(res);
						// 接受选择的图片数组
						let oldImg = [...this.tempFiles, ...res.tempFiles]
						let newImg = oldImg.slice(0, 9)
						this.tempFiles = newImg
						const tempFilePaths = res.tempFilePaths;
						for (let i = 0; i < res.tempFiles.length; i++) {
							uni.uploadFile({
								url: host() + '/sys/common/abc', //仅为示例,非真实的接口地址
								filePath: tempFilePaths[i],
								name: 'file',
								formData: {
									'user': 'test'
								},
								success: (uploadFileRes) => {
									// 解析data字段中的JSON字符串
									var imageData = JSON.parse(uploadFileRes.data);
									// 提取图片名称
									var imageName = imageData.message;
									// 将图片名称推送到列表中
									this.list.push(imageName);
								}
							});
						}
					}
				})

			},

			// 预览图片
			previewImg(index) {
				// console.log(this.tempFiles);
				// 过滤
				let imgUrl = this.tempFiles.map(item => item.path)
				// console.log(imgUrl);
				uni.previewImage({
					current: index, //点击的索引值
					urls: imgUrl,
				})
			},
			// 删除图片
			removeImg(index) {
				this.tempFiles.splice(index, 1)
			},
            //点击确认、发送给后端
			goUpload() {
				request("/app/...你自己的接口", {
					method: "post",
					params: {},
					data: {
						//这里写你需要传递的参数
					}
				}).then(function(response) {
					uni.showToast({
						title: '发布成功',
						icon: 'success',
						duration: 1000
					});
                    //发布成功后延迟一秒跳转到指定页面,不需要可以删除
					setTimeout(() => {
						uni.navigateTo({
							url: '/pages/engineering/project'
						});
					}, 1000);

				}).catch(function(error) {
					// 请求失败时执行的代码
					console.error('Error during request:', error);
				});
			},


		}
	}
</script>
host()获取方法如下
说到这里很多小伙伴就要问了,我这个地址怎么拿呢?哈哈,我这里封装了一个方法,给大家借鉴一下。在你们的request.js页面封装了路由地址
export function host(host='default',suffix='/wisdom-iot'){
	var url=process.env.NODE_ENV === 'development'?{
		default:"http://127.0.0.1:8080",
		}:{
			default:``
		}
	return ({
		default:`${url.default}${suffix}`,
		imgUrl:`${url.default}${suffix}/sys/common/static`
	})[host]
}
大概是这样样子,名称的话自己想一个自己喜欢的也成,大家有自己的方法可以拿到也成,不喜勿喷
获取当前位置信息
<script>
	import request, {
		host
	} from '@/common/request'
	export default {
		data() {
			return {
				latitude: '', // 纬度
				longitude: '', // 经度
				locationName: '' // 地址信息
			}
		},
		onLoad() {
            //初始化调用uni.getLocation方法拿到当前的经纬度,并调用方法
			let that = this;
			uni.getLocation({
				type: 'wgs84',
				key: 'uisfhfihfho', //替换成自己的key
				success: function(res) {
					that.longitude = res.longitude
					that.latitude = res.latitude
					that.getLocationName(res.latitude, res.longitude)
				}
			});
		},
		methods: {
			getLocationName(lat, lng) {
				let that = this;
				// 替换成你的高德地图API密钥
				let mapKey = 'uisfhfihfho';
                //url必须包含经纬度、key值
				let url = `https://restapi.amap.com/v3/geocode/regeo?location=${lng},${lat}&key=${mapKey}`;

				uni.request({
					url: url,
					method: 'GET',
					success: function(res) {
						console.log(res, 'that');
						if (res.data.status === '1') {
							// 获取成功,res.data.regeocode.formatted_address为地址信息
							that.locationName = res.data.regeocode.formatted_address;
						} else {
							uni.showToast({
								title: '获取地址信息失败',
								duration: 2000,
								icon: 'error'
							});
						}
					},
					fail: function() {
						uni.showToast({
							title: '请求地址信息失败',
							duration: 2000,
							icon: 'error'
						});
					}
				});

			},

		}
	}
</script>
key值获取方法如下
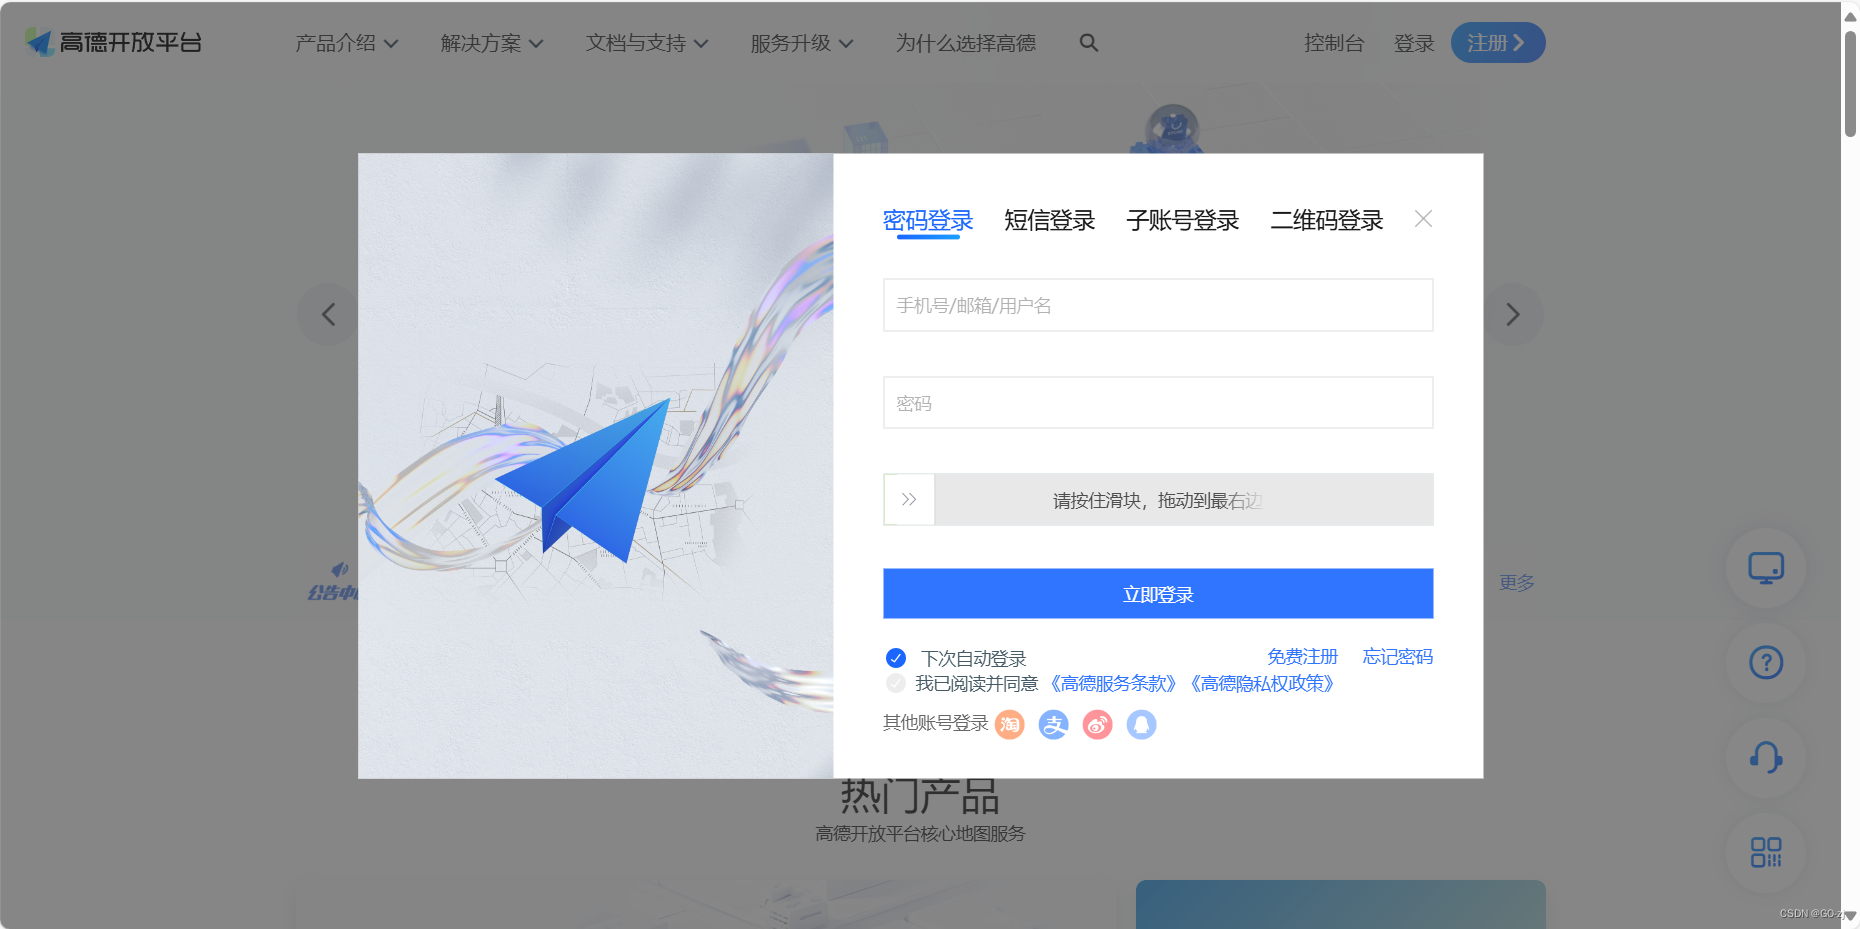
进入高德开发平台点击登录
 登录之后进入控制台找到应用管理、我的应用
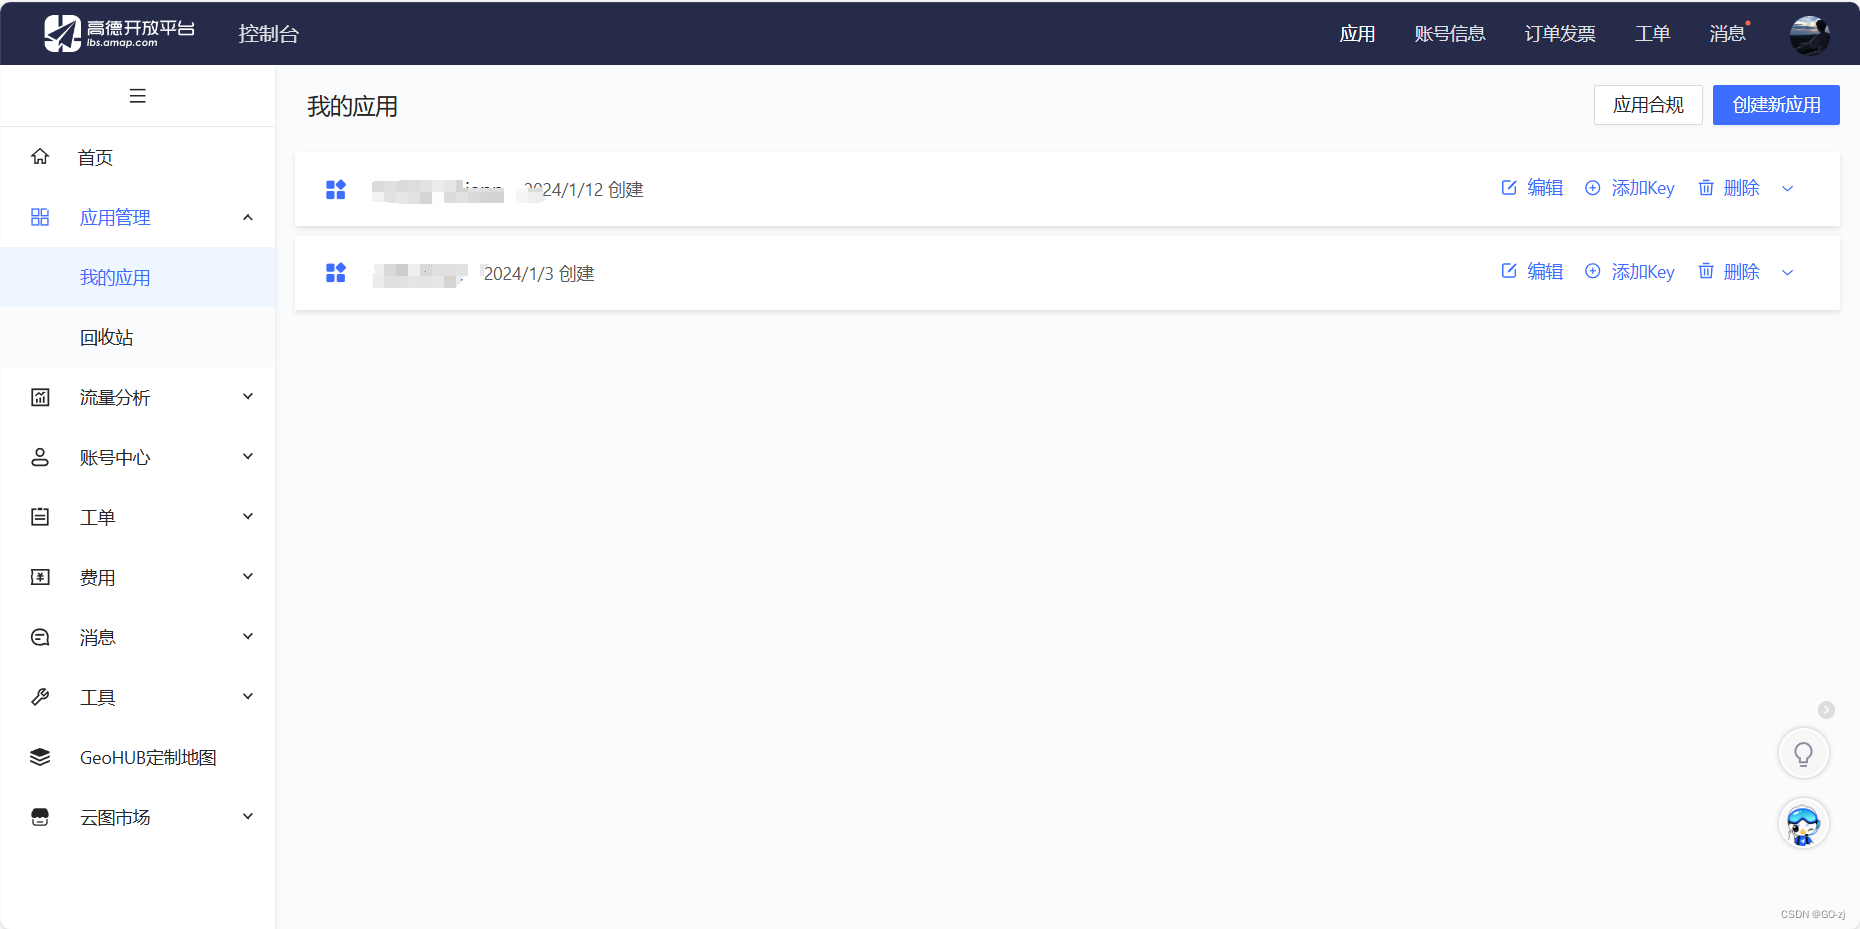
点击右侧的创建新应用,输入自己的app名称和类型
添加完成后点击添加key值
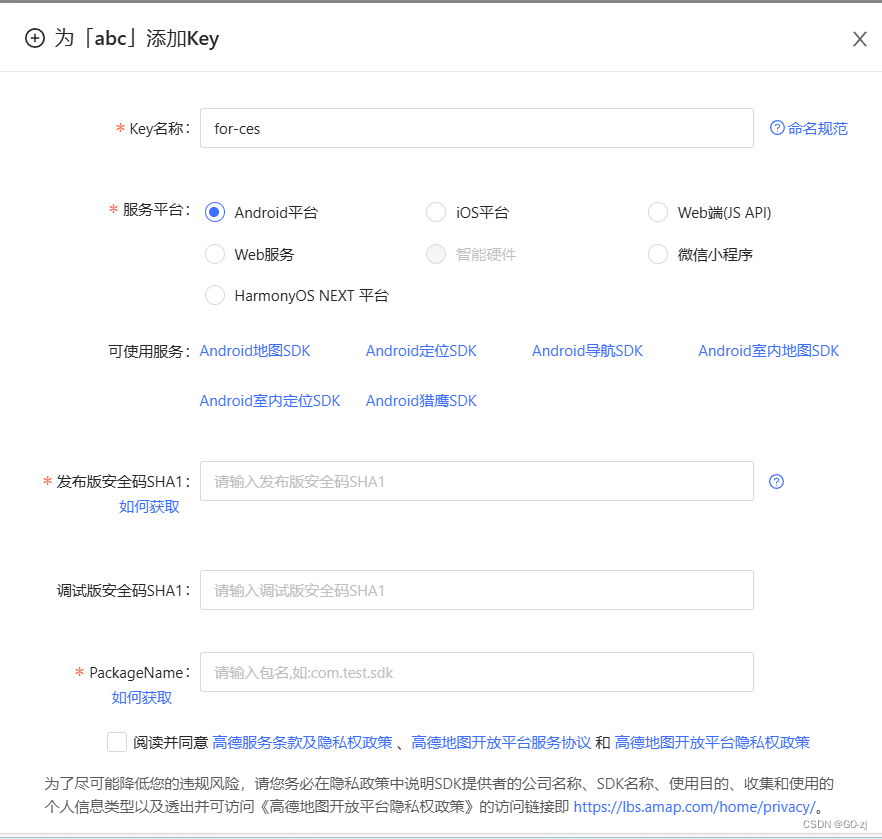
这里有朋友就会问了,发布版安全码SHA1以及packagename如何拿到,如上图所示,可以点击过去自己拿。但是我建议直接问后端或者领导,他们肯定有这两个东西,让他们给你就行了。
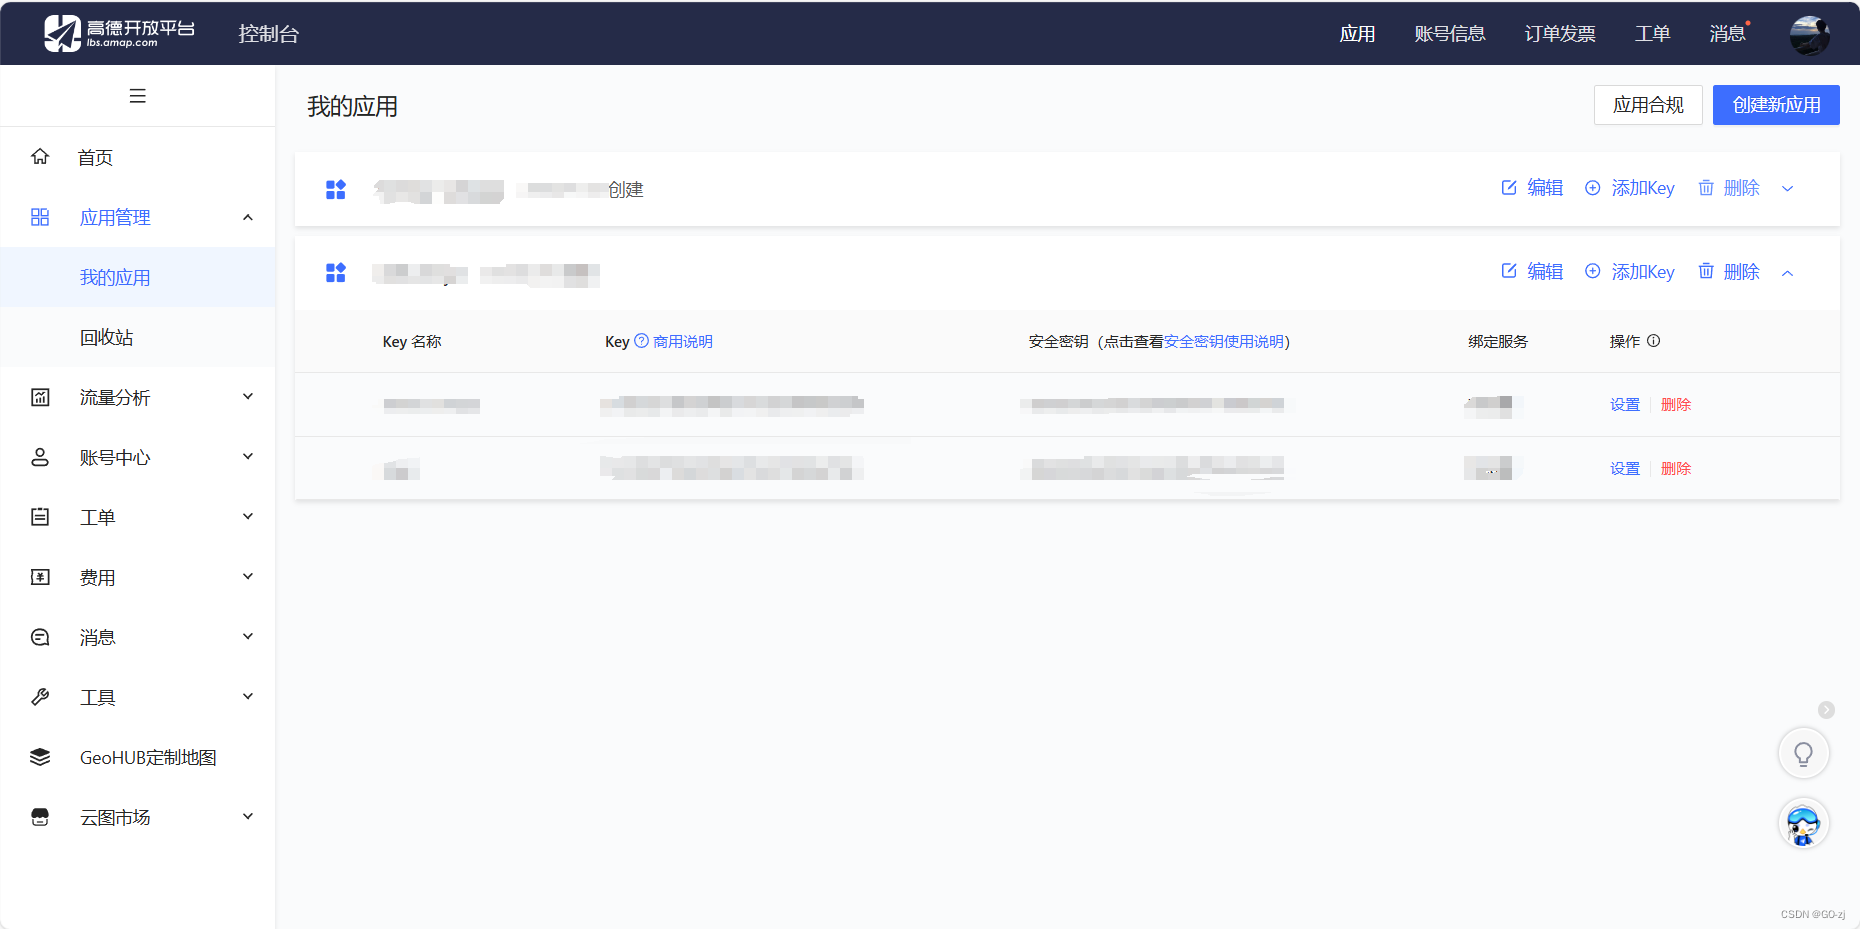
最后一步,点击提交就可以看见自己的key值
js部分----完整
<script>
	import request, {
		host
	} from '@/common/request'
	export default {
		data() {
			return {
				tempFiles: [],
				inputValue: '',
				list: [],
				latitude: '', // 纬度
				longitude: '', // 经度
				locationName: '' // 地址信息
			}
		},
		onLoad() {
			let that = this;
			uni.getLocation({
				type: 'wgs84',
				key: '0c9cc367d5485926e1d68b3f1cc6a7ed', //key得出现获取
				success: function(res) {
					that.longitude = res.longitude
					that.latitude = res.latitude
					that.getLocationName(res.latitude, res.longitude)
				}
			});
		},
		methods: {
			getLocationName(lat, lng) {
				let that = this;
				// 替换成你的高德地图API密钥
				let mapKey = '0c9cc367d5485926e1d68b3f1cc6a7ed';
				let url = `https://restapi.amap.com/v3/geocode/regeo?location=${lng},${lat}&key=${mapKey}`;

				uni.request({
					url: url,
					method: 'GET',
					success: function(res) {
						console.log(res, 'that');
						if (res.data.status === '1') {
							// 获取成功,res.data.regeocode.formatted_address为地址信息
							that.locationName = res.data.regeocode.formatted_address;
						} else {
							uni.showToast({
								title: '获取地址信息失败',
								duration: 2000,
								icon: 'error'
							});
						}
					},
					fail: function() {
						uni.showToast({
							title: '请求地址信息失败',
							duration: 2000,
							icon: 'error'
						});
					}
				});

			},
			addFiles() {
				uni.chooseImage({
					count: 9, // 最大选择的张数,默认是九张,可以不写
					success: res => {
						console.log(res);
						// 接受选择的图片数组
						let oldImg = [...this.tempFiles, ...res.tempFiles]
						let newImg = oldImg.slice(0, 9)
						this.tempFiles = newImg
						const tempFilePaths = res.tempFilePaths;
						for (let i = 0; i < res.tempFiles.length; i++) {
							// console.log(res.tempFiles[i]);
							uni.uploadFile({
								url: host() + '/sys/common/upload', //仅为示例,非真实的接口地址
								filePath: tempFilePaths[i],
								name: 'file',
								formData: {
									'user': 'test'
								},
								success: (uploadFileRes) => {
									// 解析data字段中的JSON字符串
									var imageData = JSON.parse(uploadFileRes.data);
									console.log(imageData, 'imageDataimageData');
									// 提取图片名称
									var imageName = imageData.message;
									// 将图片名称推送到列表中
									this.list.push(imageName);
									console.log(this.list, 'this.listthis.listthis.list');
								}
							});
						}
					}
				})

			},

			// 预览图片
			previewImg(index) {
				// console.log(this.tempFiles);
				// 过滤
				let imgUrl = this.tempFiles.map(item => item.path)
				// console.log(imgUrl);
				uni.previewImage({
					current: index, //点击的索引值
					urls: imgUrl,
				})
			},
			// 删除图片
			removeImg(index) {
				this.tempFiles.splice(index, 1)
			},

			goUpload() {
				// console.log(this.longitude, '666');
				// console.log(this.list.join(', '), '666');
				request("/app/dynamicApi/addDynamic", {
					method: "post",
					params: {},
					data: {
						remark: this.inputValue,
						image: this.list.join(', '),
						address:this.locationName,
						lng:this.longitude,
						lat:this.latitude,
					}
				}).then(function(response) {
					console.log(response, "resimg");
					uni.showToast({
						title: '发布成功',
						icon: 'success',
						duration: 1000
					});

					setTimeout(() => {
						uni.navigateTo({
							url: '/pages/engineering/project'
						});
					}, 1000);

				}).catch(function(error) {
					// 请求失败时执行的代码
					console.error('Error during request:', error);
				});
			},


		}
	}
</script>
css部分
记得两个样式都要引用进去,如果觉得两个style不太好自己合并一下
<style lang="scss" scoped>
	.upload {
		position: absolute;
		top: 100rpx;
		right: 40rpx;
		width: 120rpx;
		height: 60rpx;
		background-color: rgb(44, 132, 250) !important;
		line-height: 60rpx;
		// background-color: #00ff00 !important;
		color: white !important;
		border-radius: 10rpx;
		text-align: center;
		font-size: 30rpx;
	}

	.content {
		padding: 30rpx;
		margin-top: 70rpx;
		display: flex;
		flex-wrap: wrap;

		.files {
			width: 200rpx;
			height: 200rpx;
			background-color: #f7f7f7;
			color: #6d6d6d;
			font-size: 100rpx;
			font-weight: 100;
			display: flex;
			justify-content: center;
			align-items: center;
			margin: 10rpx;
		}

		.images {
			width: 200rpx;
			height: 200rpx;
			margin: 10rpx;
			position: relative;

			.img {
				width: 100%;
				height: 100%;
			}

			.remove {
				width: 50rpx;
				height: 50rpx;
				background-color: #f7f7f7;
				position: absolute;
				top: -5rpx;
				right: -10rpx;
				text-align: center;
				opacity: .5;
				border-radius: 0 0 0 50rpx;
				color: #c5c5c5;
			}
		}
	}
</style>
<style lang="less" scoped>
page {
background: #f6f6f6;
.container {
border-top: 0.5rpx solid transparent;
.example-body {
padding: 10px;
padding-top: 0;
}
.custom-image-box {
/* #ifndef APP-NVUE */
display: flex;
/* #endif */
flex-direction: row;
justify-content: space-between;
align-items: center;
}
.text {
font-size: 14px;
color: #333;
}
.card {
background-image: linear-gradient(15deg, #fff 50%, #E6F1FF);
.title {
font-size: 36rpx;
font-weight: bold;
margin-bottom: 17rpx;
}
.item {
display: flex;
align-items: center;
margin-top: 14rpx;
text {
font-size: 24rpx;
&:first-child {
color: #999;
min-width: 220rpx;
}
&.date {
font-weight: bold;
color: #2C84FA;
}
}
}
}
}
}
</style>总结
这个页面模仿的微信朋友圈做的,但是功能还不够齐全,后续如果加了功能的话我会及时更新。


 1036
1036

 被折叠的 条评论
为什么被折叠?
被折叠的 条评论
为什么被折叠?
 到【灌水乐园】发言


