


uniapp实现全局悬浮框(按钮,页面,图片自行设置) 可拖动
话不多说直接上干货
1,在components新建组件(省去了每个页面都要引用组件的麻烦)
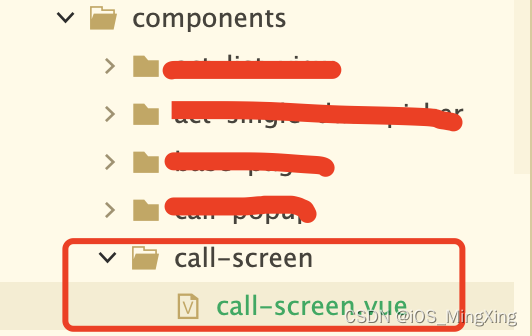
2,实现代码
<template>
	<view class="call-plate" :style="'top:' + top + 'px;left:' + left + 'px;'" @touchmove="touchmove" @touchend="touchend" @touchstart="touchstart" v-if="popupShow">
		通话中悬浮框
	</view>
</template>

<script>
	export default {
		name: "call-screen",
		emits: ["hide", "confirm"],
		props: {
			/**
			 * 默认号码
			 */
			number: {
				type: String,
				default: ""
			}
		},
		data() {
			return {
				popupShow: true, // 是否显示当前页面
				top: 0,
				left: 0,
				startTop: 0,
				startLeft: 0,
				startClientTop: 0,
				startClientLeft: 0,
			}
		},
		watch: {

		},
		computed: {
			i18n() {
				return this.$t
			}
		},
		created() {
			let that = this
			this.popupShow = getApp().globalData.callShow
			this.top = getApp().globalData.callShowTop // 获取全局存储的位置,也可以使用本地缓存存储
			this.left = getApp().globalData.callShowLeft
			uni.$on(getApp().globalData.$global.CALL_SHOW_UPDATE, this.callShowUpdate)
			uni.$on(getApp().globalData.$global.CALL_SHOW_OPEN, this.callShowOpen)
			uni.$on(getApp().globalData.$global.CALL_SHOW_CLOSE, this.callShowClose)
		},
		destroyed() {
		    // 销毁通知
			uni.$off(getApp().globalData.$global.CALL_SHOW_UPDATE, this.callShowUpdate)
			uni.$off(getApp().globalData.$global.CALL_SHOW_OPEN, this.callShowOpen)
			uni.$off(getApp().globalData.$global.CALL_SHOW_CLOSE, this.callShowClose)
		},
		methods: {
			touchmove(e) {
				// 单指触摸
				if (e.touches.length !== 1) {
					return false;
				}
				// console.log(e)
				this.top = e.changedTouches[0].pageY - this.startClientTop + this.startTop
				this.left = e.changedTouches[0].pageX - this.startClientLeft + this.startLeft
			},
			touchend(e) {
				// console.log("------结束,top:" + this.top + ",left:" + this.left)
				// console.log(e)
				getApp().globalData.callShowTop = this.top
				getApp().globalData.callShowLeft = this.left
				uni.$emit(getApp().globalData.$global.CALL_SHOW_UPDATE) // 更新每个页面悬浮框位置
			},
			touchstart(e) {
				// console.log("------开始")
				// console.log(e)
				this.startTop = this.top
				this.startLeft = this.left
				this.startClientTop = e.changedTouches[0].pageY
				this.startClientLeft = e.changedTouches[0].pageX
			},
			callShowUpdate() {
				// 更新每个页面悬浮框位置
				this.top = getApp().globalData.callShowTop
				this.left = getApp().globalData.callShowLeft
			},
			callShowOpen() {
				// 打开每个页面悬浮框
				this.popupShow = true
				getApp().globalData.callShow = true
			},
			callShowClose() {
				// 关闭每个页面悬浮框
				this.popupShow = false
				getApp().globalData.callShow = false
			},
		}
	}
</script>

<style lang="scss" scoped>
	.call-plate {
		display: flex;
		position: absolute;
		width: 90px;
		height: 160px;
		z-index: 9999999;
		background-color: yellow;
	}
</style>
在 App.vue中全局存储悬浮框位置信息
globalData: {
	callShowTop: 100, // 悬浮框top
	callShowLeft: 100, // 悬浮框left
	callShow: false, // 悬浮框是否显示
},
3,在每个需要用到悬浮框的页面引入
<template>
	<view class="content">
        <!--组件引用-->
		<call-screen></call-screen>
	</view>
</template>
发通知控制显示隐藏悬浮框
uni.$emit(that.global.CALL_SHOW_CLOSE)
uni.$emit(that.global.CALL_SHOW_OPEN)
4,实现效果
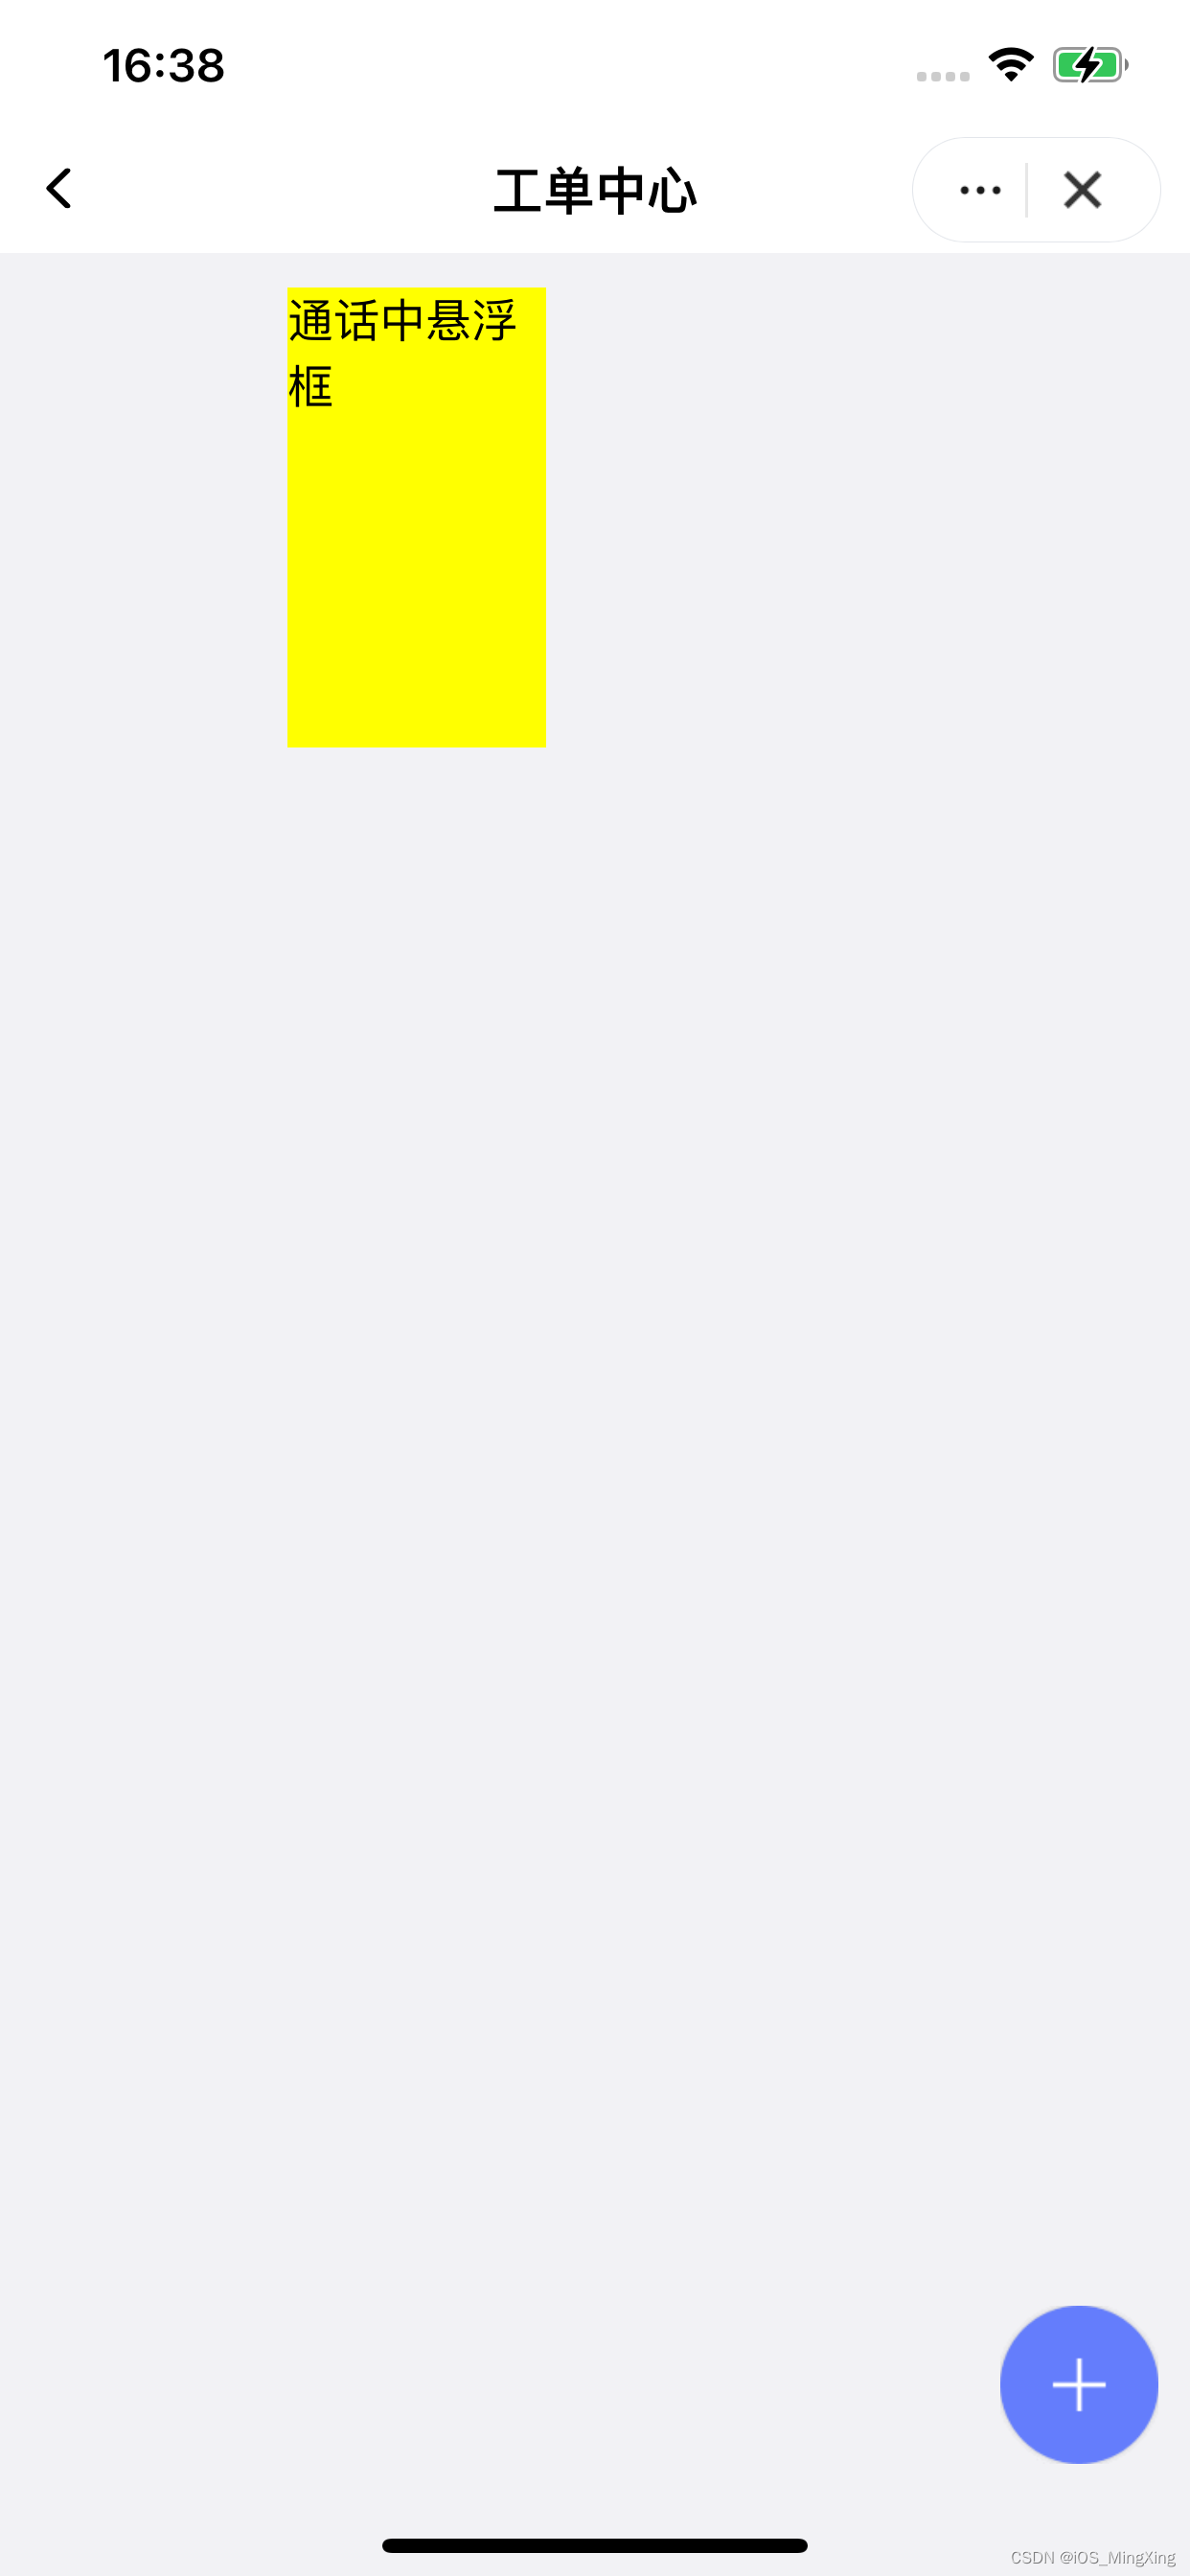
每个页面切换后都会更新最新位置


 8633
8633

 被折叠的 条评论
为什么被折叠?
被折叠的 条评论
为什么被折叠?
 到【灌水乐园】发言


