


今天来实现一个放大镜功能,代码注释比较详细,就直接上代码了,中间有一些需要注意的点,比如说蒙版大小的设置要与商品框成比例。在设置放大镜与蒙版移动关系这里使用了scrollLeft和scrollTop非常快捷地实现了它们之间的移动关系。
<!DOCTYPE html>
<html>
	<head>
		<meta charset="utf-8">
		<title>放大镜功能实现</title>
		<style type="text/css">
			*{
				padding: 0;
				margin: 0;
			}
			#product{
				position: relative;
				height: 300px;
				width: 300px;
				background: url(images/small.jpg) 100%/100%;
			}
			.musk{
				position: absolute;
				width: 150px;   /*这里蒙版的高度要和product之间成2倍关系*/
				height: 150px;
				background-color: antiquewhite;
				opacity: .5;
				display:none;
			}
			.mirror{
				height:300px;
				width: 300px;
				position: absolute;
				border: 1px solid #ccc;
				right: -310px;
				top:0;
				display: none;
				overflow: hidden;
			}
			.mirror img{
				height: 600px;
				width: 600px;
			}
		</style>
	</head>
	<body>
		<div id="product">
			<div class="musk">
			</div>
			<div class="mirror">
				<img src="./images/big.jpg" >
			</div>
		</div>
		<script type="text/javascript">
			(function(){
				//获取元素-------------------------
			 const pro=document.querySelector('#product');
			 const musk=document.querySelector('.musk');
			 const mirror=document.querySelector('.mirror');
			 //添加鼠标移入移出事件------------------
			 pro.onmouseenter=function(){
				 musk.style.display='block';
				 mirror.style.display='block';
			 }
			 pro.onmouseleave=function(){
				 musk.style.display='none';
				 mirror.style.display='none'
			 }
			 //给商品框添加鼠标移动事件--------------
			 /*slider随着鼠标移动在父元素的空间范围内移动,我们要获取到鼠标在元素pro上的位置。
			 实际中我们的项目页面肯定不止一个放大镜这么简单,这里我们获取鼠标的位置采用以下公式:
			 鼠标在元素上的位置=鼠标在视口上的位置-元素在视口上的位置.*/
			 pro.onmousemove=function(event){
				 //鼠标在视口上的位置
				 let clientX=event.clientX;
				 let clientY=event.clientY;
				 //元素在视口中的位置
				 let eleX=pro.getBoundingClientRect().left;
				 let eleY=pro.getBoundingClientRect().top;
				 //鼠标在元素上的位置
				 let left=clientX-eleX-musk.offsetWidth/2;//此时鼠标在musk的中心位置
				 let top=clientY-eleY-musk.offsetHeight/2;//此时鼠标在musk的中心位置
				 //左右边界判断
				 if(left<=0){
					 left=0;
				 }else if(left>=pro.clientWidth-musk.offsetWidth){
					 left=pro.clientWidth-musk.offsetWidth;
				 }
				 //上下边界值判断
				 if(top<=0){
					 top=0;
				 }else if(top>pro.clientHeight-musk.offsetHeight){
					 top=pro.clientHeight-musk.offsetHeight;
				 }
				 //设置musk的位置
				 musk.style.left=left+'px';
				 musk.style.top=top+'px';
				 /*设置mirro中的图片随着musk的移动而移动
				  我们发现mirror中图片的移动是和musk的移动方向是相反的
				 **/
				 //这里使用了scrollLeft和scrollTop非常方便快捷
				 mirror.scrollLeft=left*2;
				 mirror.scrollTop=top*2;
			 }

			})()
		</script>
	</body>
</html>
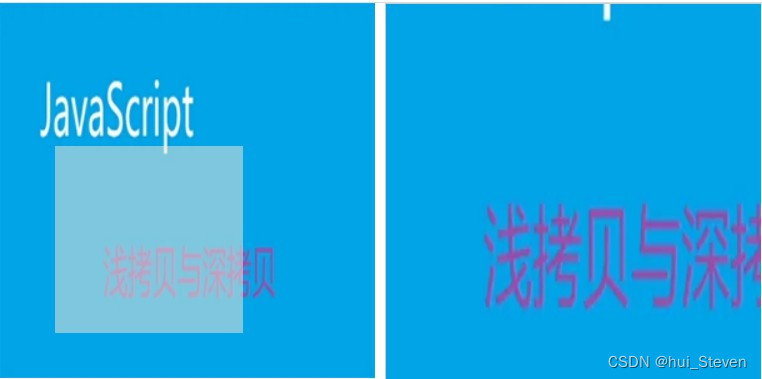
最后实现效果如下


 146
146


 被折叠的 条评论
为什么被折叠?
被折叠的 条评论
为什么被折叠?
 到【灌水乐园】发言


