


文章目的
如何用纯代码的方式创建UITabBarController
方法
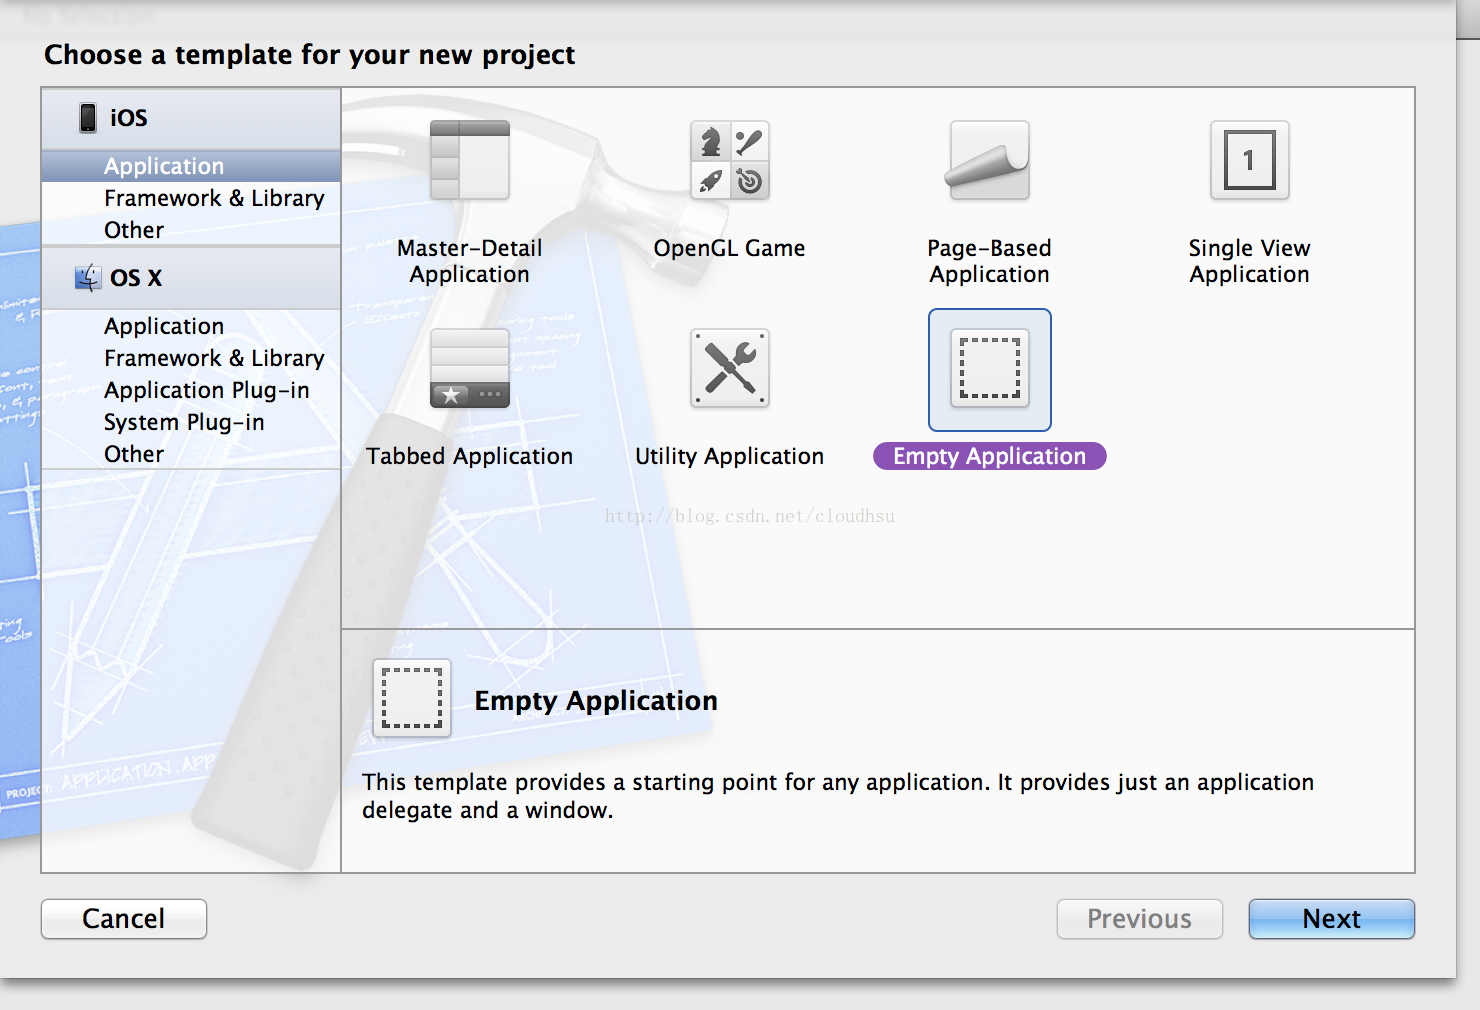
1. 首先开启XCode并建立一个Empty Application
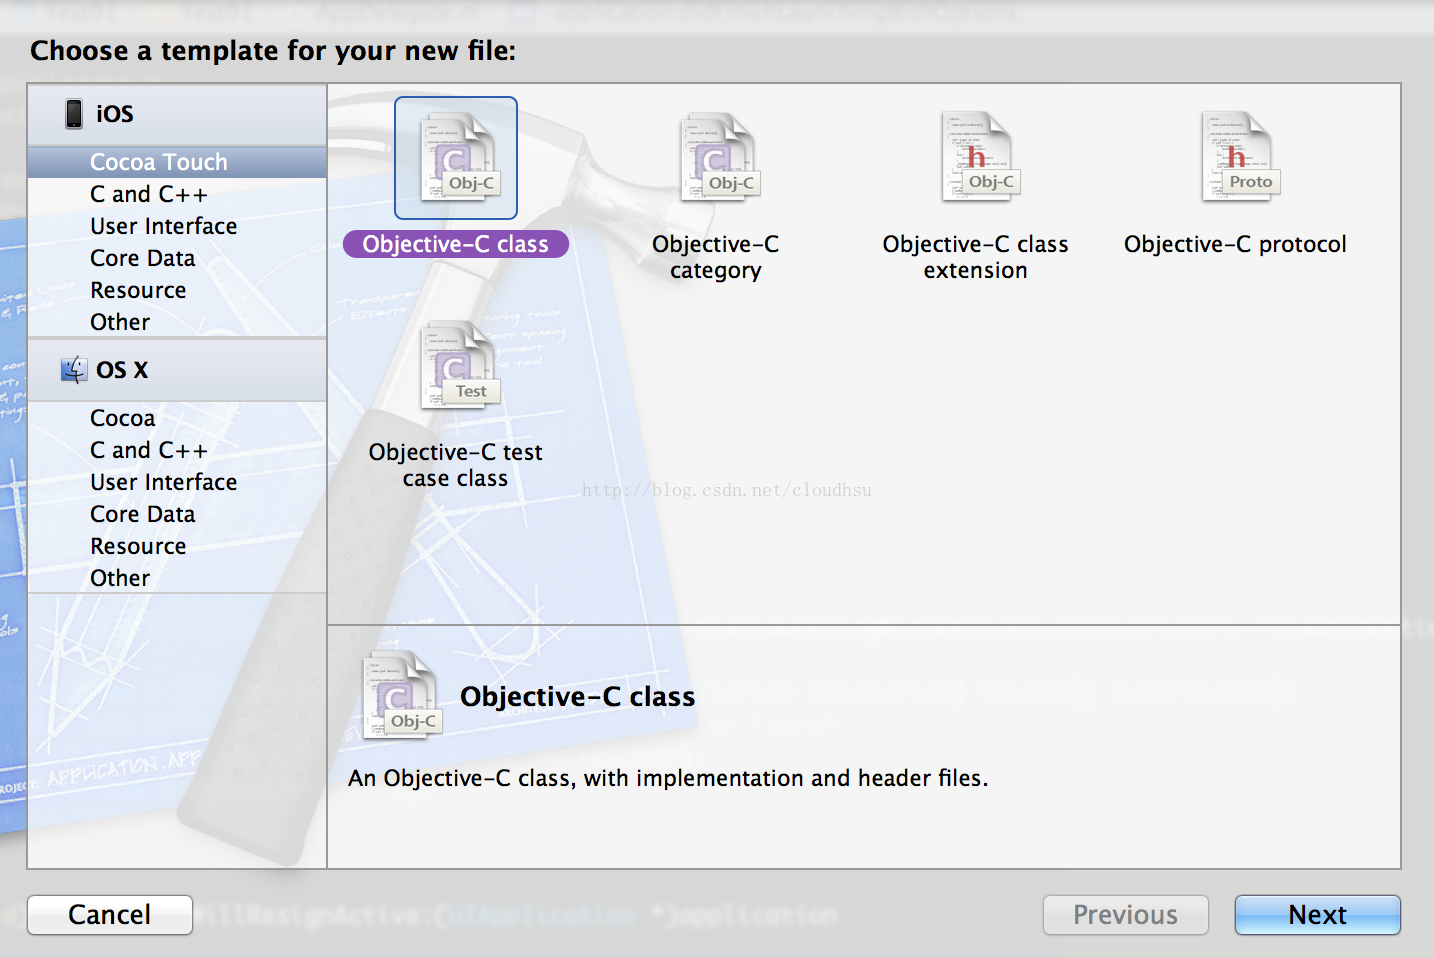
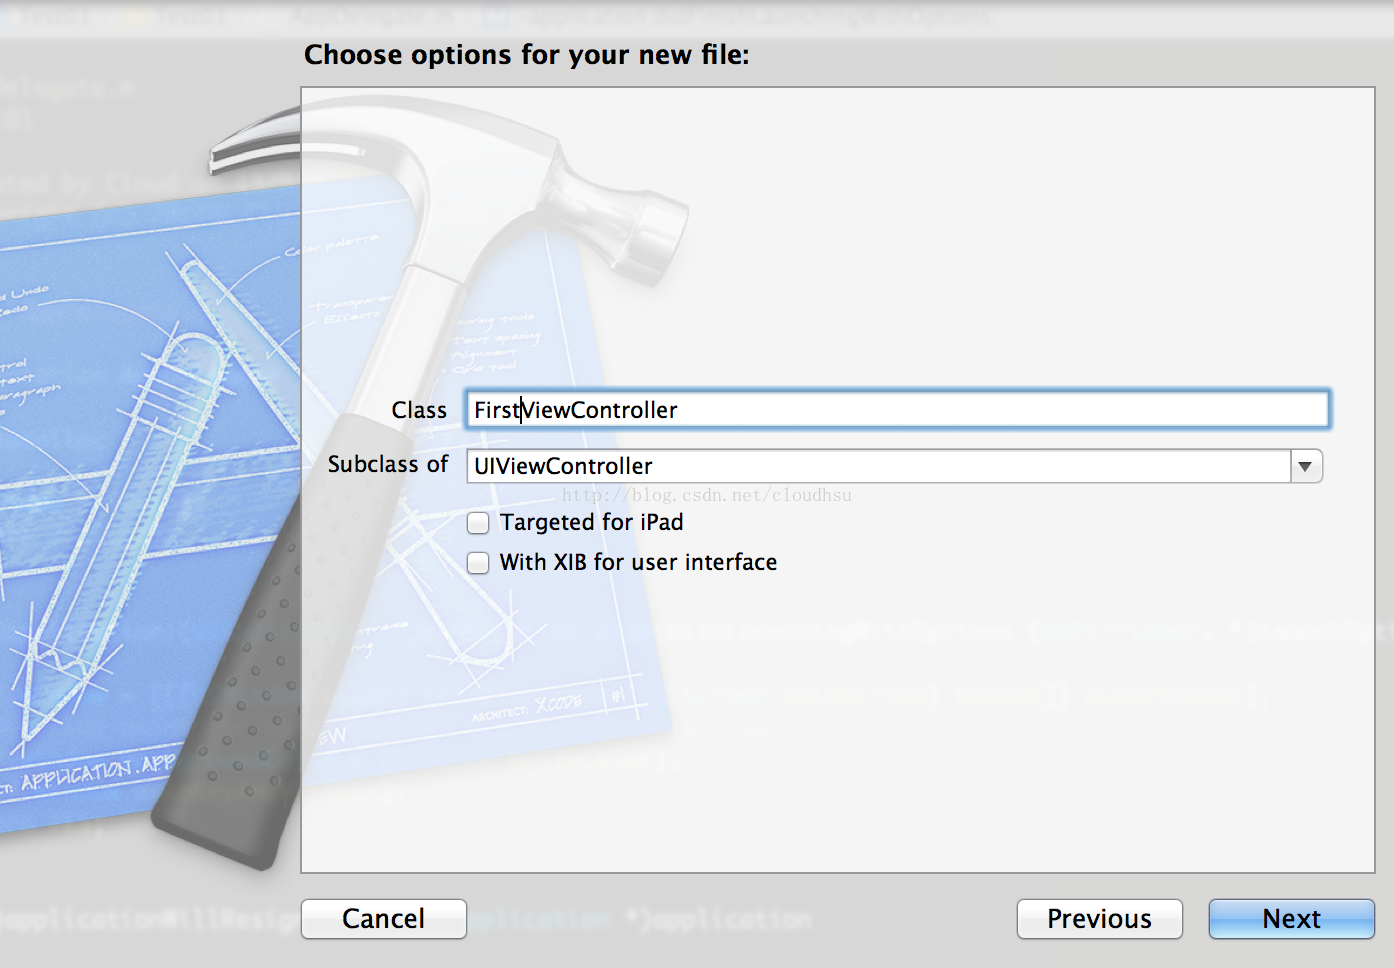
2. 加入一个Objective-C Class并继承自UIViewController,取名为FirstViewController
3. 重复一次上面动作,并取名为SecondViewController

4. 之后可在工程中看到此图
5. 开启AppDelegate.h,并加入如下代码
#import <UIKit/UIKit.h>

@interface AppDelegate : UIResponder <UIApplicationDelegate>
{
    UITabBarController* tabBarViewController;
}

@property (strong, nonatomic) UIWindow *window;

@end
6. 开启AppDelegate.m,并加入如下代码
- (BOOL)application:(UIApplication *)application didFinishLaunchingWithOptions:(NSDictionary *)launchOptions
{
    self.window = [[[UIWindow alloc] initWithFrame:[[UIScreen mainScreen] bounds]] autorelease];
    // Override point for customization after application launch.
    self.window.backgroundColor = [UIColor whiteColor];
    [self.window makeKeyAndVisible];

    tabBarViewController = [[UITabBarController alloc]init];
    [self.window setRootViewController:tabBarViewController];

    FirstViewController* first = [[FirstViewController alloc]init];
    SecondViewController* second = [[SecondViewController alloc]init];
    tabBarViewController.viewControllers = [NSArray arrayWithObjects:first, second, nil];
    [first release];
    [second release];
}
tabBarViewController = [[UITabBarController alloc]init];
[self.window setRootViewController:tabBarViewController];第二行为将tabBarViewController设定为window的root view controller(根视图控制器)
tabBarViewController.viewControllers = [NSArray arrayWithObjects:first, second, nil];7.用代码修改TabBar与TabBarItem
UITabBar *tabBar = tabBarViewController.tabBar;
UITabBarItem *tabBarItem1 = [tabBar.items objectAtIndex:0];
UITabBarItem *tabBarItem2 = [tabBar.items objectAtIndex:1];并在UITabBar的items属性取得所有的UITabBarItem
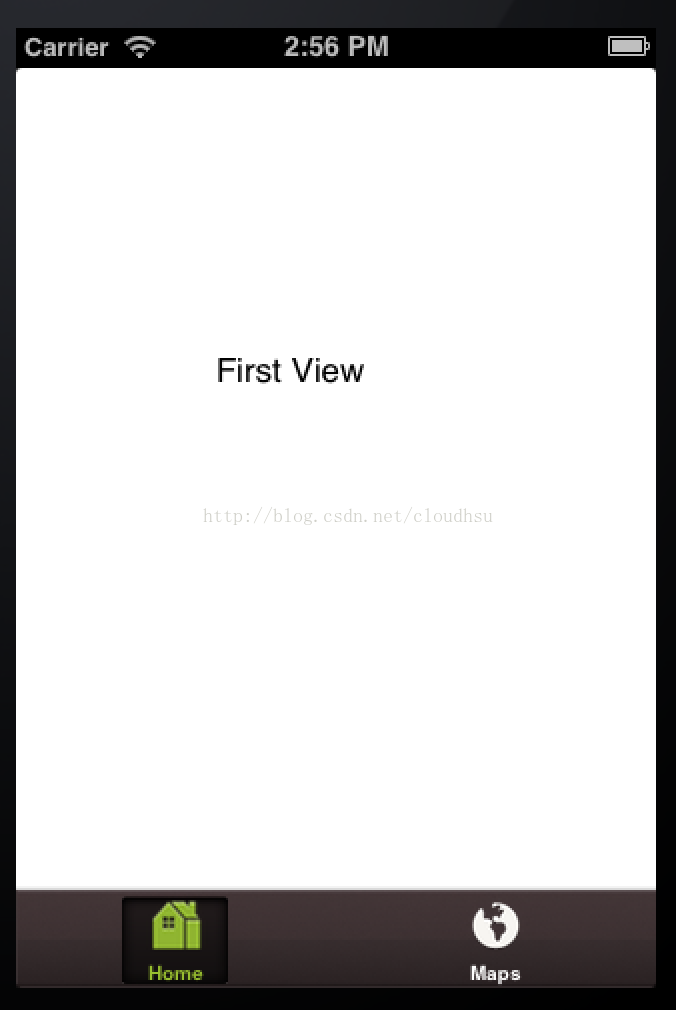
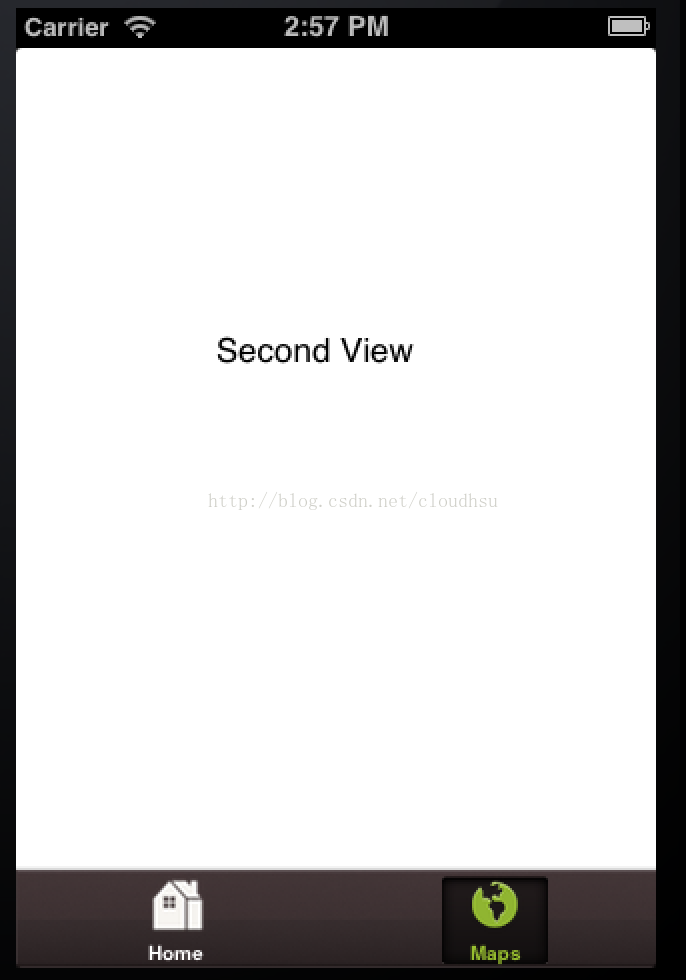
tabBarItem1.title = @"Home";
tabBarItem2.title = @"Maps";[tabBarItem1 setFinishedSelectedImage:[UIImage imageNamed:@"home_selected.png"] withFinishedUnselectedImage:[UIImage imageNamed:@"home.png"]];
[tabBarItem2 setFinishedSelectedImage:[UIImage imageNamed:@"maps_selected.png"] withFinishedUnselectedImage:[UIImage imageNamed:@"maps.png"]];-(void)set<wbr>Finished<wbr>Selected<wbr>Image:(<code><a target="_blank" href="file:///Applications/Xcode.app/Contents/PlugIns/IDEQuickHelp.ideplugin/Contents/Resources/documentation/UIKit/Reference/UIImage_Class/Reference/Reference.html#//apple_ref/doc/c_ref/UIImage" title="" data-line="" data-column="" style="color: rgb(0, 51, 102); text-decoration: none; ">UI<wbr>Image</wbr></a> *</code>)<code>selected<wbr>Image</wbr></code> with<wbr>Finished<wbr>Unselected<wbr>Image:(<code><a target="_blank" href="file:///Applications/Xcode.app/Contents/PlugIns/IDEQuickHelp.ideplugin/Contents/Resources/documentation/UIKit/Reference/UIImage_Class/Reference/Reference.html#//apple_ref/doc/c_ref/UIImage" title="" data-line="" data-column="" style="color: rgb(0, 51, 102); text-decoration: none; ">UI<wbr>Image</wbr></a> *</code>)<code>unselected<wbr>Image</wbr></code></wbr></wbr></wbr></wbr></wbr></wbr>这是UITabBarItem提供的方法,可以设定上面所显示的图片,selectedImage是只目前选择并显示的TabBatItem显示的图片
unselectedImage则是平常未选中时显示的图片
UIImage* tabBarBackground = [UIImage imageNamed:@"tabbar.png"];
[[UITabBar appearance] setBackgroundImage:tabBarBackground];[[UITabBar appearance] setSelectionIndicatorImage:[UIImage imageNamed:@"tabbar_selected.png"]];UIColor *titleHighlightedColor = [UIColor colorWithRed:153/255.0 green:192/255.0 blue:48/255.0 alpha:1.0];
[[UITabBarItem appearance] setTitleTextAttributes:[NSDictionary dictionaryWithObjectsAndKeys:
titleHighlightedColor, UITextAttributeTextColor,
nil] forState:UIControlStateHighlighted];-(void)set<wbr>Title<wbr>Text<wbr>Attributes:(<code>NS<wbr>Dictionary *</wbr></code>)<code>attributes</code> for<wbr>State:(<code>UI<wbr>Control<wbr>State</wbr></wbr></code>)<code>state</code></wbr></wbr></wbr></wbr>这个方法可以设定显示文字的属性,在这段代码中,是设定为显示文字的颜色
其他参考


 1697
1697

 被折叠的 条评论
为什么被折叠?
被折叠的 条评论
为什么被折叠?
 到【灌水乐园】发言


