


- 创建项目
1.1点击:file-》other…(有maven Project直接选)

1.2 next
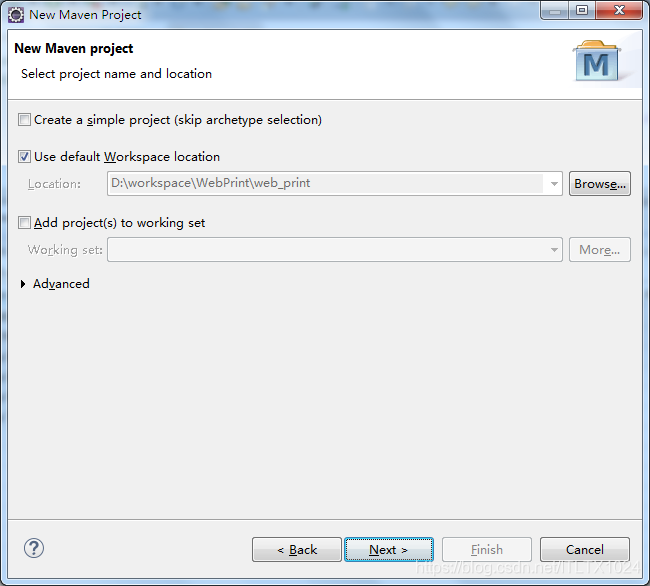
1.3 选择 maven-archetype-webapp,点击next

1.4 填写项目名,点击finish
(artifact id是项目名,pckage是包名)

- 修改项目属性
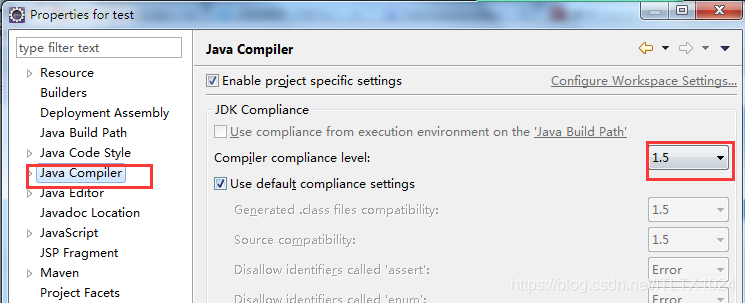
2.1 项目右键build Pathàconfigure build Path…
(改为配置的jdk版本(jdk1.6以上))


2.2 项目右键:newàsource Folder,新建src/test/resources, 然后FINSH
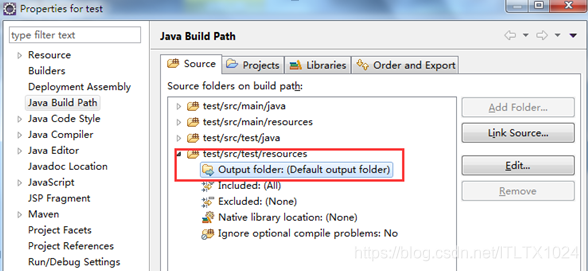
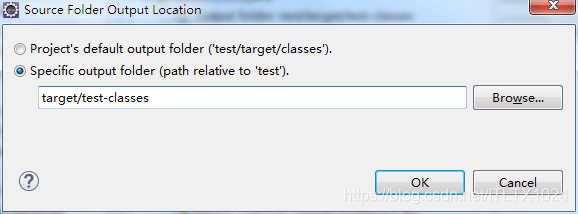
2.3 修改保存资源路径(上一步的resources)打开改为:target/test-classes
2.2 修改web.xml文件(全部替换)

| <?xml version="1.0" encoding="UTF-8"?> <web-app xmlns:xsi="http://www.w3.org/2001/XMLSchema-instance" xmlns="http://java.sun.com/xml/ns/javaee" xsi:schemaLocation="http://java.sun.com/xml/ns/javaee http://java.sun.com/xml/ns/javaee/web-app_3_0.xsd" version="3.0"> <display-name>Archetype Created Web Application</display-name> </web-app> |
- 修改jdk及web版本
3.1到项目工作区间的.settings文件夹中(如:D:\workspace\webprintn\.settings)
3.1.1 修改:org.eclipse.jdt.core.prefs(红框内改为jdk版本)

3.1.2 修改:org.eclipse.wst.common.project.facet.core.xml
(红框内改为jdk版本[1.8]和web版本[3.0])

3.2.项目右键 build Pathàconfigure build Path…(此步之前要有tomcat)
3.2.1 Projectàclean… 重新编译项目
3.2.2 修改为电脑的jdk版本
3.2.3 添加服务

3.2.4修改web版本和jdk版本

如果无法保存,解决方式如下:


| <plugins> <plugin> <groupId>org.apache.maven.plugins</groupId> <artifactId>maven-compiler-plugin</artifactId> <version>2.3.2</version> <configuration> <source>1.8</source> <target>1.8</target> </configuration> </plugin> </plugins> |
重新执行3.2的步骤
- 项目右键:mavenàupdate Project…àok


 414
414


 被折叠的 条评论
为什么被折叠?
被折叠的 条评论
为什么被折叠?
 到【灌水乐园】发言


