


 本文深入探讨了三种微服务间的调用方式:DiscoveryClient、SpringCloud增强版RestTemplate及NetflixFeign,详细讲解了各自的配置、使用场景及代码实现。
目录
本文概览:介绍了DiscoveryClient、Spring cloud增强版的spring RestTemplate、feign三种模式。
1 服务查找介绍
存在DiscoveryClient 、Spring Cloud增强版的 RestTemplate、NetflixFeign三种方式
(1)DiscoveryClient 不支持ribbon,只能获取一个服务列表,所以只能自己做负载均衡。
(2)spring cloud增强版的restTemplate,它支持ribbon,必须使用@Loadbalancer。
- 使用了ribbon,支持负载均衡
- URL中不需要具体的Ip了,只需要一个appId就可以了;
(3)Netflix feign
相比spring cloud增强版的restTemplate,Netflix Feign更节省代码,只需要一个接口就声明就可以了。
总结,上面三种方式实际执行步骤是类似的,如下:
- 第一步 查询服务的所有IP
- 第二步 负载均衡,选择一个IP
- 第三步 通过RestTemplate调用
2 discoveryClient
1、使用@EnableDiscoveryClient标识在应用中引入discoveryClient
| 1 2 3 4 5 6 7 8 | @SpringBootApplication(scanBasePackages = {"com.hangwang.template.springboottemplate"}) // 使用Spring DiscoveryClient发现服务 @EnableDiscoveryClient public class Application { public static void main(String[] args) { SpringApplication.run(Application.class, args); } } |
2、使用DiscoveryClient调用下游服务。对于下游服务中/query的接口,可以参考附录。
| 1 2 3 4 5 6 7 8 9 10 11 12 13 14 15 16 17 18 19 | @Service public class DiscoveryClientService { private static final Logger LOGGER = LoggerFactory.getLogger(DiscoveryClientService.class); @Autowired private DiscoveryClient discoveryClient;
public String query() { List<ServiceInstance> instances = discoveryClient.getInstances("service-prodvider1"); StringBuilder url = new StringBuilder("http://"); url.append(instances.get(0).getHost() + ":" + instances.get(0).getPort()); url.append("/query");
RestTemplate restTemplate = new RestTemplate(); String response = restTemplate.getForObject(url.toString(), String.class); LOGGER.info("query with discovery client :{}", response); return response;
} } |
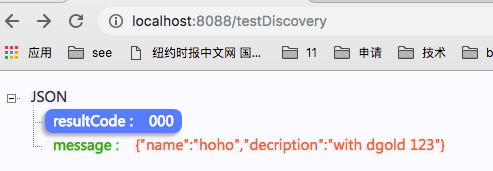
3、测试
| 1 2 3 4 5 6 7 8 9 10 11 12 13 14 15 | @Controller public class ClientController { @Autowired private DiscoveryClientService discoveryClientService;
@RequestMapping(value = "/testDiscovery", method = RequestMethod.GET) @ResponseBody public ResponseDemo helloJson(String goodsId, Integer userId) { String response = discoveryClientService.query(); ResponseDemo demo = new ResponseDemo(); demo.setMessage(response); demo.setResultCode("000"); return demo; } } |
4、执行结果
3 SpringCloud增强版RestTemplate
1、使用@LoadBalanced,如下代码,标识Spring RestTemplate可以使用feigen。
| 1 2 3 4 5 6 7 8 9 10 11 12 | @SpringBootApplication(scanBasePackages = {"com.hangwang.template.springboottemplate"}) public class Application { public static void main(String[] args) { SpringApplication.run(Application.class, args); }
@LoadBalanced @Bean public RestTemplate restTemplate(){ return new RestTemplate(); } } |
2、使用增强版的RestTemplate。
与DiscoveryClient的区别在于:
- 使用了ribbon,支持负载均衡
- URL中不需要具体的Ip了,只需要一个appId就可以了;
| 1 2 3 4 5 6 7 8 9 10 11 12 13 14 15 16 17 18 | @Service public class SpringCloudRestTemplateService { @Autowired private RestTemplate restTemplate;
public String query() {
StringBuilder url = new StringBuilder("http://"); // 添加服务ID,不需要具体的IP和端口号 url.append("service-prodvider1"); // 下游服务的接口 url.append("/query");
String response = restTemplate.getForObject(url.toString(), String.class); return response;
} } |
对于下游服务中/query的接口,可以参考附录。
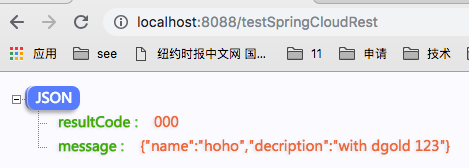
3、测试
| 1 2 3 4 5 6 7 8 9 | @RequestMapping(value = "/testSpringCloudRest", method = RequestMethod.GET) @ResponseBody public ResponseDemo testSpringCloudRest() { String response = springCloudRestTemplateService.query(); ResponseDemo demo = new ResponseDemo(); demo.setMessage(response); demo.setResultCode("000"); return demo; } |
4、执行结果
4 Netflix Feign
4.1 实例
1、maven依赖
| 1 2 3 4 | <dependency> <groupId>org.springframework.cloud</groupId> <artifactId>spring-cloud-starter-feign</artifactId> </dependency> |
2、使用@EnableFeignClients
| 1 2 3 4 5 6 7 8 | @SpringBootApplication(scanBasePackages = {"com.hangwang.template.springboottemplate"}) // 使用feigen @EnableFeignClients(basePackages = { "com.hangwang.template.springboottemplate.client" }) public class Application { public static void main(String[] args) { SpringApplication.run(Application.class, args); } } |
3、添加@FeignClient,调用外部服务,对于下游服务中/query的接口,可以参考附录。
| 1 2 3 4 5 | @FeignClient("service-prodvider1") public interface FeignClientServcie { @RequestMapping(value = "/query", method = RequestMethod.GET, consumes = "application/json") String query(); } |
如果通过网关访问某一个微服务可以通过如下
| 1 2 3 4 5 6 7 8 9 | // 通过FeignClient指定网关 @FeignClient("gateWay") // 指定服务ID @RequestMapping("/service-prodvider1") public interface FeignClientWithGateWayServcie { // 服务查询url @RequestMapping(value = "/query", method = RequestMethod.GET, consumes = "application/json") String query(); } |
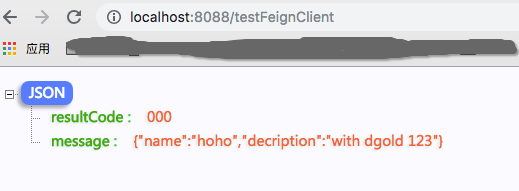
4、测试
| 1 2 3 4 5 6 7 8 9 | @RequestMapping(value = "/testFeignClient", method = RequestMethod.GET) @ResponseBody public ResponseDemo testFeignClient() { String response = feignClientServcie.query(); ResponseDemo demo = new ResponseDemo(); demo.setMessage(response); demo.setResultCode("000"); return demo; } |
5、执行结果为
4.2 相关问题
1、问题NoClassDefFoundError: feign/Feign$Builder。
(1)添加依赖
| 1 2 3 4 | <dependency> <groupId>org.springframework.cloud</groupId> <artifactId>spring-cloud-starter-feign</artifactId> </dependency> |
(2)添加basePackages
| 1 | @EnableFeignClients(basePackages = { "com.hangwang.template.springboottemplate.client" }) |
附1 对于下游服务中/query的接口
| 1 2 3 4 5 6 7 8 9 10 11 12 | @Controller public class FirstController {
@RequestMapping("/query") @ResponseBody public ViewVo query() { ViewVo vo = new ViewVo(); vo.setName("hoho"); vo.setDecription("with dgold 123"); return vo; } } |
附2 相关配置
上面三种方式对应的配置和部署eureka的客户端一样,如下
| 1 2 3 4 | eureka.client.serviceUrl.defaultZone=http://localhost:8761/eureka/ eureka.instance.status-page-url=http://localhost:${server.port}/swagger-ui.html server.port = 8088 spring.application.name=ServiceBootMonitor |


 168万+
168万+

 被折叠的 条评论
为什么被折叠?
被折叠的 条评论
为什么被折叠?
 到【灌水乐园】发言


