


前言
上传文件应该是工作中最经常遇到的场景,今天就来和大家一起来简单做一个Spring Boot上传文件的功能,废话不多说,直接开始。
正文
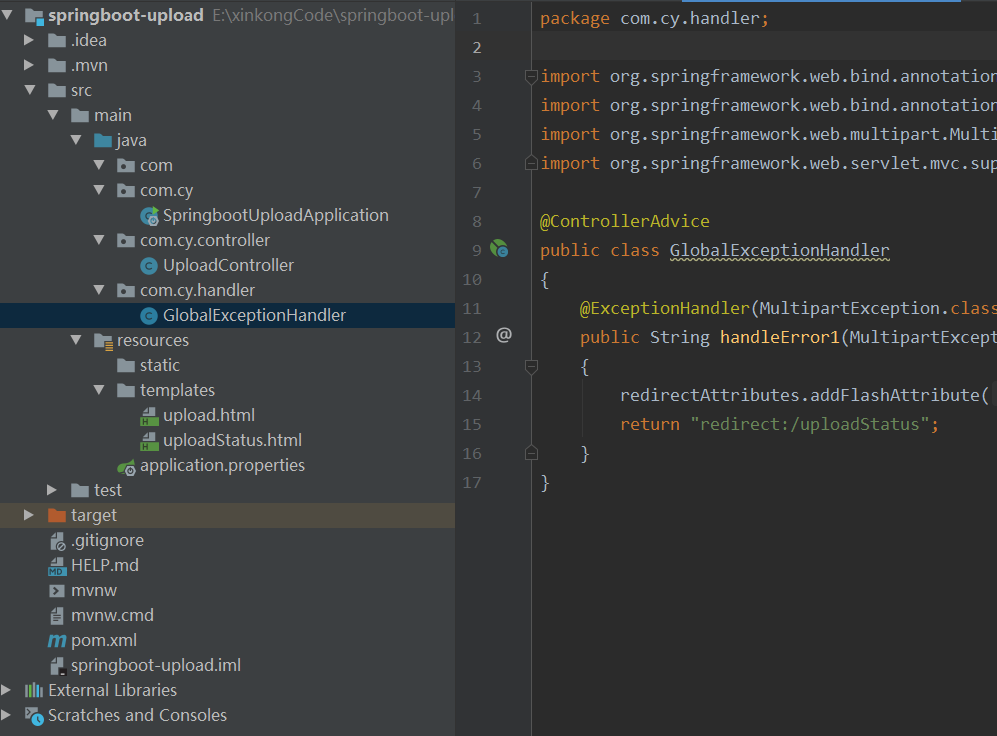
首先新建一个springboot的项目,项目结构,如下图:
添加依赖
<dependencies>
    <dependency>
        <groupId>org.springframework.boot</groupId>
        <artifactId>spring-boot-starter-web</artifactId>
    </dependency>

    <dependency>
        <groupId>org.springframework.boot</groupId>
        <artifactId>spring-boot-starter-thymeleaf</artifactId>
    </dependency>

    <dependency>
        <groupId>org.springframework.boot</groupId>
        <artifactId>spring-boot-devtools</artifactId>
   	<optional>true</optional>
    </dependency>

    <dependency>
        <groupId>org.springframework.boot</groupId>
        <artifactId>spring-boot-starter-test</artifactId>
        <scope>test</scope>
    </dependency>
</dependencies>
编写上传控制类
@Controller
public class UploadController
{
    private static String UPLOADED_FOLDER = "D:\\uploadFile\\";

    @GetMapping("/")
    public String index()
    {
        return "upload";
    }

    @PostMapping("/upload")
    public String singleFileUpload(@RequestParam("file") MultipartFile file, RedirectAttributes redirectAttributes)
    {
        if (file.isEmpty())
        {
            redirectAttributes.addFlashAttribute("message", "请选择文件上传");
            return "redirect:uploadStatus";
        }

        try
        {
            byte[] bytes = file.getBytes();
            Path dir = Paths.get(UPLOADED_FOLDER);
            Path path = Paths.get(UPLOADED_FOLDER + file.getOriginalFilename());
            if (!Files.exists(dir))
            {
                Files.createDirectories(dir);
            }
            Files.write(path, bytes);
            redirectAttributes.addFlashAttribute("message","上传成功,文件的名称:" + file.getOriginalFilename());

        }
        catch (IOException e)
        {
            redirectAttributes.addFlashAttribute("message", "服务异常");
            e.printStackTrace();
        }
        return "redirect:/uploadStatus";
    }

    @GetMapping("/uploadStatus")
    public String uploadStatus()
    {
        return "uploadStatus";
    }
}
通过MultipartFile读取文件信息,如果文件为空跳转到结果页并给出提示;如果不为空读取文件流并写入到指定目录,最后将结果展示到页面。
MultipartFile是Spring上传文件的封装类,包含了文件的二进制流和文件属性等信息,在配置文件中也可对相关属性进行配置。
spring.http.multipart.enabled=true#默认支持文件上传.spring.http.multipart.file-size-threshold=0#支持文件写入磁盘.spring.http.multipart.location=# 上传文件的临时目录spring.http.multipart.max-file-size=1Mb# 最大支持文件大小spring.http.multipart.max-request-size=10Mb# 最大支持请求大小
最常用的是最后两个配置内容,限制文件上传大小,上传时超过大小会抛出异常。
配置文件
application.properties
server.port=8086
spring.servlet.multipart.max-file-size=10MB
spring.servlet.multipart.max-request-size=10MB
异常处理
@ControllerAdvice
public class GlobalExceptionHandler {

    @ExceptionHandler(MultipartException.class)
    public String handleError1(MultipartException e, RedirectAttributes redirectAttributes) {
        redirectAttributes.addFlashAttribute("message", e.getCause().getMessage());
        return "redirect:/uploadStatus";
    }
}
设置一个@ControllerAdvice用来监控Multipart上传的文件大小是否受限,当出现此异常时在前端页面给出提示。
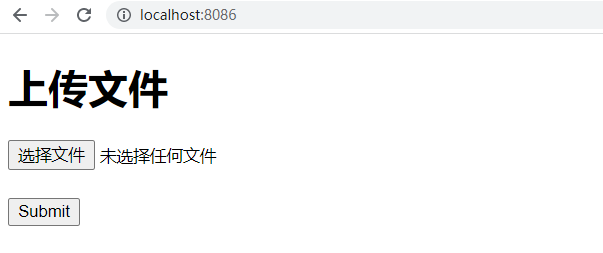
前端页面
upload.html
<!DOCTYPE html>
<html lang="en" xmlns:th="http://www.thymeleaf.org">
<body>
<h1>上传文件</h1>
<form method="POST" action="/upload" enctype="multipart/form-data">
    <input type="file" name="file" /><br/><br/>
    <input type="submit" value="Submit" />
</form>
</body>
</html>
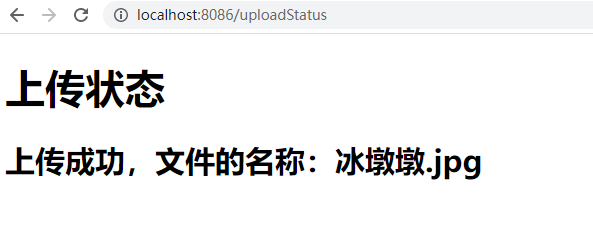
uploadStatus.html
<!DOCTYPE html>
<html lang="en" xmlns:th="http://www.thymeleaf.org">
<body>
<h1>上传状态</h1>
<div th:if="${message}">
    <h2 th:text="${message}"/>
</div>
</body>
</html>
测试
- 启动项目,浏览器输入
localhost:8086,显示如下:
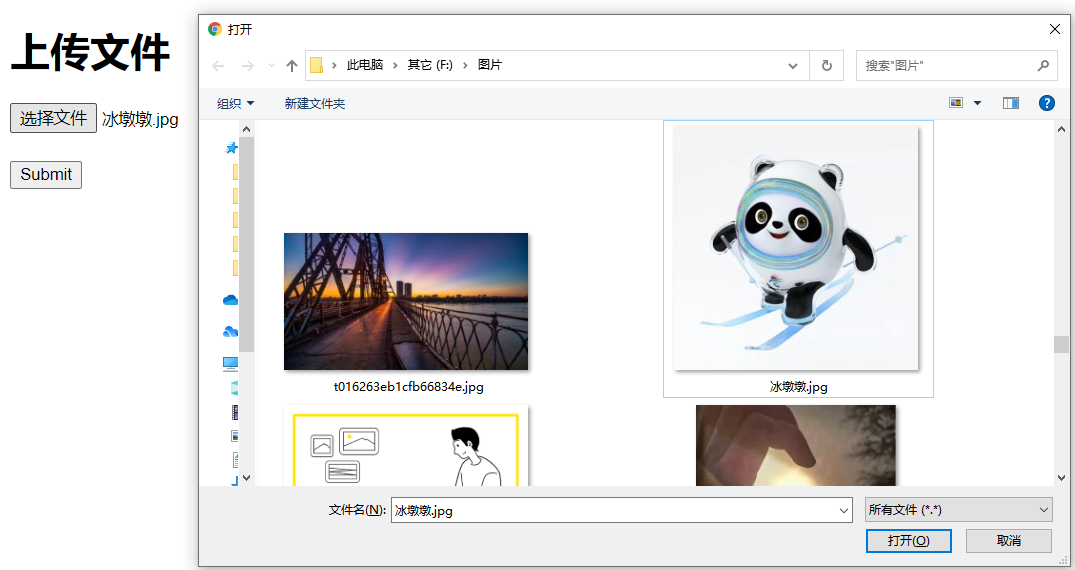
- 选择文件进行上传,这里我选择了一张图片
- 点击
Submit,显示上传成功。
- 查看本地文件夹
D:\\uploadFile\\中已经有了该图片,至此该上传功能已实现。
大文件上传
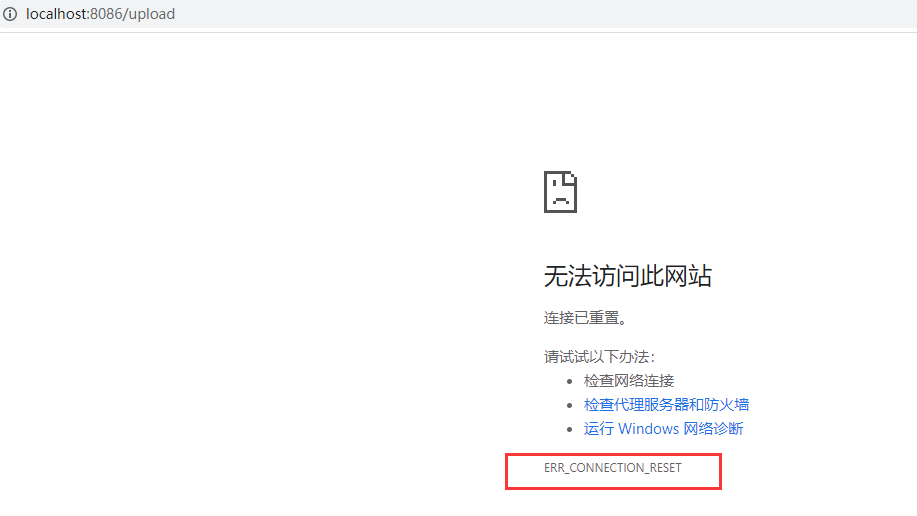
- 测试一下,超过设置的
10M的文件上传结果,如下图,上传文件大于10M出现连接重置的问题,此异常内容 GlobalException 也捕获不到。
Tomcat连接重置
如果部署到Tomcat,请配置maxSwallowSize以避免此Tomcat连接重置问题。 对于嵌入式Tomcat,声明一个TomcatEmbeddedServletContainerFactory,如下代码:
package com.cy;

import org.apache.coyote.http11.AbstractHttp11Protocol;
import org.springframework.boot.SpringApplication;
import org.springframework.boot.autoconfigure.SpringBootApplication;
import org.springframework.boot.context.embedded.tomcat.TomcatConnectorCustomizer;
import org.springframework.boot.context.embedded.tomcat.TomcatEmbeddedServletContainerFactory;
import org.springframework.context.annotation.Bean;

@SpringBootApplication
public class SpringbootUploadApplication
{

    public static void main(String[] args)
    {
        SpringApplication.run(SpringbootUploadApplication.class, args);
    }

    @Bean
    public TomcatEmbeddedServletContainerFactory tomcatEmbedded() {
        TomcatEmbeddedServletContainerFactory tomcat = new TomcatEmbeddedServletContainerFactory();
        tomcat.addConnectorCustomizers((TomcatConnectorCustomizer) connector -> {
            if ((connector.getProtocolHandler() instanceof AbstractHttp11Protocol<?>)) {
                //-1 means unlimited
                ((AbstractHttp11Protocol<?>) connector.getProtocolHandler()).setMaxSwallowSize(-1);
            }
        });
        return tomcat;
    }

}
再次上传超过大小限制的文件,页面抛出异常如下:

总结
关于springboot上传文件简单的demo完成了,还有多文件上传,小伙伴们也可以自己去试试。


 1908
1908


 被折叠的 条评论
为什么被折叠?
被折叠的 条评论
为什么被折叠?
 到【灌水乐园】发言


