


1. 在github上创建项目
2. 在服务器上创建composer包
composer init根据创建命令步骤提示,填写相应信息,最终生成如下所示
composer.json
{
    "name": "Lawuwu\Rabbitmq",
    "description": "Have a test",
    "type": "library",
    "autoload": {
        "psr-4": {
            "Admanage\\Business\\": "src/"
        }
    },
    "authors": [
        {
            "name": "Ghost",
            "email": "617470640@qq.com"
        }
    ],
    "require": {}
}
3. 创建一个简单的demo数据
在src目录下创建一个类文件
<?php
namespace Lawuwu\Rabbitmq;

Class Client
{
    function test(){
	    echo "hello world." . PHP_EOL;
    }
}
然后创建个测试文件
<?php
  require_once "../vendor/autoload.php";

  $client = new Lawuwu\Rabbitmq\Client();
  $client->test();
如果此时测试成功了,则说明基本ok了。
4. 将composer包代码提交到github

然后回到我们的composer包根目录
git init

git add  .

git commit -m "init composer package"

git remote add origin https://github.com/lawuwu/rabbitmq.git
5. 生成tag包
git tag					        //查看当前的所有标记
git tag -l "v1.8.5*"			//查看1.8.5系列的标记

git tag -a v1.0.0 -m "test"	    //打标记
git push					    //推送
=========================================================================
接下来的操作是在仓库服务器上操作
=========================================================================
6. 安装satis (PHP版本需要>=7.3)
composer create-project composer/satis --stability=dev --keep-vcs
mv satis package.demo.com
cd package.demo.com
7. 编辑satis配置文件
vi satis.json

{
        "name": "company/admanage",
        "homepage": "http://package.demo.com",
        "repositories": [{
            "name":"admanage",
            "type": "vcs",
            "url": "https://github.com/lawuwu/rabbitmq.git"
        }],
        "require": {
                "lawuwu/rabbitmq": "*"
        },
        "require-all": true
}
接下来使用satis命令执行
php bin/satis build satis.json public/8. 配置Nginx仓库地址
此处省略,自行配置。。。
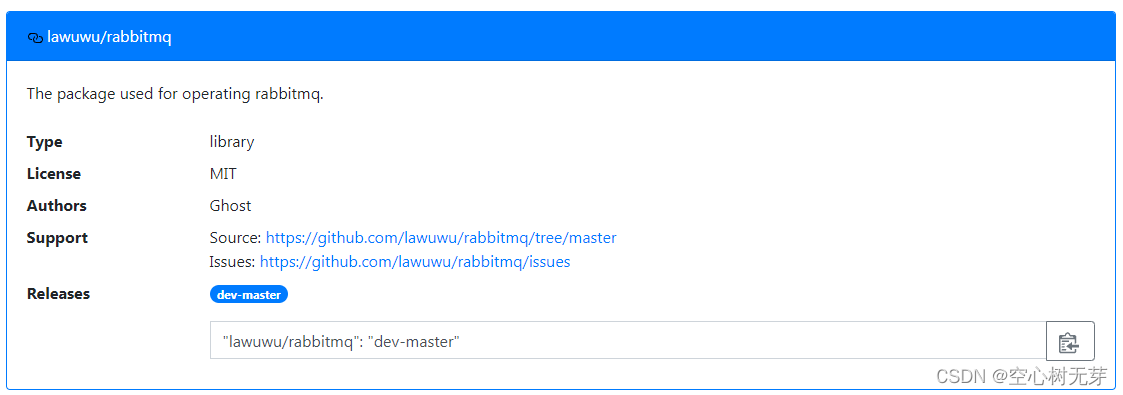
9. 访问仓库地址
10. 在需要添加的项目composer.json中添加仓库和引入配置
{
    "repositories": [{

        "type": "composer",
        "url":  "http://package.demo.com"
    }],

    "require": {
        "lawuwu/rabbitmq": "v1.0.0"
    }

}
11. 然后更新composer.json
composer update


 1363
1363


 被折叠的 条评论
为什么被折叠?
被折叠的 条评论
为什么被折叠?
 到【灌水乐园】发言


