文章出自: http://blog.csdn.net/qibin0506/article/details/42085711
今天带来的是两列并排ListView关联滑动,这里面有两个知识点:1、两个ListView如何并列显示。2、如何关联滑动。
第一个问题,好像我之前的博客提到过,就是让ListView的width有wrap_content的能力,可以参考我的另一篇博客《并排ListView——仿京东分类列表》。
今天的重点在第二个问题上,如何让两个ListView联动起来。
虽然,重点在第二个问题上,但是,任何事都得一步步的来,首先,我们要先让ListView的width有wrap_content的能力。
- public class RelationListView extends ListView {
- private RelationListView mListView;
- public RelationListView(Context context, AttributeSet attrs) {
- this(context, attrs, 0);
- }
- public RelationListView(Context context, AttributeSet attrs, int defStyle) {
- super(context, attrs, defStyle);
- }
- @Override
- protected void onMeasure(int widthMeasureSpec, int heightMeasureSpec) {
- super.onMeasure(widthMeasureSpec, heightMeasureSpec);
- int width = 0;
- int height = getMeasuredHeight();
- int widthMode = MeasureSpec.getMode(widthMeasureSpec);
- int widthSize = MeasureSpec.getSize(widthMeasureSpec);
- if(widthMode == MeasureSpec.EXACTLY) {
- width = widthSize;
- }else if(widthMode == MeasureSpec.AT_MOST) {
- final int childCount = getChildCount();
- for(int i=0;i<childCount;i++) {
- View item = getChildAt(i);
- measureChild(item, widthMeasureSpec, heightMeasureSpec);
- width = Math.max(width, item.getMeasuredWidth());
- }
- }
- setMeasuredDimension(width, height);
- }
- }
继续往下走,如何让两个ListView关联,肯定是要保存另一个ListView的实例,才能去操作它,细心的朋友,可能看到在RelationListView中有一个成员变量:
- private RelationListView mListView;
- public void setRelatedListView(RelationListView listView) {
- mListView = listView;
- }
如何控制联动? 首先我们要知道当前ListView滑动了,我选择了onTouchEvent, 这个方法有个参数MotionEvent 我们直接将这个参数传给要联动的那个ListView的onTouchEvent就ok,直接在onTouchEvent中传吗? 当然不是,那样就造成死循环了。
来看代码:
- public void onTouch(MotionEvent ev) {
- super.onTouchEvent(ev);
- }
- @Override
- public boolean onTouchEvent(MotionEvent ev) {
- if(null != mListView) {
- mListView.onTouch(ev);
- }
- return super.onTouchEvent(ev);
- }
我是定义了一个onTouch方法方法,然后在onTouchEvent中调用该方法。 有什么不一样吗? 在onTouch中,我们直接调用父类的onTouchEvent而不是重写的那个onTouchEvent,这样就避免了死循环。
来使用一下吧, 布局文件:
- <LinearLayout xmlns:android="http://schemas.android.com/apk/res/android"
- xmlns:tools="http://schemas.android.com/tools"
- android:layout_width="match_parent"
- android:layout_height="match_parent"
- android:paddingBottom="@dimen/activity_vertical_margin"
- android:paddingLeft="@dimen/activity_horizontal_margin"
- android:paddingRight="@dimen/activity_horizontal_margin"
- android:paddingTop="@dimen/activity_vertical_margin"
- android:orientation="horizontal"
- tools:context=".MainActivity" >
- <org.loader.relationlistview.RelationListView
- android:id="@+id/listView1"
- android:layout_width="wrap_content"
- android:layout_height="wrap_content" />
- <org.loader.relationlistview.RelationListView
- android:id="@+id/listView2"
- android:layout_width="wrap_content"
- android:layout_height="wrap_content" />
- </LinearLayout>
- public class MainActivity extends Activity {
- private RelationListView mListView1;
- private RelationListView mListView2;
- private String[] mData1 = new String[] { "listView1", "listView1",
- "listView1", "listView1", "listView1", "listView1", "listView1",
- "listView1", "listView1", "listView1", "listView1", "listView1",
- "listView1", "listView1", "listView1", "listView1", "listView1",
- "listView1", "listView1", "listView1", "listView1", "listView1",
- "listView1", "listView1" };
- private String[] mData2 = new String[] { "ListView2", "ListView2",
- "ListView2", "ListView2", "ListView2", "ListView2", "ListView2",
- "ListView2", "ListView2", "ListView2", "ListView2", "ListView2",
- "ListView2", "ListView2", "ListView2", "ListView2", "ListView2",
- "ListView2", "ListView2", "ListView2", "ListView2", "ListView2",
- "ListView2", "ListView2", "ListView2", "ListView2" };
- @Override
- protected void onCreate(Bundle savedInstanceState) {
- super.onCreate(savedInstanceState);
- setContentView(R.layout.activity_main);
- mListView1 = (RelationListView) findViewById(R.id.listView1);
- mListView2 = (RelationListView) findViewById(R.id.listView2);
- mListView1.setAdapter(new ArrayAdapter<String>(this,
- android.R.layout.simple_list_item_1, mData1));
- mListView2.setAdapter(new ArrayAdapter<String>(this,
- android.R.layout.simple_list_item_1, mData2));
- }
- }
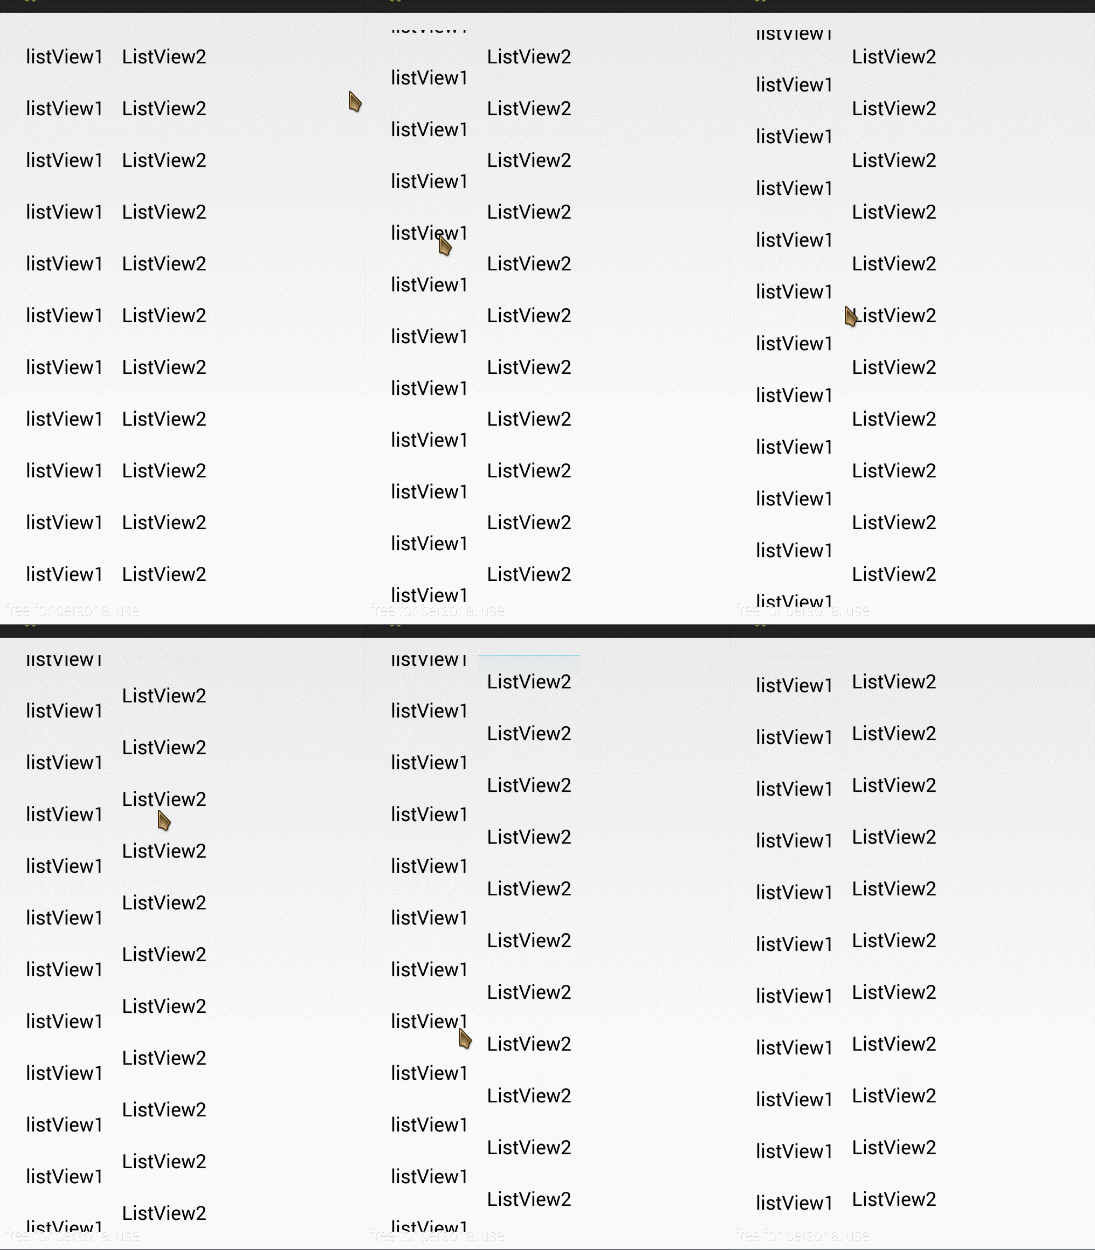
看看效果,是不是两列ListView了,第一个问题已经实现了。

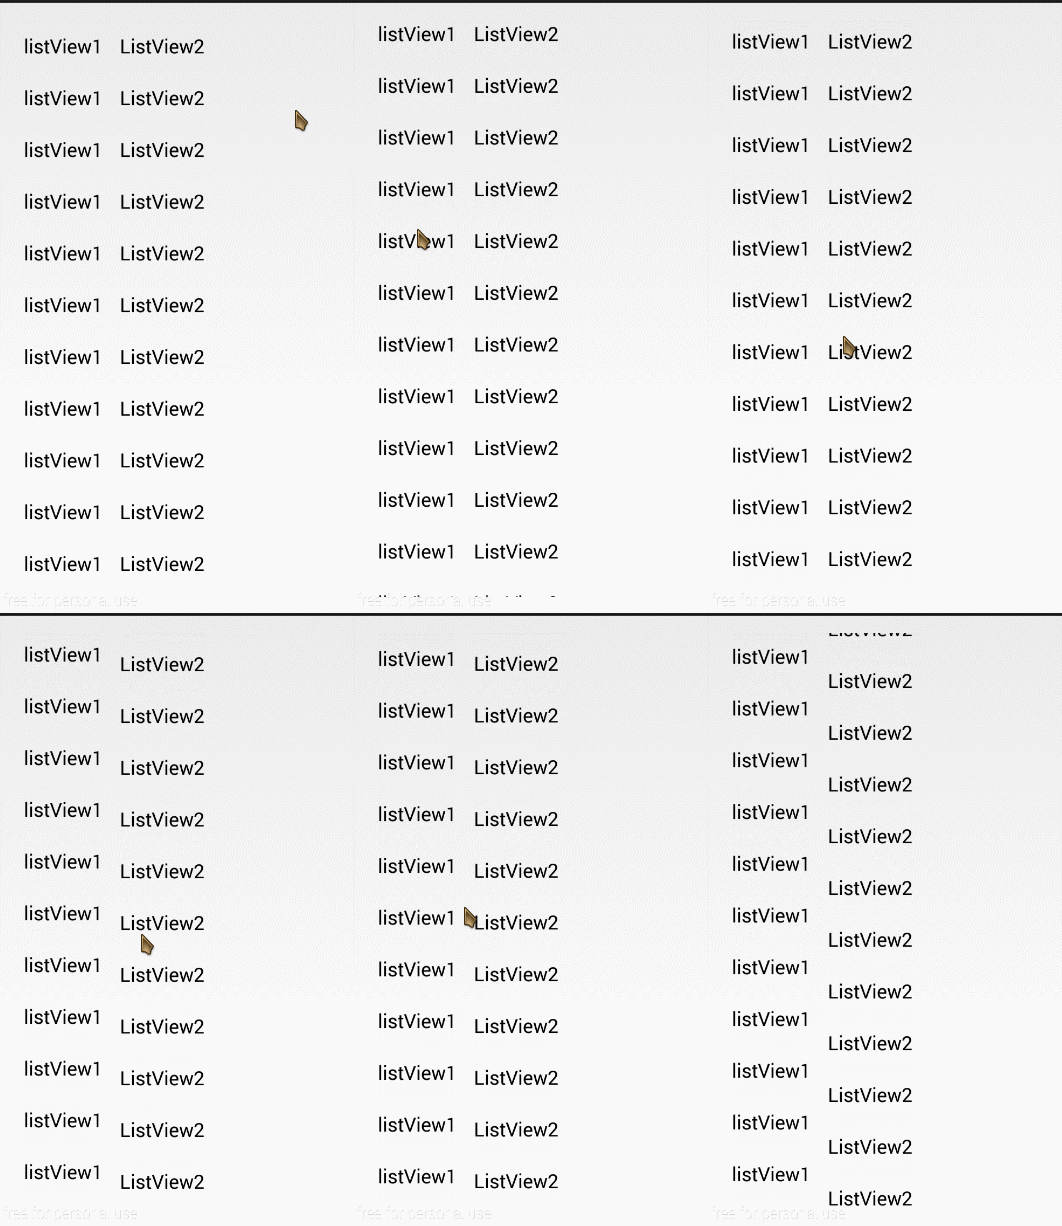
再来看看单向联动,ok,添加一行代码:
- mListView1.setRelatedListView(mListView2);

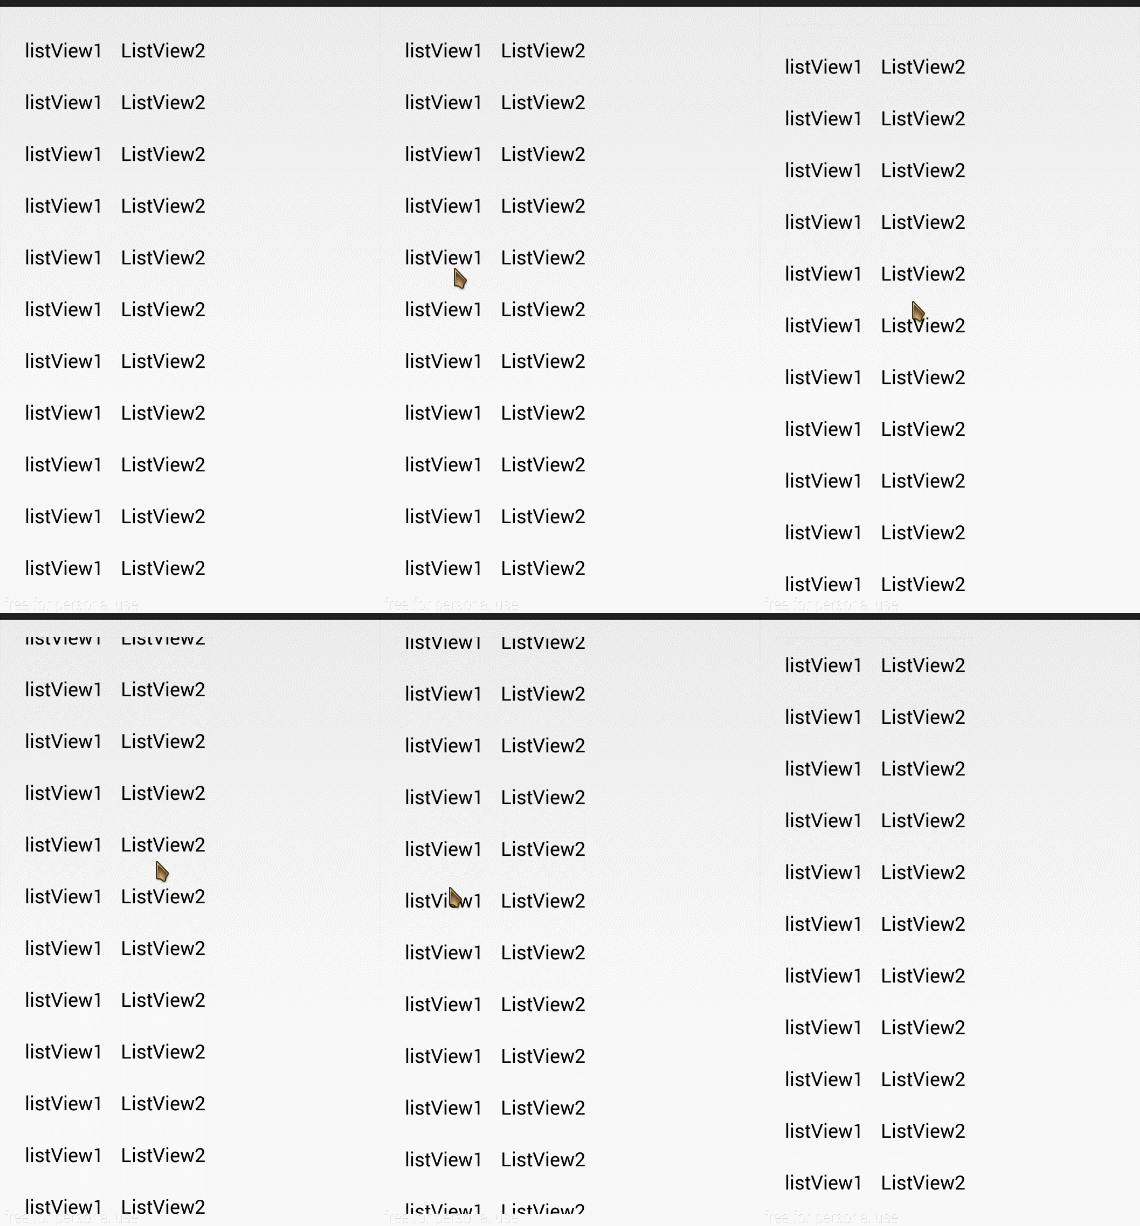
是不是很爽? 相信你已经知道双向联动该如何做了, 对,再添加一行代码:
- mListView2.setRelatedListView(mListView1);
这样就实现了ListView的双向联动。
最后是所有的代码下载地址:http://git.oschina.net/qibin/RelationListView


 687
687

 被折叠的 条评论
为什么被折叠?


