reidis 安装教程笔记(一)
下载redis并解压然后make编译
第一步:
$ wget http://download.redis.io/releases/redis-3.2.5.tar.gz
第二步:
tarxzfredis−3.2.5.tar.gz第三步:
cd redis-3.2.5
第四步:
$ make
注释:
make编译后再redis-3.2.5/src 下会有如下文件 redis-server、redis-cli 等文件
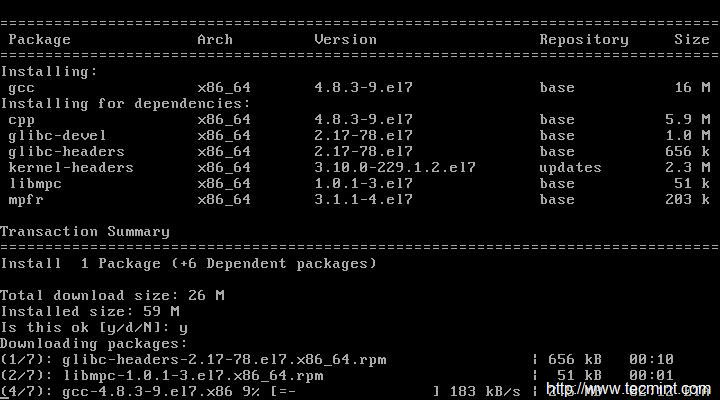
如果你的linux系统中没有安装GCC则无法编译,编译时会报错需要先安装GCC,进行如下操作:
1. # yum install gcc
在 CentOS 上安装 GCC
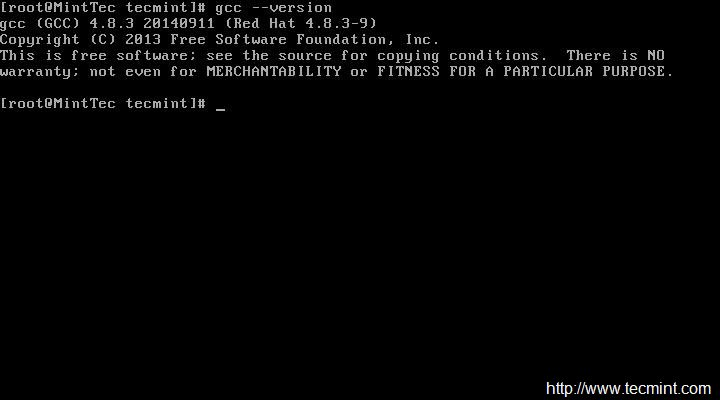
检查安装的 gcc 版本。
1. # gcc –version
检查 GCC 版本
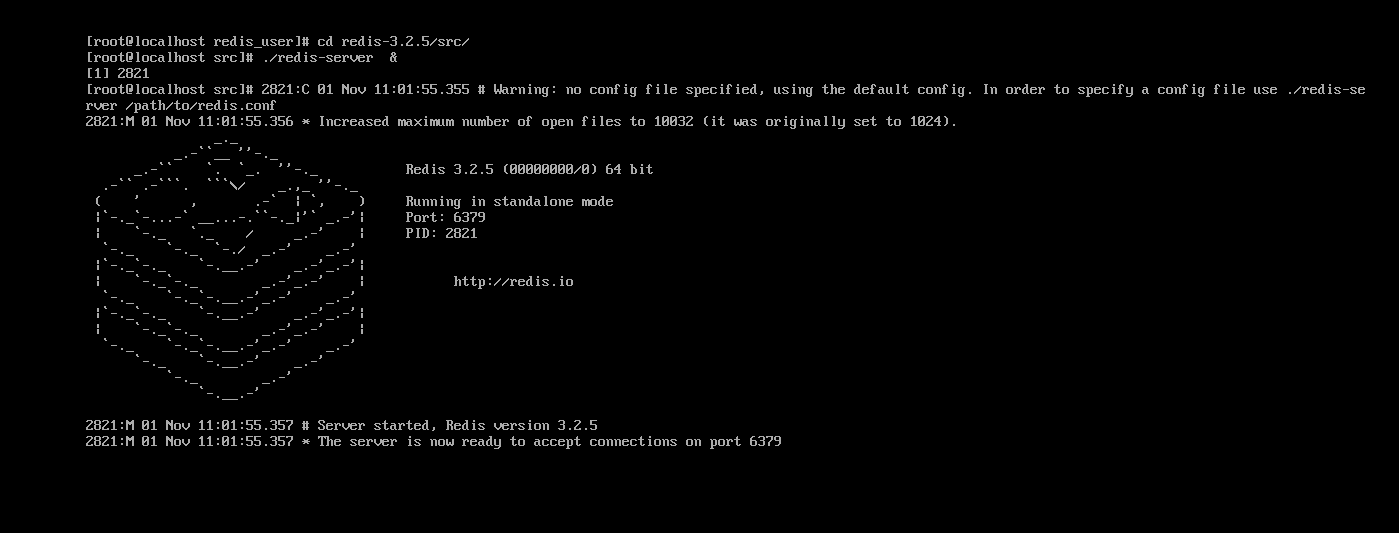
第五步:启动redis
./redis-server &
启动redis 时 要加上 “&”符号是reids以后台程序方式运行
注释:
第一次启动的时候出现了三个警告信息解决方案如下:
可以看到警告有3个
1. overcommit_memory
2. THP
3. TCP backlog
overcommit_memory
Defines the conditions that determine whether a large memory request is accepted or denied. There are three possible values for this parameter:
0 — The default setting. The kernel performs heuristic memory overcommit handling by estimating the amount of memory available and failing requests that are blatantly invalid. Unfortunately, since memory is allocated using a heuristic rather than a precise algorithm, this setting can sometimes allow available memory on the system to be overloaded.
1 — The kernel performs no memory overcommit handling. Under this setting, the potential for memory overload is increased, but so is performance for memory-intensive tasks.
2 — The kernel denies requests for memory equal to or larger than the sum of total available swap and the percentage of physical RAM specified in overcommit_ratio. This setting is best if you want a lesser risk of memory overcommitment.
当操作系统收到内存分配请求时,它会依据overcommit_memory 设定的条件,考虑接受或者拒绝这个请求
0 – 默认设置 内核使用启发式算法,来估算可用的内存量,直接拒绝不合理的请求
1 – 内核不考虑内存是否够用,直接同意请求,在这种设置下,潜在的内存过载风险增加了,但有利于内存密集型任务
2 – 如果程序请求的内存分配大于等于 交换分区和物理内存的总和 * overcommit_ratio / 100 则拒绝这个请求
默认是 交换分区和物理内存总和的50%
默认设置是0,只要内存请求超过物理内存的剩余量,请求就会被拒绝。设置1,不管实际物理内存使用量,直接同意请求。设置1是一种比较粗放式的对内存请求的管理方式,我认为更为优雅的方式是使用2,并且将overcommit_ratio 的值设为60 ~ 80
echo “vm.overcommit_memory=2” >> /etc/sysctl.conf
echo “vm.overcommit_ratio=70” >> /etc/sysctl.conf
sysctl -p3
Transparent Huge Pages
操作系统默认的内存页大小是4kB,可以如果使用更大的内存页比如2MB,就可以使用同样多的页表项,管理更大的内存空间,但是对于redis这样的内存数据库,它会导致内存分配的速度变慢,并且导致内存的实际使用率下降,因此redis推荐我们关闭此项
echo never > /sys/kernel/mm/transparent_hugepage/enabled
TCP backlog
The behavior of the backlog argument on TCP sockets changed with Linux 2.2. Now it specifies the queue length for completely established sockets waiting to be accepted, instead of the number of incomplete connection requests. The maximum length of the queue for incomplete sockets can be set using /proc/sys/net/ipv4/tcp_max_syn_backlog. When syncookies are enabled there is no logical maximum length and this setting is ignored. See tcp(7) for more information.
If the backlog argument is greater than the value in /proc/sys/net/core/somaxconn, then it is silently truncated to that value; the default value in this file is 128. In kernels before 2.4.25, this limit was a hard coded value, SOMAXCONN, with the value 128.
对于linux 而言backlog 是指已经完成了3次握手,且等待 accept 的连接
如果被没有被accept, 连接会一直在队列中排队,队列的最大长度为 backlog
可以想见, 在client 非常多且创建和关闭连接非常频繁的场景下,这个参数会非常有用。
echo “net.core.somaxconn = 511” >> /etc/sysctl.conf
sysctl -p
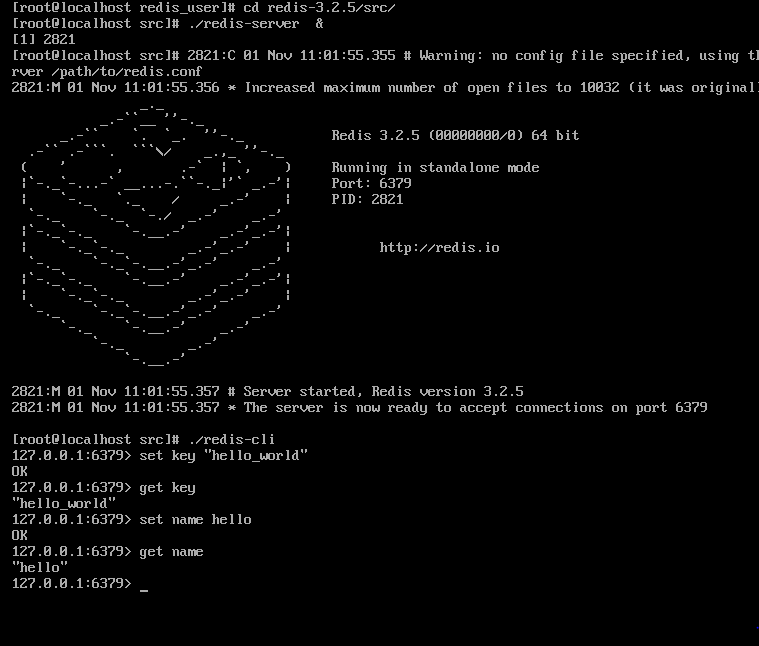
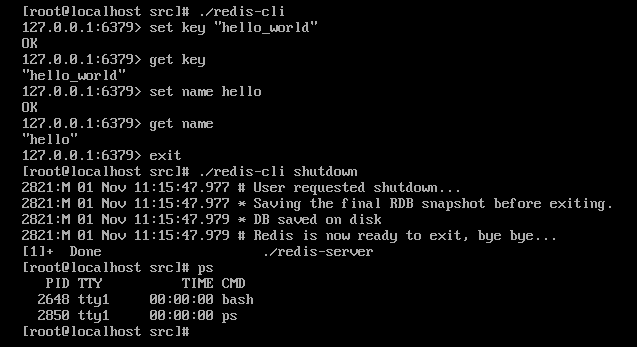
第六步:启动测试客户端
第七步:停止redis
第八步:修改配置文件使用自己的配置文件
配置文件
可为redis服务启动指定配置文件,配置文件 redis.conf 在Redis根目录下。使用vi
编辑文件
修改daemonize为yes,即默认以后台程序方式运行(还记得前面手动使用&号强制后台运行吗)。
daemonize no
可修改默认监听端口
port 6379
修改生成默认日志文件位置
logfile “/home/redis_user/logs/redis.log”
配置持久化文件存放位置
dir /home/redis_user/data/redisData
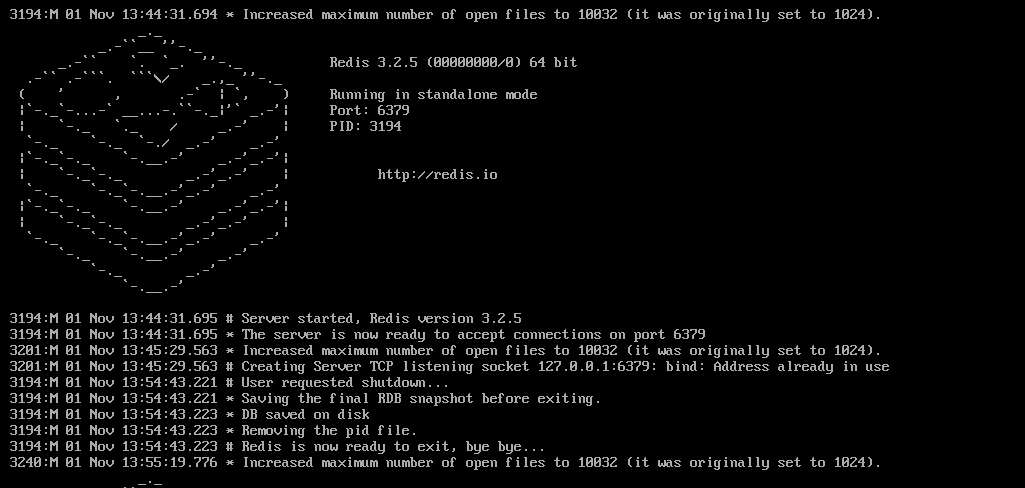
修改完成后启动redis
查看redis打印日志
第一次安装配置redis,内容并不全面,会持续更新补充





 1195
1195

 被折叠的 条评论
为什么被折叠?


