


kindeditor富文本编辑器忘记什么时候添加到项目中了,最近做一个功能需要在原有编辑器上自定义添加一些固定内容,于是对着编辑器文档研究了一番,在这里做一个使用方式整理。
1.下载kindeditor
下载地址如下:
https://github.com/kindsoft/kindeditor/releases/download/v4.1.11/kindeditor-4.1.11-zh-CN.zip
2.部署编辑器
解压下载安装包
把富文本所有文件放在你的网站根目录或静态文件的位置。
3.查看demo
查看php demo效果,发现没有效果。
修改kindeditor/php/demo.php
<script charset="utf-8" src="../kindeditor.js"></script>改为:
<script charset="utf-8" src="../kindeditor-all.js"></script>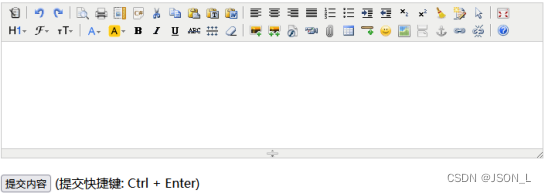
4.创建编辑器
添加textarea输入框
<textarea id="editor_id" name="content" style="width:700px;height:300px;">
<strong>HTML内容</strong></textarea>
添加js脚本
<script charset="utf-8" src="./kindeditor/kindeditor-all.js"></script>
<script charset="utf-8" src="./kindeditor/lang/zh-CN.js"></script>
<script>
    KindEditor.ready(function (K) {
        window.editor = K.create('#editor_id');
    });
</script>
5.修改编辑器
设置编辑器高度、宽度、不可拖动
// 创建编辑器
KindEditor.ready(function (K) {
    window.editor = K.create('#editor_id', {
        width:'800px',
        height:'800px',
        resizeType:0,
    });
});
属性有很多,这里只是举例。参数列表可查看文档
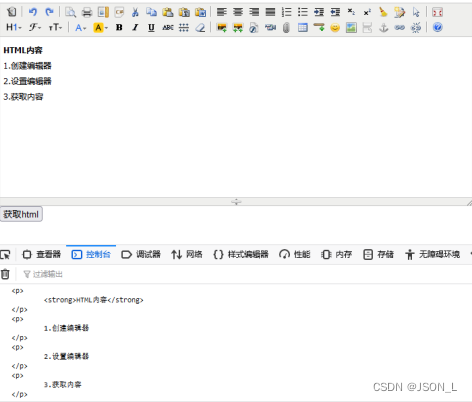
6.获取html
增加按钮和点击事件
<button onclick="getContent()">获取html</button>增加js脚本
// 获取编辑器html内容
function getContent() {
    // 取得HTML内容
    html = editor.html();
    // 同步数据后可以直接取得textarea的value
    editor.sync();
    html = document.getElementById('editor_id').value;
    // 设置HTML内容
    //editor.html('HTML内容');
    console.log(html)
}
效果
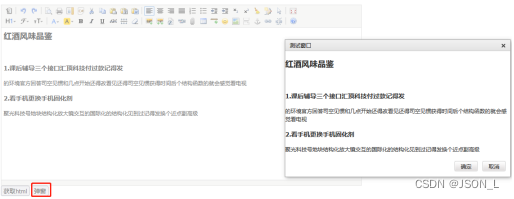
7.弹出框
增加弹出框操作按钮
<button id="popup">弹窗</button>增加弹出框脚本
// 创建编辑器
KindEditor.ready(function (K) {
    window.editor = K.create('#editor_id', {
        width:'800px',
        height:'400px',
        resizeType:0,
    });

    // 弹出框
    K('#popup').click(function() {
        // 取得HTML内容
        html = editor.html();
        // 同步数据后可以直接取得textarea的value
        editor.sync();
        // KindEditor Node API
        html = K('#editor_id').val();

        let dialog = K.dialog({
            width : 500,
            title : '测试窗口',
            body : '<div>' + html + '</div>',
            closeBtn : {
                name : '关闭',
                click : function(e) {
                    dialog.remove();
                }
            },
            yesBtn : {
                name : '确定',
                click : function(e) {
                    alert(this.value);
                }
            },
            noBtn : {
                name : '取消',
                click : function(e) {
                    dialog.remove();
                }
            }
        });
    });
});
效果
8.多语言
Html内容
<select name="lang">
    <option value="en">English</option>
    <option value="zh-CN">简体中文</option>
    <option value="zh-TW">繁體中文</option>
    <option value="ko">Korean</option>
    <option value="ar">Arabic</option>
</select>
<textarea id="editor_id" name="content" style="width:700px;height:300px;">
<strong>HTML内容</strong></textarea>
多语言脚本
// 创建编辑器
KindEditor.ready(function (K) {
    // 多语言
    K('select[name=lang]').change(function() {
        if (window.editor) {
            window.editor.remove();
            window.editor = null;
        }
        window.editor = K.create('#editor_id', {
            langType : this.value
        });
    });
    K('select[name=lang]').change();
});
效果

9.自定义插入内容
自定义插入内容,并非是在原有表单上增加,而是通过编辑器insertHtml属性,另外点击按钮或者其他元素来向编辑器当前光标添加内容
Html内容
<textarea id="editor_id" name="content" style="width:700px;height:300px;">
<strong>HTML内容</strong></textarea>

<button onclick="getContent()">获取html</button>
<button id="popup">弹窗</button>
<button id="addtable">添加表格</button>
<button id="addimg">添加图片</button>
脚本设置
// 创建编辑器
KindEditor.ready(function (K) {
    window.editor = K.create('#editor_id', {
        width:'700px',
        height:'200px',
        resizeType:0,
    });

    K("#addtable").click(function(){
       K.insertHtml('#editor_id', '<table style="width:100%;" cellspacing="0" cellpadding="2" bordercolor="#000000" border="1">\n' +
           '\t<tbody>\n' +
           '\t\t<tr>\n' +
           '\t\t\t<td>\n' +
           '\t\t\t\tID<br />\n' +
           '\t\t\t</td>\n' +
           '\t\t\t<td>\n' +
           '\t\t\t\t名称<br />\n' +
           '\t\t\t</td>\n' +
           '\t\t\t<td>\n' +
           '\t\t\t\t性别<br />\n' +
           '\t\t\t</td>\n' +
           '\t\t\t<td>\n' +
           '\t\t\t\t爱好<br />\n' +
           '\t\t\t</td>\n' +
           '\t\t</tr>\n' +
           '\t\t<tr>\n' +
           '\t\t\t<td>\n' +
           '\t\t\t\t1<br />\n' +
           '\t\t\t</td>\n' +
           '\t\t\t<td>\n' +
           '\t\t\t\t张三<br />\n' +
           '\t\t\t</td>\n' +
           '\t\t\t<td>\n' +
           '\t\t\t\t男<br />\n' +
           '\t\t\t</td>\n' +
           '\t\t\t<td>\n' +
           '\t\t\t\t喜欢打篮球<br />\n' +
           '\t\t\t</td>\n' +
           '\t\t</tr>\n' +
           '\t\t<tr>\n' +
           '\t\t\t<td>\n' +
           '\t\t\t\t2<br />\n' +
           '\t\t\t</td>\n' +
           '\t\t\t<td>\n' +
           '\t\t\t\t李四<br />\n' +
           '\t\t\t</td>\n' +
           '\t\t\t<td>\n' +
           '\t\t\t\t女<br />\n' +
           '\t\t\t</td>\n' +
           '\t\t\t<td>\n' +
           '\t\t\t\t喜欢偶像剧<br />\n' +
           '\t\t\t</td>\n' +
           '\t\t</tr>\n' +
           '\t</tbody>\n' +
           '</table>');
    });

    K("#addimg").click(function () {
        K.insertHtml('#editor_id', '<img src="./images/test1.png" alt=""/>');
    });
});
效果
设置好html内容,光标放到内容中间
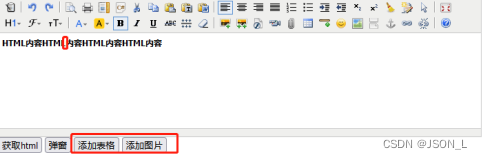
点击添加表格、添加图片
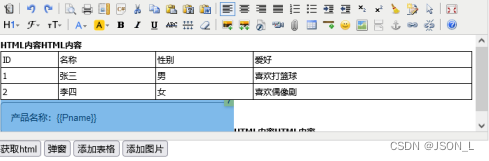
可看到表格和图片增加到了当前光标处。


 1400
1400

 被折叠的 条评论
为什么被折叠?
被折叠的 条评论
为什么被折叠?
 到【灌水乐园】发言


