


作者本人搬运篇,原文已发布于infoq👉:https://xie.infoq.cn/article/73a762e58bb315bc8261e1ee3

ImageProcessor 简介
这个插件是.netframework 框架下的一个图片处理插件,虽然框架有些老,但好在配置非常简单,功能也非常好用,用来做一些图床类应用还是非常合适的。
官方的文档也比较简单,虽然是英文,但通俗易懂,也没有太复杂的配置和.netcore 环境下的 SixLabor 系列功能相似。
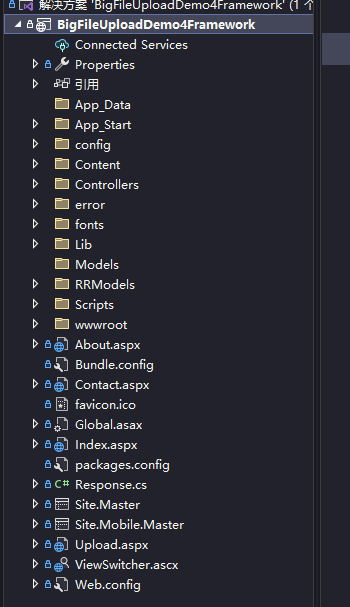
创建项目
注意,因为这个插件的并不支持 dotnetcore,所以需要创建一个.net4.5+的项目来集成。
我这里是直接用一个老项目改的,去掉了多与功能(因为我本地目前只有一个 vs2022 了,如果不安装扩展,都没法直接创建.netframework 的 web 项目~~)
引入扩展
直接在 vs 的终端窗口输入安装指令
install-package imageprocessor.web或者直接在 nuget 里搜索 imageprocessor.web 然后点击安装即可。
注意,imageprocessor 的安装是侵入式的,它会修改你的配置文件,所以,如果是在现有项目中集成该插件,需要考虑一下兼容性,集成后看会不会对原有的配置产生影响。
安装好后,webconfig 文件会自动填充以下内容
<!--configSections节点内新增-->
<sectionGroup name="imageProcessor">
  <section name="security" requirePermission="false" type="ImageProcessor.Web.Configuration.ImageSecuritySection, ImageProcessor.Web"/>
  <section name="processing" requirePermission="false" type="ImageProcessor.Web.Configuration.ImageProcessingSection, ImageProcessor.Web"/>
  <section name="caching" requirePermission="false" type="ImageProcessor.Web.Configuration.ImageCacheSection, ImageProcessor.Web"/>
</sectionGroup>

<!--system.web节点内新增-->
<httpModules>
  <add name="ImageProcessorModule" type="ImageProcessor.Web.HttpModules.ImageProcessingModule, ImageProcessor.Web"/>
</httpModules>

<!--system.webServer节点内新增-->
<modules>
  <add name="ImageProcessorModule" type="ImageProcessor.Web.HttpModules.ImageProcessingModule, ImageProcessor.Web"/>
</modules>

<!--根节点configuration内新增-->
<imageProcessor>
  <security configSource="config\imageprocessor\security.config"/>
  <caching configSource="config\imageprocessor\cache.config"/>
  <processing configSource="config\imageprocessor\processing.config"/>
</imageProcessor>
与此同时,还在项目根目录下创建一个 config 文件夹,内部包含对应的配置文件。
通常情况下,你不需要修改这些,但如果这个路径的存放位置太碍眼,是可以进行调整的,注意调整之后,把配置文件里的指向也改一下。
看效果
通常情况下,如果是做图床应用,到这里其实所有的工作就基本完成了,把项目跑起来,就可以看到实际效果了
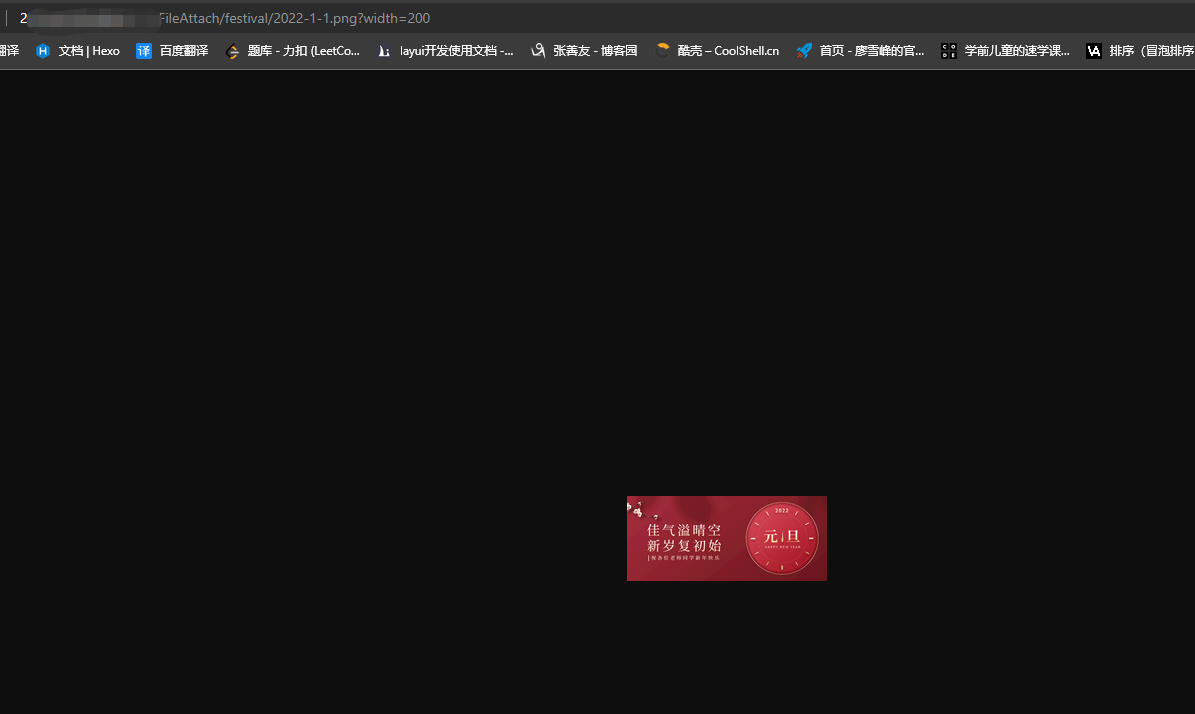
比如缩放一张图片
原图的路径是这样:http://域名/festival/2022-1-1.png

如果要实现缩放,让他的图片宽度展示位 200px,就可以直接在 url 后面拼接参数即可
新的路径就是这样:http://域名/festival/2022-1-1.png?width=200
-
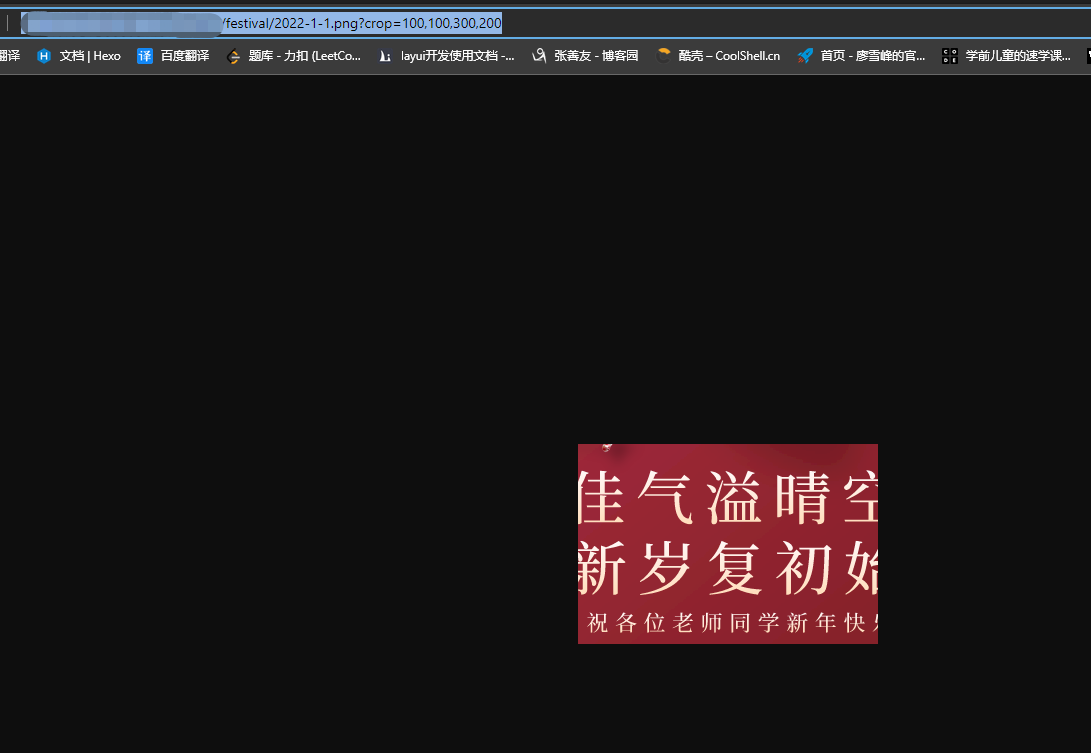
裁剪
裁剪也是,比如,我想在图片中抠出一块矩形来
原图路径还是刚才那个,裁剪后的图,就是这样 http://域名/festival/2022-1-1.png?crop=100,100,300,200
还支持一些其他的效果,大家可以到官网去翻一下。
其余功能
与 SixLabor 一样,imageprocessor 也提供图片处理的功能,比如合成两张图片,在图片上写文字等等。
流程也比较简单,根据组件提供的模型进行拼装就可以,我这里简单贴一个例子
using (ImageFactory imageFactory = new ImageFactory(preserveExifData: true))
{
  imageFactory.Load(inStream);
  ISupportedImageFormat format = new JpegFormat { Quality = 70 };
  Size size = new Size(150, 0);

  foreach (var item in model.content_list)
  {
    FontFamily ff = new FontFamily(item.font_family);
    TextLayer textLayer = new TextLayer()
    {
      Text = item.content,
      FontColor = Color.FromArgb(item.color_r, item.color_g, item.color_b),
      Position = new Point(item.location_x, item.location_y),
      FontSize = item.font_size,
      FontFamily = ff
      };
    imageFactory.Watermark(textLayer);

    //是否生成二维码
    if (item.is_qrcode == 1)
    {
      //生成二维码
      string qrcode_path = QrCodeHelper.MakeQrcodeSaveLocal(item.qrcode_content);

      #region 将图片转为流然后添加到证书模板中
        FileStream fileStream = new FileStream(qrcode_path, FileMode.Open, FileAccess.Read);
      int byteLength = (int)fileStream.Length;
      byte[] fileBytes = new byte[byteLength];
      fileStream.Read(fileBytes, 0, byteLength);
      //文件流关闭,文件解除锁定
      fileStream.Close();
      #endregion

        //将二维码水印添加到证书模板
       ImageLayer imageLayer = new ImageLayer()
      {
        Image = Image.FromStream(new MemoryStream(fileBytes)),//先将图片转为流,然后添加到证书模板中就不会占用图片了
        Position = new Point(item.qrcode.location_x, item.qrcode.location_y),
        Size = new Size(item.qrcode.width, item.qrcode.height),
        Opacity = item.qrcode.opacity
        };
      imageFactory.Overlay(imageLayer);

      //是否删除本地二维码
      if (item.isdel_qrcode == 1)
      {
        FileHelper.DeleteLocalFile(qrcode_path);
      }
    }
  }
  imageFactory.Save(outStream);
  imageFactory.Dispose();
}
这段里合成多个图片是通过把二维码放到图片上来实现。主要就是合成文字,通过构造 TextLayer 类来实现,合成图片则是构造 ImageLayer 类,然后调用指定的方法即可,具体的描述,还是推荐去看一下官方文档。
合成效果就是这样

好了基本就是这些了,虽然这个插件比较老,但作为单独的图床类应用,还是非常实用的,如果熟悉.net 框架的话,基本半小时左右就全部搞定了。


 748
748

 被折叠的 条评论
为什么被折叠?
被折叠的 条评论
为什么被折叠?
 到【灌水乐园】发言


