


1.
安装前置环境
1.1 安装 centos7 ( 步骤略 )1.2 关闭防火墙 ( 步骤 )1.3 修改 hostname 和 hosts 配置文件 ( 步骤 ).搭建虚拟机环境
1.安装一台虚拟机
1.搭建base
Vi /etc/hosts
192.168.233.140  cm04
2.克隆
2.设置机器名
设置机器名 hostnamectl set-hostname cm04 3.修改域名映射
vi /etc/hosts
192.168.233.129  cm01
192.168.233.130  cm02
192.168.233.131  cm03
4.固定IP地址
vi /etc/sysconfig/network-scripts/ifcfg-ens33
BOOTROTO=”static”
IPADDR=”192.168.233.140”
NETMASK=”255.255.255.0”
GATEWAY=”192.168.233.2”
DNS1=”114.114.114.114”
DNS2=”8.8.8.8”
(附注:部分镜像需加入ONBOOT="yes")
5.重启网络
systemctl restart network6.测试
ping www.baidu.com -c 37.关闭防火墙
systemctl stop firewalld
systemctl disable firewalld
8.更改安全机制
vi /etc/selinux/config
SELINUX=disabled
9.重启
reboot
2.
安装步骤
2.1
安装
ssh
yum install -y curl policycoreutils-python openssh-serversystemctl enable sshd # 开机启动systemctl start sshd # 启动
2.2
安装
postfix
发送邮件
yum install postfix -ysystemctl enable postfixsystemctl start postfix
2.3
按照地址用迅雷下载软件并安装
https://mirrors.tuna.tsinghua.edu.cn/gitlab-ce/yum/el7/gitlab-ce-10.0.0-ce.0.el7.x86_64.rpmrpm -i gitlab-ce-10.0.0-ce.0.el7.x86_64.rpm
2.4
修改配置信息
vi /etc/gitlab/gitlab.rbexternal_url 'http:// 你的 IP 地址 : 端口 '
2.5
重启服务
gitlab-ctl reconfiguregitlab-ctl restart
2.6
按地址登录后修改你的密码
yum install -y curl policycoreutils-python openssh-server
systemctl enable sshd #开机启动
systemctl start sshd #启动
yum install postfix -y
systemctl enable postfix
systemctl start postfix
https://mirrors.tuna.tsinghua.edu.cn/gitlab-ce/yum/el7/gitlab-ce-10.0.0-
ce.0.el7.x86_64.rpm
rpm -i gitlab-ce-10.0.0-ce.0.el7.x86_64.rpm
vi /etc/gitlab/gitlab.rb
external_url 'http://你的IP地址:端口'
gitlab-ctl reconfigure
gitlab-ctl restart
输入地址
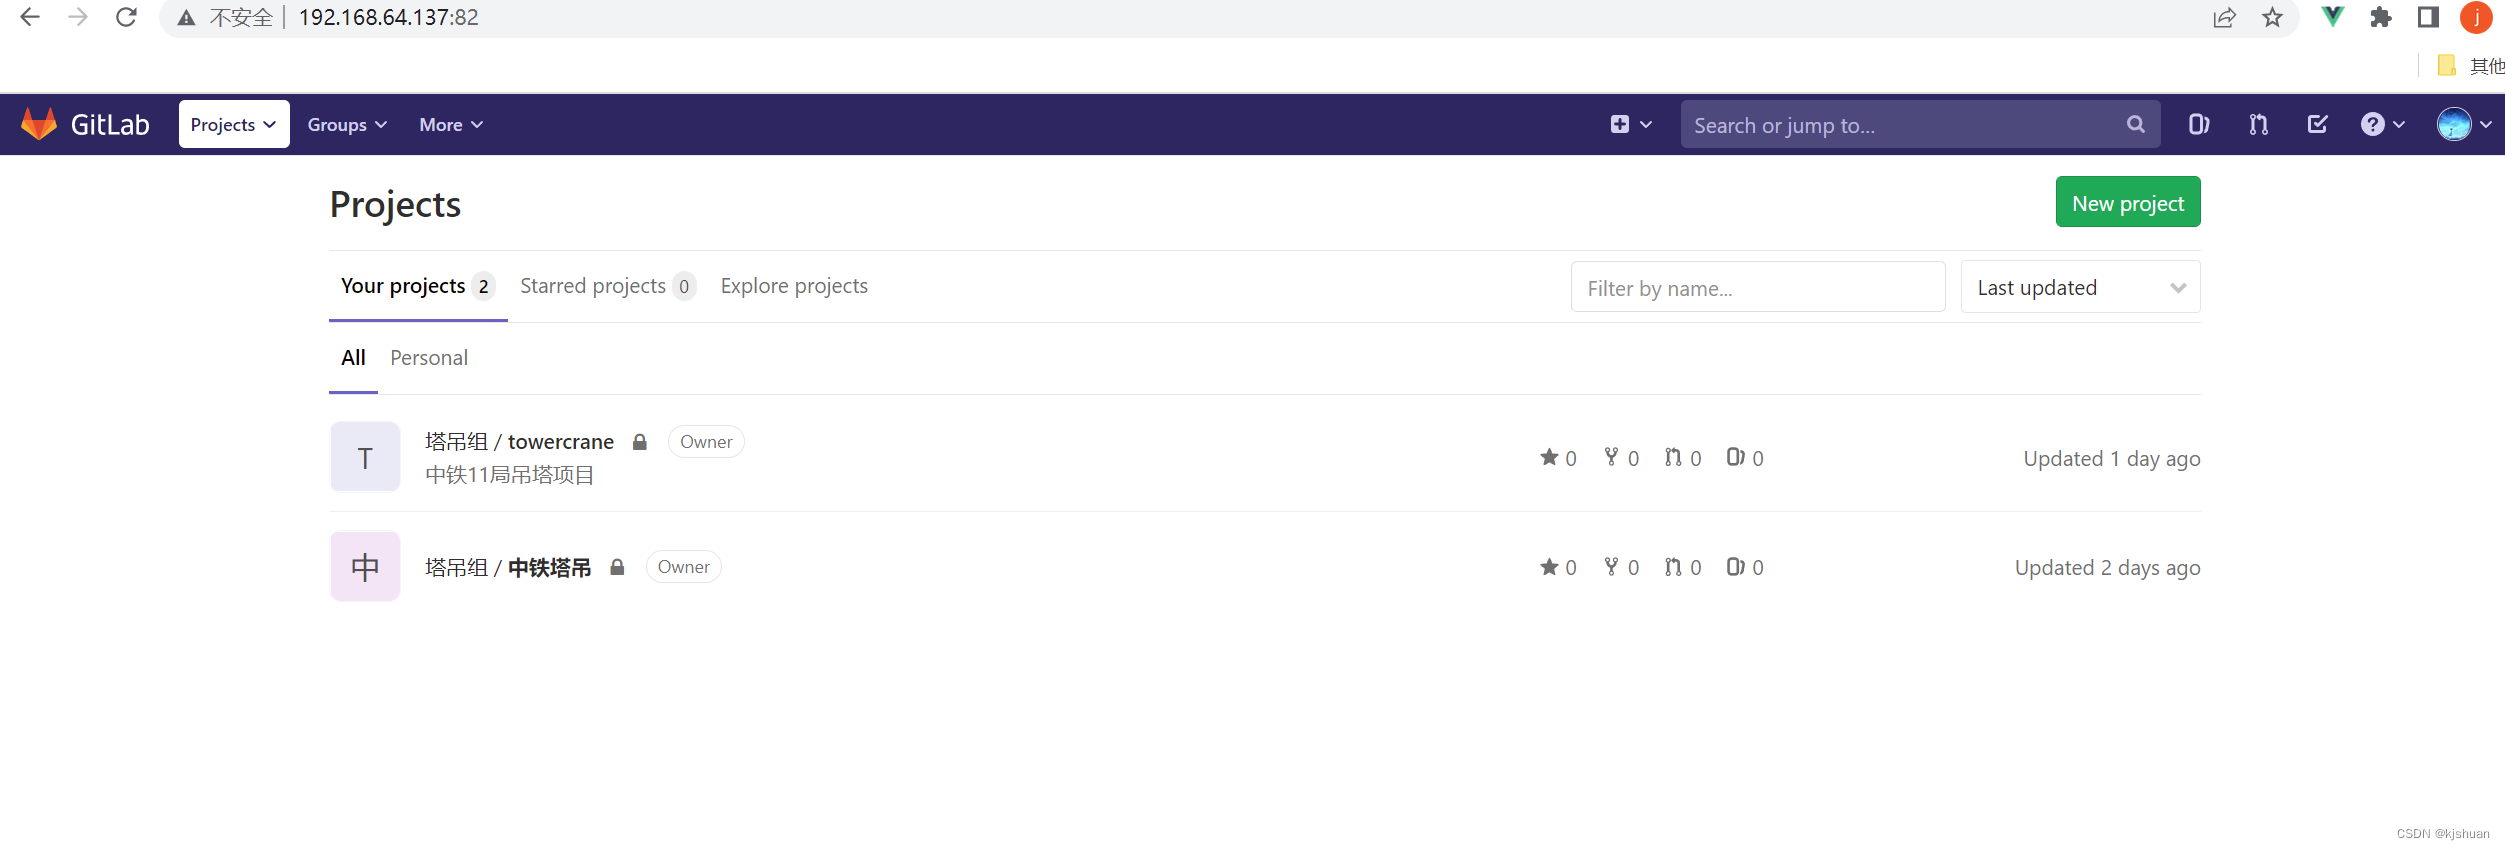
成功进入!!!!!!!!!!


 151
151


 被折叠的 条评论
为什么被折叠?
被折叠的 条评论
为什么被折叠?
 到【灌水乐园】发言


