


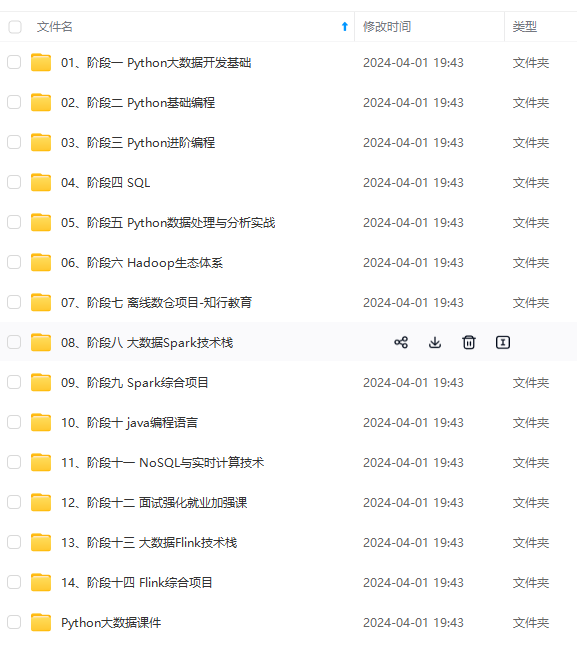
既有适合小白学习的零基础资料,也有适合3年以上经验的小伙伴深入学习提升的进阶课程,涵盖了95%以上大数据知识点,真正体系化!
由于文件比较多,这里只是将部分目录截图出来,全套包含大厂面经、学习笔记、源码讲义、实战项目、大纲路线、讲解视频,并且后续会持续更新
可现在 dev2 的代码在工作区中开发了一半,还无法提交,怎么办?
代码示例:
hyb@139-159-150-152:~/gitcode$
git branch* dev2
master
hyb@139-159-150-152:~/gitcode$
cat ReadMehello bit
hello git
hello world
hello version1
hello version2
hello version3
write bbb for new branch
a,b,c,d
i am coding …
#dev2 的代码在工作区中开发了一半hyb@139-159-150-152:~/gitcode$
git statusOn branch dev2
Changes not staged for commit:
(use “git add …” to update what will be committed)
(use “git restore …” to discard changes in working directory)
modified: ReadMe
no changes added to commit (use “git add” and/or “git commit -a”)
Git 提供了 git stash 命令,可以将当前的⼯作区信息进⾏储藏,被储藏的内容可以在将来某个时间恢复出来。
代码示例:
hyb@139-159-150-152:~/gitcode$
git stashSaved working directory and index state WIP on dev2: 41b082f modify ReadMe
hyb@139-159-150-152:~/gitcode$ git status
On branch dev2
nothing to commit, working tree clean
用 git status 查看工作区,就是干净的(除非有没有被 Git 管理的文件),因此可以放心地创建分支来修复bug。
储藏 dev2 工作区之后,由于我们要基于master分支修复 bug,所以需要切回 master 分支,再新建临时分支来修复 bug。
代码示例:
hyb@139-159-150-152:~/gitcode$
git checkout master# 切回master分支
Switched to branch ‘master’
hyb@139-159-150-152:~/gitcode$
git checkout -b fix_bug# 新建并切换到 fix_bug 分支
Switched to a new branch ‘fix_bug’
hyb@139-159-150-152:~/gitcode$
vim ReadMehyb@139-159-150-152:~/gitcode$
cat ReadMehello bit
hello git
hello world
hello version1
hello version2
hello version3
write bbb for new branch
a,b,c,d,e
# 修复bug–忘记写e
hyb@139-159-150-152:~/gitcode$
git add ReadMe# 重新add,commit
hyb@139-159-150-152:~/gitcode$
git commit -m"fix bug"[fix_bug 4bbc0c4] fix bug
1 file changed, 1 insertion(+), 1 deletion(-)
修复完成后,切换到 master 分支,并完成合并,最后删除 fix_bug 分支:
代码示例:
hyb@139-159-150-152:~/gitcode$
git checkout masterSwitched to branch ‘master’
hyb@139-159-150-152:~/gitcode$
git merge --no-ff -m"merge fix_bug branch" fix_buMerge made by the ‘recursive’ strategy.
ReadMe | 2 ±
1 file changed, 1 insertion(+), 1 deletion(-)
hyb@139-159-150-152:~/gitcode$
cat ReadMehello bit
hello git
hello world
hello version1
hello version2
hello version3
write bbb for new branch
a,b,c,d,e
hyb@139-159-150-152:~/gitcode$
git branch -d fix_bugDeleted branch fix_bug (was 4bbc0c4).
至此,bug 的修复工作已经做完了,我们还要继续回到 dev2 分支进行开发。切换回 dev2 分支:
代码示例:
hyb@139-159-150-152:~/gitcode$
git checkout dev2Switched to branch ‘dev2’
hyb@139-159-150-152:~/gitcode$
git statusOn branch dev2
nothing to commit, working tree clean
工作区是干净的,刚才的工作现场存到哪去了?
用 git stash list 命令看看:
代码示例:
hyb@139-159-150-152:~/gitcode$
git stash liststash@{0}: WIP on dev2: 41b082f modify ReadMe
⼯作现场还在,Git 把 stash 内容存在某个地方了,但是需要恢复⼀下,如何恢复现场呢?我们可以使用 git stash pop 命令,恢复的同时会把 stash 也删了,
代码示例:
hyb@139-159-150-152:~/gitcode$
git stash popOn branch dev2
Changes not staged for commit:
(use “git add …” to update what will be committed)
(use “git restore …” to discard changes in working directory)
modified: ReadMe
no changes added to commit (use “git add” and/or “git commit -a”)
Dropped refs/stash@{0} (4f873250b3503687b5efd26196776aee7e3724c2)
再次查看的时候,我们已经发现已经没有现场可以恢复了
代码示例:
hyb@139-159-150-152:~/gitcode$
git stash listhyb@139-159-150-152:~/gitcode$
另外,恢复现场也可以采用 git stash apply 恢复,但是恢复后,stash内容并不删除,你需要
用 git stash drop 来删除;你可以多次stash,恢复的时候,先用
git stash list
查看,然后恢复指定的stash,用命令git stash apply stash@{0} ,这部分请同学们自行使用。
恢复完代码之后我们便可以继续完成开发,开发完成后便可以进行提交:
代码例如:
hyb@139-159-150-152:~/gitcode$
cat ReadMehello bit
hello git
hello world
hello version1
hello version2
hello version3
write bbb for new branch
a,b,c,d
i am coding … Done!
hyb@139-159-150-152:~/gitcode$
git add .hyb@139-159-150-152:~/gitcode$
git commit -m"modify ReadMe"[dev2 ed0916d] modify ReadMe
1 file changed, 1 insertion(+)
但我们注意到了,修复 bug 的内容,并没有在 dev2 上显示。
此时的状态图为:
Master 分支目前最新的提交,是要领先于新建 dev2 时基于的 master 分支的提交的,所以我们在 dev2 中当然看不见修复 bug 的相关代码。
我们的最终目的是要让 master 合并 dev2 分支的,那么正常情况下我们切回 master 分支直接合并即可,但这样其实是
有一定风险的。是因为在合并分支时可能会有冲突,而代码冲突需要我们手动解决(在 master 上解决)。我们无法保证对于冲突问题可以正确地一次性解决掉,因为在实际的项目中,代码冲突不只一两行那么简单,有可能几十上百行,甚至更多,解决的过程中难免手误出错,导致错误的代码被合并到 master 上。
此时的状态图为:
解决这个问题的⼀个好的建议就是:
最好在自己的分支上合并下 master ,再让 master 去合并dev ,这样做的目的是有冲突可以在本地分支解决并进行测试,而不影响 master 。
此时的状态图为:
第一步:
第二步:
注意:
对应的实操演示如下,要说明的是,以下演示的merge操作,没有使用 --no-ff ,但上述的图示是禁用 Fast forward 了模式后得出的,主要是为了方便解释问题。
代码示例:
# dev 合并 master
hyb@139-159-150-152:~/gitcode$ git branch
* dev2
master
hyb@139-159-150-152:~/gitcode$ git merge master
Auto-merging ReadMe
CONFLICT (content): Merge conflict in ReadMe
Automatic merge failed; fix conflicts and then commit the result.
# 发⽣冲突
hyb@139-159-150-152:~/gitcode$ cat ReadMe
hello bit
hello git
hello world
hello version1
hello version2
hello version3
write bbb for new branch
<<<<<<< HEAD
a,b,c,d
i am coding … Done!
=======
a,b,c,d,e
>>>>>>> master
# 解决冲突并重新提交
hyb@139-159-150-152:~/gitcode$ vim ReadMe
hyb@139-159-150-152:~/gitcode$ cat ReadMe
hello bit
hello git
hello world
hello version1
hello version2
hello version3
write bbb for new branch
a,b,c,d,e
i am coding … Done!
hyb@139-159-150-152:~/gitcode$ git add .
hyb@139-159-150-152:~/gitcode$ git commit -m"merge master"
[dev2 447d29f] merge master
hyb@139-159-150-152:~/gitcode$ git status
On branch dev2
nothing to commit, working tree clean
# 切回master
hyb@139-159-150-152:~/gitcode$ git checkout master
Switched to branch ‘master’
# master 合并 dev2—⽆需解决冲突!!
hyb@139-159-150-152:~/gitcode$ git merge dev2
Updating 193421f…447d29f
Fast-forward
ReadMe | 1 +
1 file changed, 1 insertion(+)
hyb@139-159-150-152:~/gitcode$ git status
On branch master
nothing to commit, working tree clean
# 删除 dev2 分⽀
hyb@139-159-150-152:~/gitcode$ git branch -d dev2
Deleted branch dev2 (was 447d29f).


三、删除临时分支
软件开发中,总有⽆穷⽆尽的新的功能要不断添加进来。
添加⼀个新功能时,你肯定不希望因为⼀些实验性质的代码,把主分⽀搞乱了,所以,每添加⼀个新功能,最好新建⼀个分⽀,我们可以将其称之为 feature 分⽀,在上⾯开发,完成后,合并,最后,删除该 feature 分⽀。
可是,如果我们今天正在某个 feature 分⽀上开发了⼀半,被产品经理突然叫停,说是要停⽌新功能的开发。虽然⽩⼲了,但是这个 feature 分⽀还是必须就地销毁,留着⽆⽤了。这时使⽤传统的 git branch -d 命令删除分⽀的⽅法是不⾏的。
演⽰如下:
# 新增并切换到 dev3 分支
hyb@139-159-150-152:~/gitcode$
git checkout -b dev3Switched to a new branch ‘dev3’
# 开始开发新功能并提交
hyb@139-159-150-152:~/gitcode$
vim ReadMehyb@139-159-150-152:~/gitcode$
cat ReadMehello bit
hello git
hello world
hello version1
hello version2
hello version3
write bbb for new branch


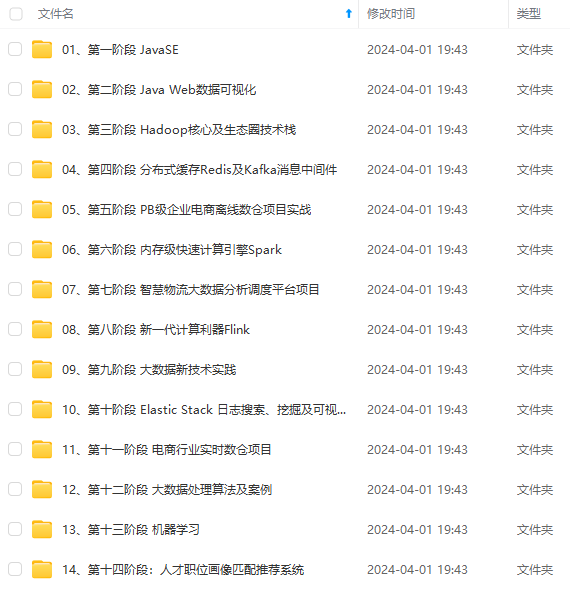
既有适合小白学习的零基础资料,也有适合3年以上经验的小伙伴深入学习提升的进阶课程,涵盖了95%以上大数据知识点,真正体系化!
由于文件比较多,这里只是将部分目录截图出来,全套包含大厂面经、学习笔记、源码讲义、实战项目、大纲路线、讲解视频,并且后续会持续更新
hyb@139-159-150-152:~/gitcode$
git checkout -b dev3Switched to a new branch ‘dev3’
# 开始开发新功能并提交
hyb@139-159-150-152:~/gitcode$
vim ReadMehyb@139-159-150-152:~/gitcode$
cat ReadMehello bit
hello git
hello world
hello version1
hello version2
hello version3
write bbb for new branch
[外链图片转存中…(img-8mM61E9m-1715095267025)]
[外链图片转存中…(img-Mi82ItxO-1715095267025)]
[外链图片转存中…(img-FoaZqjQQ-1715095267025)]
既有适合小白学习的零基础资料,也有适合3年以上经验的小伙伴深入学习提升的进阶课程,涵盖了95%以上大数据知识点,真正体系化!
由于文件比较多,这里只是将部分目录截图出来,全套包含大厂面经、学习笔记、源码讲义、实战项目、大纲路线、讲解视频,并且后续会持续更新


 135
135

 被折叠的 条评论
为什么被折叠?
被折叠的 条评论
为什么被折叠?
 到【灌水乐园】发言


