1.概述
回到正题,这次带来的效果,是一个Android 的3D立体旋转的效果。
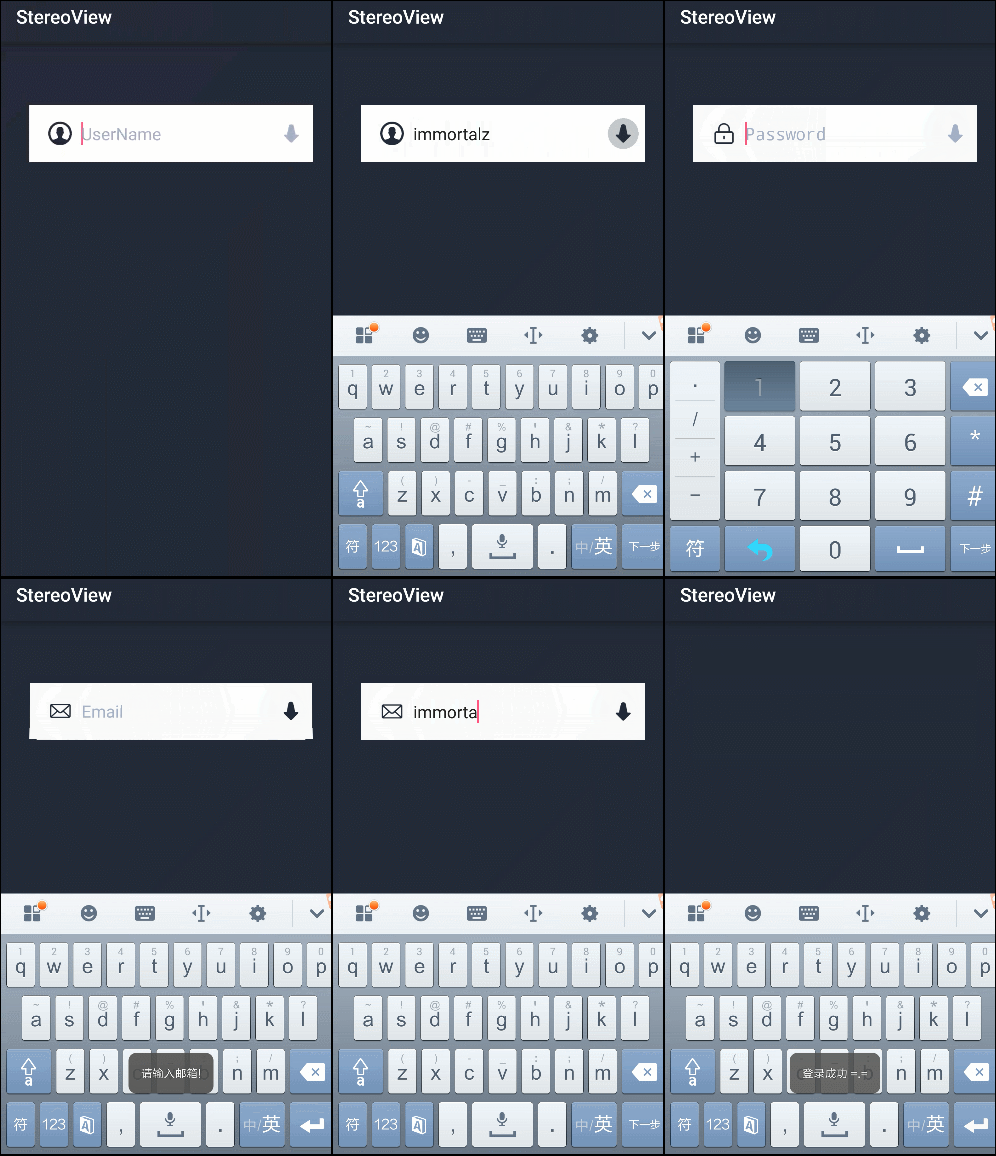
当然灵感的来源,来自早些时间微博上看到的效果图。
非常酷有木有!作为程序猿我当然要把它加入我的下一个项目中啦!
原效果
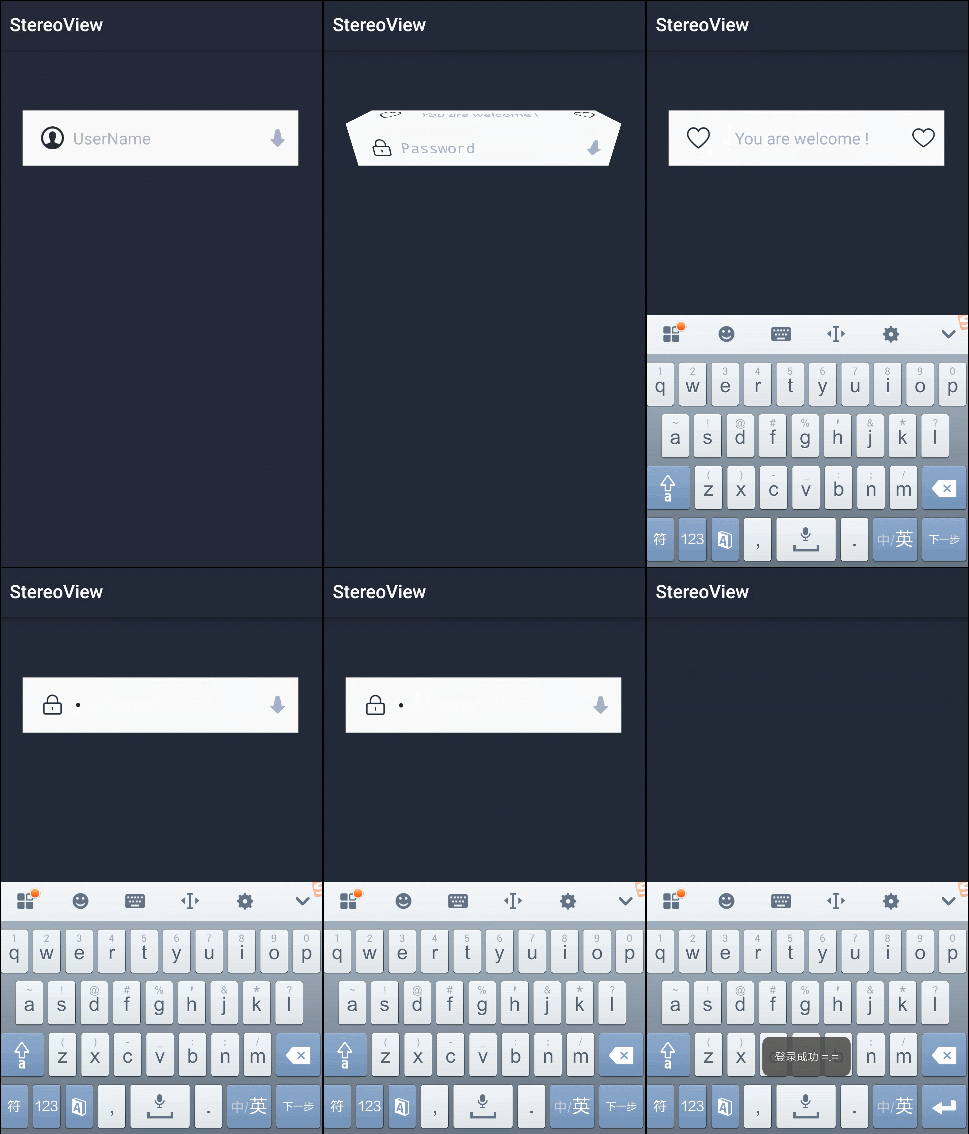
我们实现的效果:
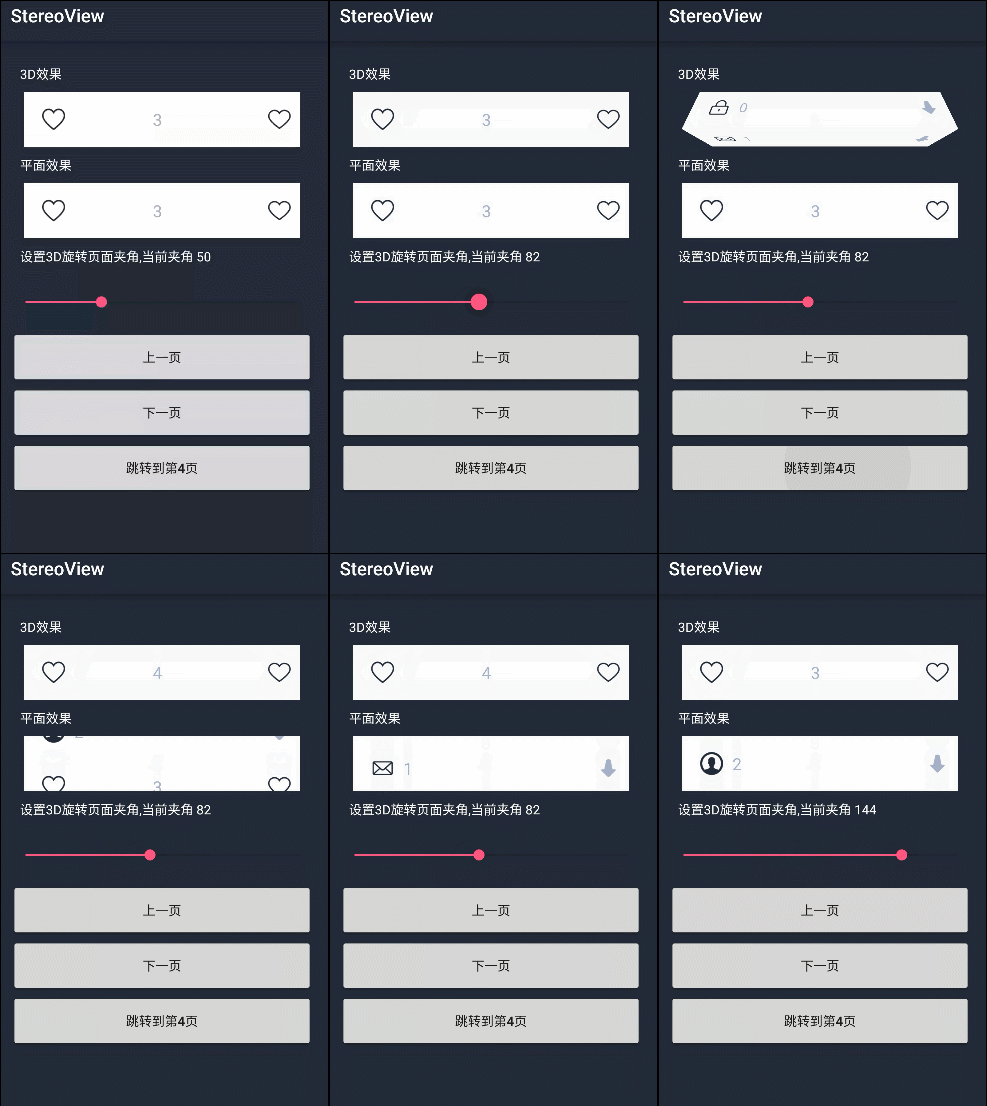
(为了更加可定制化,我在原图基础上新增了新的效果)
可以快速滚动,并且无限循环
这个是对一些参数的进行设定
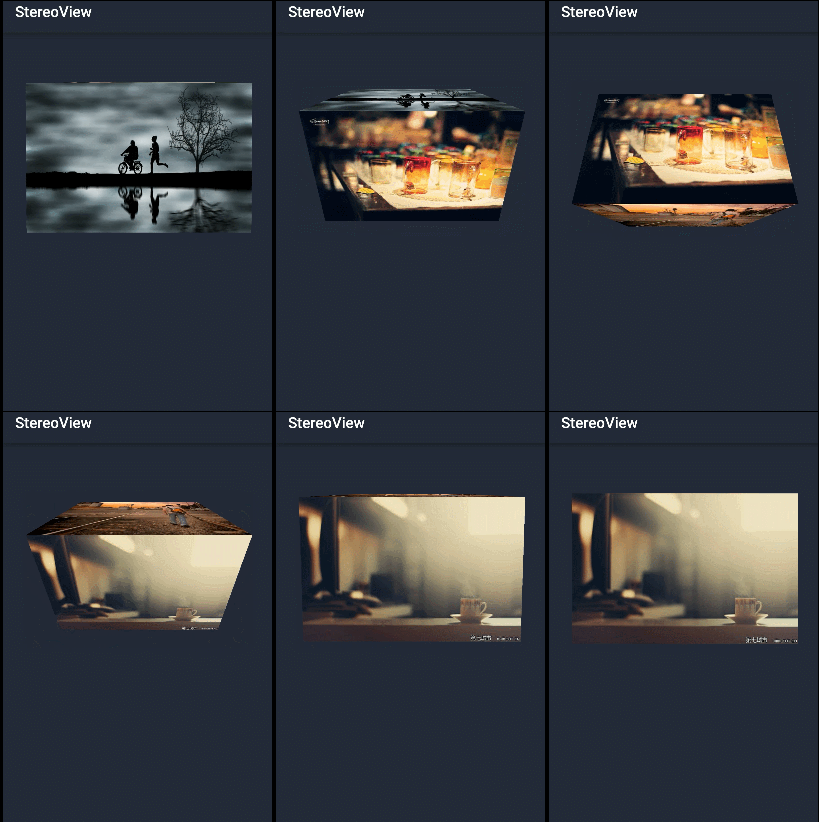
对图片的包裹效果
因为本身继承自ViewGroup,所以基本控件都是可以包裹的
2.分析
- 1
- 2
- 1
- 2
下载地址 :https://github.com/ImmortalZ/StereoView
通过我们实现的效果图可以发现:
1.切换的时候是一个3D立体的效果
2.布局中的每一个Item可以自由切换,且无限循环滚动
要解决上面的效果,我们需要什么技术点呢?
1.要想实现一个3D效果,我们可以借助Android中的Camera、Matrix
2.要想实现滚动,毫无疑问,我们需要借助Scroller
当然一切看起来很简单,其实不然,除此之外,你还需要对于滑动冲突进行处理等等,下面我开始介绍啦。
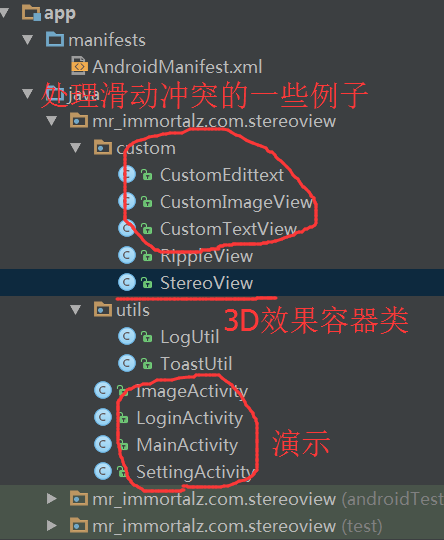
这就是我们这次项目的大致
3.实现
- 1
- 2
- 3
- 4
- 1
- 2
- 3
- 4
private void init(Context context) {
    mCamera = new Camera();
    mMatrix = new Matrix();
    if (mScroller == null) {
        mScroller = new Scroller(context);
    }
}


@Override
protected void onMeasure(int widthMeasureSpec, int heightMeasureSpec) {
    super.onMeasure(widthMeasureSpec, heightMeasureSpec);
    measureChildren(widthMeasureSpec, heightMeasureSpec);
    mWidth = getMeasuredWidth();
    mHeight = getMeasuredHeight();
    //滑动到设置的StartScreen位置
    scrollTo(0, mStartScreen * mHeight);
}


@Override
protected void onLayout(boolean changed, int l, int t, int r, int b) {
    int childTop = 0;
    for (int i = 0; i < getChildCount(); i++) {
        View child = getChildAt(i);
        if (child.getVisibility() != GONE) {
            child.layout(0, childTop,
                    child.getMeasuredWidth(), childTop + child.getMeasuredHeight());
            childTop = childTop + child.getMeasuredHeight();
        }
    }
}
完成这些操作后,我们需要在onTouchEvent中进行滑动事件的处理
3.1 完成无限循环滑动滚动
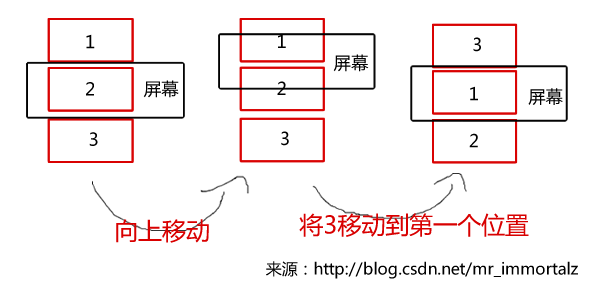
我们的item数量是有限的,如何实现无限循环滚动呢?很简单,以3个item为例子(分别为1,2,3),我们让屏幕显示的是2
如此反复,屏幕所在的位置始终是第2个item所在的位置,这样就实现了我们的无限循环滚动,向下滚动也是如此


 本文介绍如何从零开始打造一个Android的3D立体旋转容器,详细讲解了无限循环滚动和3D切换效果的实现原理,涉及到的技术包括Camera、Matrix和Scroller。此外,还讨论了滑动事件冲突的处理和自定义点击水纹波效果。

 最低0.47元/天 解锁文章


 951
951

 被折叠的 条评论
为什么被折叠?


