


这种fragment弹框可以加入返回栈中,在点击返回时可以重新显示出来
public class FragmentDialogSupport extends FragmentActivity {
int mStackLevel = 0;
@Override
protected void onCreate(Bundle savedInstanceState) {
super.onCreate(savedInstanceState);
setContentView(R.layout.fragment_dialog);
View tv = findViewById(R.id.text);
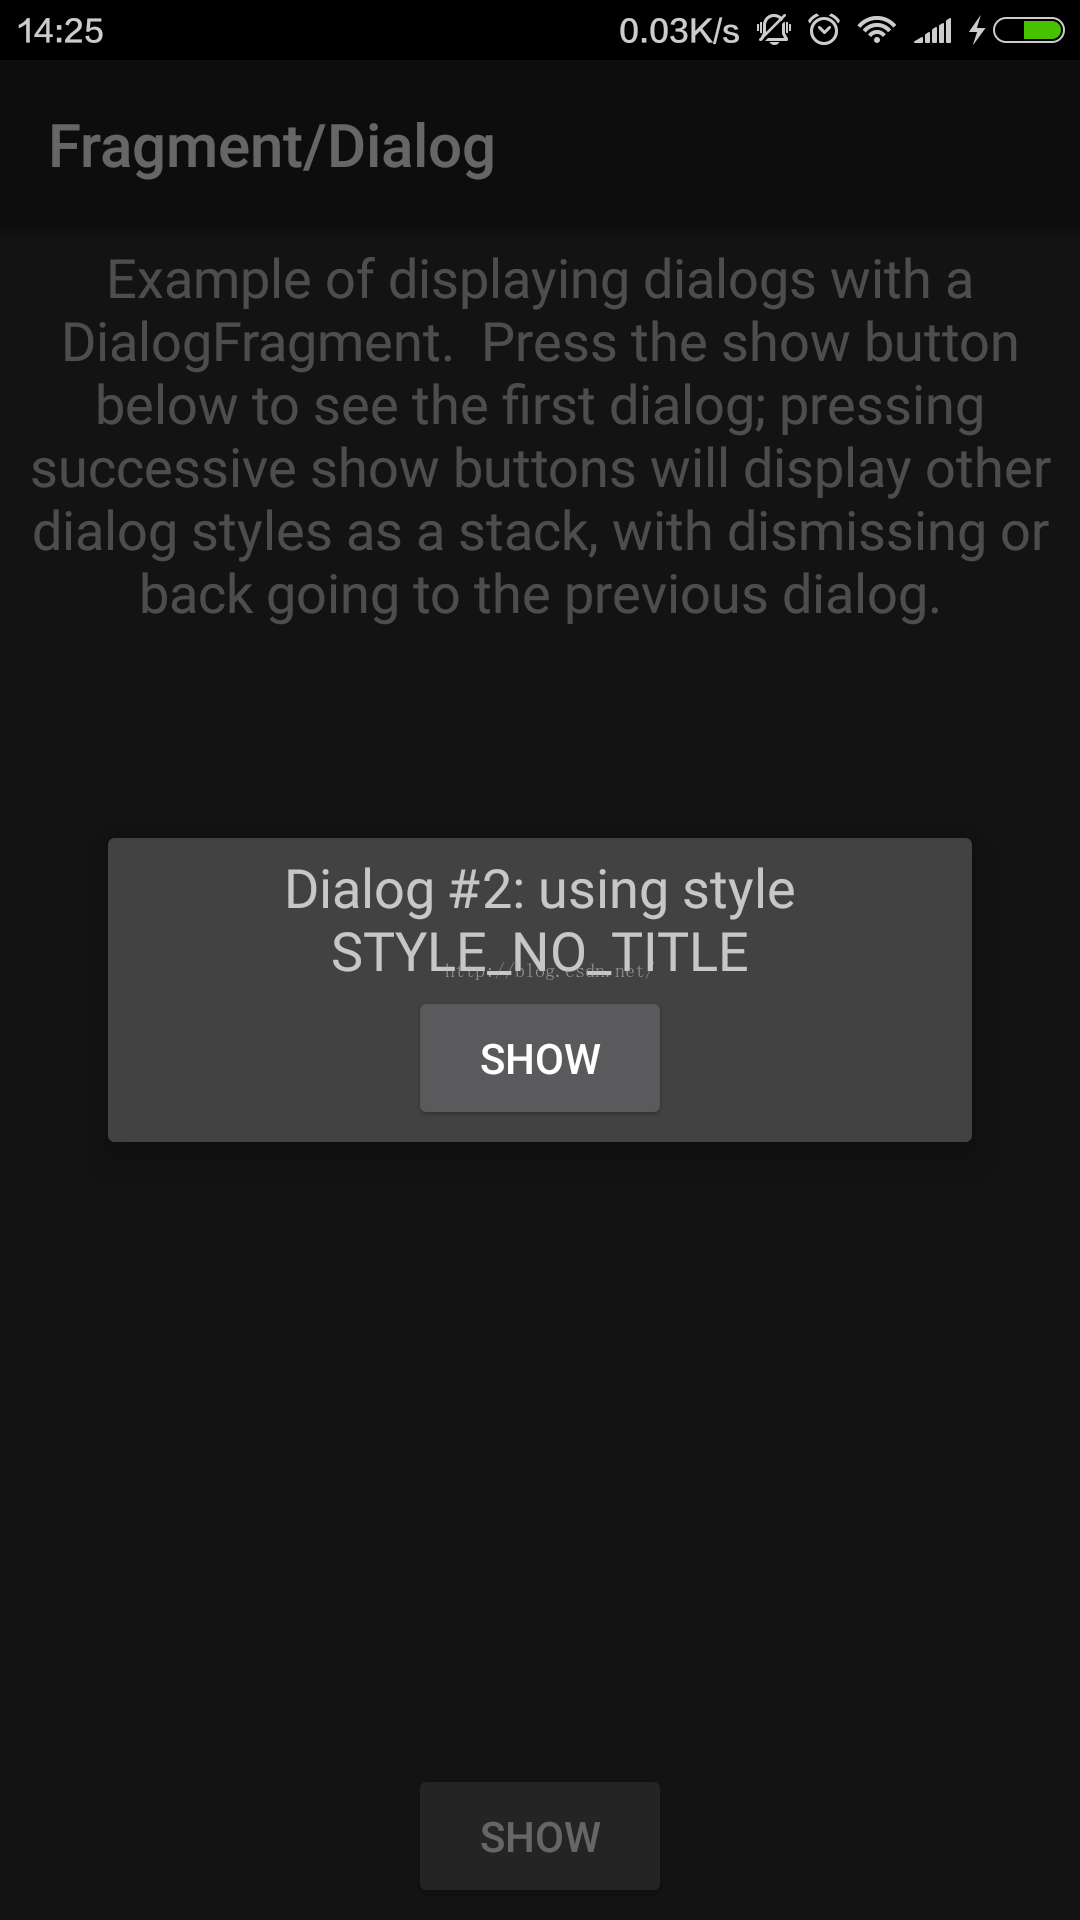
((TextView)tv).setText("Example of displaying dialogs with a DialogFragment. "
+ "Press the show button below to see the first dialog; pressing "
+ "successive show buttons will display other dialog styles as a "
+ "stack, with dismissing or back going to the previous dialog.");
// Watch for button clicks.
Button button = (Button)findViewById(R.id.show);
button.setOnClickListener(new OnClickListener() {
public void onClick(View v) {
showDialog();
}
});
if (savedInstanceState != null) {
mStackLevel = savedInstanceState.getInt("level");
}
}
@Override
public void onSaveInstanceState(Bundle outState) {
super.onSaveInstanceState(outState);
outState.putInt("level", mStackLevel);
}
void showDialog() {
mStackLevel++;
// DialogFragment.show() will take care of adding the fragment
// in a transaction. We also want to remove any currently showing
// dialog, so make our own transaction and take care of that here.
FragmentTransaction ft = getSupportFragmentManager().beginTransaction();
Fragment prev = getSupportFragmentManager().findFragmentByTag("dialog");
if (prev != null) {
ft.remove(prev);
}
ft.addToBackStack(null);
// Create and show the dialog.
DialogFragment newFragment = MyDialogFragment.newInstance(mStackLevel);
newFragment.show(ft, "dialog");
}
static String getNameForNum(int num) {
switch ((num-1)%6) {
case 1: return "STYLE_NO_TITLE";
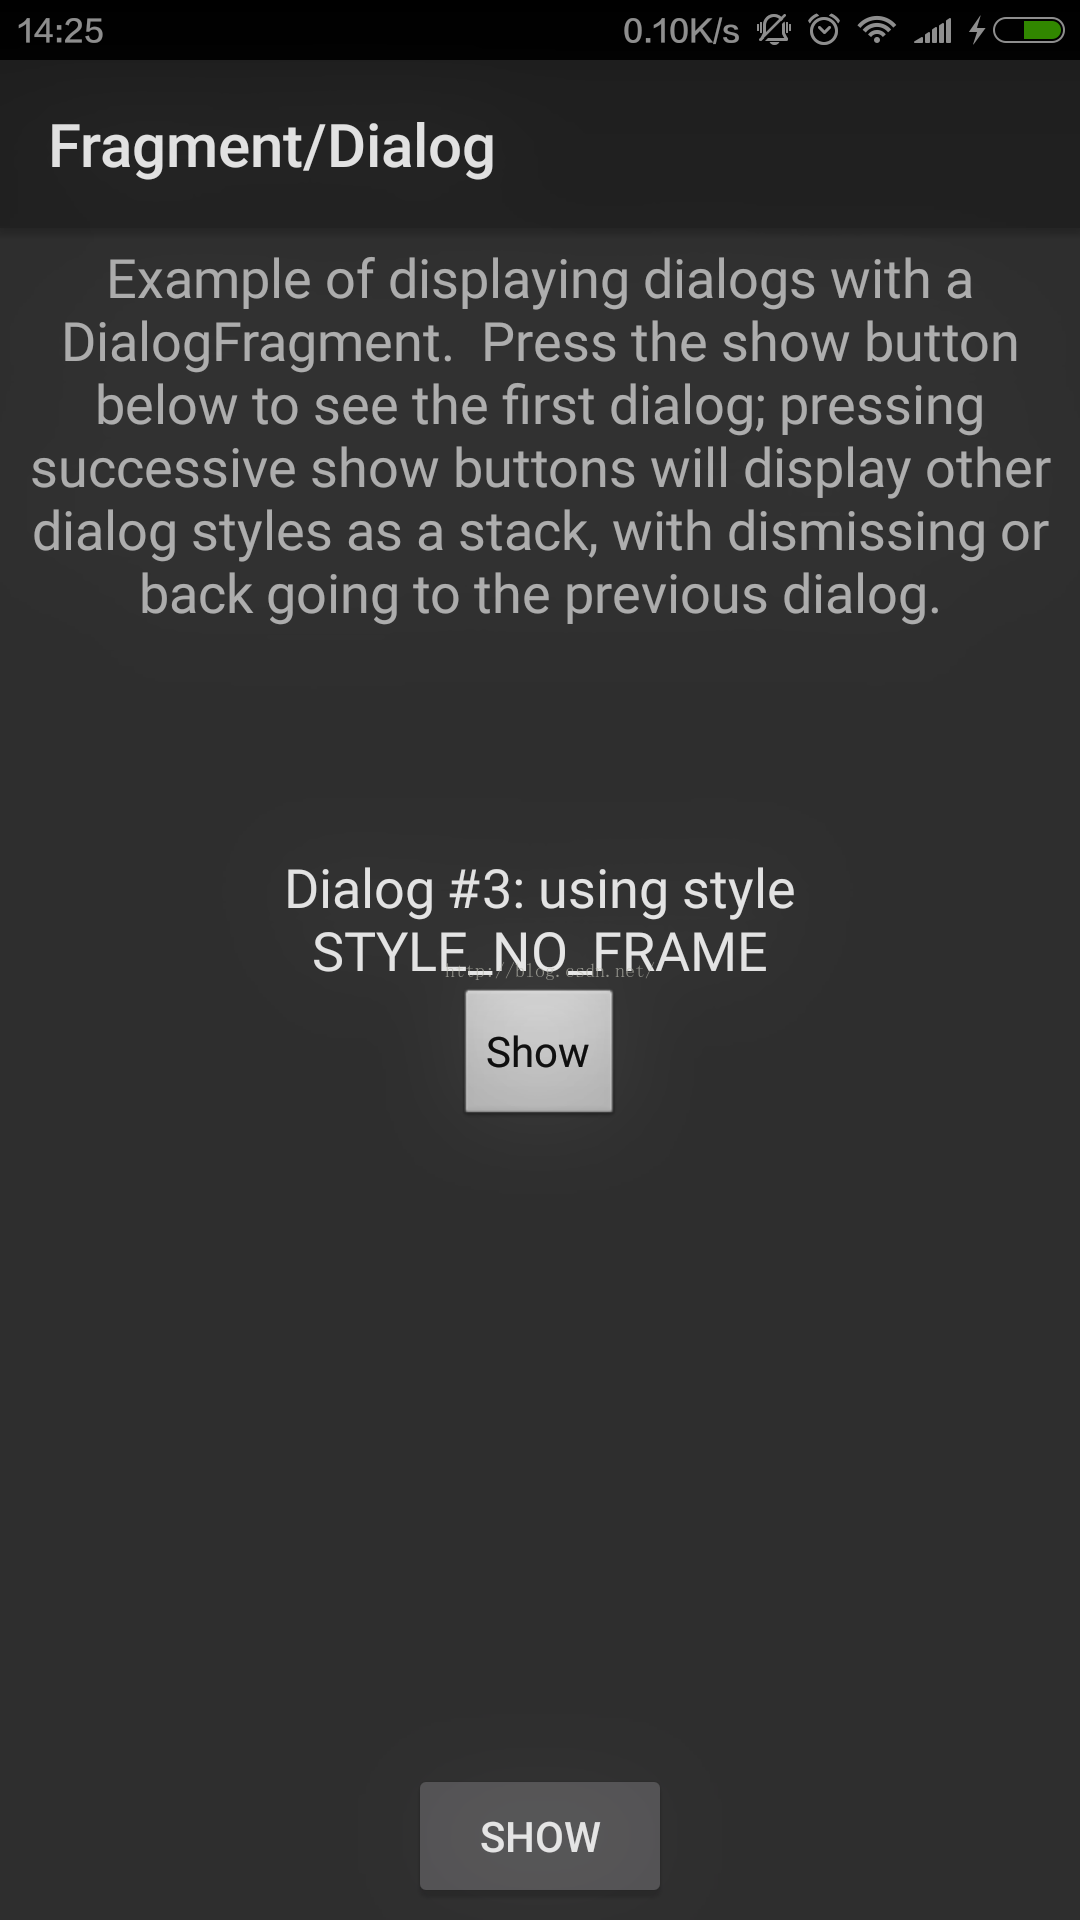
case 2: return "STYLE_NO_FRAME";
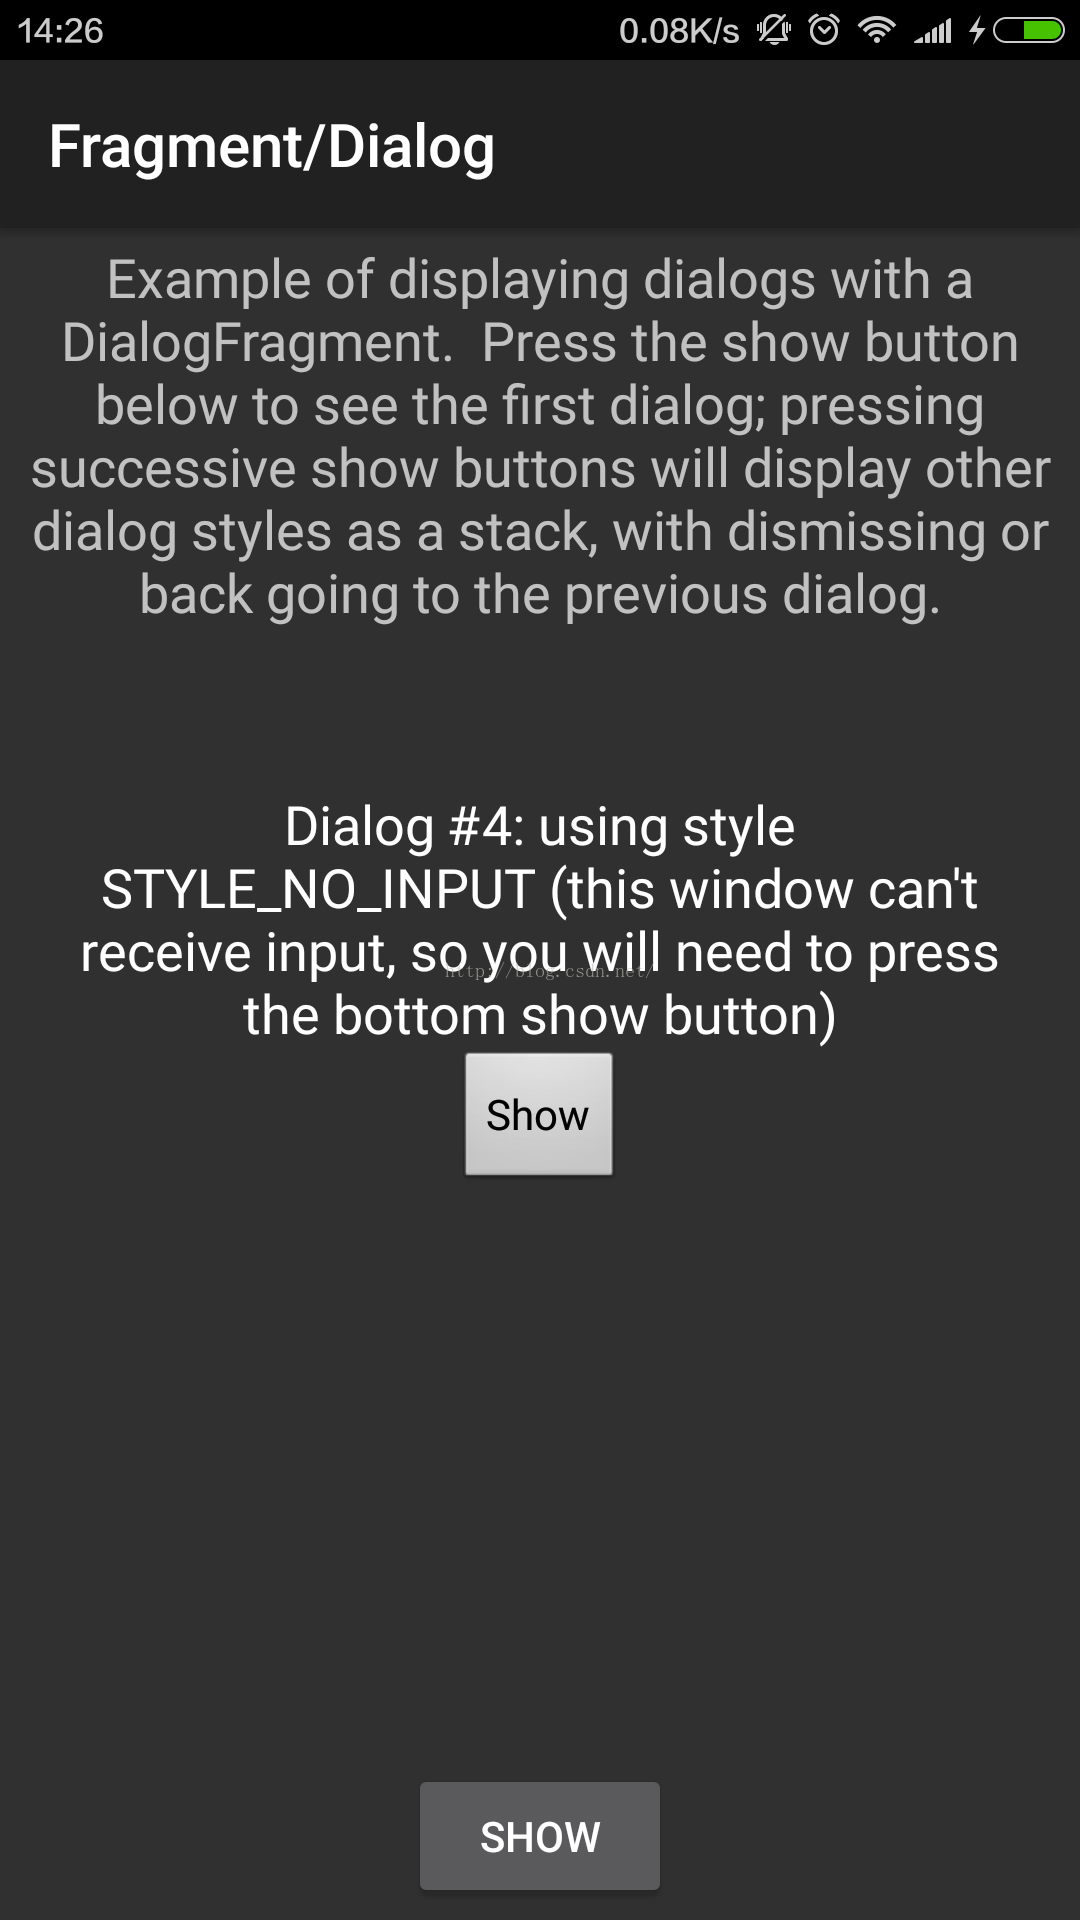
case 3: return "STYLE_NO_INPUT (this window can't receive input, so "
+ "you will need to press the bottom show button)";
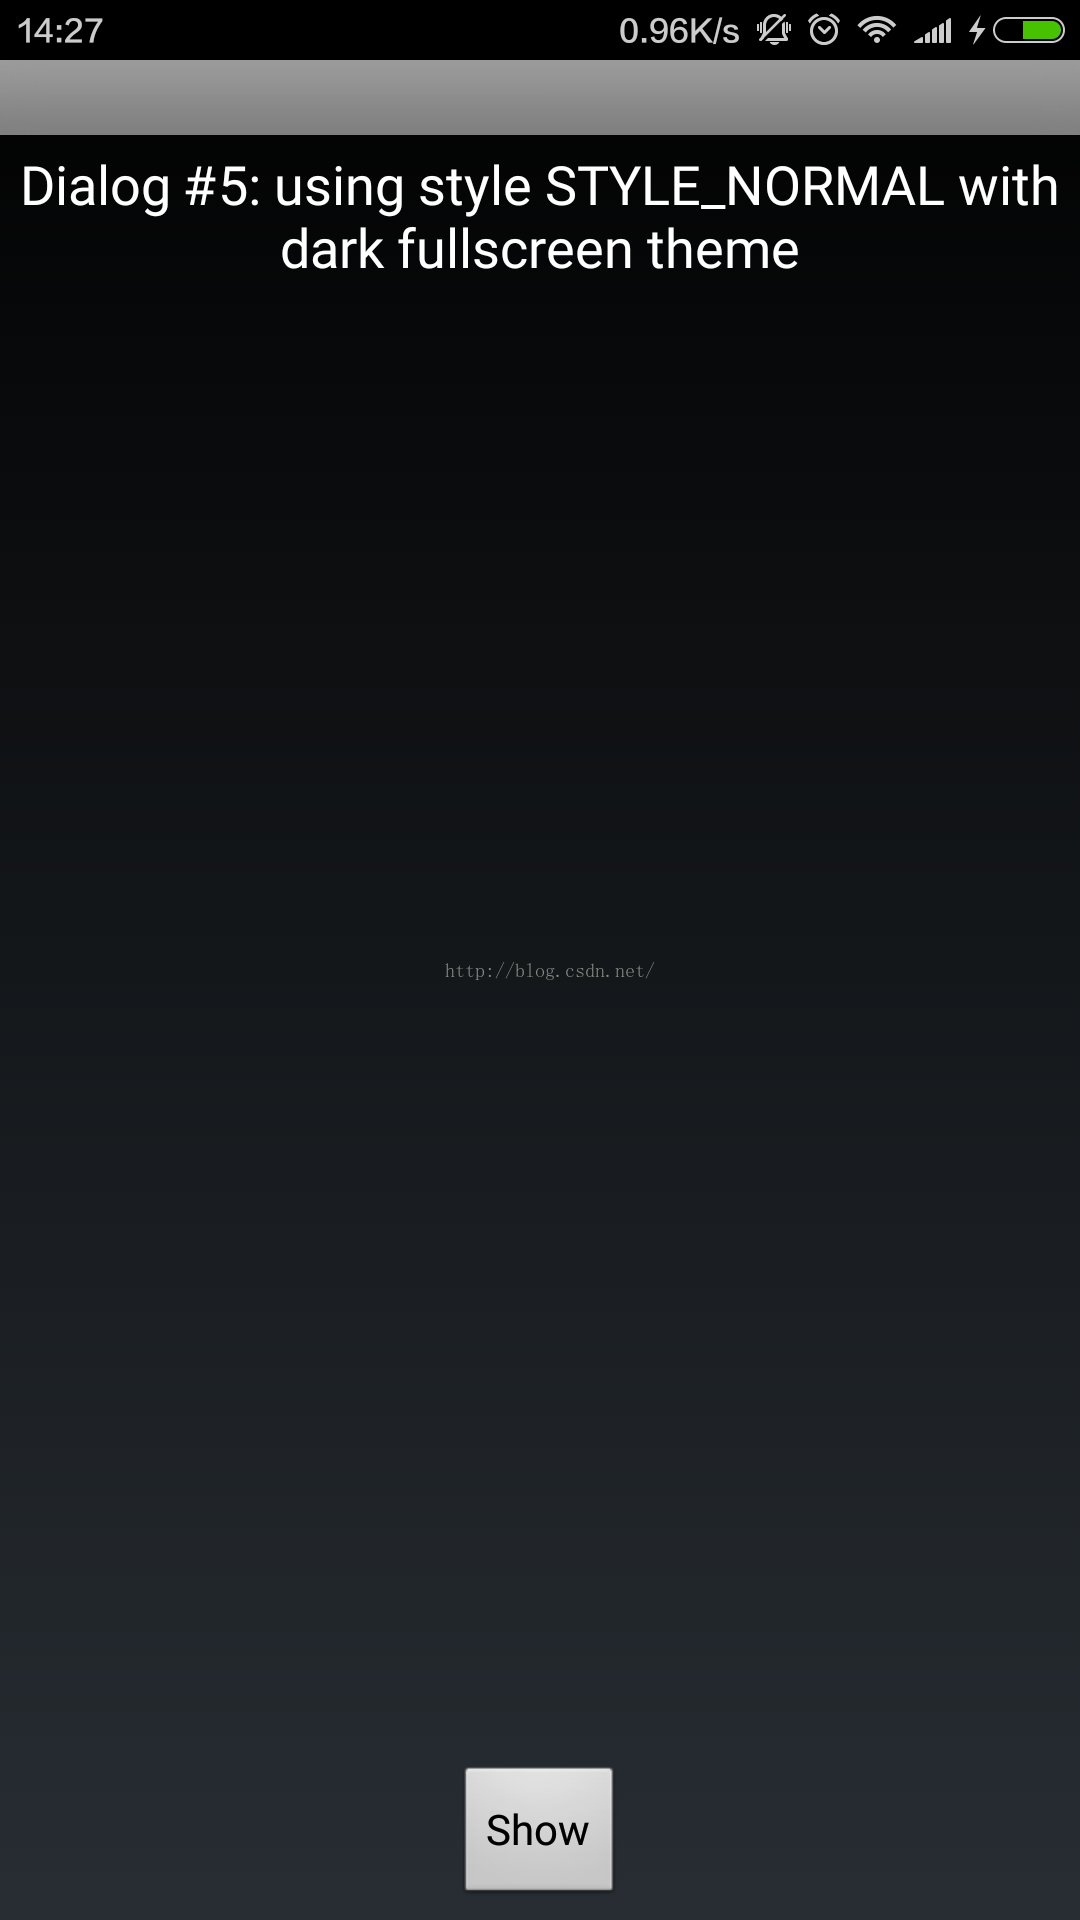
case 4: return "STYLE_NORMAL with dark fullscreen theme";
case 5: return "STYLE_NORMAL with light theme";
case 6: return "STYLE_NO_TITLE with light theme";
case 7: return "STYLE_NO_FRAME with light theme";
case 8: return "STYLE_NORMAL with light fullscreen theme";
}
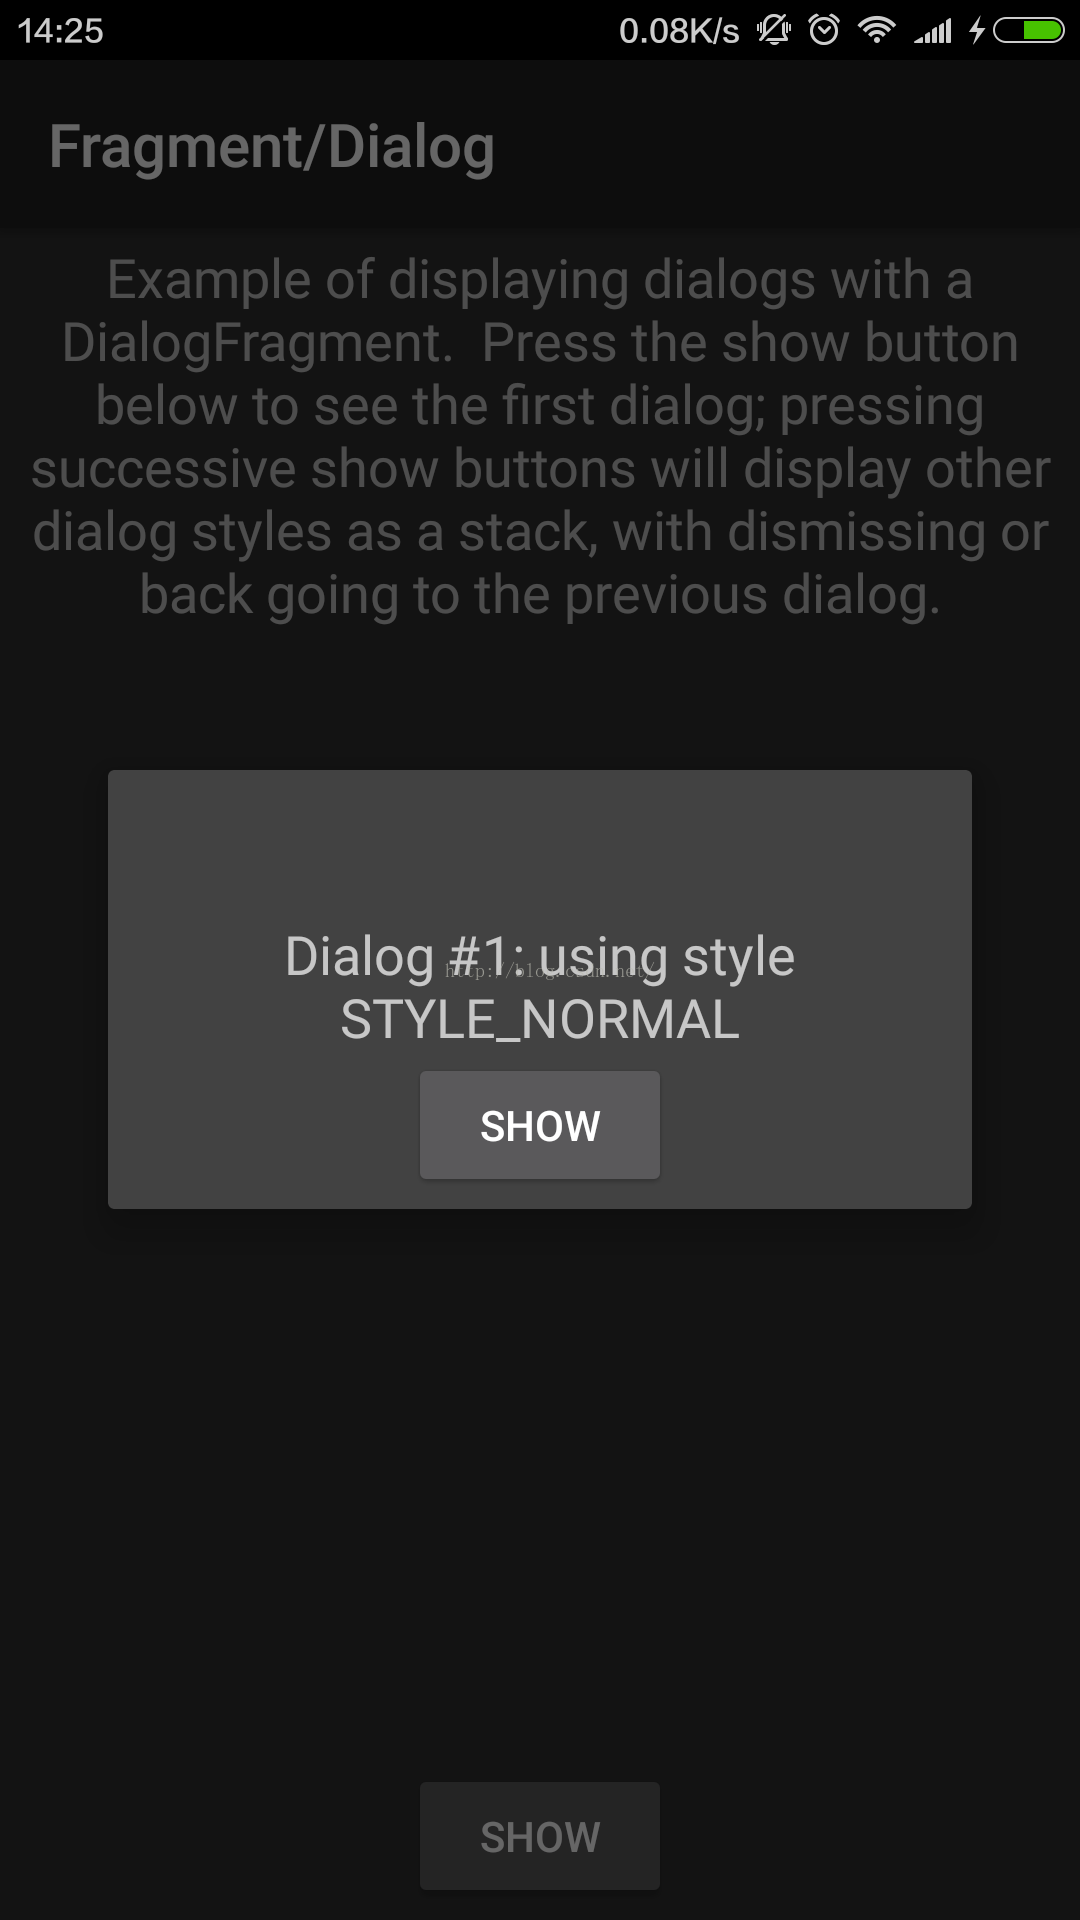
return "STYLE_NORMAL";
}
public static class MyDialogFragment extends DialogFragment {
int mNum;
/**
* Create a new instance of MyDialogFragment, providing "num"
* as an argument.
*/
static MyDialogFragment newInstance(int num) {
MyDialogFragment f = new MyDialogFragment();
// Supply num input as an argument.
Bundle args = new Bundle();
args.putInt("num", num);
f.setArguments(args);
return f;
}
@Override
public void onCreate(Bundle savedInstanceState) {
super.onCreate(savedInstanceState);
mNum = getArguments().getInt("num");
// Pick a style based on the num.
int style = DialogFragment.STYLE_NORMAL, theme = 0;
switch ((mNum-1)%6) {
case 1: style = DialogFragment.STYLE_NO_TITLE; break;
case 2: style = DialogFragment.STYLE_NO_FRAME; break;
case 3: style = DialogFragment.STYLE_NO_INPUT; break;
case 4: style = DialogFragment.STYLE_NORMAL; break;
case 5: style = DialogFragment.STYLE_NO_TITLE; break;
case 6: style = DialogFragment.STYLE_NO_FRAME; break;
case 7: style = DialogFragment.STYLE_NORMAL; break;
}
switch ((mNum-1)%6) {
case 2: theme = android.R.style.Theme_Panel; break;
case 4: theme = android.R.style.Theme; break;
case 5: theme = android.R.style.Theme_Light; break;
case 6: theme = android.R.style.Theme_Light_Panel; break;
case 7: theme = android.R.style.Theme_Light; break;
}
setStyle(style, theme);
}
@Override
public View onCreateView(LayoutInflater inflater, ViewGroup container,
Bundle savedInstanceState) {
View v = inflater.inflate(R.layout.fragment_dialog, container, false);
View tv = v.findViewById(R.id.text);
((TextView)tv).setText("Dialog #" + mNum + ": using style "
+ getNameForNum(mNum));
// Watch for button clicks.
Button button = (Button)v.findViewById(R.id.show);
button.setOnClickListener(new OnClickListener() {
public void onClick(View v) {
// When button is clicked, call up to owning activity.
((FragmentDialogSupport)getActivity()).showDialog();
}
});
return v;
}
}
}
图片:


 436
436

 被折叠的 条评论
为什么被折叠?
被折叠的 条评论
为什么被折叠?
 到【灌水乐园】发言


