


注册csdn也已经好久了,做毕业设计那会上csdn较多,工作以后就一直没有怎么上过,csdn的blog也开了好久,今天终于有时间来捧捧场了,以此来纪念纪念自己的学习和生活的点滴 :p
第一篇blog就以自己刚开始接触的CentOS开始吧,做为刚开始学习Linux的人来说安装os是重要的第一步,现在转一篇英文的安装过程,我相信对于很多刚开始接触linux,接触centos的人来说还是很有帮助的。
1 Install The Base System
Boot from your CentOS 4.4 CD (CD 1).
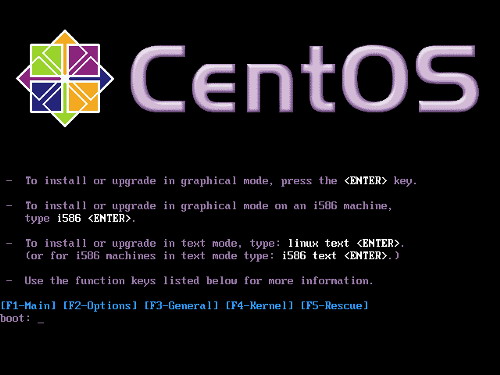
It can take a long time to test the installation media so we skip this test here:

The welcome screen of the CentOS installer appears. Click on Next:

Choose your language next:

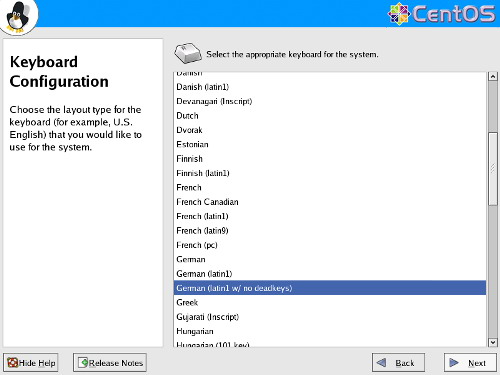
Select your keyboard layout:
We want to install a server so we choose Server here:

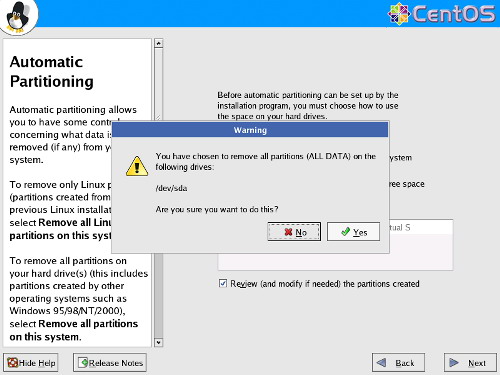
Next we do the partitioning. Select Automatically partition. This will give you a smalll /boot partition and a large / partition which is fine for our purposes:

I'm installing CentOS 4.4 on a fresh system, so I answer Yes to the question Would you like to initialize this drive, erasing ALL DATA?

Select Remove all partitions on this system.

We want to remove all Linux partitions, so we answer Yes to the following question:
The installer presents you an overview of our new partitions. Click on Next:

Now the boot loader GRUB will be installed. You can leave the default settings unchanged and click on Next:

On to the network settings. The default setting here is to configure the network interfaces with DHCP, but we are installing a server, so static IP addresses are not a bad idea... Click on the Edit button at the top right. In the window that pops up uncheck Configure using DHCP and give your network card a static IP address (in this tutorial I'm using the IP address 192.168.0.100 for demonstration purposes):

Set the hostname manually, e.g. server1.example.com, and enter a gateway (e.g. 192.168.0.1) and up to three DNS servers (e.g. 145.253.2.75, 193.174.32.18, and 194.25.0.60):

I want to install ISPConfig at the end of this tutorial which comes with its own firewall. That's why I disable the default CentOS firewall now. Of course, you are free to leave it on and configure it to your needs (but then you shouldn't use any other firewall later on as it will most probably interfere with the CentOS firewall).
SELinux is a security extension of CentOS that should provide extended security. In my opinion you don't need it to configure a secure system, and it usually causes more problems than advantages (think of it after you have done a week of trouble-shooting because some service wasn't working as expected, and then you find out that everything was ok, only SELinux was causing the problem). Therefore I disable it (this is a must if you want to install ISPConfig later on).

Click on Proceed:

Select the default language for the system and add further languages, if necessary:

Choose your time zone:

Give root a password:

Now we are to select the package groups we want to install. Select Editors, Text Based Internet, Server Configuration Tools, Web Server, Mail Server, DNS Name Server, FTP Server, MySQL Database, Development Tools, Administration Tools and System Tools and click on Next:

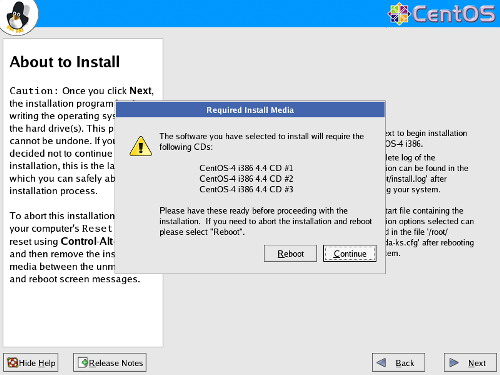
The installer tells you which CDs it will need to install the selected packages:
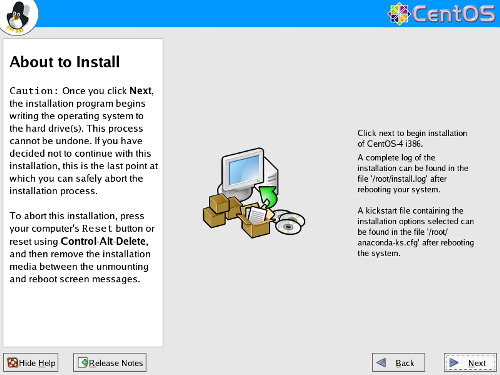
The installation begins. This will take a few minutes:

Finally, the installation is complete, and you can remove your CD from the computer and reboot it:

到此为止安装结束,这篇安装过程适合刚接触的centos的人看看,分区适用的是自动分区,如果你对linux分区熟悉的话,其实完全可以自己手工分区。以后关于学习centos的文章我会陆续放上来的。


 160
160

 被折叠的 条评论
为什么被折叠?
被折叠的 条评论
为什么被折叠?
 到【灌水乐园】发言


