


一、前言
在上一篇博客,小编向大家介绍了SpringBoot是什么,在上面时候使用。但是空洞的理论的开始总会有一个hello world 的小程序开始,在这篇博客中,小编就向大家介绍一下使用SpringBoot完成一个Hello world程序。
二、环境准备
一款不错的IDE : Eclipse、Idea Intellij (力荐)
maven3.0+
三、简单演示
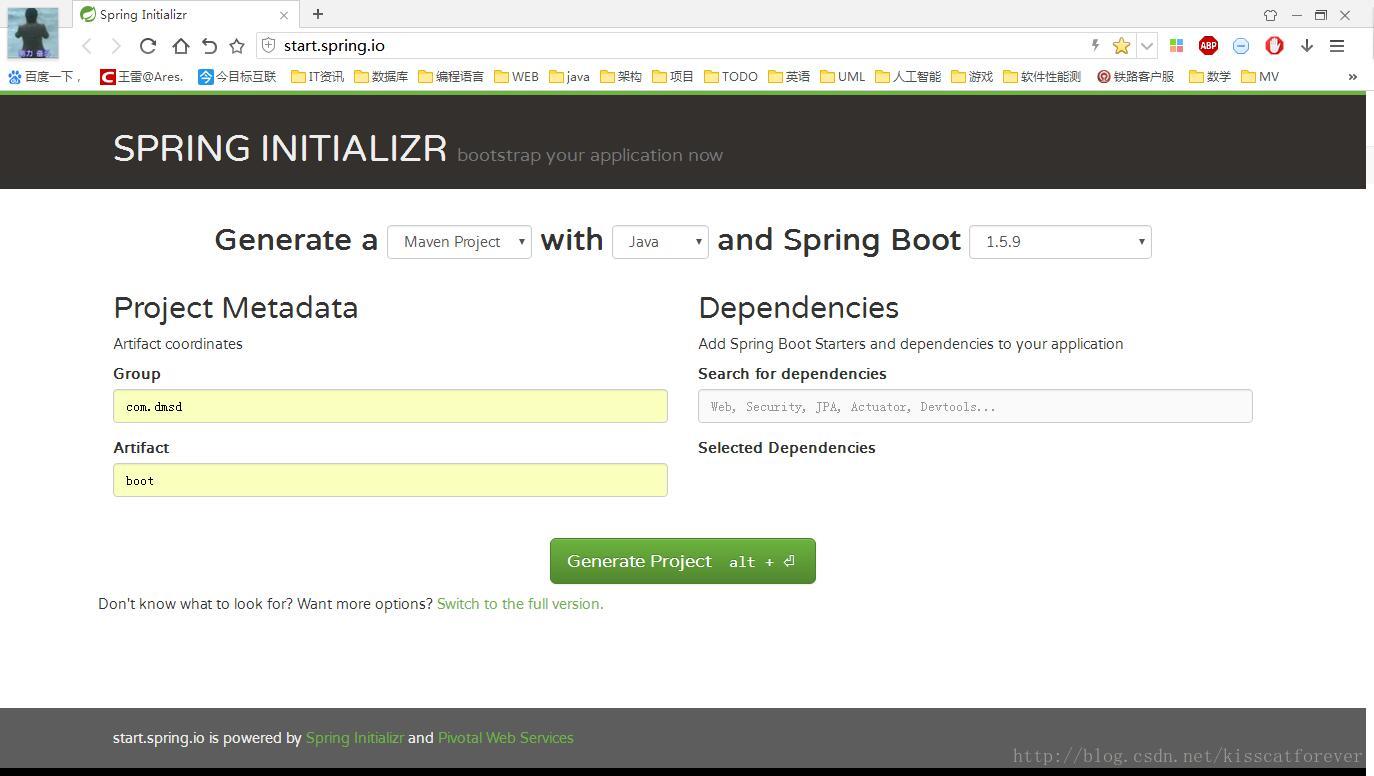
3.1 使用Spring initialize 生成框架
打开官网后,选择Maven Project ,Java ,Spring Boot 选择1.5.9(选最新的就可以),然后写入自己项目的Group和Artifact,点击Generate Project 生成代码。
3.2 把生成的框架导入Idea
把生成的代码解压,使用Idea打开:
File – > Open – >弹出的对话框中,选择解压好的文件的pom.xml –> OK
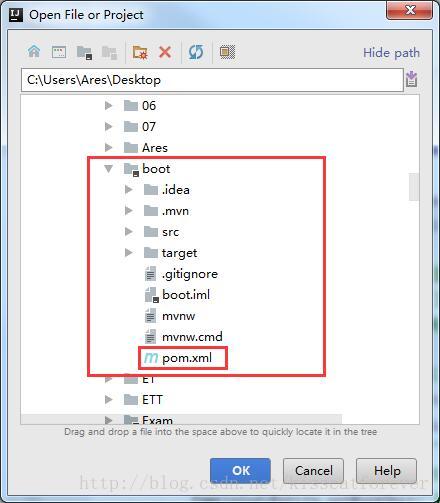
打开后需要我们配置maven,至于Idea 配置maven的操作,请看小编以前写过的博客——《Idea Intellij 配置maven》。
maven配置好后,项目就导入成功。
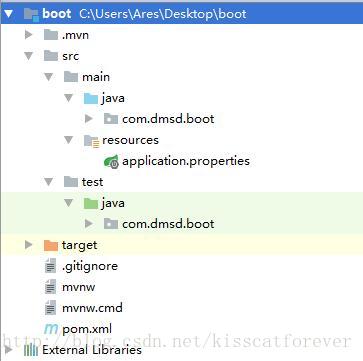
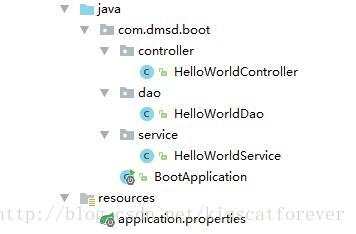
结构说明: 建议使用三层架构,web 、service、dao。
1.Application.java 建议放到跟目录下面,主要用于做一些框架配置
2.dao目录主要用于实体(Entity)与数据访问层(Repository)
3.service 层主要是业务类代码
4.controller 负责页面访问控制
3.3 引入web模块
在pom.xml文件中添加支持web的模块
        <!--测试模块-->
        <dependency>
            <groupId>org.springframework.boot</groupId>
            <artifactId>spring-boot-starter-test</artifactId>
            <scope>test</scope>
        </dependency>
        <!--web模块-->
        <dependency>
            <groupId>org.springframework.boot</groupId>
            <artifactId>spring-boot-starter-web</artifactId>
        </dependency>
pom.xml文件中默认有两个模块:
spring-boot-starter:核心模块,包括自动配置支持、日志和YAML;
spring-boot-starter-test:测试模块,包括JUnit、Hamcrest、Mockito。
完整的pom文件:
<?xml version="1.0" encoding="UTF-8"?>
<project xmlns="http://maven.apache.org/POM/4.0.0" xmlns:xsi="http://www.w3.org/2001/XMLSchema-instance"
    xsi:schemaLocation="http://maven.apache.org/POM/4.0.0 http://maven.apache.org/xsd/maven-4.0.0.xsd">
    <modelVersion>4.0.0</modelVersion>

    <groupId>com.dmsd</groupId>
    <artifactId>boot</artifactId>
    <version>0.0.1-SNAPSHOT</version>
    <packaging>jar</packaging>

    <name>boot</name>
    <description>Demo project for Spring Boot</description>

    <parent>
        <groupId>org.springframework.boot</groupId>
        <artifactId>spring-boot-starter-parent</artifactId>
        <version>1.5.9.RELEASE</version>
        <relativePath/> <!-- lookup parent from repository -->
    </parent>

    <properties>
        <project.build.sourceEncoding>UTF-8</project.build.sourceEncoding>
        <project.reporting.outputEncoding>UTF-8</project.reporting.outputEncoding>
        <java.version>1.8</java.version>
    </properties>

    <dependencies>
        <dependency>
            <groupId>org.springframework.boot</groupId>
            <artifactId>spring-boot-starter</artifactId>
        </dependency>

        <!--测试模块-->
        <dependency>
            <groupId>org.springframework.boot</groupId>
            <artifactId>spring-boot-starter-test</artifactId>
            <scope>test</scope>
        </dependency>
        <!--web模块-->
        <dependency>
            <groupId>org.springframework.boot</groupId>
            <artifactId>spring-boot-starter-web</artifactId>
        </dependency>

        <dependency>
            <groupId>org.springframework.boot</groupId>
            <artifactId>spring-boot-starter-web</artifactId>
        </dependency>


        <dependency>
            <groupId>org.springframework.boot</groupId>
            <artifactId>spring-boot-devtools</artifactId>
            <optional>true</optional>
        </dependency>

    </dependencies>

    <build>
        <plugins>
            <plugin>
                <groupId>org.springframework.boot</groupId>
                <artifactId>spring-boot-maven-plugin</artifactId>
                <configuration>
                    <fork>true</fork>
                </configuration>
            </plugin>
        </plugins>
    </build>


</project>
Controller编写
package com.dmsd.boot.controller;

import org.springframework.web.bind.annotation.RequestMapping;
import org.springframework.web.bind.annotation.RestController;

/**
 * Created by Ares on 2017/12/30.
 */
@RestController
public class HelloWorldController {
    @RequestMapping("/hello")
    public String index() {
        return "Hello World";
    }
}
3.4 运行
Spring Boot 运行,只需要运行Application文件的main函数就可以了。
package com.dmsd.boot;

import org.springframework.boot.SpringApplication;
import org.springframework.boot.autoconfigure.SpringBootApplication;

@SpringBootApplication
public class BootApplication {

    public static void main(String[] args) {
        SpringApplication.run(BootApplication.class, args);
    }
}
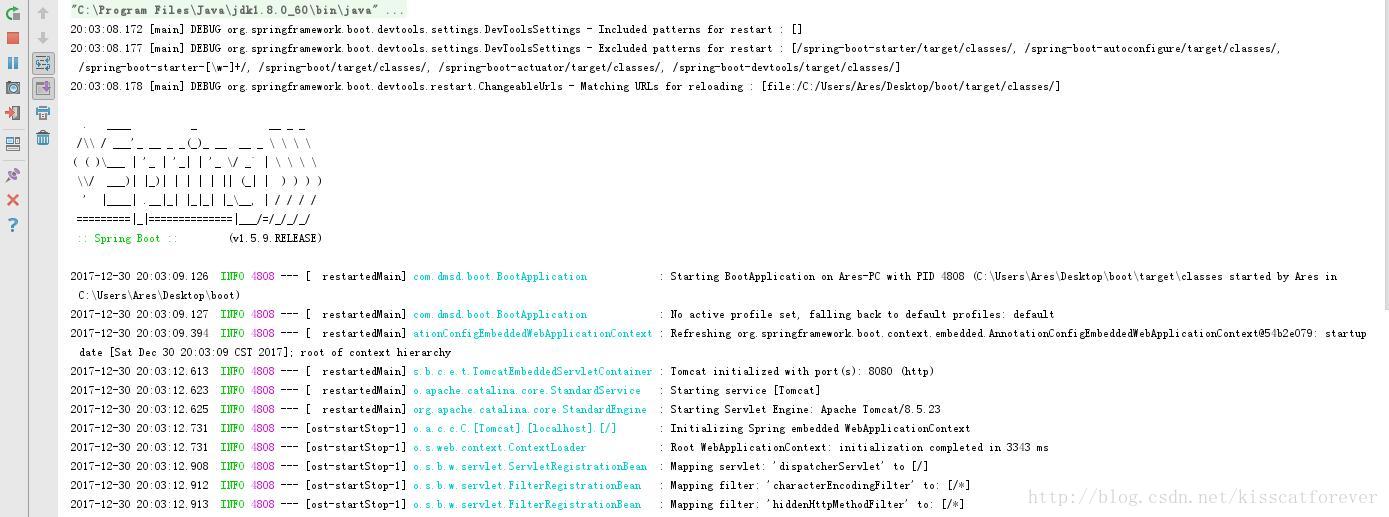
运行后会打印带有SpringBoot的日志,当然这个现实的logo是可以跟换的,在以后的博客中介绍:
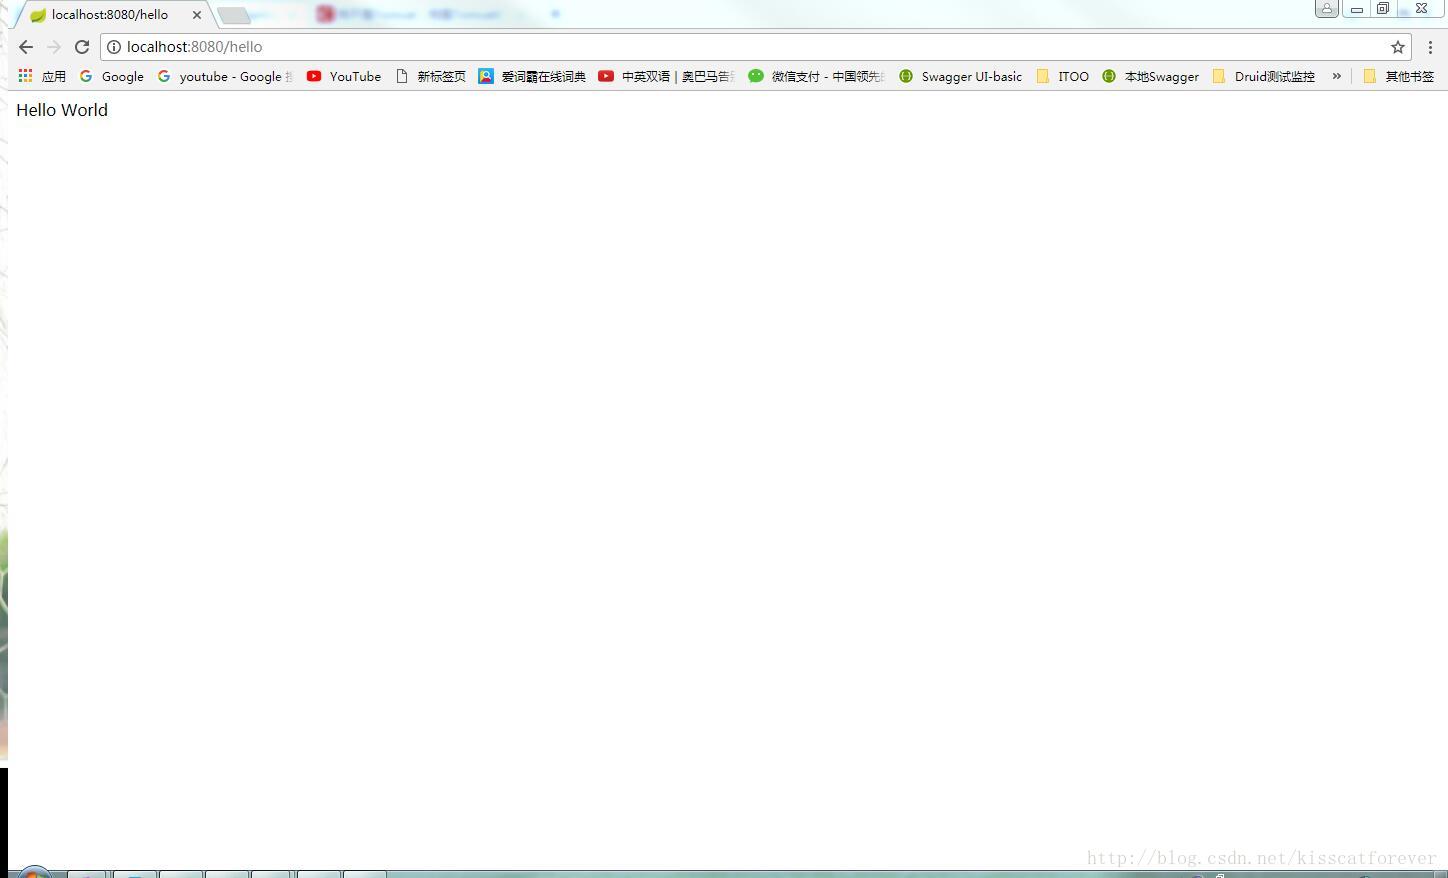
在网页中输入localhost:8080/hello,就可以现实出我们Controller的信息:
四、基础POM文件
在上面的demo中,可能让大家感到迷糊的就是引入的配置文件,以及使用的注解,这里小编先对引入的pom文件进行解释,在后面的博客再抽出一个专题对注解解释:
| 名称 | 说明 |
|---|---|
| spring-boot-starter | 核心 POM,包含自动配置支持、日志库和对 YAML 配置文件的支持。 |
| spring-boot-starter-amqp | 通过 spring-rabbit 支持 AMQP。 |
| spring-boot-starter-aop | 包含 spring-aop 和 AspectJ 来支持面向切面编程(AOP)。 |
| spring-boot-starter-batch | 支持 Spring Batch,包含 HSQLDB。 |
| spring-boot-starter-data-jpa | 包含 spring-data-jpa、spring-orm 和 Hibernate 来支持 JPA。 |
| spring-boot-starter-data-mongodb | 包含 spring-data-mongodb 来支持 MongoDB。 |
| spring-boot-starter-data-rest | 通过 spring-data-rest-webmvc 支持以 REST 方式暴露 Spring Data 仓库。 |
| spring-boot-starter-jdbc | 支持使用 JDBC 访问数据库。 |
| spring-boot-starter-security | 包含 spring-security。 |
| spring-boot-starter-test | 包含常用的测试所需的依赖,如 JUnit、Hamcrest、Mockito 和 spring-test 等。 |
| spring-boot-starter-velocity | 支持使用 Velocity 作为模板引擎。 |
| spring-boot-starter-web | 支持 Web 应用开发,包含 Tomcat 和 spring-mvc。 |
| spring-boot-starter-websocket | 支持使用 Tomcat 开发 WebSocket 应用。 |
| spring-boot-starter-ws | 支持 Spring Web Services。 |
| spring-boot-starter-actuator | 添加适用于生产环境的功能,如性能指标和监测等功能。 |
| spring-boot-starter-remote-shell | 添加远程 SSH 支持。 |
| spring-boot-starter-jetty | 使用 Jetty 而不是默认的 Tomcat 作为应用服务器。 |
| spring-boot-starter-log4j | 添加 Log4j 的支持。 |
| spring-boot-starter-logging | 使用 Spring Boot 默认的日志框架 Logback。 |
| spring-boot-starter-tomcat | 使用 Spring Boot 默认的 Tomcat 作为应用服务器。 |
五、小结
通过对SpringBoot的Helloworld简单的搭建,可以看出,项目中基本没有配置文件,就是简单的一些注解。使用非常方便。~下一篇博客中,小编会对SpringBoot的相关注解进行解释。敬请期待。


 33万+
33万+


 被折叠的 条评论
为什么被折叠?
被折叠的 条评论
为什么被折叠?
 到【灌水乐园】发言


