


使用前提:已安装Docker软件,并设置docker下载的国内镜像源,本机可连接互联网,使用谷歌搜索需科学上网,用于Dify等第三方调用,需增加son输出格式。
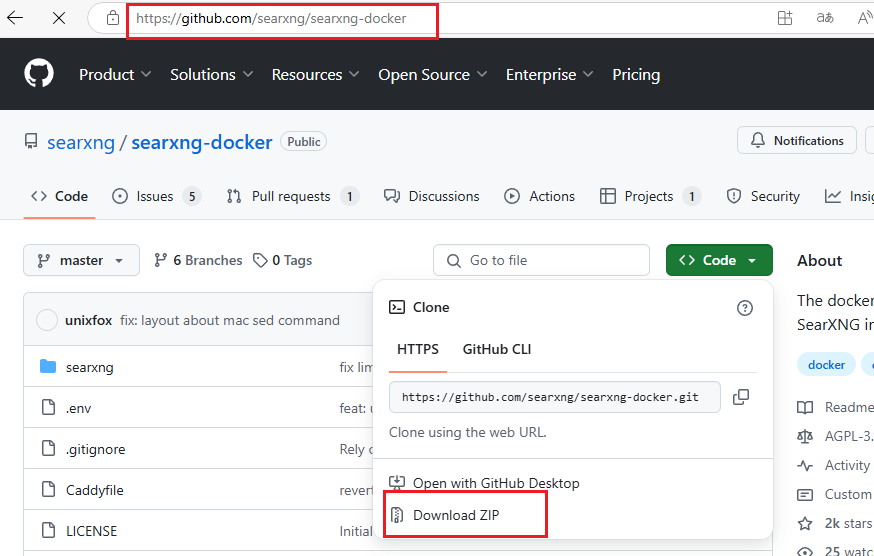
- 到Searxng公司开发的Docker在GitHub的网站(https://github.com/searxng/searxng-docker)下载zip包,并解压到指定文件夹。
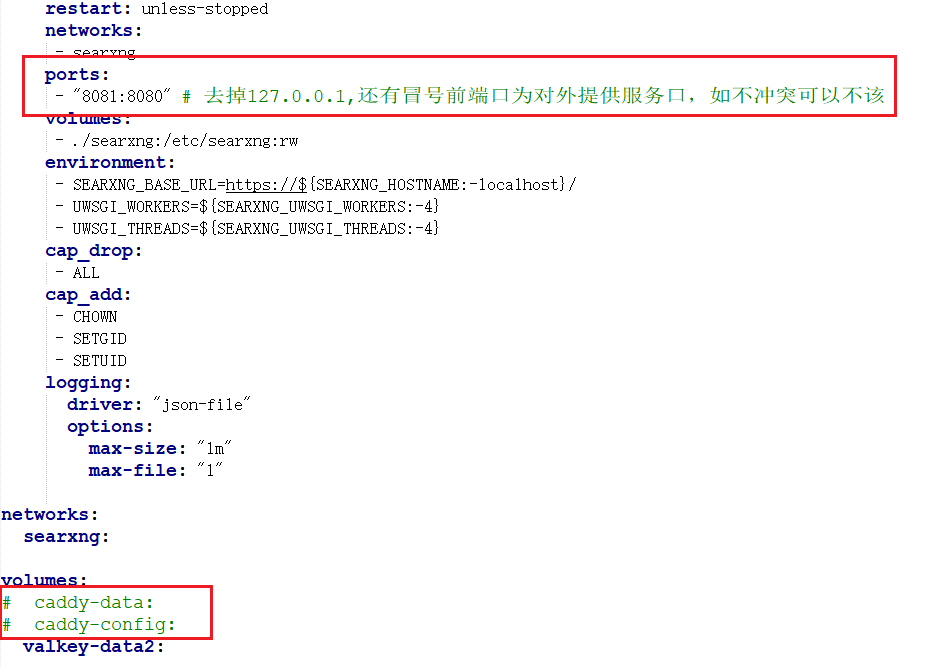
2、打开该文件夹,修改docker-compose.yaml,重点修改Caddy和端口两处,不使用反向代理注释或删除caddy相关内容,包括 #volumes中caddy相关的内容,端口按需修改。

完整docker-compose.yaml代码:
version: "3.7"

services:
  # 不使用反向代理注释掉或删除caddy相关内容,包括 下面volumes中caddy:相关的内容
  #caddy:
  #  container_name: caddy
  #  image: docker.io/library/caddy:2-alpine
  #  network_mode: host
  #  restart: unless-stopped
  #  volumes:
  #    - ./Caddyfile:/etc/caddy/Caddyfile:ro
  #    - caddy-data:/data:rw
  #    - caddy-config:/config:rw
  #  environment:
  #    - SEARXNG_HOSTNAME=${SEARXNG_HOSTNAME:-http://localhost}
  #    - SEARXNG_TLS=${LETSENCRYPT_EMAIL:-internal}
  #  cap_drop:
  #    - ALL
  #  cap_add:
  #    - NET_BIND_SERVICE
  #  logging:
  #   driver: "json-file"
  #    options:
  #     max-size: "1m"
  #     max-file: "1"

  redis:
    container_name: redis
    image: docker.io/valkey/valkey:8-alpine
    command: valkey-server --save 30 1 --loglevel warning
    restart: unless-stopped
    networks:
      - searxng
    volumes:
      - valkey-data2:/data
    cap_drop:
      - ALL
    cap_add:
      - SETGID
      - SETUID
      - DAC_OVERRIDE
    logging:
      driver: "json-file"
      options:
        max-size: "1m"
        max-file: "1"

  searxng:
    container_name: searxng
    image: docker.io/searxng/searxng:latest
    restart: unless-stopped
    networks:
      - searxng
    ports:
      - "8081:8080" # 去掉127.0.0.1,还有冒号前端口为对外提供服务口,如不冲突可以不该
    volumes:
      - ./searxng:/etc/searxng:rw
    environment:
      - SEARXNG_BASE_URL=https://${SEARXNG_HOSTNAME:-localhost}/
      - UWSGI_WORKERS=${SEARXNG_UWSGI_WORKERS:-4}
      - UWSGI_THREADS=${SEARXNG_UWSGI_THREADS:-4}
    cap_drop:
      - ALL
    cap_add:
      - CHOWN
      - SETGID
      - SETUID
    logging:
      driver: "json-file"
      options:
        max-size: "1m"
        max-file: "1"

networks:
  searxng:

volumes:
#  caddy-data:
#  caddy-config:
  valkey-data2:
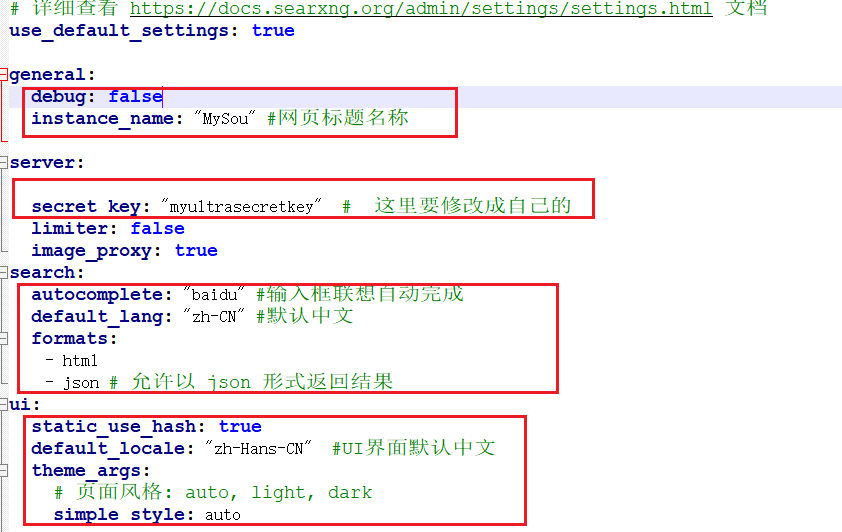
3、修改searxng子文件夹下settings.yml文件:general:选项,修改调试模式为: false,客户化网页标题名称 instance_name: "MySou" #网页标题名称;server:修改 secret_key:为自己的密码,将图片代理设置为:ture;search选项:将自动完成输入改成百度(baidu),默认搜索语言 default_lang设置为中文 "zh-CN",格式增加json,方便Dify等第三方软件调用;ui选项:将自动完成输入改成百度(baidu),将UI页面默认改为中文("zh-Hans-CN" ),将页面风格 simple_style:选为自己的,有亮light、暗 dark、自动auto可选。
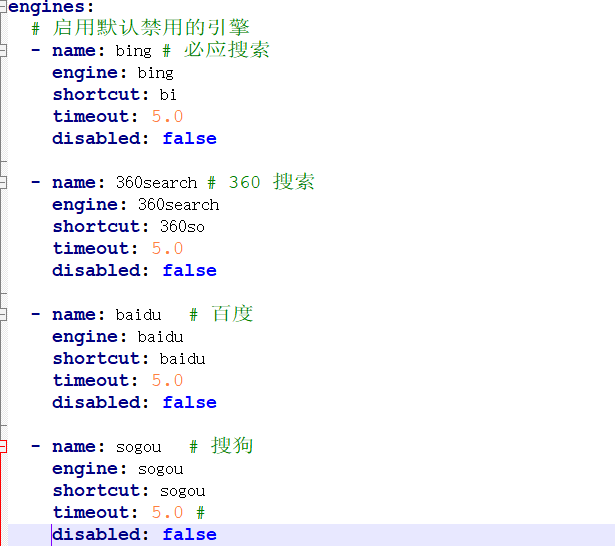
接着请搜索引擎选择方面,将百度、360搜索设置为启用,并按需禁用无效的搜索引擎
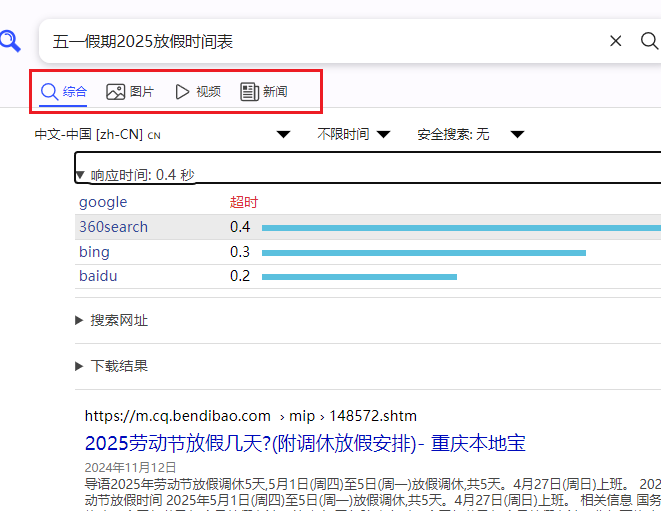
最后按需设置搜索分类,如图只保留了综合、图片、视频、新闻四类。
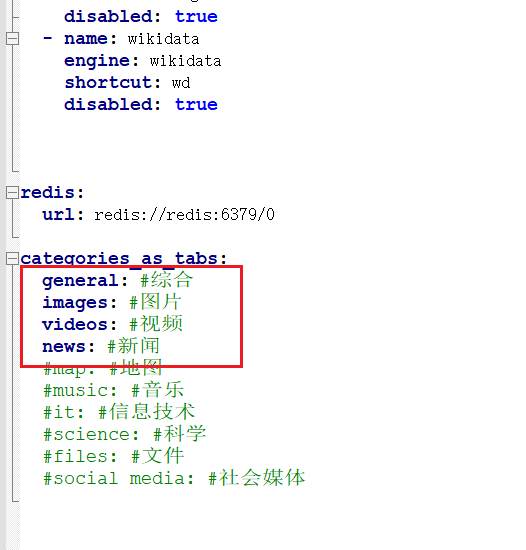
特别提醒,文件对其格式必须严格,类别标签必须顶头靠左,避免出现内部错误。详细设置建议查看 https://docs.searxng.org/admin/settings/settings.html 文档
# 详细查看 https://docs.searxng.org/admin/settings/settings.html 文档
use_default_settings: true

general:
  debug: false
  instance_name: "MySou" #网页标题名称

server:

  secret_key: "myultrasecretkey"  #  这里要修改成自己的
  limiter: false
  image_proxy: true
search:
  autocomplete: "baidu" #输入框联想自动完成
  default_lang: "zh-CN" #默认中文
  formats:
    - html
    - json # 允许以 json 形式返回结果
ui:
  static_use_hash: true
  default_locale: "zh-Hans-CN"  #UI界面默认中文
  theme_args:
    # 页面风格: auto, light, dark
    simple_style: auto

engines:
  # 启用默认禁用的引擎
  - name: bing
    engine: bing
    shortcut: bi
    timeout: 5.0
    disabled: false

  - name: bing images
    engine: bing_images
    shortcut: bii

  - name: bing news
    engine: bing_news
    shortcut: bin

  - name: bilibili
    engine: bilibili
    shortcut: bil
    timeout: 5.0
    disabled: false
      # 360 搜索
  - name: 360search
    engine: 360search
    shortcut: 360so
    timeout: 5.0
    disabled: false
  # 百度
  - name: baidu
    engine: baidu
    shortcut: baidu
    timeout: 5.0
    disabled: false

  - name: baidu images
    baidu_category: images
    categories: [images]
    engine: baidu
    shortcut: bdi
    disabled: false

  - name: baidu kaifa
    baidu_category: it
    categories: [it]
    engine: baidu
    shortcut: bdk
    disabled: false

  # 搜狗
  - name: sogou
    engine: sogou
    shortcut: sogou
    timeout: 5.0 # 搜狗有点慢,需要额外加点超时时长

  # 爱奇艺
  - name: iqiyi
    engine: iqiyi
    shortcut: iq

  # 搜狗视频
  - name: sogou_video
    engine: sogou_video
    shortcut: sogouv

  # 搜狗|微信
  - name: sogou wechat
    engine: sogou_wechat
    short: sogouw
    disabled: false
  # 禁用默认启用的引擎
  - name: arch linux wiki
    engine: archlinux
    disabled: true
  - name: duckduckgo
    engine: duckduckgo
    distabled: true
  - name: github
    engine: github
    shortcut: gh
    disabled: true
  - name: wikipedia
    engine: wikipedia
    disabled: true
  - name: currency
    engine: currency_convert
    categories: general
    shortcut: cc
    disabled: true
  - name: startpage
    engine: startpage
    shortcut: sp
    disabled: true
  - name: qwant
    qwant_categ: web
    engine: qwant
    shortcut: qw
    disabled: true
  - name: dictzone
    engine: dictzone
    shortcut: dc
    disabled: true
  - name: lingva
    engine: lingva
    shortcut: lv
    disabled: true
  - name: mymemory translated
    engine: translated
    shortcut: tl
    timeout: 5.0
    disabled: true
  - name: brave
    engine: brave
    shortcut: br
    disabled: true
  - name: duckduckgo
    engine: duckduckgo
    shortcut: ddg
    disabled: true
  - name: wikidata
    engine: wikidata
    shortcut: wd
    disabled: true


redis:
  url: redis://redis:6379/0

categories_as_tabs:
  general: #综合
  images: #图片
  videos: #视频
  news: #新闻
  #map: #地图
  #music: #音乐
  #it: #信息技术
  #science: #科学
  #files: #文件
  #social media: #社会媒体
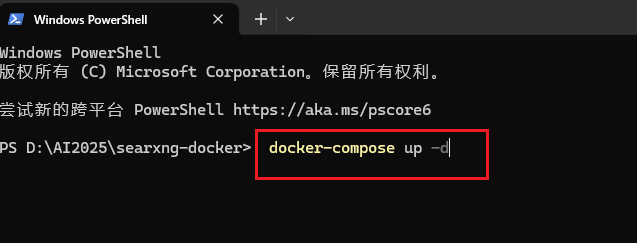
4、设置完成后在saerxng-docker文件夹点击在终端打开,在终端窗口下输入命令:docker-compose up -d,等待拉取镜像,直至拉取完毕并启动镜像。

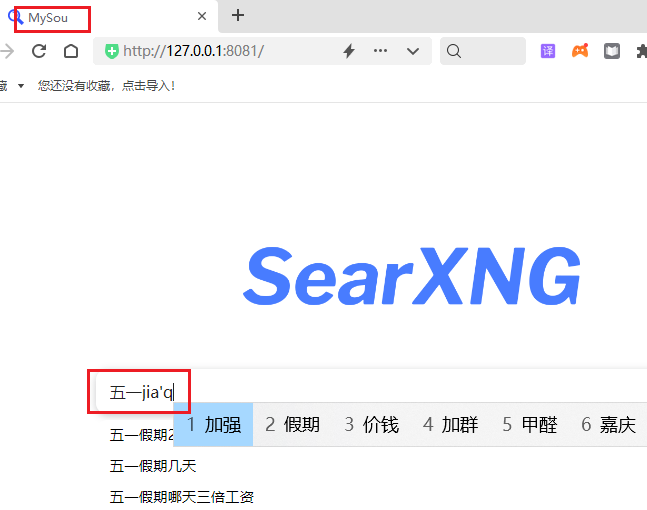
5、在Docker软件中查看容器,点击端口可进入访问页面,页面一默认为中文,标题已经改为设定的Mysou,搜索自动完成启用。

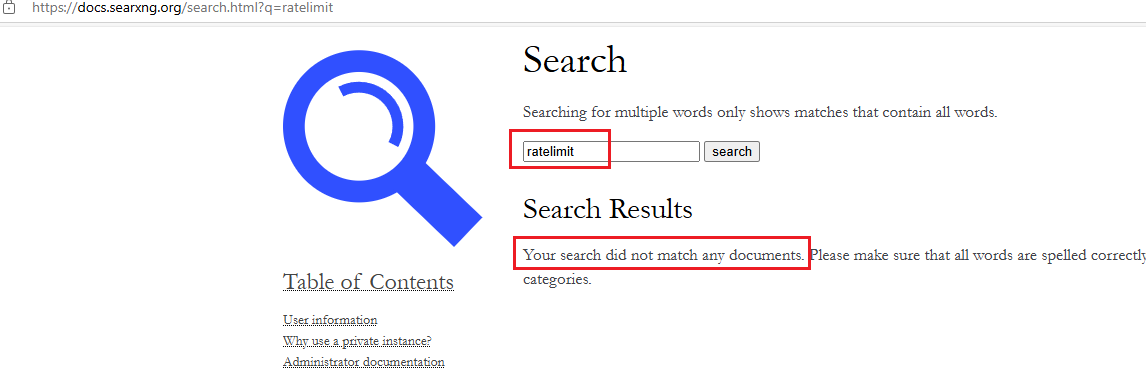
题外:网上搜索好多大侠写的文档里提到如下参数,但官方文档没有找到,不知为什么,希望不是相互抄作业抄错了,有知道用途的欢迎留言批评指正,谢谢。
ratelimit:
enabled: true
per_second: 5
per_minute: 60


 2215
2215

 被折叠的 条评论
为什么被折叠?
被折叠的 条评论
为什么被折叠?
 到【灌水乐园】发言


