


本文主要记录使用ESP32-WROOM-32 连接OV7670(非FIFO)实时获取图片的过程
1、硬件选择
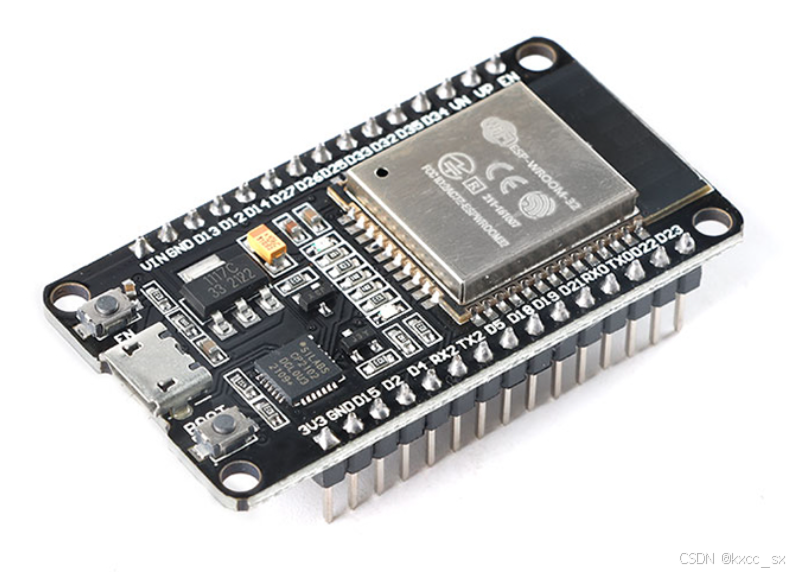
a.ESP32-WROOM-32
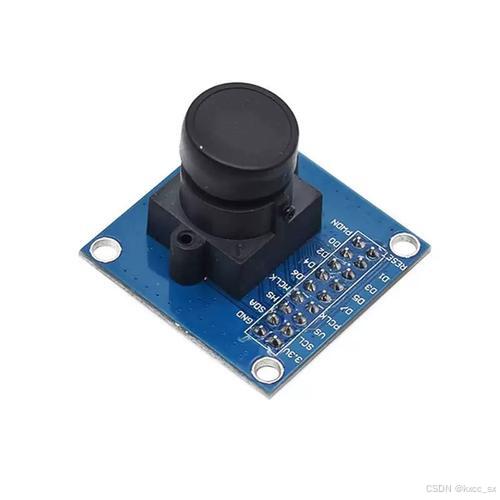
b.OV7670 非FIFO
OV7670 有2个版本,带FIFO的的和不带FIFO的,我们使用的是不带FIFO的
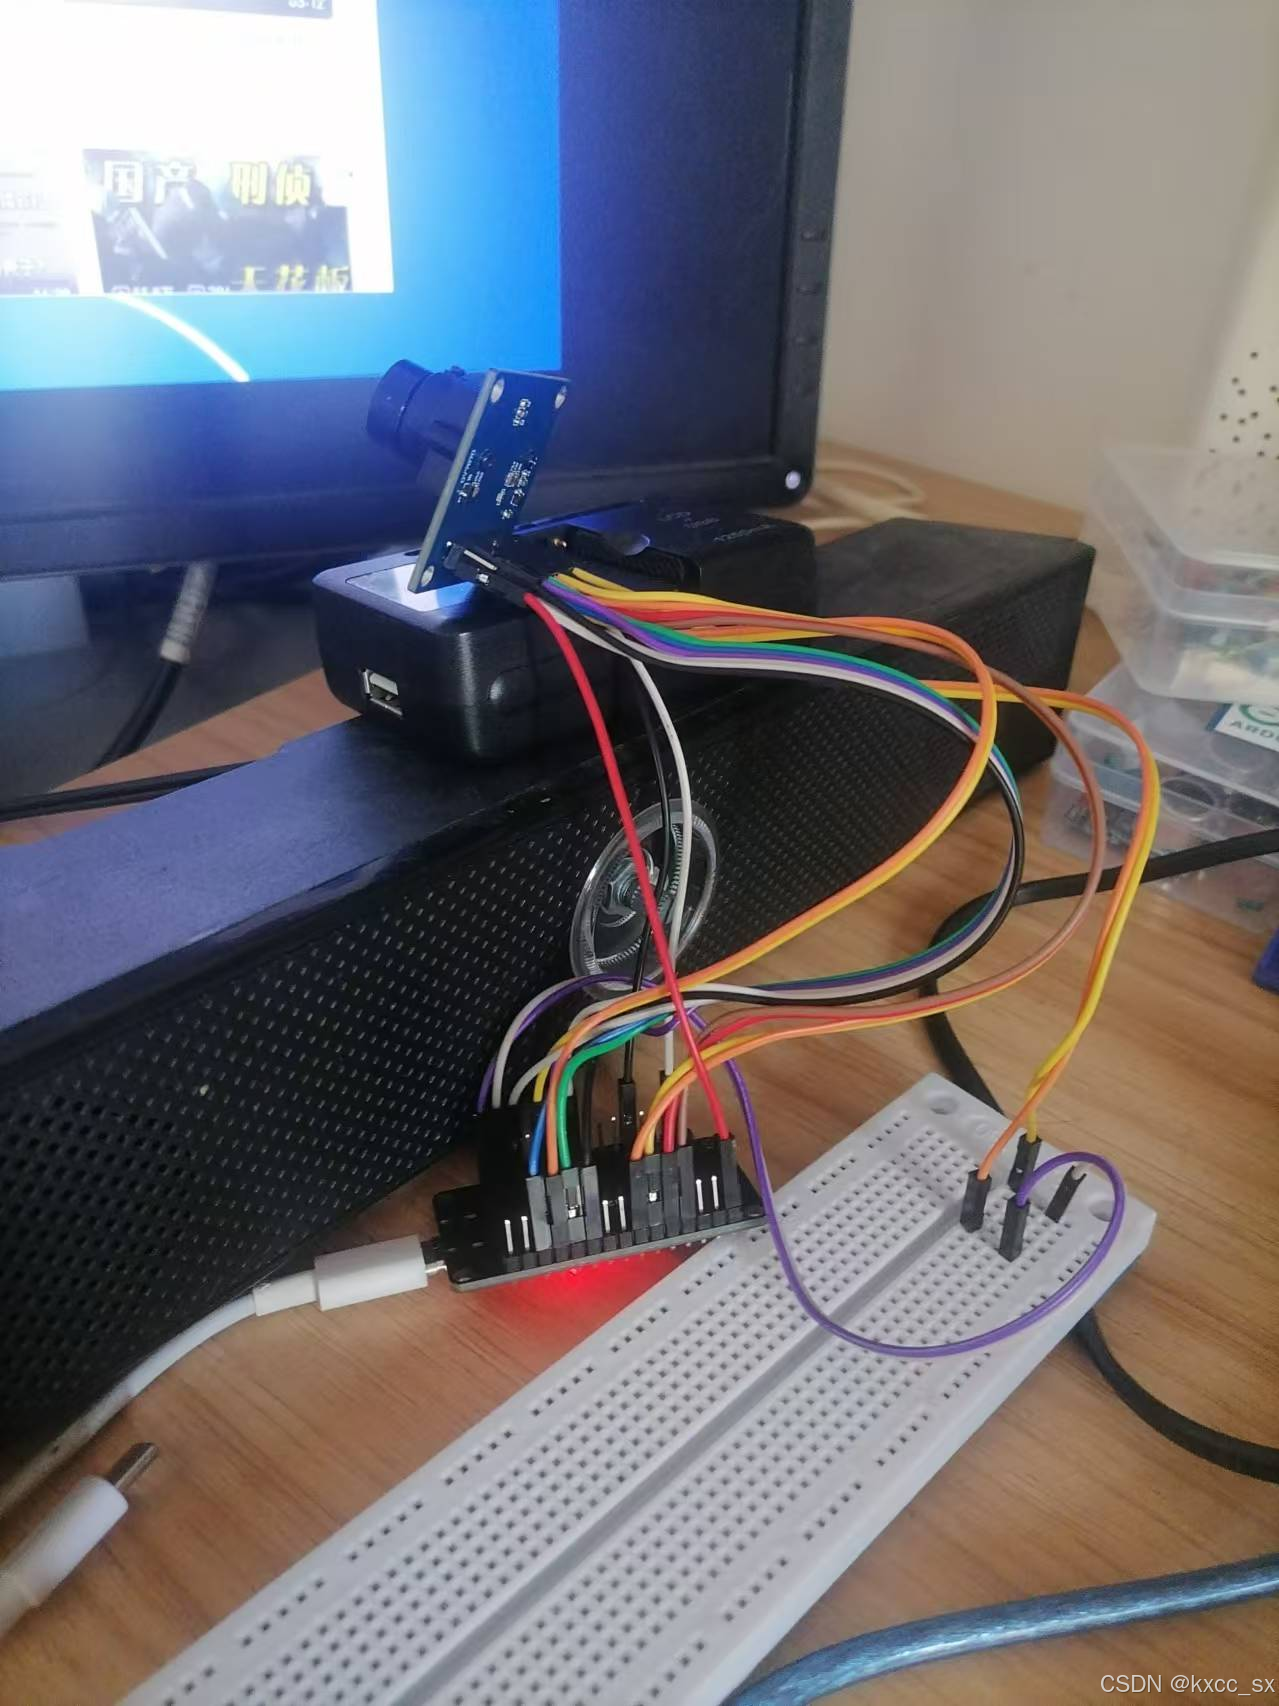
2、接线图
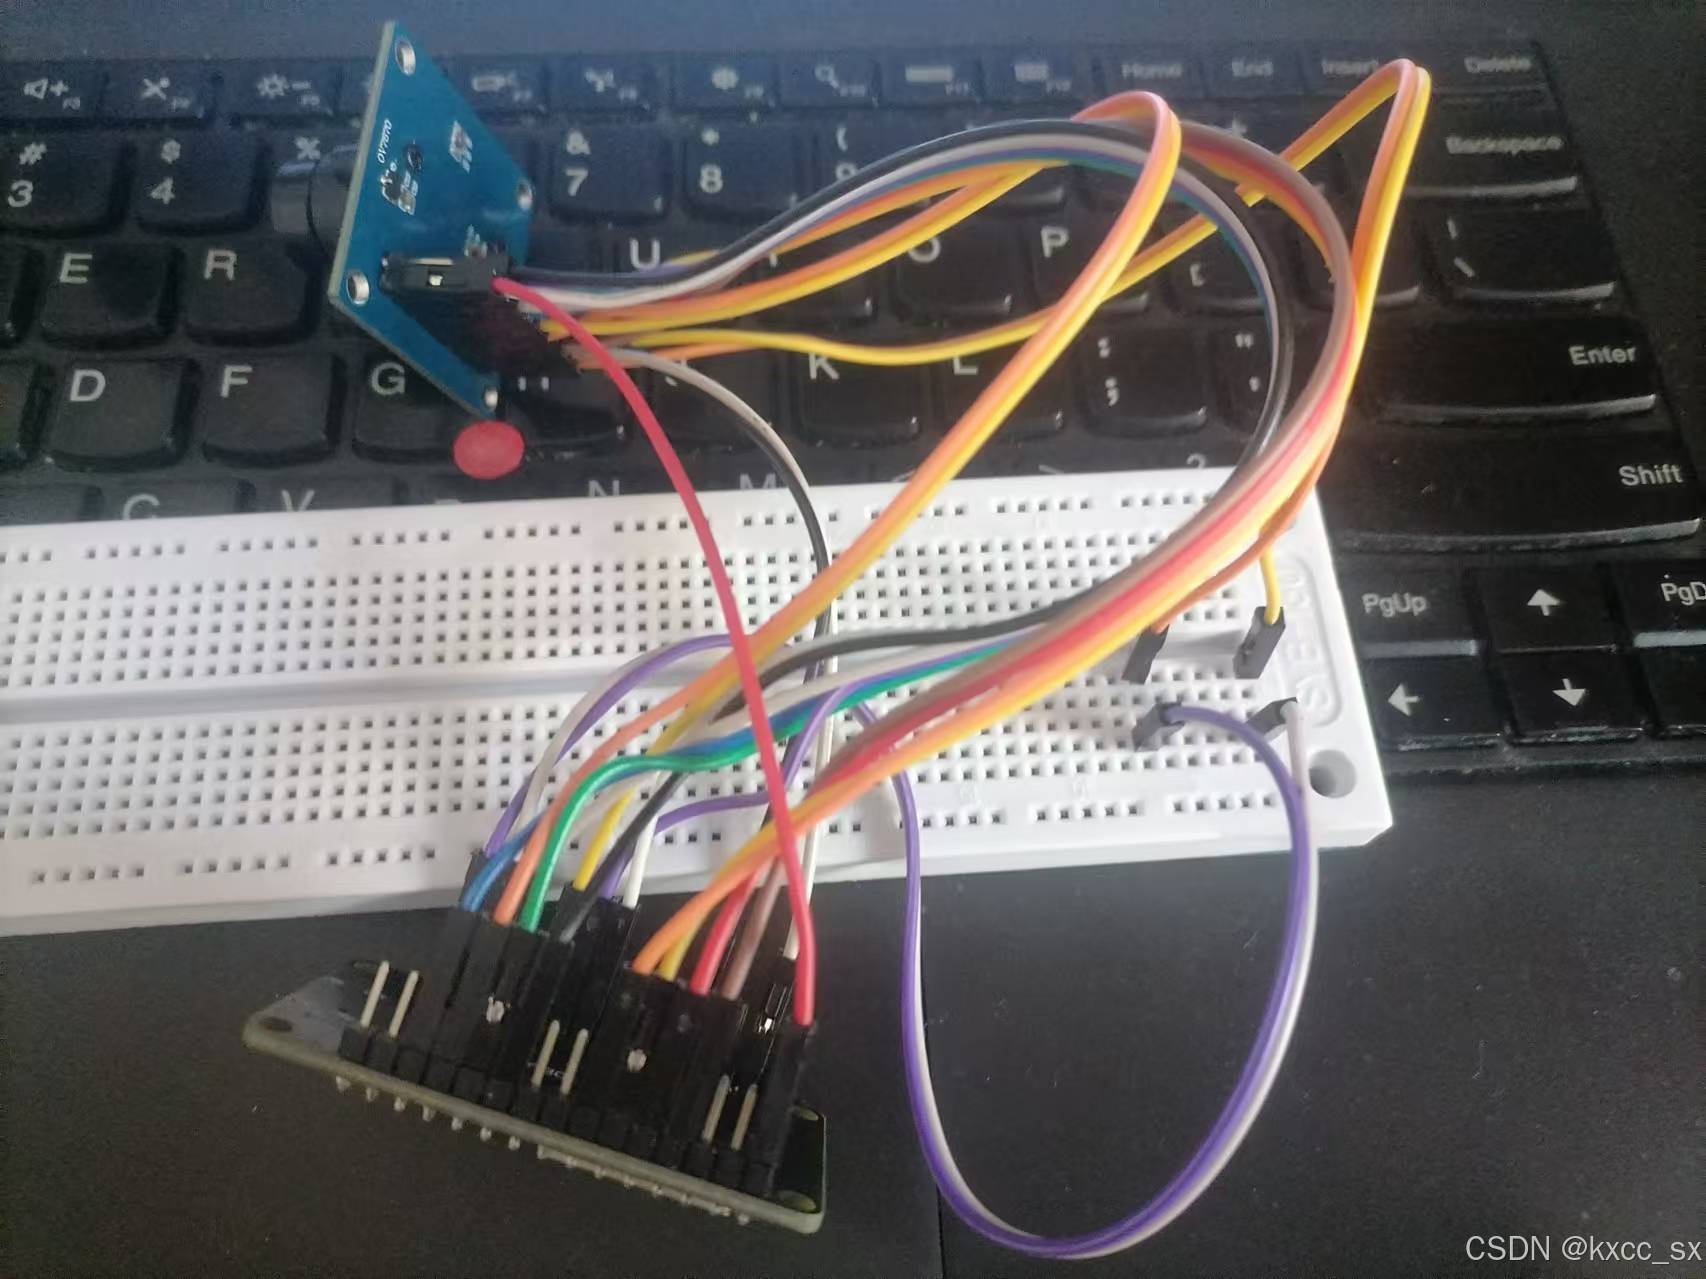
我们使用杜邦线进行线路连接,接线如下
| OV7670 non-FIFO | ESP32 Pin |
|---|---|
| D0 | 27 |
| D1 | 17 |
| D2 | 16 |
| D3 | 15 |
| D4 | 14 |
| D5 | 13 |
| D6 | 12 |
| D7 | 4 |
| SDA | 21 |
| SCL | 22 |
| MCLK | 32 |
| PCLK | 33 |
| VS(VSYNC) | 34 |
| HS(HREF) | 35 |
| RST | EN |
| PWIN | None(不接) |
| 3.3V | 3.3V |
| GND | GND |
3、编写程序
本程序I2S引用项目“ESP32 I2S Camera” (GitHub - bitluni/ESP32CameraI2S)
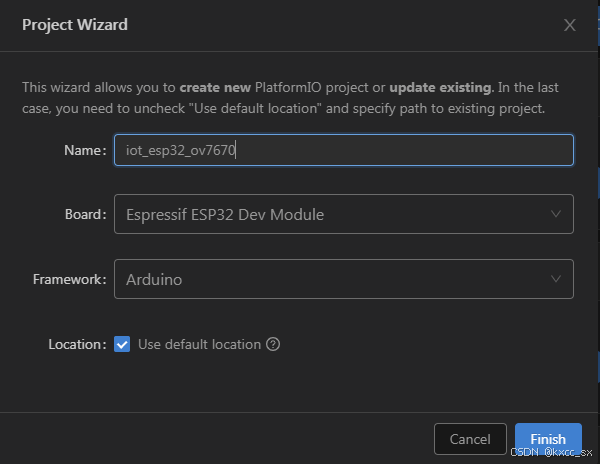
a.打开VScode ,platformio IDE 新建一个项目,Board 选择“Espressif ESP32 Dev Module”
Framework 选择 Arduino
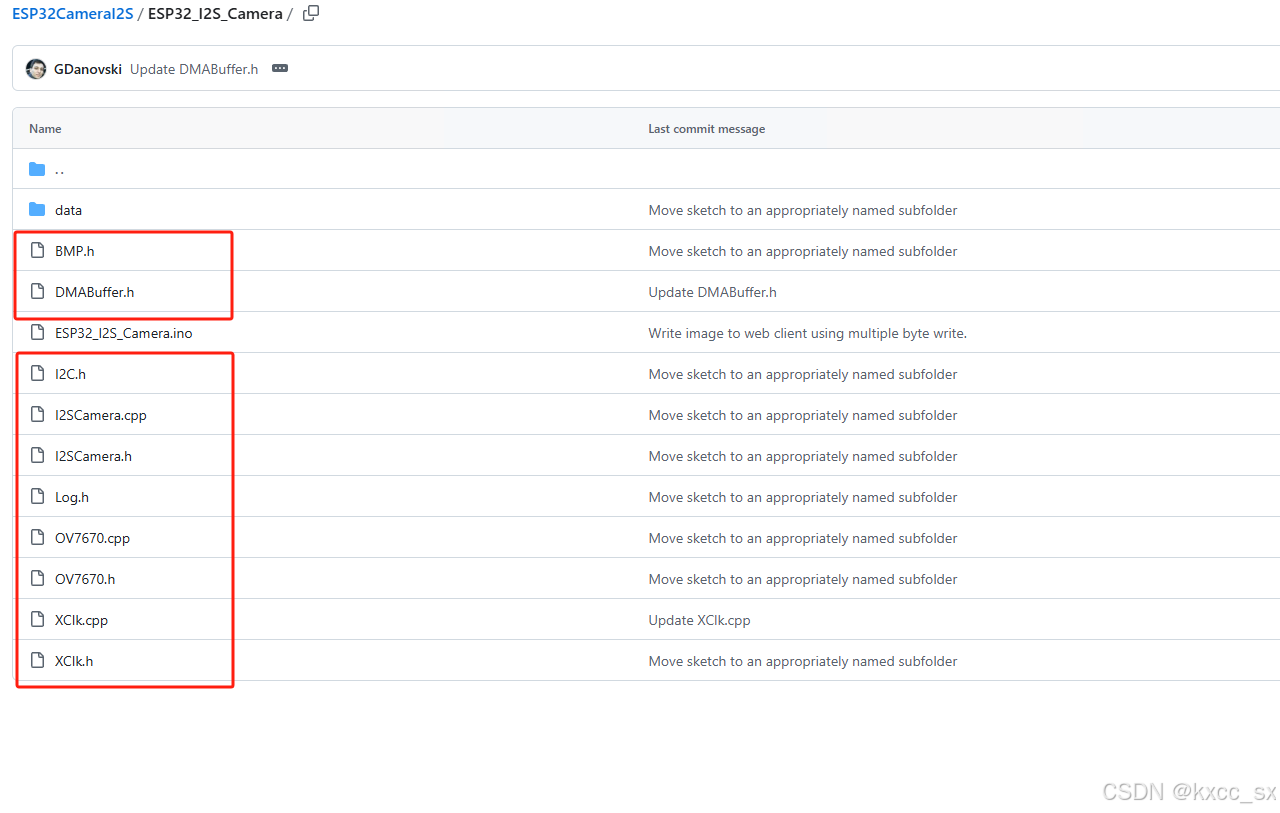
b.将“ESP32 I2S Camera” 项目中的 以下文件复制到src下
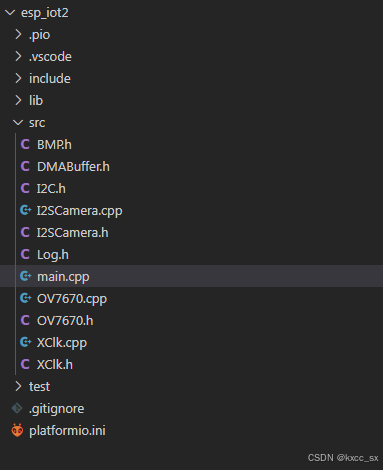
c、打开main.cpp 开始编写代码,代码如下:
#include <Arduino.h>
#include "OV7670.h"

#include <WiFi.h>
#include <WiFiMulti.h>
#include <WiFiClient.h>
#include "BMP.h"

const int SIOD = 21; //SDA
const int SIOC = 22; //SCL

const int VSYNC = 34;
const int HREF = 35;

const int XCLK = 32;
const int PCLK = 33;

const int D0 = 27;
const int D1 = 17;
const int D2 = 16;
const int D3 = 15;
const int D4 = 14;
const int D5 = 13;
const int D6 = 12;
const int D7 = 4;


// WIFI相关
const char* g_ssid = "ChinaNet-xxxx";
const char* g_password = "xxxxxx";
WiFiClient g_espclient;
String g_hostname = "esp32cam";

WiFiServer server(80);

OV7670 *camera;

unsigned char bmpHeader[BMP::headerSize];


void startWebServer()
{
   server.begin();
   Serial.println("Http web server started.");
}

void connectWifi();

void serve()
{

  WiFiClient client = server.available();
  if (client)
  {
    String currentLine = "";
    while (client.connected())
    {
      if (client.available())
      {
        char c = client.read();
        //Serial.write(c);
        if (c == '\n')
        {
          if (currentLine.length() == 0)
          {
            client.println("HTTP/1.1 200 OK");
            client.println("Content-type:text/html");
            client.println();
            client.print(
              "<style>body{margin: 0}\nimg{height: 120px; width:160px }</style>"
              "<img id='a' src='/camera' onload='this.style.display=\"initial\"; var b = document.getElementById(\"b\"); b.style.display=\"none\"; b.src=\"camera?\"+Date.now(); '>"
              "<img id='b' style='display: none' src='/camera' onload='this.style.display=\"initial\"; var a = document.getElementById(\"a\"); a.style.display=\"none\"; a.src=\"camera?\"+Date.now(); '>");
            client.println();
            break;
          }
          else
          {
            currentLine = "";
          }
        }
        else if (c != '\r')
        {
          currentLine += c;
        }

        if(currentLine.endsWith("GET /camera"))
        {
            client.println("HTTP/1.1 200 OK");
            client.println("Content-type:image/bmp");
            client.println();

            client.write(bmpHeader, BMP::headerSize);
            client.write(camera->frame, camera->xres * camera->yres * 2);
        }
      }
    }
    // close the connection:
    client.stop();
    //Serial.println("Client Disconnected.");
  }
}
void setup() {
  // put your setup code here, to run once:
  //打开串行端口:
  Serial.begin(115200);
  Serial.println();
  connectWifi();
  Serial.println();
  if(WiFi.status() == WL_CONNECTED){
    startWebServer();
    camera = new OV7670(OV7670::Mode::QQVGA_RGB565, SIOD, SIOC, VSYNC, HREF, XCLK, PCLK, D0, D1, D2, D3, D4, D5, D6, D7);
    BMP::construct16BitHeader(bmpHeader, camera->xres, camera->yres);
  }
}

void loop() {
  // put your main code here, to run repeatedly:
  serve();
  camera->oneFrame();
  delay(250);
}

// 连接wifi
void connectWifi()
{
  // 初始化WIFI
  WiFi.mode(WIFI_STA);
  WiFi.begin(g_ssid, g_password);
  WiFi.setSleep(false);
  while (WiFi.status() != WL_CONNECTED) {
    delay(500);
    Serial.print("wifi connecting...");
  }
  Serial.println("");
  Serial.println("wifi connected!");
  Serial.println("IP地址: ");
  Serial.print(WiFi.localIP());
}
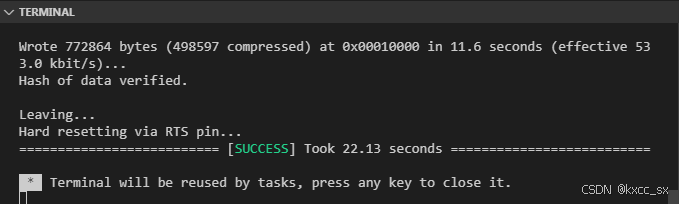
d、点击编译 -->上传,打开串口监视器
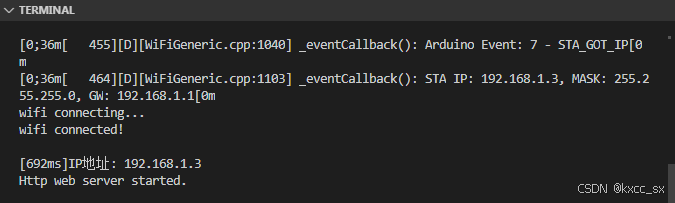
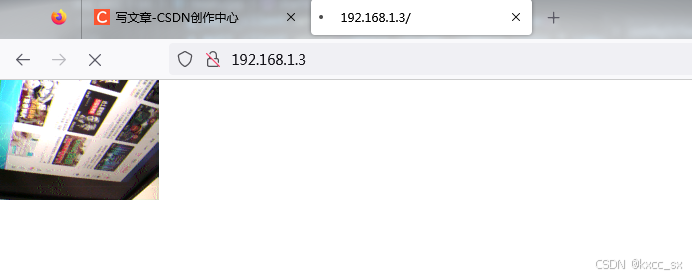
e、打开浏览器输入 192.168.1.3 (具体是程序运行时候串口打印出来的地址,如上图的192.168.1.3)


 514
514

 被折叠的 条评论
为什么被折叠?
被折叠的 条评论
为什么被折叠?
 到【灌水乐园】发言


