


WeCanStudio官方仓库的示例工程,只提供基于STM8S003寄存器方式来开发Pegasus天马座开发板。在此,我将基于官方的工程示例,将STM8S标准库移植到工程中。
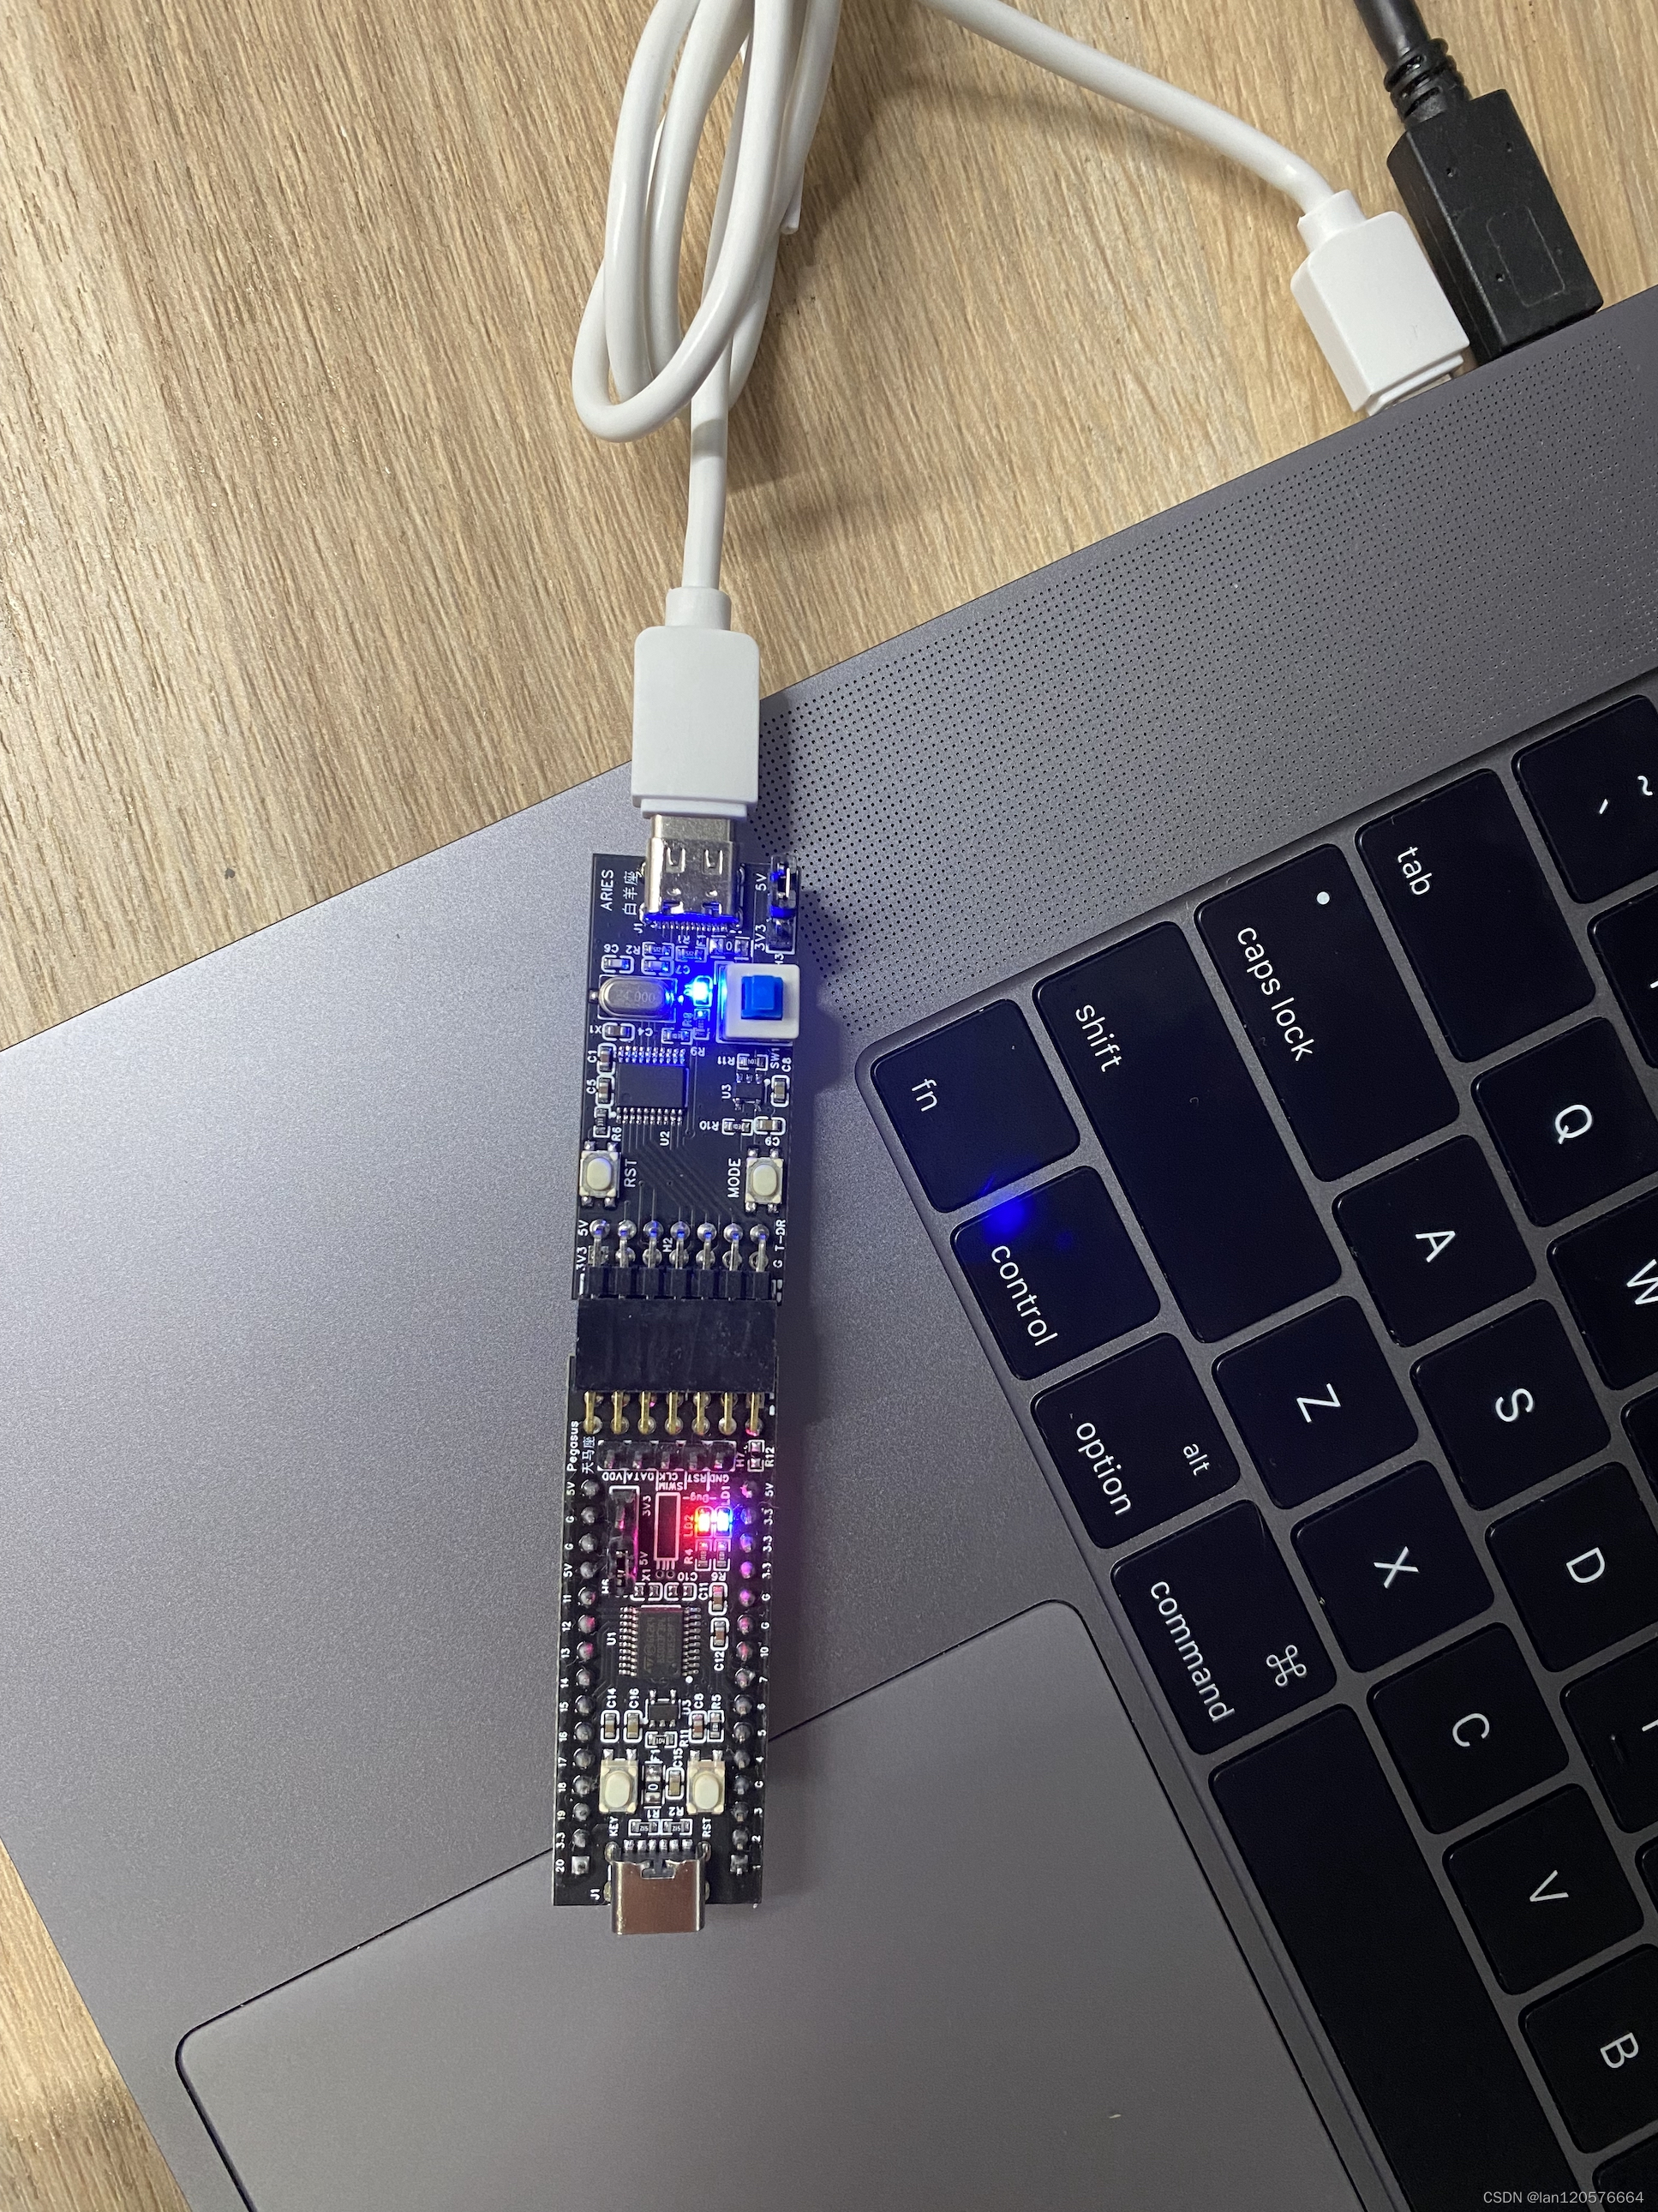
先上图,看运行结果:
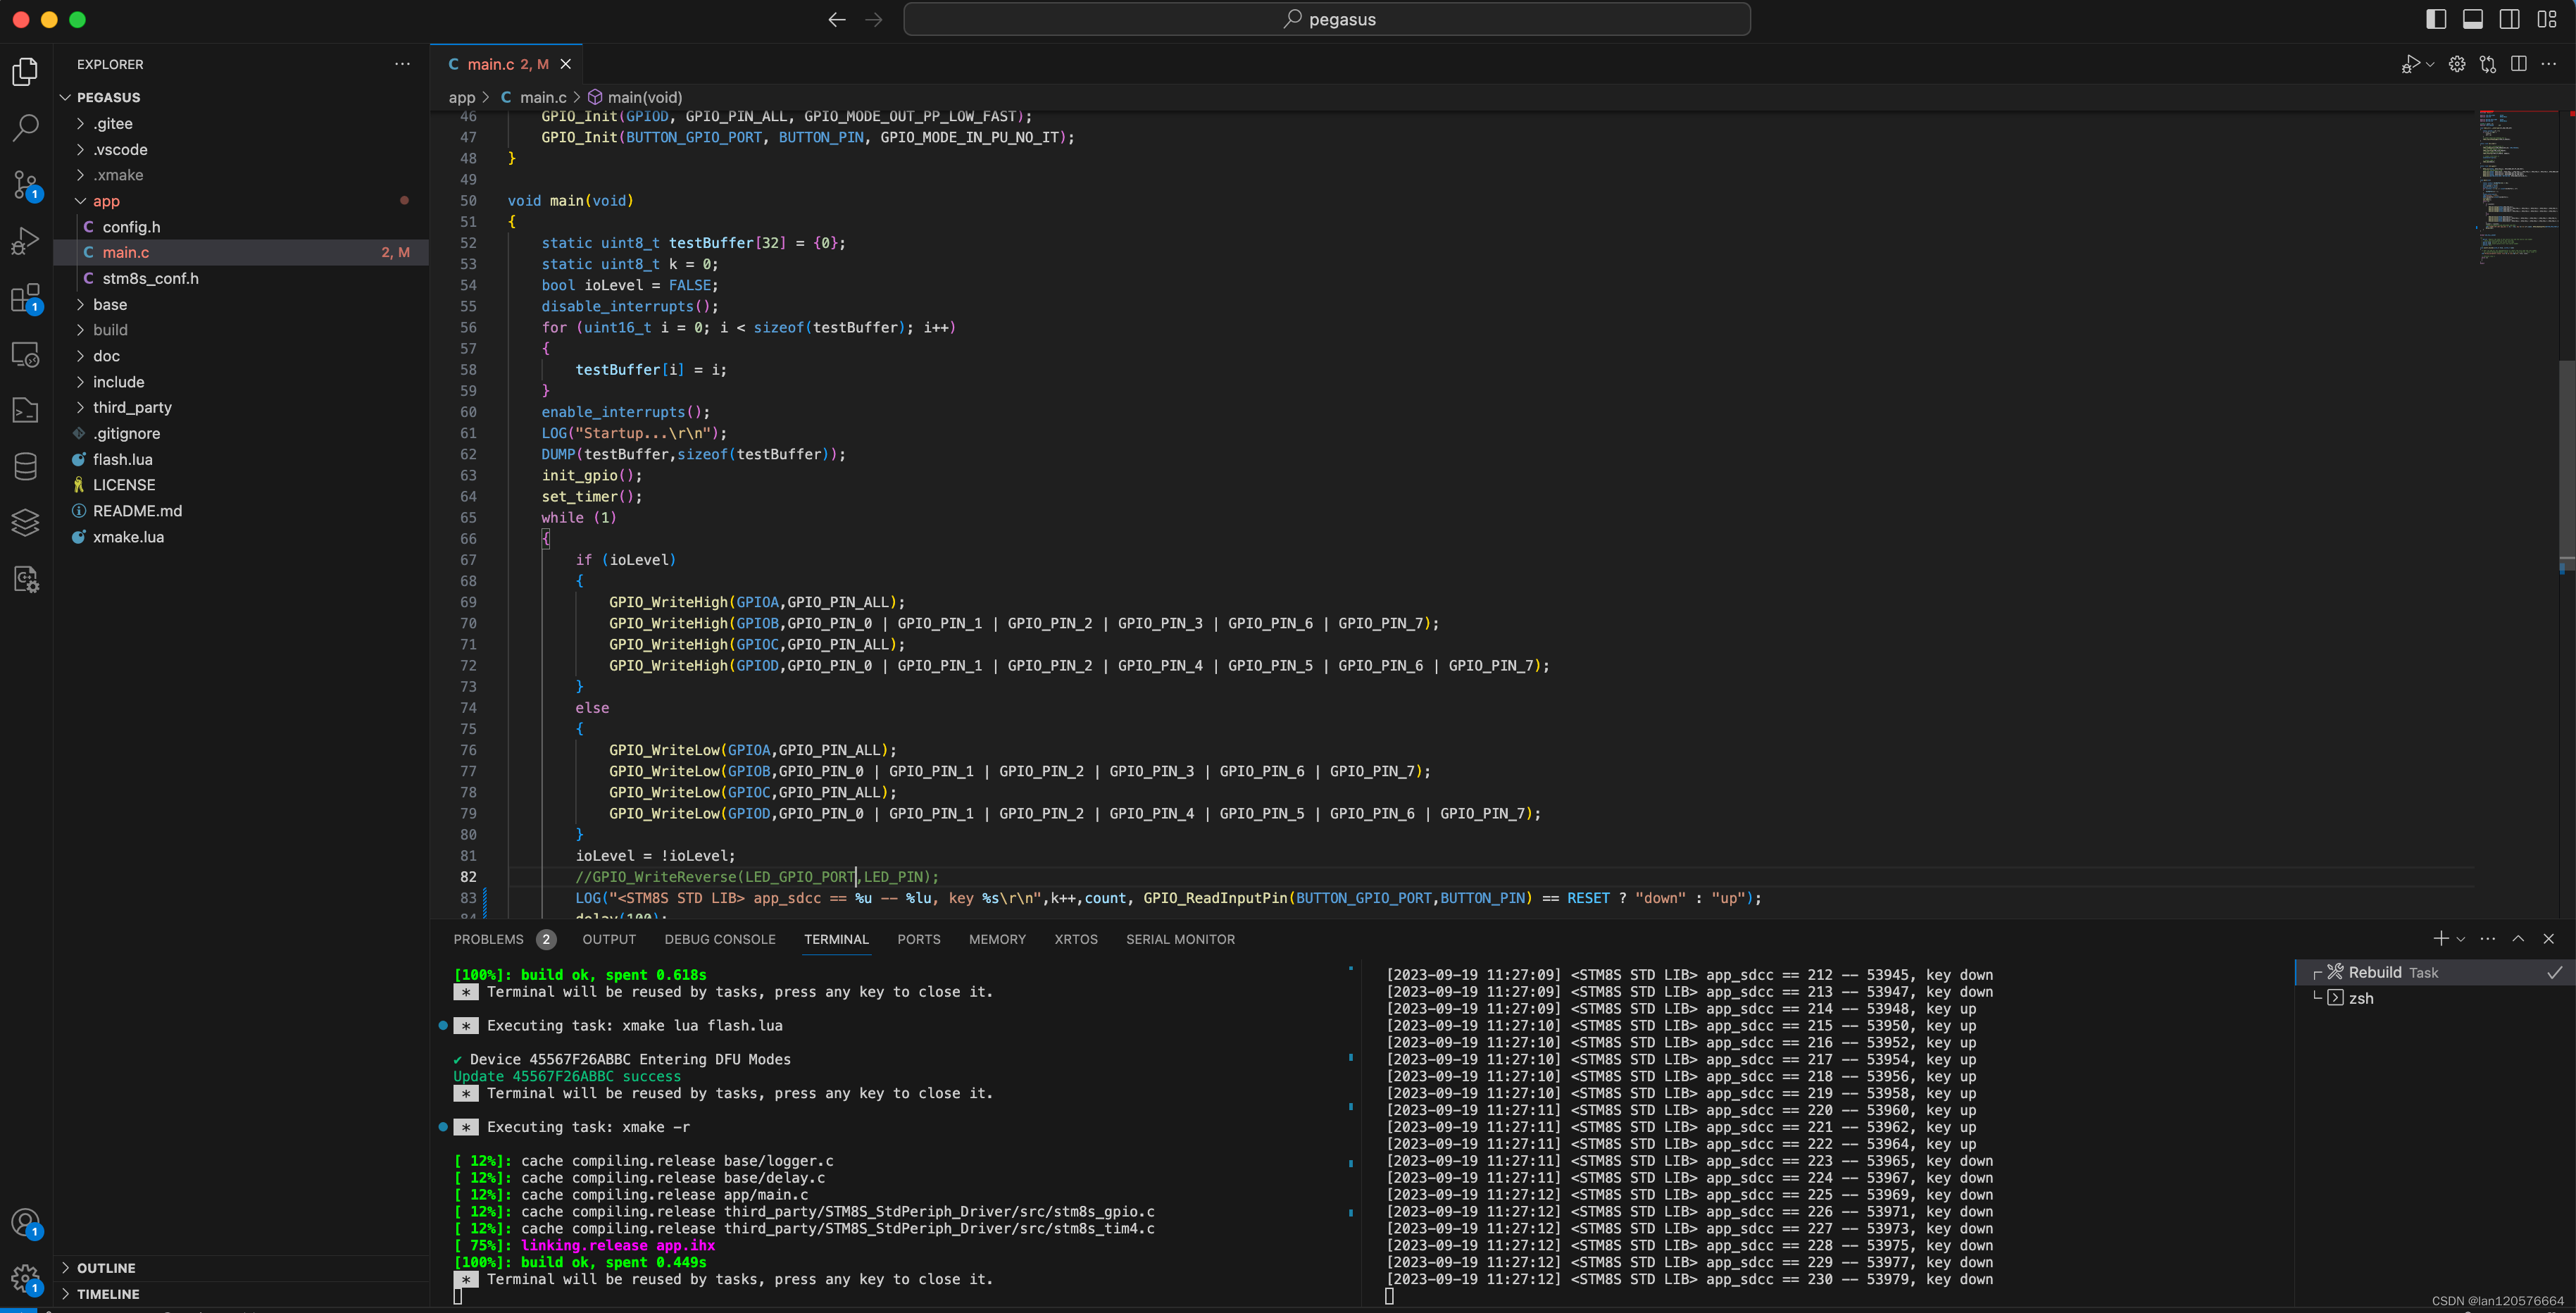
main.c文件
#include "config.h"
#include "delay.h"

#define LED_GPIO_PORT       GPIOD
#define LED_PIN  			GPIO_PIN_4

#define BUTTON_GPIO_PORT    GPIOD
#define BUTTON_PIN  		GPIO_PIN_3

uint32_t count = 0;
#define TIM4_PERIOD       124

void tim4_isr() __interrupt(ITC_IRQ_TIM4_OVF)
{
    static uint16_t ctr = 0;
    if (++ctr >= 100) {
		count++;
        ctr = 0;
    }
    /* Cleat Interrupt Pending bit */
    TIM4_ClearITPendingBit(TIM4_IT_UPDATE);
}

static void set_timer()
{
    /* Time base configuration */
    TIM4_TimeBaseInit(TIM4_PRESCALER_128, TIM4_PERIOD);
    /* Clear TIM4 update flag */
    TIM4_ClearFlag(TIM4_FLAG_UPDATE);
    /* Enable update interrupt */
    TIM4_ITConfig(TIM4_IT_UPDATE, ENABLE);

    /* enable interrupts */
    enableInterrupts();

    /* Enable TIM4 */
    TIM4_Cmd(ENABLE);
}

static void init_gpio()
{
    GPIO_Init(GPIOA, GPIO_PIN_ALL, GPIO_MODE_OUT_PP_LOW_FAST);
    //防止I2C PB4/PB5引脚被配置
    GPIO_Init(GPIOB, GPIO_PIN_0 | GPIO_PIN_1 | GPIO_PIN_2 | GPIO_PIN_3 | GPIO_PIN_6 | GPIO_PIN_7, GPIO_MODE_OUT_PP_LOW_FAST);
    GPIO_Init(GPIOC, GPIO_PIN_ALL, GPIO_MODE_OUT_PP_LOW_FAST);
    GPIO_Init(GPIOD, GPIO_PIN_ALL, GPIO_MODE_OUT_PP_LOW_FAST);
    GPIO_Init(BUTTON_GPIO_PORT, BUTTON_PIN, GPIO_MODE_IN_PU_NO_IT);
}

void main(void)
{
	static uint8_t testBuffer[32] = {0};
	static uint8_t k = 0;
    bool ioLevel = FALSE;
	disable_interrupts();
	for (uint16_t i = 0; i < sizeof(testBuffer); i++)
	{
		testBuffer[i] = i;
	}
	enable_interrupts();
	LOG("Startup...\r\n");
	DUMP(testBuffer,sizeof(testBuffer));
	init_gpio();
	set_timer();
    while (1)
    {
        if (ioLevel)
        {
            GPIO_WriteHigh(GPIOA,GPIO_PIN_ALL);
            GPIO_WriteHigh(GPIOB,GPIO_PIN_0 | GPIO_PIN_1 | GPIO_PIN_2 | GPIO_PIN_3 | GPIO_PIN_6 | GPIO_PIN_7);
            GPIO_WriteHigh(GPIOC,GPIO_PIN_ALL);
            GPIO_WriteHigh(GPIOD,GPIO_PIN_0 | GPIO_PIN_1 | GPIO_PIN_2 | GPIO_PIN_4 | GPIO_PIN_5 | GPIO_PIN_6 | GPIO_PIN_7);
        }
        else
        {
            GPIO_WriteLow(GPIOA,GPIO_PIN_ALL);
            GPIO_WriteLow(GPIOB,GPIO_PIN_0 | GPIO_PIN_1 | GPIO_PIN_2 | GPIO_PIN_3 | GPIO_PIN_6 | GPIO_PIN_7);
            GPIO_WriteLow(GPIOC,GPIO_PIN_ALL);
            GPIO_WriteLow(GPIOD,GPIO_PIN_0 | GPIO_PIN_1 | GPIO_PIN_2 | GPIO_PIN_4 | GPIO_PIN_5 | GPIO_PIN_6 | GPIO_PIN_7);
        }
        ioLevel = !ioLevel;
        //GPIO_WriteReverse(LED_GPIO_PORT,LED_PIN);
        LOG("<STM8S STD LIB> app_sdcc == %u -- %lu, key %s\r\n",k++,count, GPIO_ReadInputPin(BUTTON_GPIO_PORT,BUTTON_PIN) == RESET ? "down" : "up");
		delay(100);
    }
}


#ifdef USE_FULL_ASSERT

/**
  * @brief  Reports the name of the source file and the source line number
  *   where the assert_param error has occurred.
  * @param file: pointer to the source file name
  * @param line: assert_param error line source number
  * @retval None
  */
void assert_failed(uint8_t* file, uint32_t line)
{
  /* User can add his own implementation to report the file name and line number,
     ex: printf("Wrong parameters value: file %s on line %d\r\n", file, line) */
  LOG("Wrong parameters value: file %s on line %d\r\n", file, line);

  /* Infinite loop */
  while (1)
  {
  }
}
#endif
移植步骤
一、标准库下载
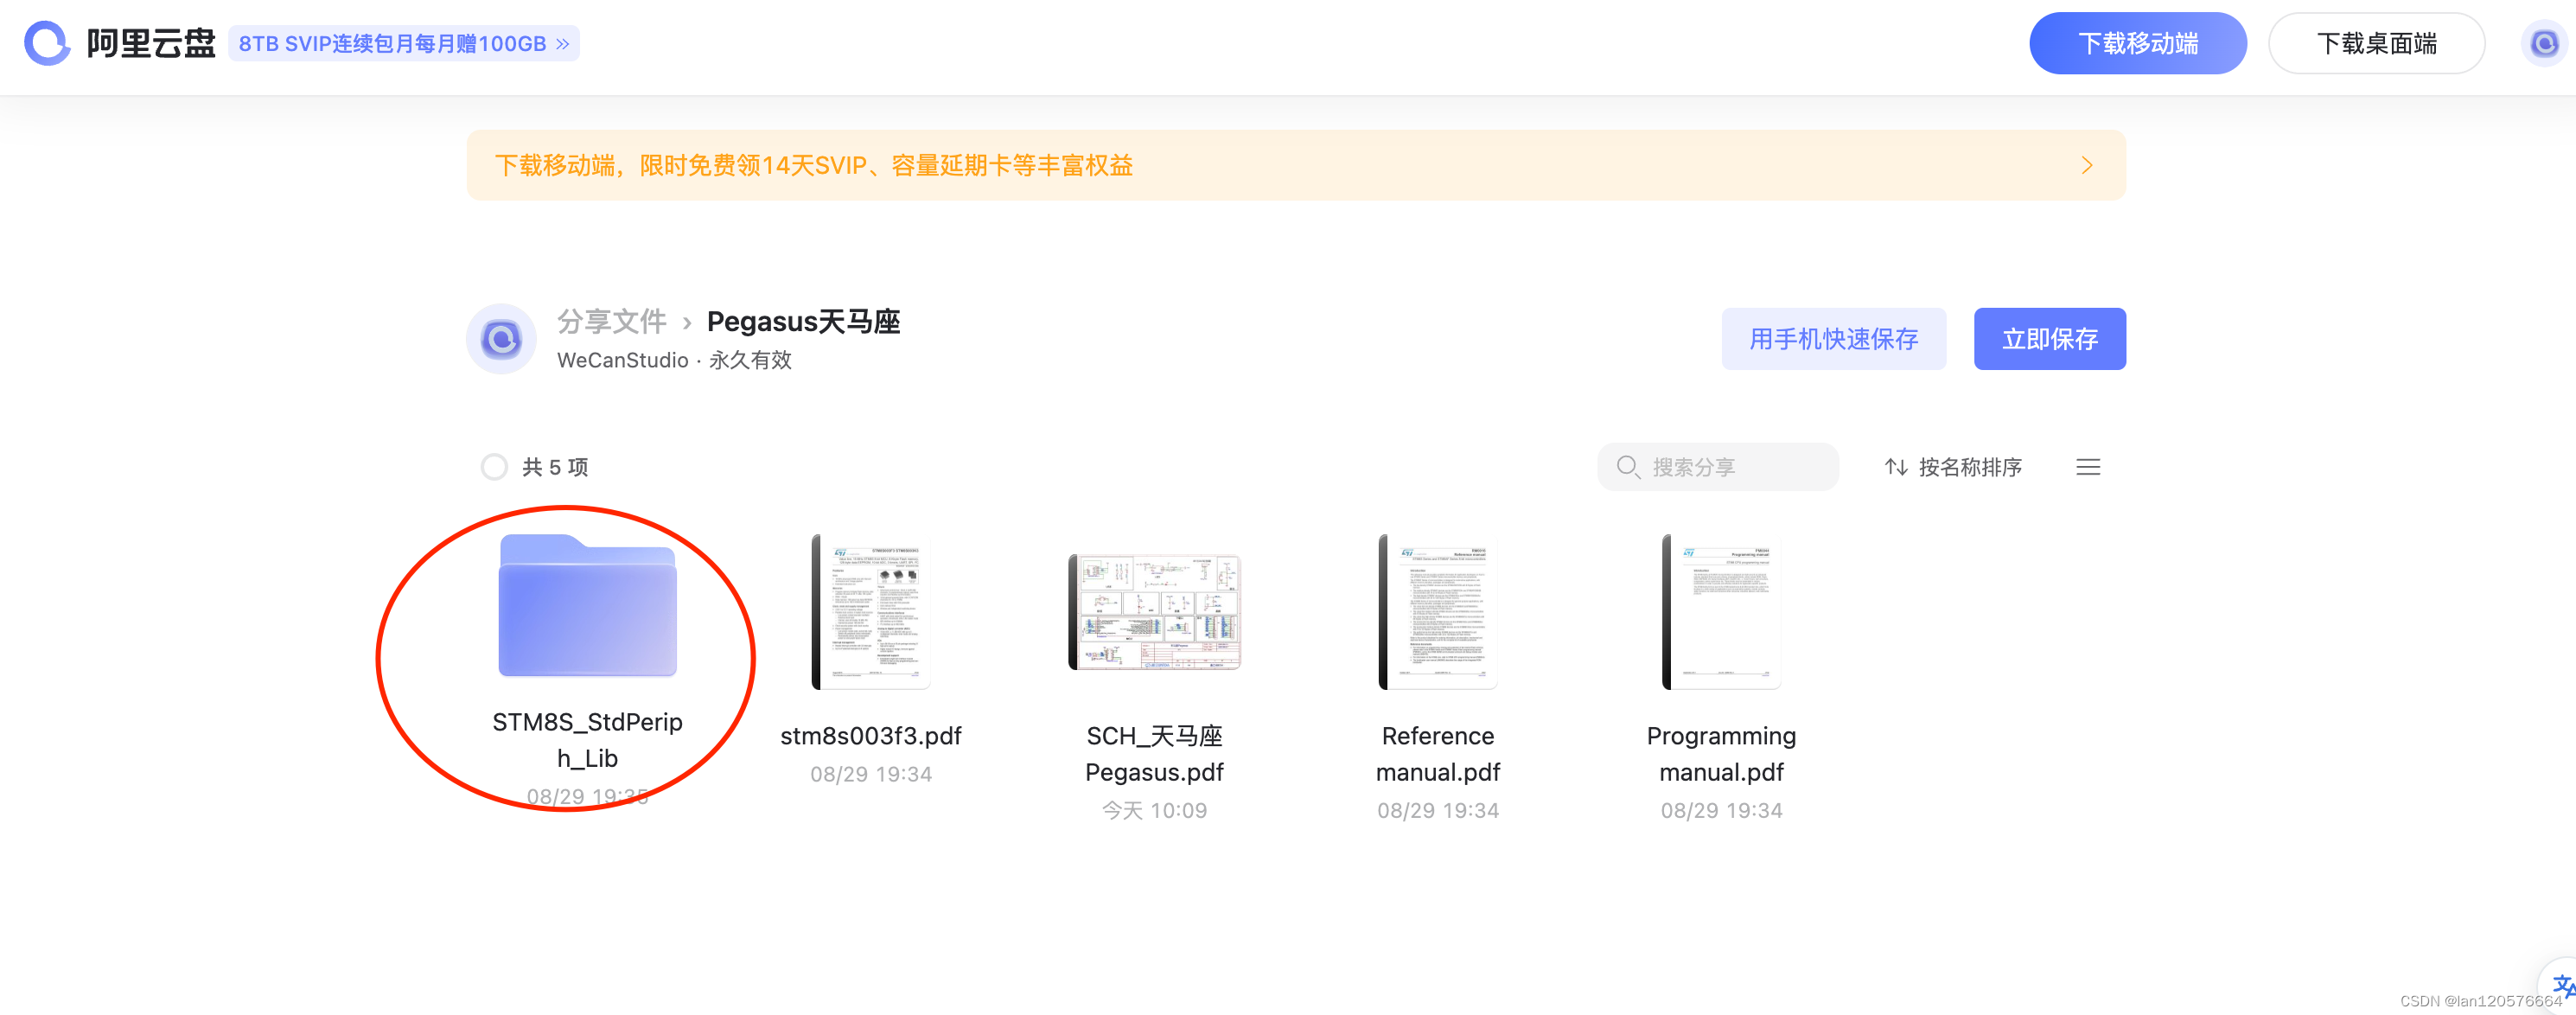
由于ST官方默认的标准库是没有支持SDCC编译器的,所以需要对标准库代码进行修改,增加相关代码。关于ST标准库改成支持SDCC编译器对方法,网上有教程在此不做介绍。有兴趣的小伙伴可以在网上找到相关教程,进行修改。
此次使用的STM8S库文件来自WeCanStudio团队修改的版本,其云盘的下载地址见以下链接。

二、工程代码结构
我将标准库的源代码及头文件及添加STM8S标准库所需要文件,按照以下方式组织存放
.
├── LICENSE
├── README.md
├── app
│   ├── config.h
│   ├── main.c
│   └── stm8s_conf.h
├── base
│   ├── define.h
│   ├── delay.c
│   ├── delay.h
│   ├── logger.c
│   └── logger.h
├── build
│   ├── app.bin
│   ├── app.hex
│   ├── app.ihx
│   ├── app.lk
│   └── app.map
├── doc
│   ├── build.png
│   ├── download.png
│   ├── open_terminal.png
│   ├── rebuild.png
│   └── sdcc_path.png
├── flash.lua
├── include
│   ├── stm8.h
│   └── stm8s.h
├── third_party
│   └── STM8S_StdPeriph_Driver
│       ├── inc
│       │   ├── stm8s.h
│       │   ├── stm8s_adc1.h
│       │   ├── stm8s_adc2.h
│       │   ├── stm8s_awu.h
│       │   ├── stm8s_beep.h
│       │   ├── stm8s_can.h
│       │   ├── stm8s_clk.h
│       │   ├── stm8s_exti.h
│       │   ├── stm8s_flash.h
│       │   ├── stm8s_gpio.h
│       │   ├── stm8s_i2c.h
│       │   ├── stm8s_itc.h
│       │   ├── stm8s_iwdg.h
│       │   ├── stm8s_rst.h
│       │   ├── stm8s_spi.h
│       │   ├── stm8s_tim1.h
│       │   ├── stm8s_tim2.h
│       │   ├── stm8s_tim3.h
│       │   ├── stm8s_tim4.h
│       │   ├── stm8s_tim5.h
│       │   ├── stm8s_tim6.h
│       │   ├── stm8s_uart1.h
│       │   ├── stm8s_uart2.h
│       │   ├── stm8s_uart3.h
│       │   ├── stm8s_uart4.h
│       │   └── stm8s_wwdg.h
│       └── src
│           ├── stm8s_adc1.c
│           ├── stm8s_adc2.c
│           ├── stm8s_awu.c
│           ├── stm8s_beep.c
│           ├── stm8s_can.c
│           ├── stm8s_clk.c
│           ├── stm8s_exti.c
│           ├── stm8s_flash.c
│           ├── stm8s_gpio.c
│           ├── stm8s_i2c.c
│           ├── stm8s_itc.c
│           ├── stm8s_iwdg.c
│           ├── stm8s_rst.c
│           ├── stm8s_spi.c
│           ├── stm8s_tim1.c
│           ├── stm8s_tim2.c
│           ├── stm8s_tim3.c
│           ├── stm8s_tim4.c
│           ├── stm8s_tim5.c
│           ├── stm8s_tim6.c
│           ├── stm8s_uart1.c
│           ├── stm8s_uart2.c
│           ├── stm8s_uart3.c
│           ├── stm8s_uart4.c
│           └── stm8s_wwdg.c
└── xmake.lua
三、修改编译文件
通过修改项目中的xmke.lua文件,添加STM8S标准库所用到的宏定义、相关头文件及代码文件的定义。我的修改如下:
add_rules("mode.debug", "mode.release")
set_targetdir("build")
add_defines("STM8S","STM8S003","USE_STDPERIPH_DRIVER")

after_build(function(target)
    local binOut = string.gsub(target:targetfile(), ".ihx", ".bin")
    local hexOut = string.gsub(target:targetfile(), ".ihx", ".hex")
    os.exec("sdobjcopy -I ihex ./"..target:targetfile().." -O ihex "..hexOut)
    os.exec("sdobjcopy -I ihex --output-target=binary ./"..target:targetfile().." ./"..binOut)
end)

target("app")
    set_kind("binary")
    set_extension(".ihx")
    add_cxflags("--std-c99","--stack-auto","--noinduction","--use-non-free","--code-size 0x1800")
    add_asflags("-plosgff")
    add_ldflags("--code-loc 0x8800","--out-fmt-ihx")
    add_includedirs("app","base","third_party/STM8S_StdPeriph_Driver/inc")
    add_files("base/*.c","app/*.c")
    add_files("third_party/STM8S_StdPeriph_Driver/src/stm8s_gpio.c")
    add_files("third_party/STM8S_StdPeriph_Driver/src/stm8s_tim4.c")
四、修改其他代码及头文件
为了方便往后切换回寄存器开发,我调整了原工程的一些基本代码,增加通过判断宏定义USE_STDPERIPH_DRIVER 来判断是否使用标准库。
这个修改,我稍后会将整工程分享出来,这里我就不再列出相关文件。
编译下载
通过快捷键CTRL + F7将工程进行编译后,再按F8键下载更新固件到Pegasus天马座开发板即可。
工程分享


 1645
1645


 被折叠的 条评论
为什么被折叠?
被折叠的 条评论
为什么被折叠?
 到【灌水乐园】发言


