


 在Android开发工作遇到瓶颈后,作者决定通过学习ApiDemos来提升技能。将ApiDemos项目导入Eclipse并运行,观察到每个知识点以小功能的形式展示。然而,深入查看代码后,发现实际情况比预想的复杂,需要研究清单文件等更多内容。
做Android开发工作进入了一个瓶颈期,这段时间项目也不是很紧,就决定按照之前网上大神给的进阶路线,现将ApiDemos中的知识点学一下,代码量的积累达到一定程度,茫然的去敲代码已经不能对逻辑思维和Android的思维有更好的提高了,于是将Apidemos导进了Eclipse,开始了关于其中知识点的学习。
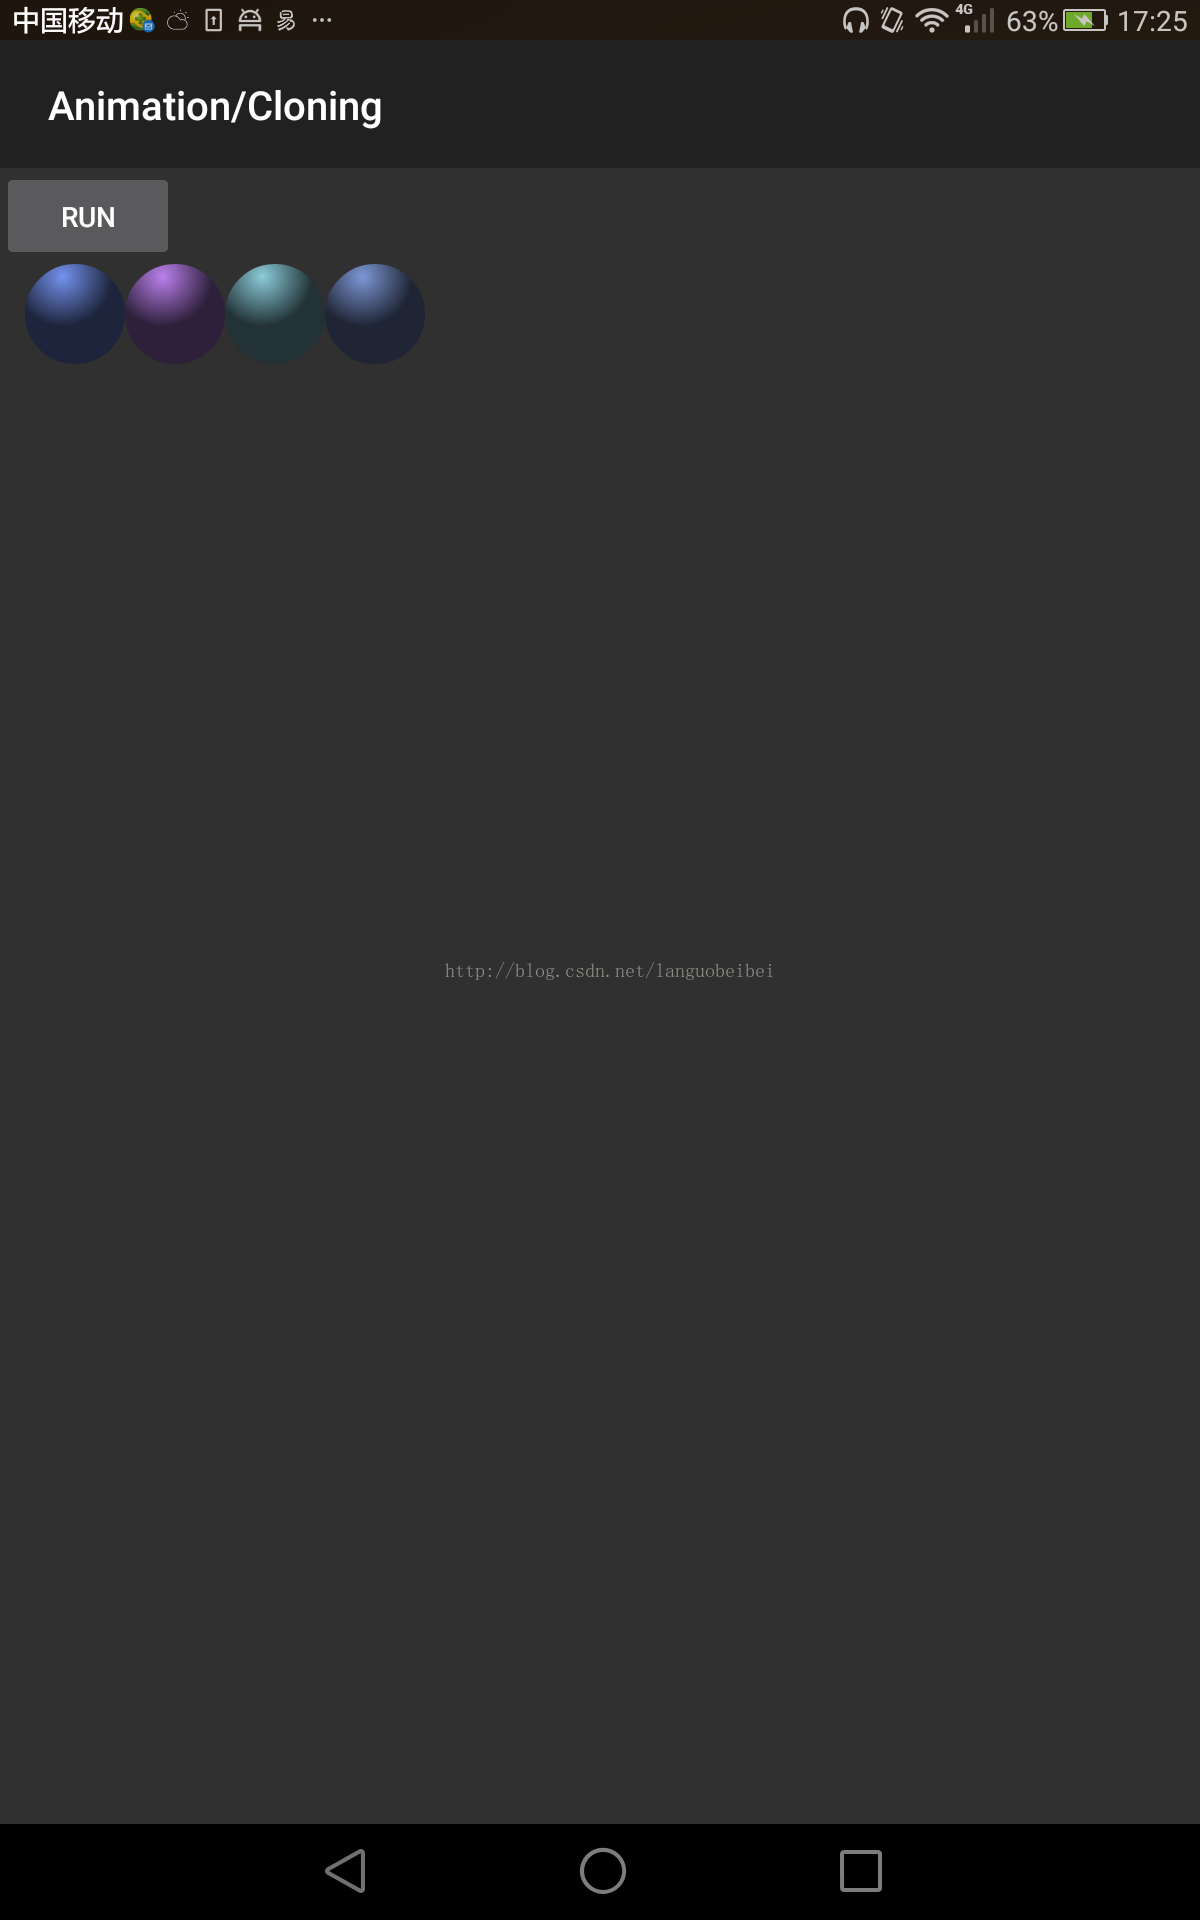
首先,经历了一番折腾,导入的项目运行了起来,看起来是一个list表,点进去之后,每个知识点做成了一些小功能,点进去之后可以看到效果,下面看一下图。

后来一看代码,发现不是这么回事儿。看下清单文件
 <application android:name="ApiDemosApplication"
            android:label="@string/activity_sample_code"
            android:icon="@drawable/app_sample_code"
            android:hardwareAccelerated="true"
            android:supportsRtl="true">

        <!-- This is how we can request a library but still allow the app
             to be installed if it doesn't exist. -->
        <uses-library android:name="com.example.will.never.exist" android:required="false" />

        <activity android:name="ApiDemos">
            <intent-filter>
                <action android:name="android.intent.action.MAIN" />
                <category android:name="android.intent.category.DEFAULT" />
                <category android:name="android.intent.category.LAUNCHER" />
            </intent-filter>
</activity>public class ApiDemos extends ListActivity { @Override public void onCreate(Bundle savedInstanceState) { super.onCreate(savedInstanceState); //当我们点击某一类目后,如果这个类目下面还有分类项,则通过再次启动自身的方式加载该类目下所有分类项的名称。并且在启动自身的同时将该类目的路径传递到新启动的activity当中。所以我们需要在这里获取由上一个activity传递过来的路径值。 Intent intent = getIntent(); String path = intent.getStringExtra("com.example.android.apis.Path"); // 如果是第一次启动程序,paht==null if (path == null) { path = ""; } //使用simpleAdapter适配器为ListActivity加载数据 setListAdapter(new SimpleAdapter(this, getData(path), android.R.layout.simple_list_item_1, new String[] { "title" }, new int[] { android.R.id.text1 })); // 当listView获得焦点时,当用户输入快速查询的字符时,允许根据用户的输入字符筛选出匹配的列表项 getListView().setTextFilterEnabled(true); } 下面是怎样获得的列表数据 protected List<Map<String, Object>> getData(String prefix) { List<Map<String, Object>> myData = new ArrayList<Map<String, Object>>(); // 从AndroidManifest.xml中筛选出所有apiDemo的activity信息 Intent mainIntent = new Intent(Intent.ACTION_MAIN, null); //为了与系统定义的类别相区别,这里随便定义了一个类别名称 mainIntent.addCategory(Intent.CATEGORY_SAMPLE_CODE); //通过调用PackageManager的方法可以得到不同的信息 PackageManager pm = getPackageManager(); //通过Intent查找相关的Activity,更准确 List<ResolveInfo> list = pm.queryIntentActivities(mainIntent, 0); //如果list是空的 if (null == list) return myData; // 定义一个字符串数组,用于存储将路径按“/”切割后的各个部分 String[] prefixPath; String prefixWithSlash = prefix; // 第一次启动prefix为“” if (prefix.equals("")) { prefixPath = null; } else { prefixPath = prefix.split("/"); prefixWithSlash = prefix + "/"; } int len = list.size(); // 设置一个控制位,确保相同的类别只添加一次 Map<String, Boolean> entries = new HashMap<String, Boolean>(); for (int i = 0; i < len; i++) { //ResolveInfo类是通过解析一个与IntentFilter相对应的intent得到的信息。它部分地对应于从AndroidManifest.xml的< intent>标签收集到的信息 ResolveInfo info = list.get(i); CharSequence labelSeq = info.loadLabel(pm); // 获取activity的label对应的字符串,以hellowrold这个demo为例查看其label的值为:App/Activity/<b>Hello // <i>World</i></b> // <b>和<i>表示为字符设置属性<b>表示字符<i>表示字符为斜体 String label = labelSeq != null ? labelSeq.toString() : info.activityInfo.name; // 判断如果是第一次启动或者点击类目启动新的activity都可以满足条件 if (prefixWithSlash.length() == 0 || label.startsWith(prefixWithSlash)) { String[] labelPath = label.split("/"); String nextLabel = prefixPath == null ? labelPath[0] : labelPath[prefixPath.length]; // 将下一级目录中的内容展示出来 if ((prefixPath != null ? prefixPath.length : 0) == labelPath.length - 1) { addItem(myData, nextLabel, activityIntent( info.activityInfo.applicationInfo.packageName, info.activityInfo.name)); } else { // 判断是否已经存在该类目 if (entries.get(nextLabel) == null) { addItem(myData, nextLabel, browseIntent(prefix.equals("") ? nextLabel : prefix + "/" + nextLabel)); entries.put(nextLabel, true); } } } } // 对集合进行排序 Collections.sort(myData, sDisplayNameComparator); return myData; } 之后我们需要实例化 Collator,并获取当前语言环境,通过重写比较器 Comparator来调用 Collections.sort() 方法,代码如下: // 定义一个排序器 private final static Comparator<Map<String, Object>> sDisplayNameComparator = new Comparator<Map<String, Object>>() { private final Collator collator = Collator.getInstance(); public int compare(Map<String, Object> map1, Map<String, Object> map2) { return collator.compare(map1.get("title"), map2.get("title")); } }; /** * 分类项列表 * * @param string * 路径名 * @return */ private Intent browseIntent(String path) { Intent result = new Intent(this, ApiDemos.class); result.putExtra("com.example.api.path", path); return result; } /** * 叶子项列表 * * @param packageName * 包名 * @param activityName * 类名 * @return */ private Intent activityIntent(String packageName, String activityName) { Intent result = new Intent(); result.setClassName(packageName, activityName); return result; } /** * 向数据集中添加内容 * @param datas 数据集 * @param name 当前界面要展示的示例的title * @param intent 点击条目时启动下一个界面的intent */ private void addItem(List<Map<String, Object>> datas, String name, Intent intent) { Map<String, Object> temp = new HashMap<String, Object>(); temp.put("title", name); temp.put("intent", intent); datas.add(temp); } @Override protected void onListItemClick(ListView l, View v, int position, long id) { super.onListItemClick(l, v, position, id); Map<String, Object> map=(Map<String, Object>) l.getItemAtPosition(position); Intent intent=(Intent) map.get("intent"); startActivity(intent); } } 配置文件中只需改动: <application android:allowBackup="true" android:icon="@drawable/ic_launcher" android:label="@string/app_name" android:theme="@android:style/Theme.Black" > <activity android:name=".ApiDemos" android:label="@string/app_name" > <intent-filter> <action android:name="android.intent.action.MAIN" /> <category android:name="android.intent.category.LAUNCHER" /> </intent-filter> </activity> <activity android:name="com.example.apidemos.HelloWord" android:label="@string/activity_hello_world" > <intent-filter > <action android:name="android.intent.action.MAIN"/> <category android:name="COM_FISHTOSKY_CODE"/> </intent-filter> </activity> </application> 新建helloword的activity,我们不需要编写任何代码,只需在其string.xml下添加 一行App/Activity/Hello World即可,如下 <string name="activity_hello_world">App/Activity/<b>Hello <i>World</i></b></string> <string name="hello_world"><b>Hello, <i>World!</i></b></string> 以上就是ApiDemos启动Activity的一些知识点和方法,更多更深的内容,大家可以查询资料,后面有时间再做总结。


 263
263

 被折叠的 条评论
为什么被折叠?
被折叠的 条评论
为什么被折叠?
 到【灌水乐园】发言


