


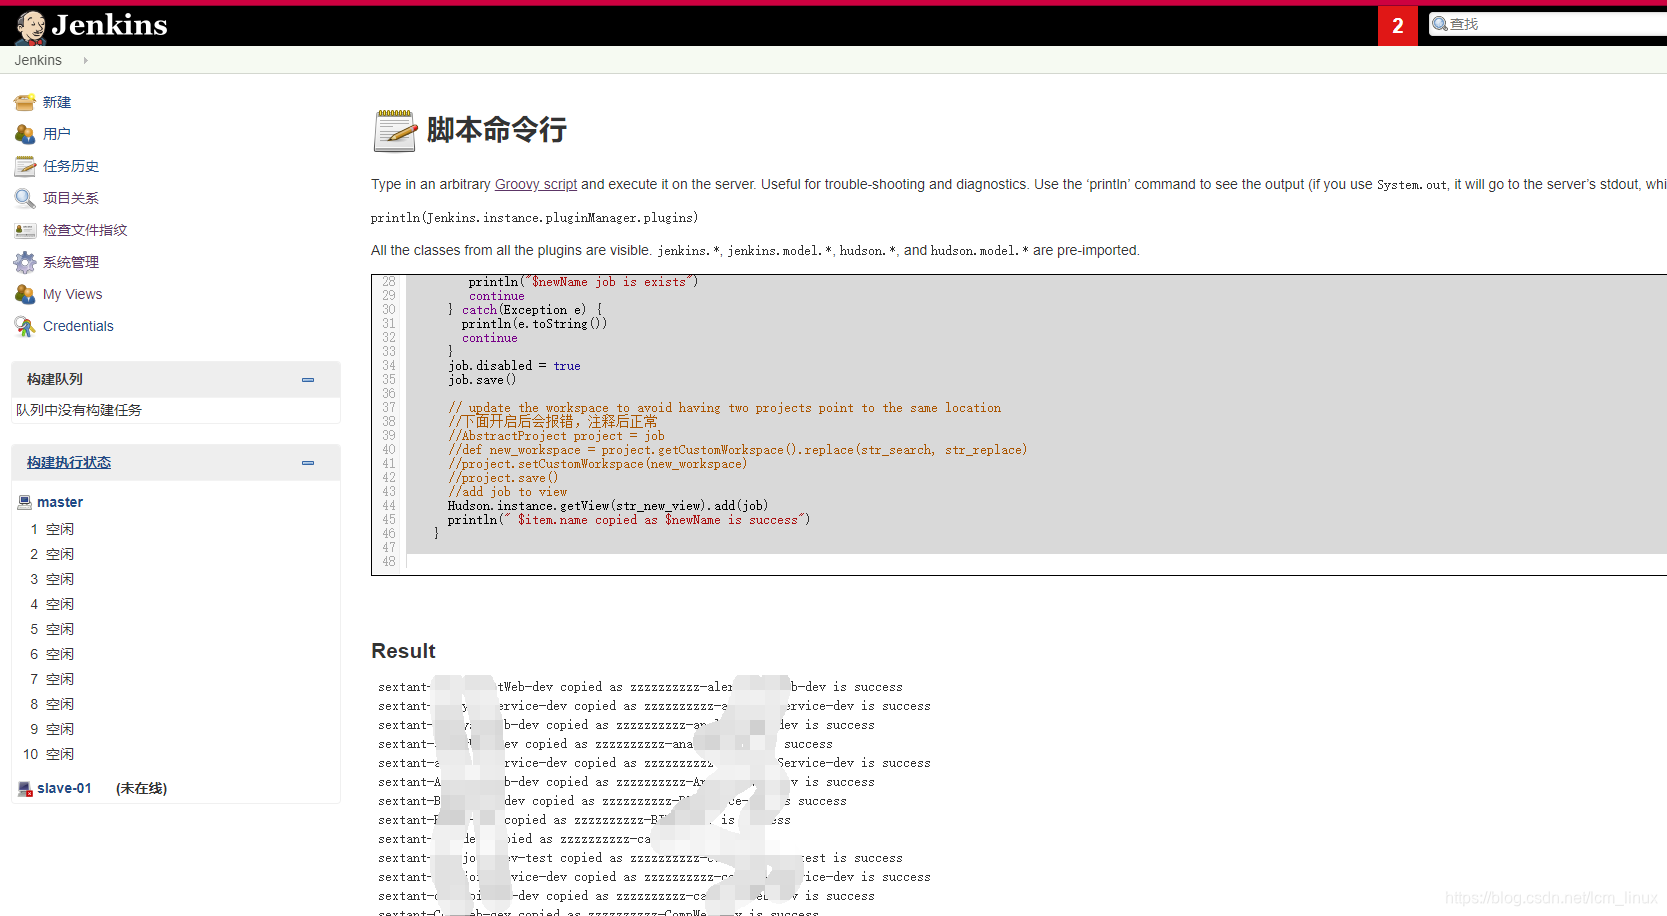
Jenkins新建视图后需要一个个重复复制旧视图中的job比较麻烦,找了一个脚本,尝试后会报异常,因此修改了下代码,如下:
import hudson.model.*
	//源view
	def str_view = "test-sextant-dev"
	//目标view
	def str_new_view = "test"
	//源job名称(模糊匹配)
	def str_search = "sextant-"
	//目标job名称(模糊匹配后替换)
	def str_replace = "zzzzzzzzzz-"
	def view = Hudson.instance.getView(str_view)
	//copy all projects of a view
	for(item in view.getItems())
	{
	  //跳过未模糊匹配到的构建 任务
      if (!item.getName().contains(str_search)) {
      // 说明文字,表示跳过未匹配到的job,可加可不加
	//   println("but $item.name ignore ")
        continue
      }
      //create the new project name
	  newName = item.getName().replace(str_search, str_replace)
	  // copy the job, disable and save it
	  def job
	  try {
	  	//因为第一次导入后报错,所以添加了try-catch 跳过已存在的job
	  	job = Hudson.instance.copy(item, newName)
	  } catch(IllegalArgumentException e) {
//	     println(e.toString())
	     println("$newName job is exists")
	     continue
	  } catch(Exception e) {
	    println(e.toString())
	    continue
	  }
	  job.disabled = true
	  job.save()

	  // update the workspace to avoid having two projects point to the same location
	  //下面开启后会报错,原因是groovy不用重新创建对象,注释后正常
	  //AbstractProject project = job
	  //def new_workspace = project.getCustomWorkspace().replace(str_search, str_replace)
	  //project.setCustomWorkspace(new_workspace)
	  //project.save()

	  //add job to view
	  Hudson.instance.getView(str_new_view).add(job)
	  println(" $item.name copied as $newName is success")
	}
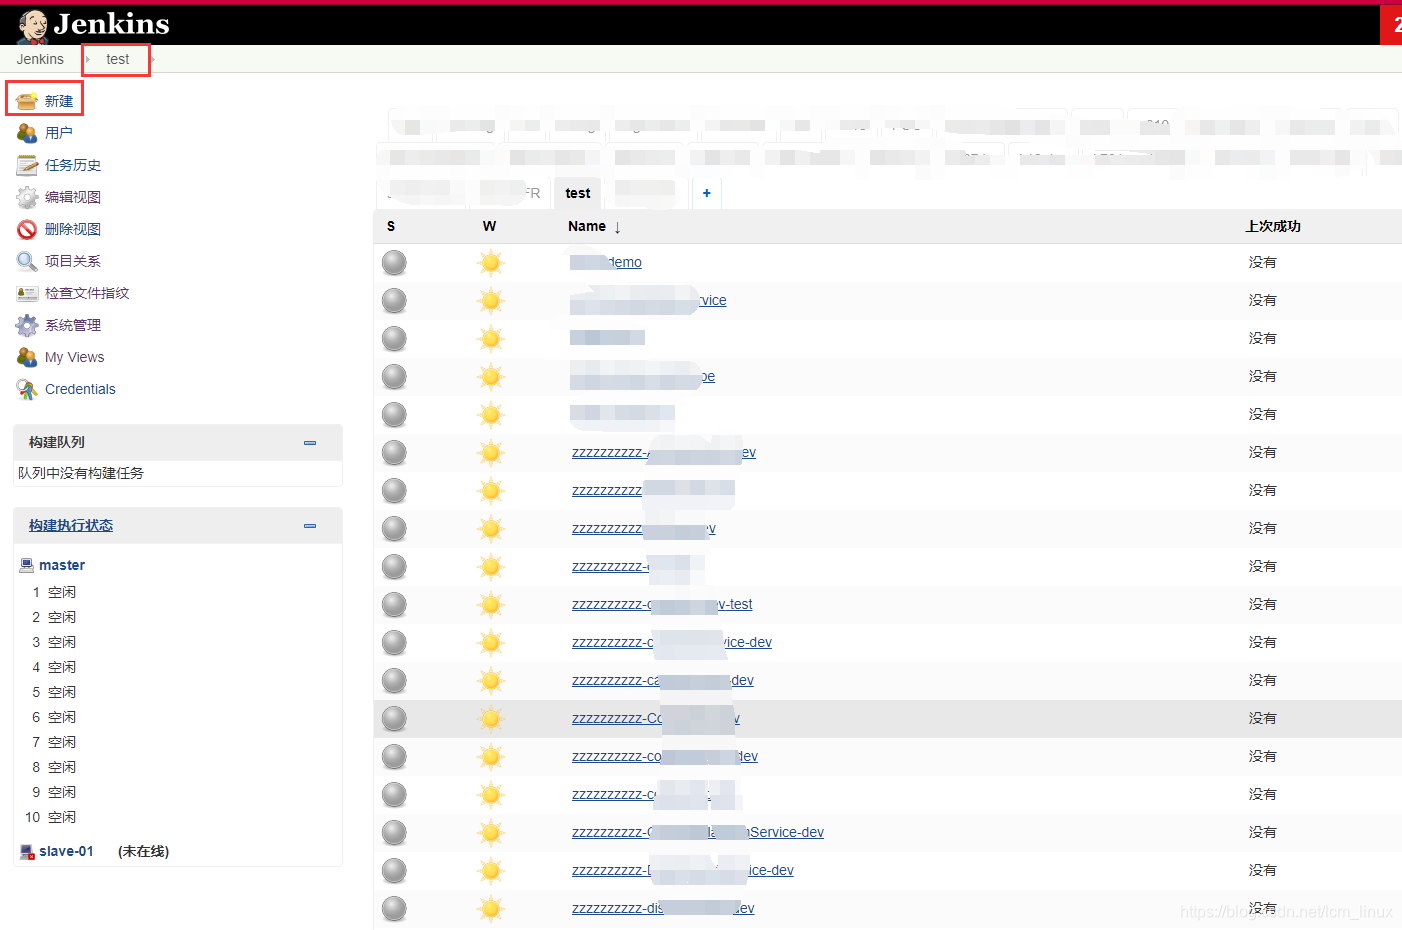
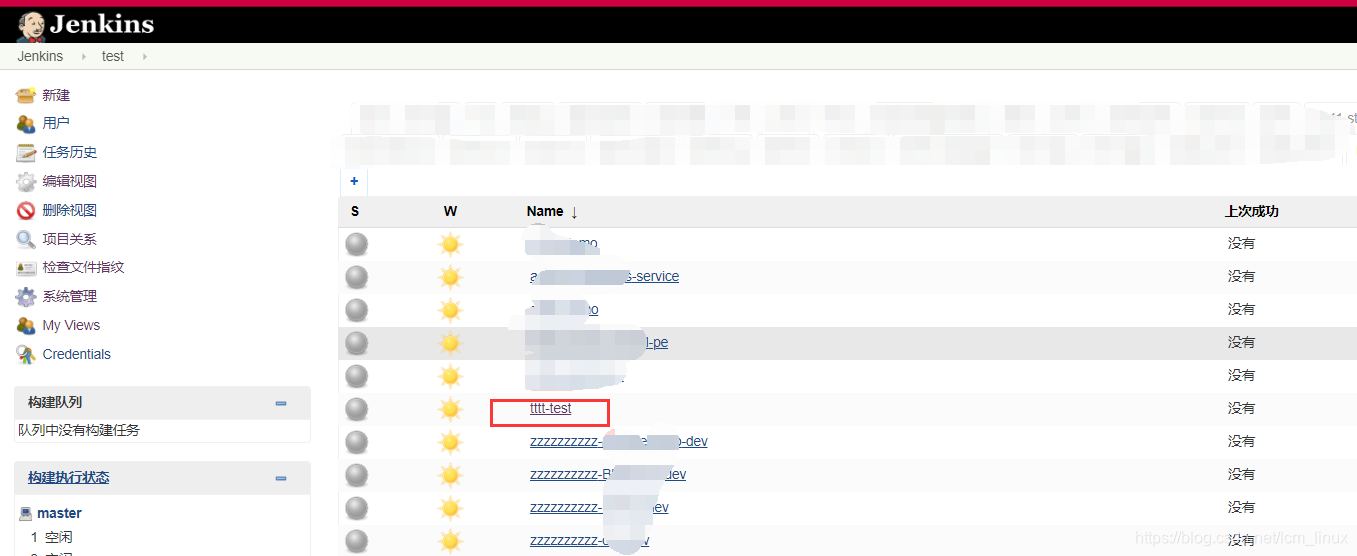
效果如下图所示:
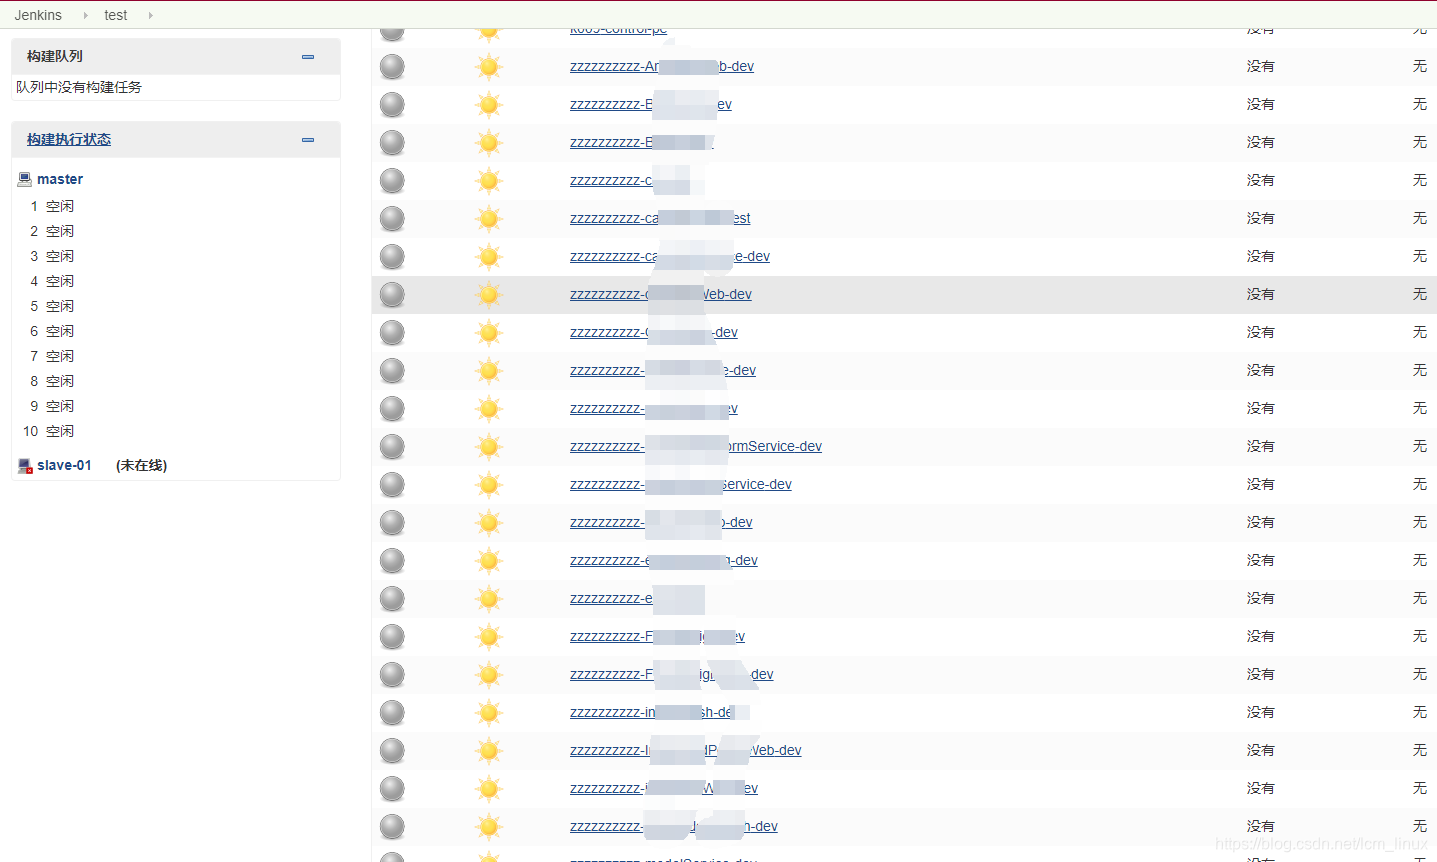
至此,批量复制完成!
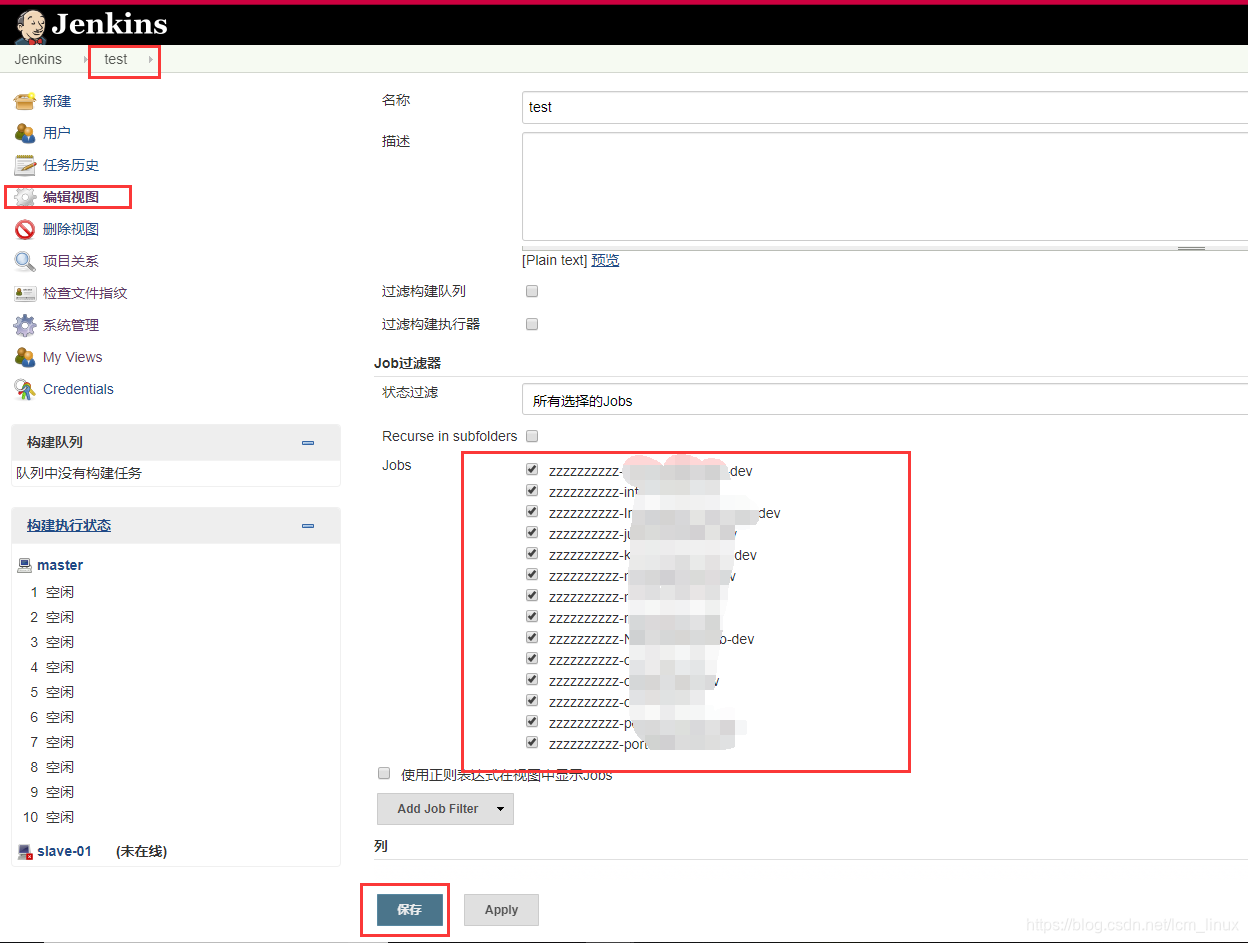
另外,如果不打算批量的话,可以参照下面的方法:
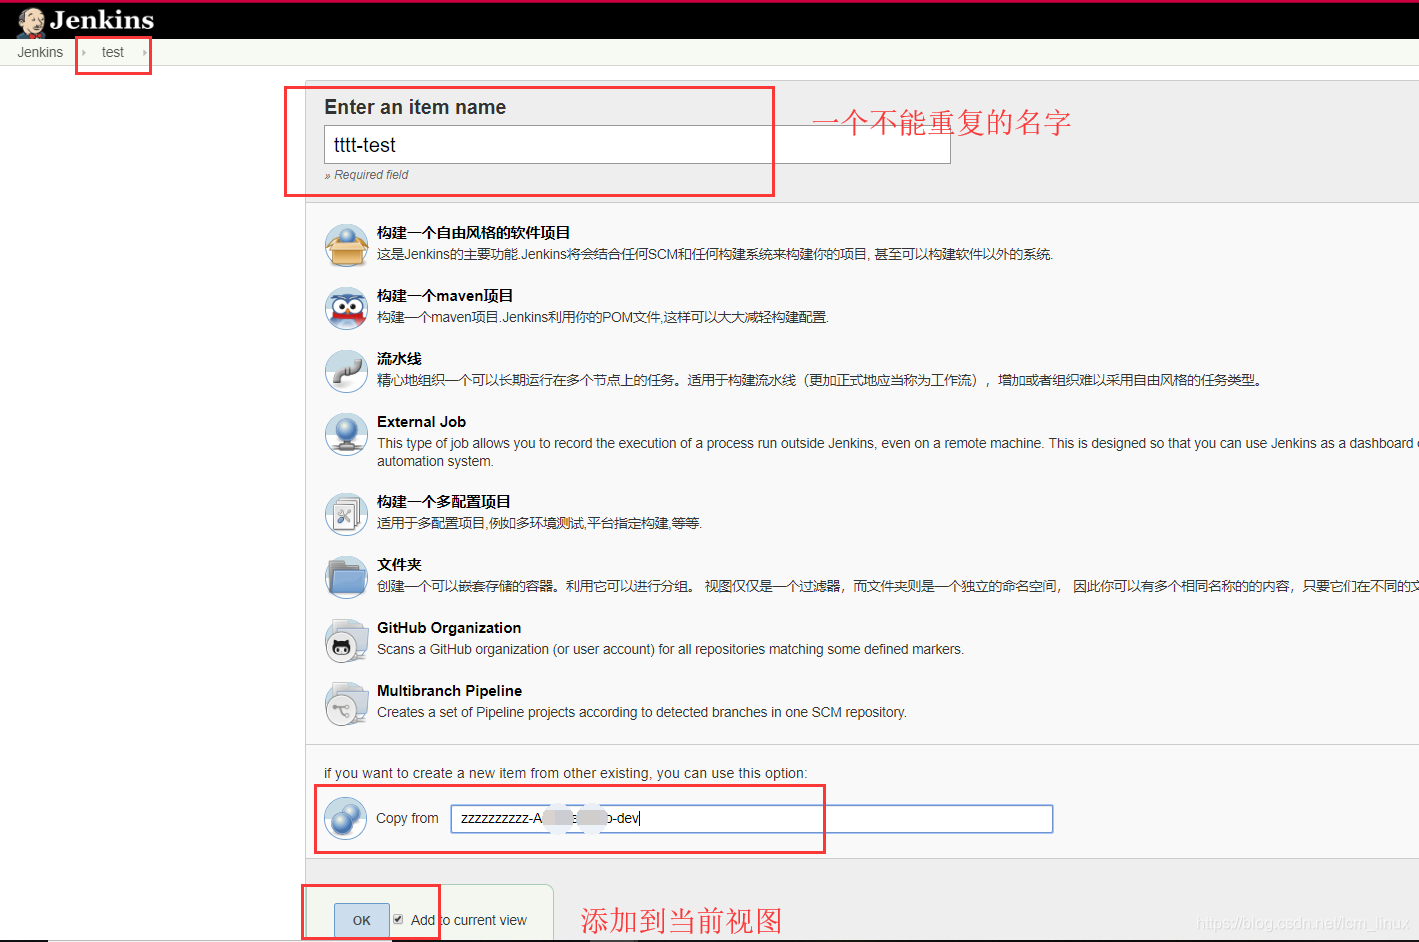

至此,单独复制job到新视图已经完成!
参考:Clone all projects in a View
https://blog.csdn.net/weixin_42233723/article/details/89410076?depth_1-utm_source=distribute.pc_relevant.none-task&utm_source=distribute.pc_relevant.none-task


 1620
1620

 被折叠的 条评论
为什么被折叠?
被折叠的 条评论
为什么被折叠?
 到【灌水乐园】发言


