


Centos7搭建Nexus3
Nexus官方网站:https://www.sonatype.com/download-oss-sonatype
下载unix 的tar.gz版本即可
当前版本为3.2.1
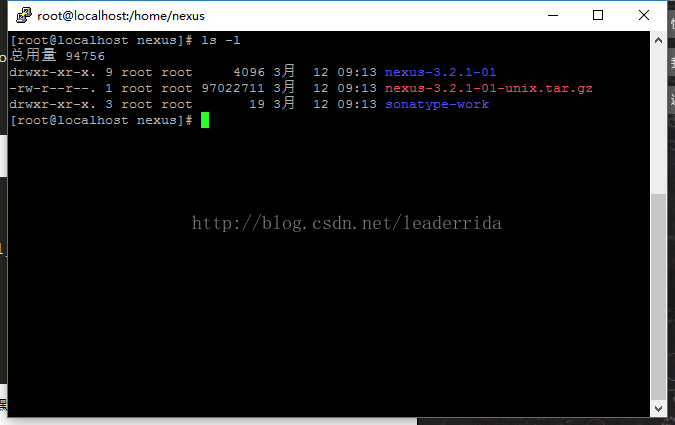
解压后得到两个文件夹
tar -zxvf nexus-3.2.1-01-unix.tar.gz我们进入 nexus-3.2.1-01文件夹
然后进入bin目录
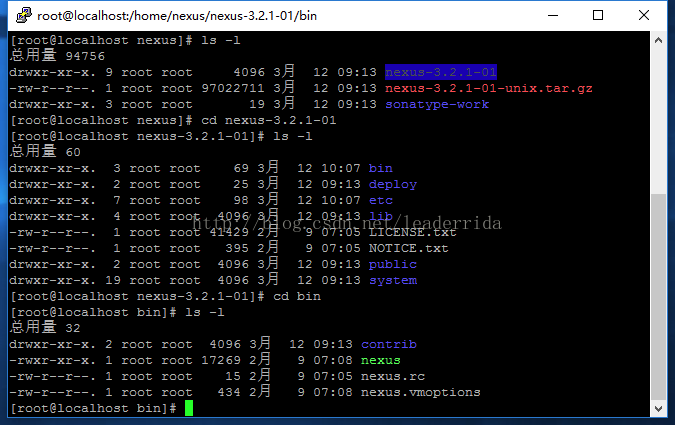
查看nexus.vmoptions
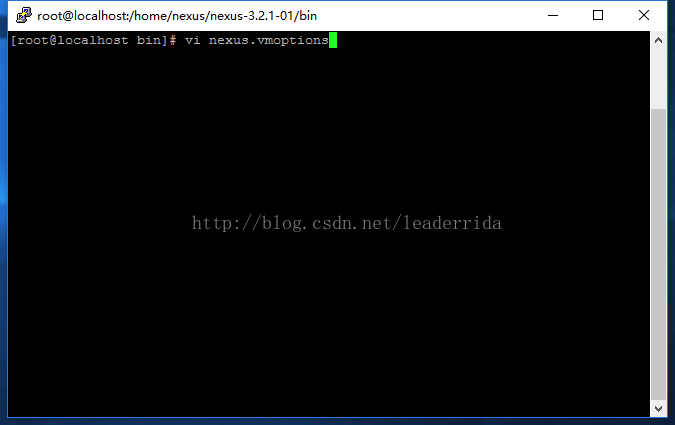
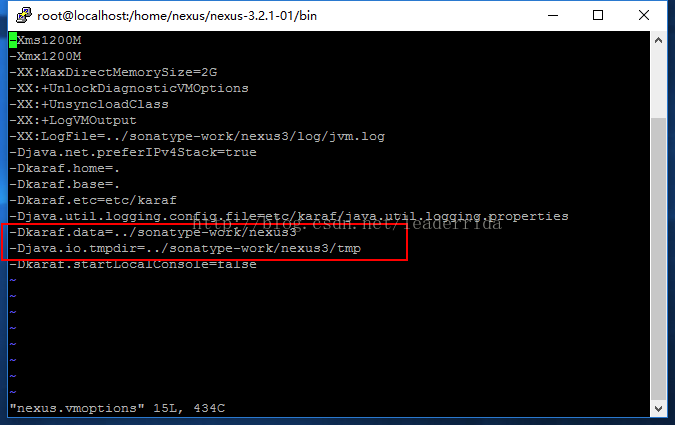
在里面我们可以按照实际情况设置参数
其中 -Dkaraf.data和-Djava.io.tmpdir这两个参数 是存放jar包的路径
我们可以在/etc/profile 中写入nexus_home ,那就无需进入bin目录才启动nexus了
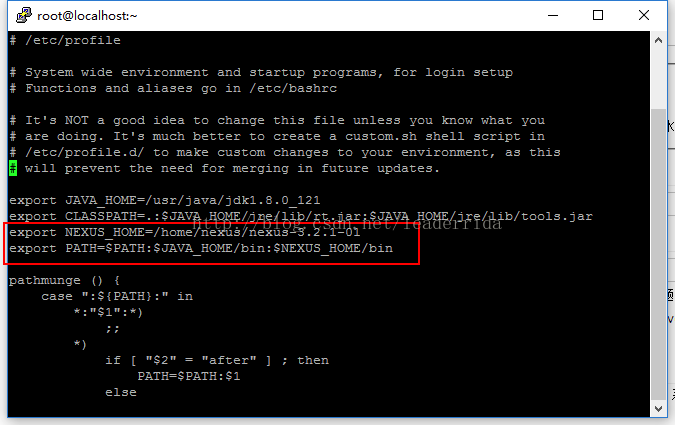
修改完后 记得 source /etc/profile
启动Nexus:
nexus start 或者 nexus 关闭Nexus
nexus stop需要注意,nexus默认端口是8081
我们要开启一下8081端口
firewall-cmd --zone=public --add-port=8081/tcp --permanent 然后重启一下防火墙
systemctl restart firewalld.service 值得留意的是
启动了nexus需要等待一会才能访问。
需要稍等一段时间,8081端口才起来
http://localhost:8081
默认用户名:admin
默认密码 admin123
然后,在你的本地的Maven中修改setting.xml
加入如下内容
<settings>

  <pluginGroups>
    <pluginGroup>org.sonatype.plugins</pluginGroup>
  </pluginGroups>

 <servers>
    <server>
      <id>nexus</id>
      <username>admin</username>
      <password>admin123</password>
    </server>
  </servers>

<mirrors>
    <mirror>
      <id>nexus</id>
      <mirrorOf>*</mirrorOf>
      <url>http://localhost:8081/repository/maven-public/</url>
    </mirror>
    <!-- 网上资料这里不注释,如果不注释,测试过还是在中央仓库下载jar包,吧这里注释了,就是先从私服中下载,再到中央仓库下载
<mirror>
<id>repo2</id>
<mirrorOf>central</mirrorOf>
<name>Human Readable Name for this Mirror.</name>
<url>http://repo2.maven.org/maven2/</url>
</mirror> -->
</mirrors>
<profiles>
<profile>
<id>nexus</id>
<repositories>
<repository>
<id>central</id>
<url>http://central</url>
<releases><enabled>true</enabled></releases>
<snapshots><enabled>true</enabled></snapshots>
</repository>
</repositories>
<pluginRepositories>
<pluginRepository>
<id>central</id>
<url>http://central</url>
<releases><enabled>true</enabled></releases>
<snapshots><enabled>true</enabled></snapshots>
</pluginRepository>
</pluginRepositories>
</profile>
</profiles>
<activeProfiles>
<activeProfile>nexus</activeProfile>
</activeProfiles>
</settings>在您的工程pom文件中加入
<distributionManagement>
  <repository>
      <id>nexus</id>
      <name>Releases</name>
      <url>http://localhost:8081/repository/maven-releases</url>
    </repository>
    <snapshotRepository>
      <id>nexus</id>
      <name>Snapshot</name>
      <url>http://localhost:8081/repository/maven-snapshots</url>
    </snapshotRepository>
  </distributionManagement>
<build>
<defaultGoal>compile</defaultGoal>
<finalName>page</finalName>
<plugins>
<plugin>
<groupId>org.apache.maven.plugins</groupId>
<artifactId>maven-surefire-plugin</artifactId>
<configuration>
<skip>true</skip>
</configuration>
</plugin>
<plugin>
<groupId>org.apache.maven.plugins</groupId>
<artifactId>maven-compiler-plugin</artifactId>
<version>3.3</version>
<configuration>
<source>1.8</source>
<target>1.8</target>
</configuration>
</plugin>
</plugins>
</build>最后eclipse中发布
项目右单击->Run As->Maven build.. ->deploy -e 则可以在nexus中看到我们发布的项目了。
最后,查阅了很多资料,都没成功地完成开机自动启动nexus3.2.1
网上基本是文章一大抄的都是旧版本的nexus
对centos并不是十分熟悉,暂且放下,待日后了解足够再回来补全。
希望其他读者知道的,也留言个方法,谢谢
其他网上参考资料如下:
http://www.cnblogs.com/kevingrace/p/6201984.html
http://blog.csdn.net/typa01_kk/article/details/49228873
http://blog.csdn.net/yamaxifeng_132/article/details/52479891
http://blog.csdn.net/clj198606061111/article/details/52200928


 6383
6383

 被折叠的 条评论
为什么被折叠?
被折叠的 条评论
为什么被折叠?
 到【灌水乐园】发言


