


一、安装jdk1.8
将jdk-18_linux-x64_bin.tar.gz文件拷贝进服务器
1、检查并卸载OpenJDK
第一步检查系统是否自带了OpenJDK以及相关安装包,如果有的话则应先将其卸载。
检查命令:
java -version
rpm -qa | grep java
如果发现有安装好的OpenJDK以及安装包的话那么首先依次执行卸载。
卸载命令:
rpm -e --nodeps tzdata-java-2012c-1.el6.noarch
rpm -e --nodeps java-1.6.0-openjdk-1.6.0.0-1.45.1.11.1.el6.x86_64
2、解压安装
tar -zxvf jdk-8u321-linux-x64.tar.gz
解压完成后创建一个新的java目录并将刚刚解压的jdk目录移动到我们创建的目录:
mkdir /usr/local/java
mv ./jdk1.8.0_321/ /usr/local/java/
最后再删除安装文件:
rm -rf jdk-8u321-linux-x64.tar.gz
3、配置环境变量
安装完成后需要配置一下环境变量,编辑/etc/profile文件:
vi /etc/profile
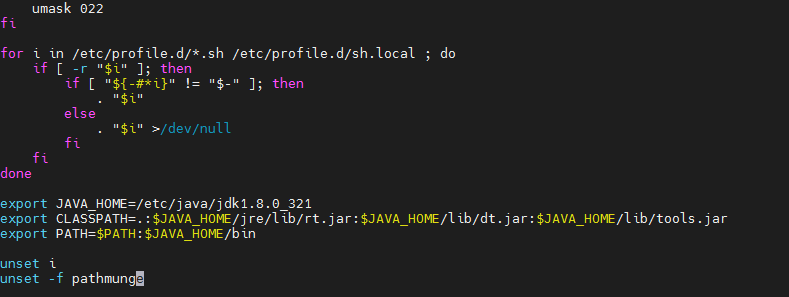
在文件尾部添加如下配置:
export JAVA_HOME=/usr/local/java/jdk1.8.0_321
export CLASSPATH=.:$JAVA_HOME/jre/lib/rt.jar:$JAVA_HOME/lib/dt.jar:$JAVA_HOME/lib/tools.jar
export PATH=$PATH:$JAVA_HOME/bin
编辑完成后记得输入**:wq**保存退出,最后一步就是通过source命令重新加载/etc/profile文件,使得修改后的内容在当前shell窗口有效:
source /etc/profile
二、安装maven
1、下载
https://maven.apache.org/download.cgi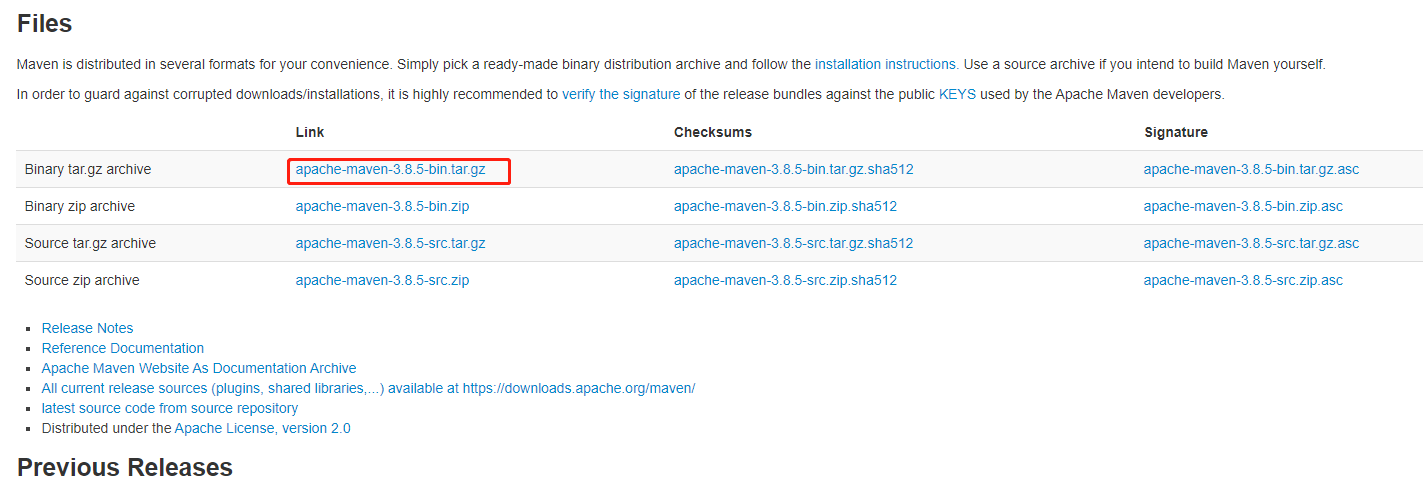
创建maven目录,/usr/local/maven,将maven安装包上传至此目录中
[root@localhost maven]# mkdir /usr/local/maven
[root@localhost maven]# mv ./apache-maven-3.8.5-bin.tar.gz /usr/local/maven
解压
tar -zvxf apache-maven-3.8.5-bin.tar.gz
删除安装包
2、配置环境变量
vi /etc/profile

export MAVEN_HOME=/usr/local/maven/apache-maven-3.8.5
export PATH=${MAVEN_HOME}/bin:${PATH}
重载环境变量
source /etc/profile
验证
mvn -version

3、替换ali源
打开maven配置文件,比如:
vi /usr/local/maven/apache-maven-3.8.5/conf/settings.xml
找到标签对,添加一下代码:
    <mirror>
      <id>alimaven</id>
      <name>aliyun maven</name>
      <url>http://maven.aliyun.com/nexus/content/groups/public/</url>
      <mirrorOf>central</mirrorOf>
    </mirror>

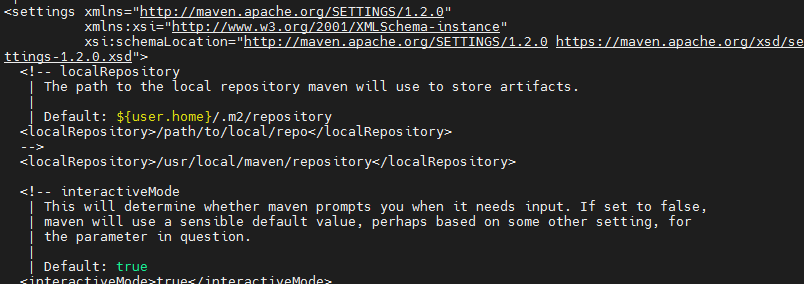
指定下载资源路径
<localRepository>/usr/local/maven/repository</localRepository>
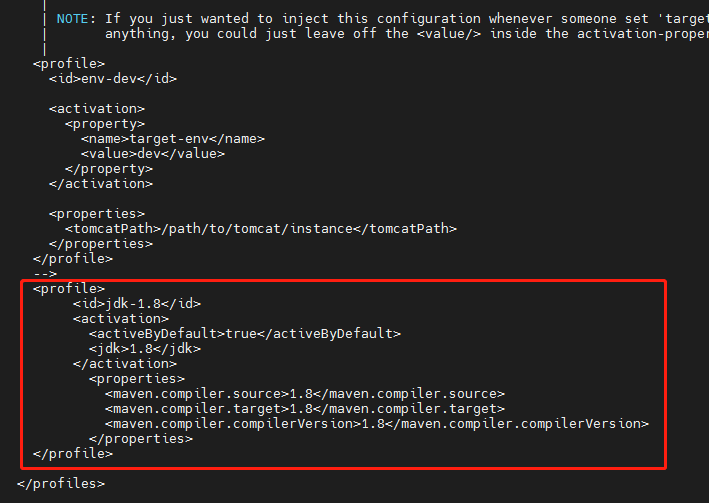
指定jdk版本,将下列代码粘贴入标签中
    <profile>
         <id>jdk-1.8</id>
         <activation>
           <activeByDefault>true</activeByDefault>
           <jdk>1.8</jdk>
         </activation>
           <properties>
             <maven.compiler.source>1.8</maven.compiler.source>
             <maven.compiler.target>1.8</maven.compiler.target>
             <maven.compiler.compilerVersion>1.8</maven.compiler.compilerVersion>
           </properties>
    </profile>
三、安装 nexus3
1、下载解压
https://www.sonatype.com/download-oss-sonatype
tar -zxvf nexus-3.38.0-01-unix.tar.gz -C /usr/local/
2、启动
cd /usr/local/nexus-3.38.0-01/bin/
./nexus run &

开机自启
新建nexus启动脚本
进入/etc/init.d目录,新建脚本文件nexus进入/etc/init.d目录,新建脚本文件nexus
cd /etc/init.d/
vim nexus
脚本内容:
#!/bin/bash
#chkconfig:2345 20 90
#description:nexus
#processname:nexus

export JAVA_HOME=/root/apps/jdk1.8/

case $1 in
        start) su root /usr/local/nexus-3.38.0-01/bin/nexus start;;
        stop) su root /usr/local/nexus-3.38.0-01/bin/nexus stop;;
        status) su root /usr/local/nexus-3.38.0-01/bin/nexus status;;
        restart) su root /usr/local/nexus-3.38.0-01/bin/nexus restart;;
        dump) su root /usr/local/nexus-3.38.0-01/bin/nexus dump;;
        console) su root /usr/local/nexus-3.38.0-01/bin/nexus console;;
        *) echo "Usage: nexus {start|stop|run|run-redirect|status|restart|force-reload}"
esac
设置脚本权限
chmod +x /etc/init.d/nexus
使用service命令使用nexus
service nexus status
添加到开机启动
chkconfig nexus on
查看nexus开机启动
chkconfig --list nexus

四、本地仓库迁移
1、安装rar
下载 rar 安装包
官方下载地址:http://www.rarsoft.com/download.htm
wget http://www.rarsoft.com/rar/rarlinux-x64-5.4.0.tar.gz
安装
解压缩安装包
tar -xvf rarlinux-x64-5.4.0.tar.gz
执行安装
sudo make
现在可以执行 unrar 对 .rar 文件进行解压缩了。
unrar x filename.rar
将本地仓库打包上传到
mkdir /home/maven/repository
unrar x MavenRepository.rar
在 /home/maven/repository 文件夹下执行如下命令创建一个 shell 脚本:
vi mavenimport.sh
脚本内容
#!/bin/bash
# copy and run this script to the root of the repository directory containing files
# this script attempts to exclude uploading itself explicitly so the script name is important
# Get command line params
while getopts ":r:u:p:" opt; do
    case $opt in
        r) REPO_URL="$OPTARG"
        ;;
        u) USERNAME="$OPTARG"
        ;;
        p) PASSWORD="$OPTARG"
        ;;
    esac
done

find . -type f -not -path './mavenimport\.sh*' -not -path '*/\.*' -not -path '*/\^archetype\-catalog\.xml*' -not -path '*/\^maven\-metadata\-local*\.xml' -not -path '*/\^maven\-metadata\-deployment*\.xml' | sed "s|^\./||" | xargs -I '{}' curl -u "$USERNAME:$PASSWORD" -X PUT -v -T {} ${REPO_URL}/{} ;
保存退出后执行如下命令赋予其执行权限:
chmod +x mavenimport.sh
执行如下命令即可将该目录下的 jar 包都导入到指定仓库中:
注意:命令中 Nexus 用户名、用户密码、仓库地址根据实际情况进行修改。
./mavenimport.sh -u admin -p Stwc.2wsx -r http://192.168.8.162:8081/repository/maven-releases/
- 开启远程访问端口
CentOS 7.0默认使用的是firewall作为防火墙,这里改为iptables防火墙。
1、关闭firewall:
systemctl stop firewalld.service
systemctl disable firewalld.service
systemctl mask firewalld.service
2、安装iptables防火墙
yum install iptables-services -y
3.启动设置防火墙
# systemctl enable iptables
# systemctl start iptables
4.查看防火墙状态
systemctl status iptables
5编辑防火墙,增加端口
vi /etc/sysconfig/iptables #编辑防火墙配置文件
-A INPUT -m state --state NEW -m tcp -p tcp --dport 22 -j ACCEPT
-A INPUT -m state --state NEW -m tcp -p tcp --dport 80 -j ACCEPT
-A INPUT -m state --state NEW -m tcp -p tcp --dport 3306 -j ACCEPT
:wq! #保存退出
3.重启配置,重启系统
systemctl restart iptables.service #重启防火墙使配置生效
systemctl enable iptables.service #设置防火墙开机启动
关闭防火墙,并开启远程访问端口 8081
vi /etc/sysconfig/iptables
4、访问
http://192.168.8.162:8081/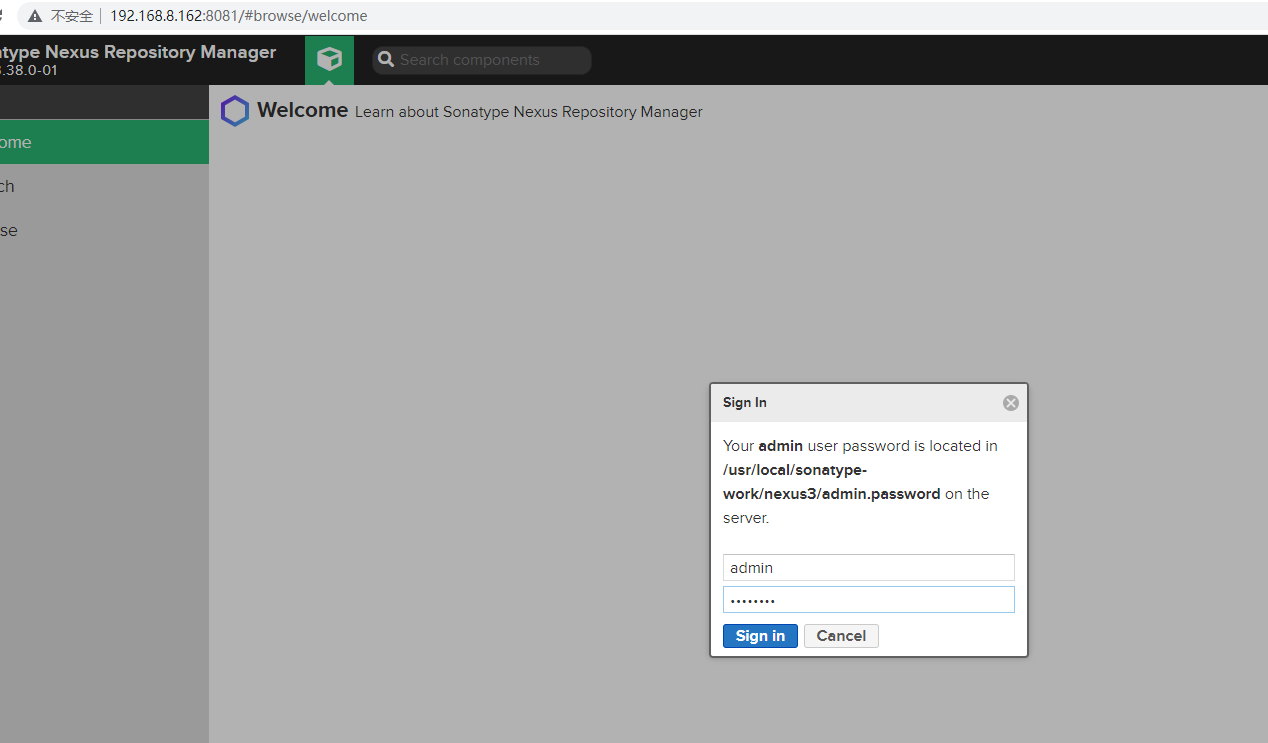
Sign In
Your admin user password is located in
/usr/local/sonatype-work/nexus3/admin.password on the server.
vi /usr/local/sonatype-work/nexus3/admin.password
把密码粘贴出来
重置密码为:1234556
开启授权
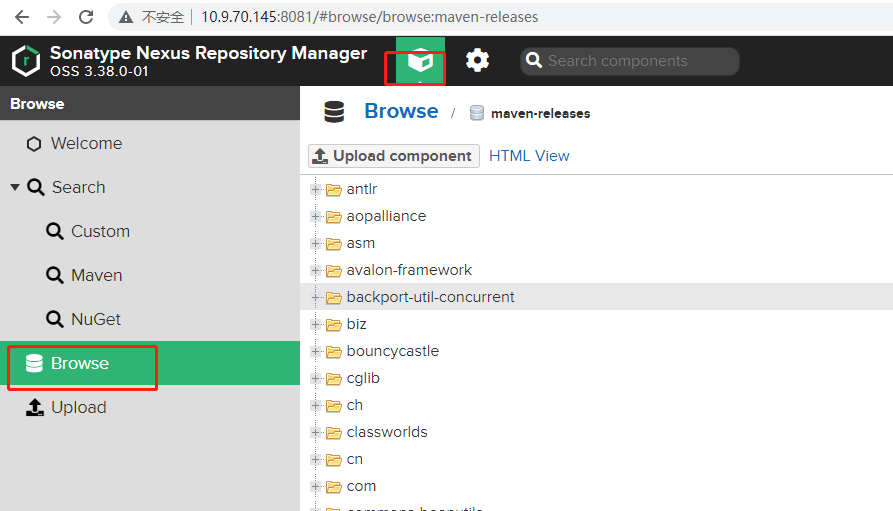
五、使用
1、配置maven的setting.xml文件
mvn -version

在E:\ProgramFiles\apache-maven-3.6.3\conf文件夹下找到setting
    <server>
      <id>nexus-releases</id>
      <username>admin</username>
      <password>Stwc.2wsx</password>
    </server>

    <server>
      <id>nexus-snapshots</id>
      <username>admin</username>
      <password>Stwc.2wsx</password>
    </server>

	   <!-- Nexus -->
	   <mirror>
      <id>nexus-releases</id>
	     <name>nexus-releases</name>
      <mirrorOf>*</mirrorOf>
      <url>http://10.9.70.145:8081/repository/maven-public/</url>
    </mirror>

    <mirror>
      <id>nexus-snapshots</id>
	  <name>nexus-snapshots</name>
      <mirrorOf>*</mirrorOf>
      <url>http://10.9.70.145:8081/repository/maven-snapshots/</url>
    </mirror>
	<!-- Nexus -->

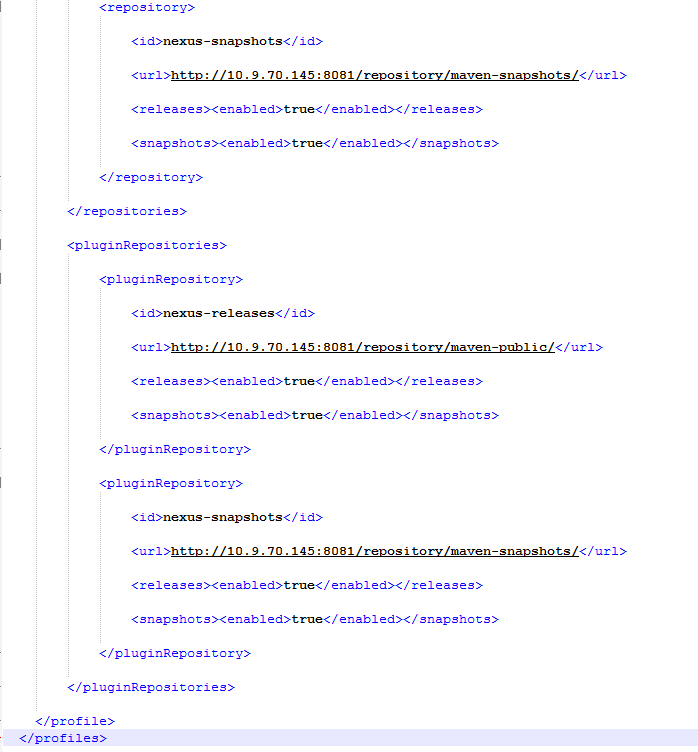
	<profile>

        <id>nexus</id>

        <repositories>

			<repository>

				<id>nexus-releases</id>

				<url>http://10.9.70.145:8081/repository/maven-public/</url>

				<releases><enabled>true</enabled></releases>

				<snapshots><enabled>true</enabled></snapshots>

			</repository>

            <repository>

                <id>nexus-snapshots</id>

                <url>http://10.9.70.145:8081/repository/maven-snapshots/</url>

                <releases><enabled>true</enabled></releases>

                <snapshots><enabled>true</enabled></snapshots>

            </repository>

        </repositories>

        <pluginRepositories>

            <pluginRepository>

                <id>nexus-releases</id>

                <url>http://10.9.70.145:8081/repository/maven-public/</url>

                <releases><enabled>true</enabled></releases>

                <snapshots><enabled>true</enabled></snapshots>

            </pluginRepository>

            <pluginRepository>

                <id>nexus-snapshots</id>

                <url>http://10.9.70.145:8081/repository/maven-snapshots/</url>

                <releases><enabled>true</enabled></releases>

                <snapshots><enabled>true</enabled></snapshots>

            </pluginRepository>

        </pluginRepositories>

    </profile>
  <activeProfiles>

      <activeProfile>nexus</activeProfile>

  </activeProfiles>

测试
mvn help:system
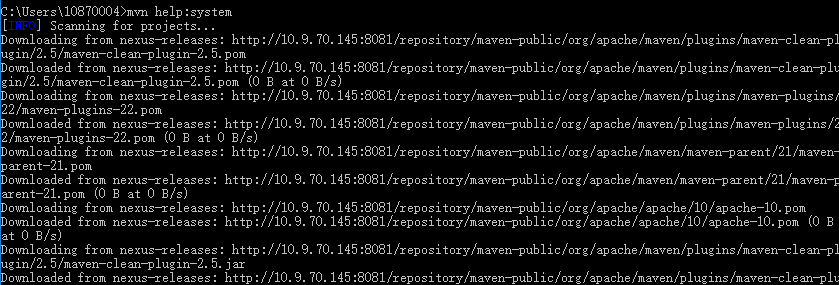
成功
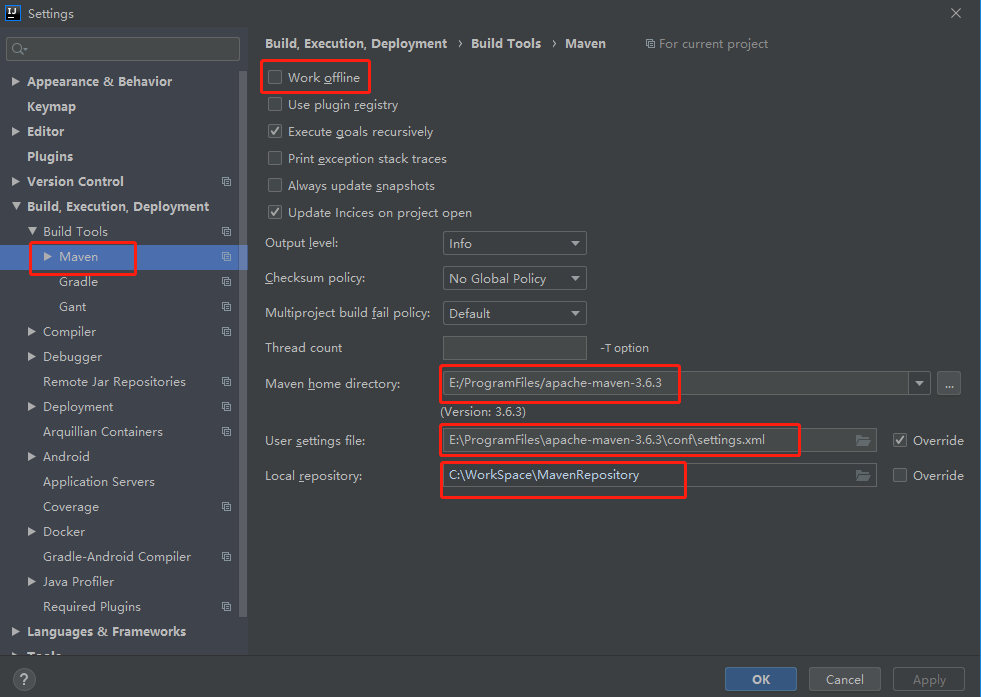
2、idea配置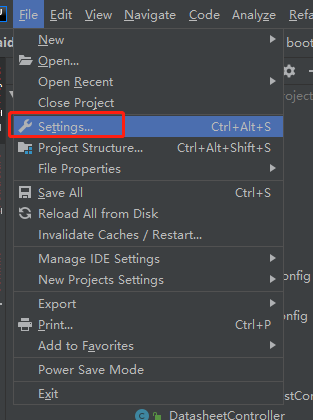
【问题】
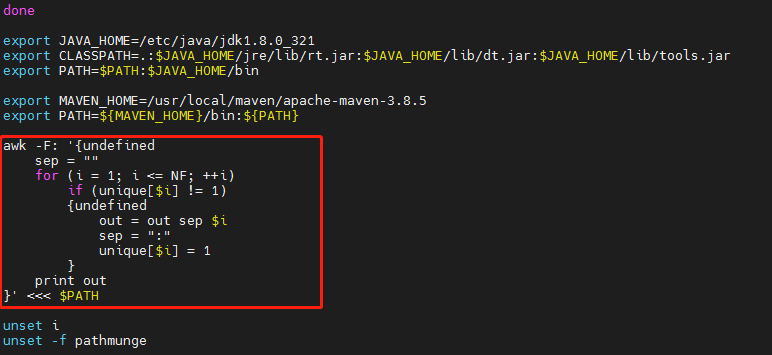
1、Path变量值重复,如何去重
echo $PATH

打开/etc/profile文件
vi /etc/profile

awk -F: '{undefined
    sep = ""
    for (i = 1; i <= NF; ++i)
        if (unique[$i] != 1)
        {undefined
            out = out sep $i
            sep = ":"
            unique[$i] = 1
        }
    print out
}' <<< $PATH
刷新
source /etc/profile


 857
857

 被折叠的 条评论
为什么被折叠?
被折叠的 条评论
为什么被折叠?
 到【灌水乐园】发言


