


 本文将指导您完成从LDAP安装到GitLab配置的全过程,包括修改GitLab配置文件以集成LDAP,并最终进行登录测试,确保LDAP认证顺利进行。
1、ldap安装
2、gitlab安装
3、gitlab修改配置
vim /srv/gitlab/config/gitlab.rb

gitlab_rails['ldap_enabled'] = true
gitlab_rails['ldap_servers'] = YAML.load <<-'EOS'
   main: # 'main' is the GitLab 'provider ID' of this LDAP server
     label: 'LDAP'
     host: '10.7.30.63'
     port: 389
     uid: 'cn'
     bind_dn: 'cn=Manager,dc=xinhua,dc=org'
     password: '111111'
     encryption: 'plain' # "start_tls" or "simple_tls" or "plain"
     verify_certificates: true
     active_directory: true
     allow_username_or_email_login: true
     lowercase_usernames: false
     block_auto_created_users: false
     base: 'cn=Manager,dc=xinhua,dc=org'
     user_filter: ''
     attributes:
       username: ['uid', 'userid', 'sAMAccountName']
       email: ['mail', 'email', 'userPrincipalName']
       name: 'cn'
       first_name: 'givenName'
       last_name:  'sn'
EOS

gitlab-ctl reconfigure                               #重载配置文件
gitlab-rake gitlab:ldap:check                        #检查是否能够正常获取用户信息
4、修改配置
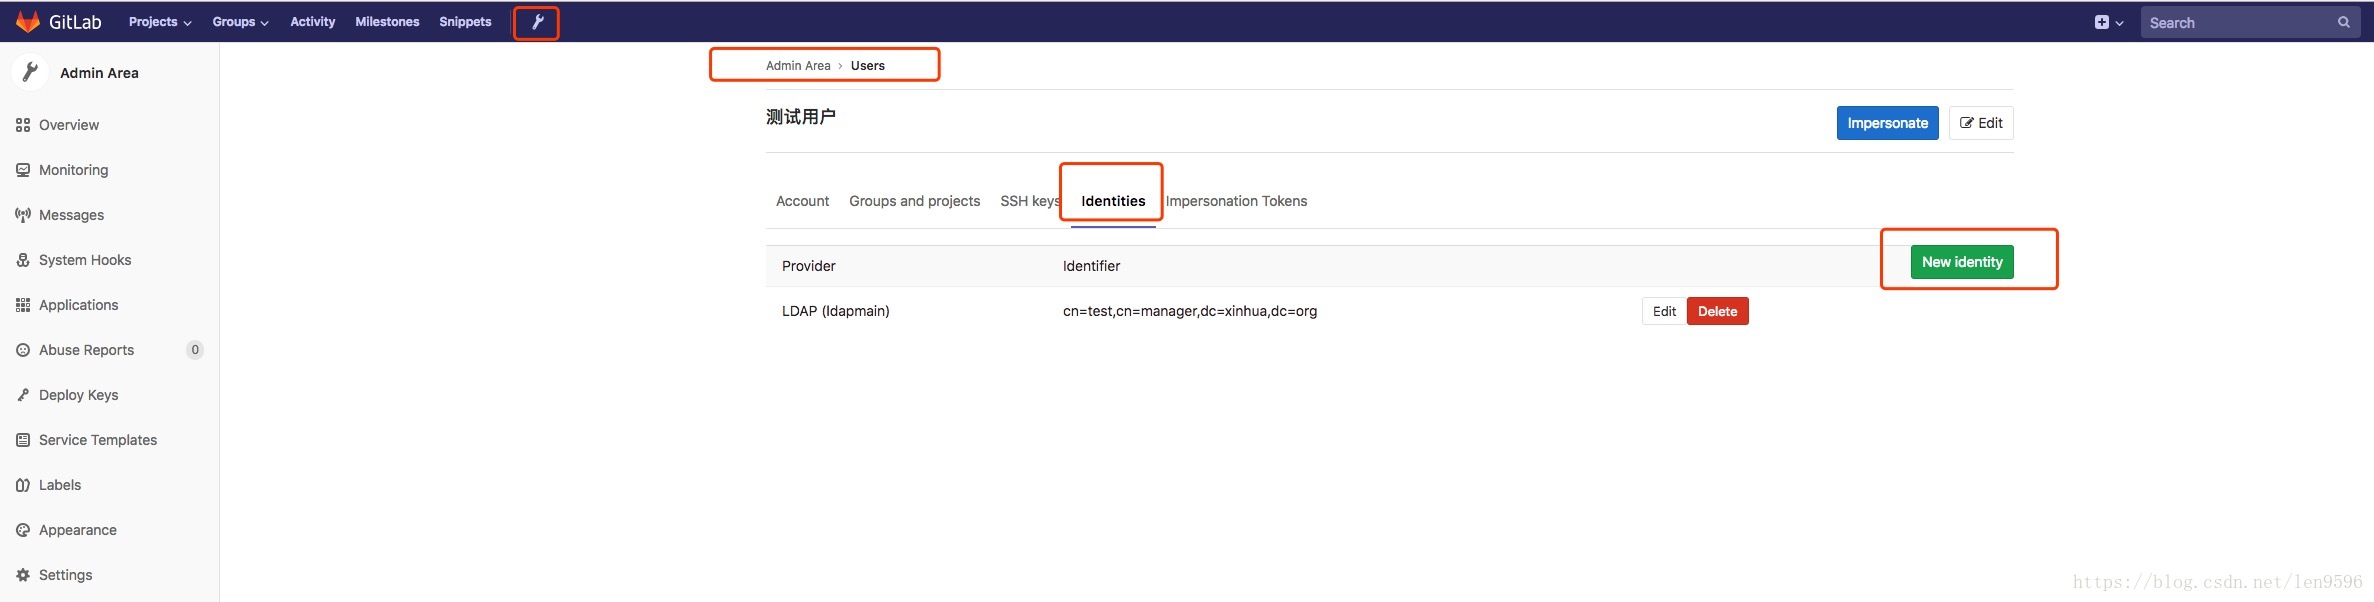
最后测试登录


 1039
1039

 被折叠的 条评论
为什么被折叠?
被折叠的 条评论
为什么被折叠?
 到【灌水乐园】发言


