


在centos7.9下编译安装nginx1.16.1带fancyindex
文章目录
前言
在构建一个内网源时,默认的目录索引界面、排列超难看。四年前我为了改善这一状况,去找相关资料并成功搭建了一个满意的配置。然而,今天我再次启用它时,却发现遇到了问题。经过仔细排查,用yum安装的nginx 1.16.1版本与我之前笔记的配置文件完全不同,导致安装失败。现分享我的经验和解决方案避免大家也遭遇类似的困扰,希望这篇文章能为你提供一些有用的帮助和指导。
一、安装环境
centos7.9 / nginx1.16.1 / ngx-fancyindex-0.4.4
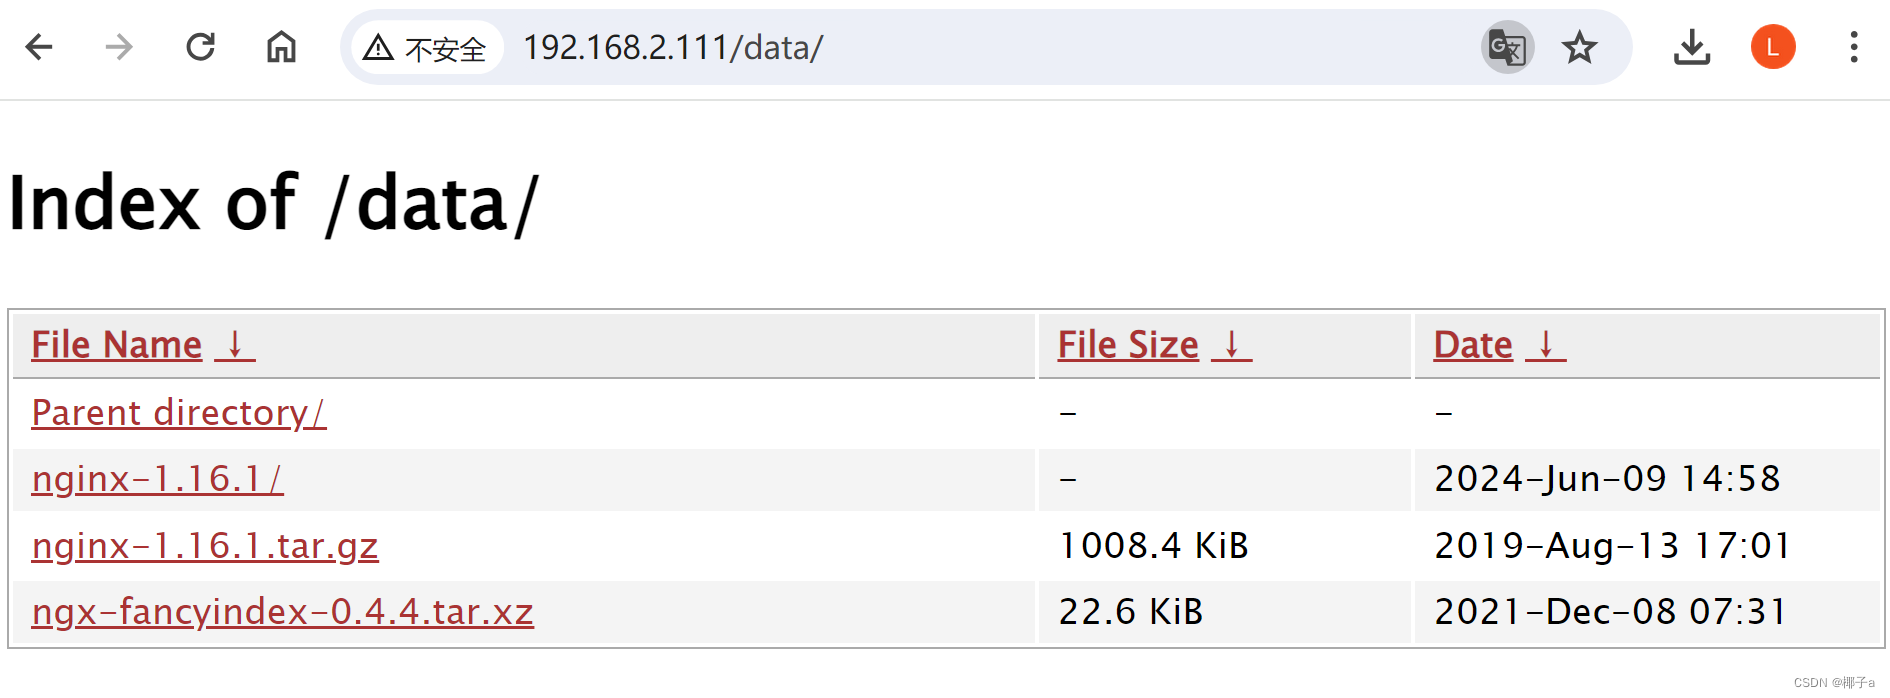
二、需要达到的效果
1.默认效果
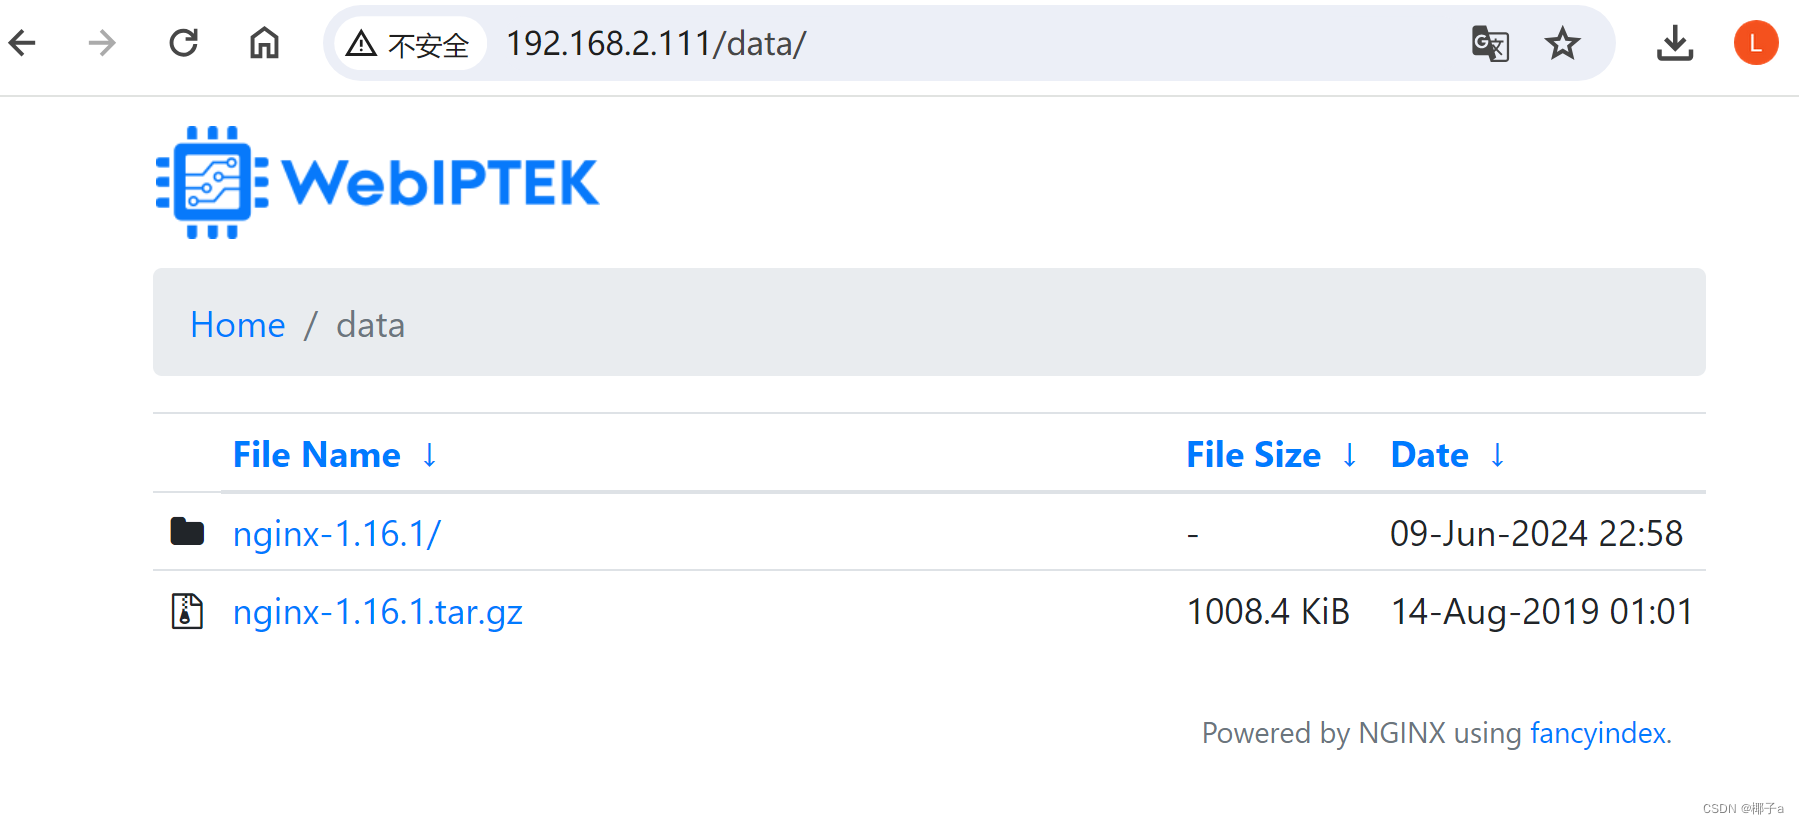
2.安装主题效果
三、nginx编译安装
1.安装依赖工具
sudo yum -y install \
    gcc \
    gcc-c++ \
    wget \
    ntpdate \
    vim-enhanced \
    autoconf \
    automake \
    openssl-devel \
    pcre-devel \
    unzip \
    redhat-rpm-config \
    libxslt-devel \
    php-gd \
    perl-devel \
    perl-ExtUtils-Embed \
    gperftools \
    gd-devel
2.创建目录并下载 Nginx 及其模块
sudo mkdir -p /usr/share/nginx/html/data
cd /usr/share/nginx/html/data
sudo wget -c http://nginx.org/download/nginx-1.16.1.tar.gz
sudo tar -xvf nginx-1.16.1.tar.gz
sudo wget -c https://github.com/aperezdc/ngx-fancyindex/releases/download/v0.4.4/ngx-fancyindex-0.4.4.tar.xz
sudo tar -xvf /usr/share/nginx/html/data/ngx-fancyindex-0.4.4.tar.xz -C /usr/share/nginx
3.运行编译与安装
编译的参数是yum安装nginx1.16.1后获得的默认参数,只增加ngx-fancyindex-0.4.4部分
cd /usr/share/nginx/html/data/nginx-1.16.1
sudo ./configure --prefix=/etc/nginx \
    --sbin-path=/usr/sbin/nginx \
    --modules-path=/usr/lib64/nginx/modules \
    --conf-path=/etc/nginx/nginx.conf \
    --error-log-path=/var/log/nginx/error.log \
    --http-log-path=/var/log/nginx/access.log \
    --pid-path=/var/run/nginx.pid \
    --lock-path=/var/run/nginx.lock \
    --http-client-body-temp-path=/var/cache/nginx/client_temp \
    --http-proxy-temp-path=/var/cache/nginx/proxy_temp \
    --http-fastcgi-temp-path=/var/cache/nginx/fastcgi_temp \
    --http-uwsgi-temp-path=/var/cache/nginx/uwsgi_temp \
    --http-scgi-temp-path=/var/cache/nginx/scgi_temp \
    --user=nginx \
    --group=nginx \
    --with-compat \
    --with-file-aio \
    --with-threads \
    --with-http_addition_module \
    --with-http_auth_request_module \
    --with-http_dav_module \
    --with-http_flv_module \
    --with-http_gunzip_module \
    --with-http_gzip_static_module \
    --with-http_mp4_module \
    --with-http_random_index_module \
    --with-http_realip_module \
    --with-http_secure_link_module \
    --with-http_slice_module \
    --with-http_ssl_module \
    --with-http_stub_status_module \
    --with-http_sub_module \
    --with-http_v2_module \
    --with-mail \
    --with-mail_ssl_module \
    --with-stream \
    --with-stream_realip_module \
    --with-stream_ssl_module \
    --with-stream_ssl_preread_module \
    --with-cc-opt='-O2 -g -pipe -Wall -Wp,-D_FORTIFY_SOURCE=2 -fexceptions -fstack-protector-strong --param=ssp-buffer-size=4 -grecord-gcc-switches -m64 -mtune=generic -fPIC' \
    --with-ld-opt='-Wl,-z,relro -Wl,-z,now -pie' \
    --with-http_addition_module \
    --add-module=/usr/share/nginx/ngx-fancyindex-0.4.4

sudo make && sudo make install
4.配置环境变量,适用于所有用户的全局配置文件(可选)
sudo sh -c 'echo "export PATH=\$PATH:/usr/sbin" >> /etc/profile'
source /etc/profile
5.拷贝编译后Nginx 文件到安装目录(这步要不要做以后验证)
sudo cp /usr/share/nginx/html/data/nginx-1.16.1/objs/nginx /usr/sbin/
6.设置 Nginx 为系统服务
6-1.创建一个 systemd 服务文件 /lib/systemd/system/nginx.service
sudo vim /lib/systemd/system/nginx.service
#添加以下内容:
[Unit]
Description=The NGINX HTTP and reverse proxy server
After=network.target

[Service]
Type=forking
ExecStart=/usr/sbin/nginx
ExecReload=/usr/sbin/nginx -s reload
ExecStop=/usr/sbin/nginx -s quit
PIDFile=/var/run/nginx.pid
PrivateTmp=true

[Install]
WantedBy=multi-user.target
6-2.重新加载systemd的配置与设置Nginx在系统启动时自动运行
sudo systemctl daemon-reload
sudo systemctl enable nginx
7.创建 nginx 用户和组
sudo groupadd nginx
sudo useradd -g nginx -s /sbin/nologin -M nginx
说明:
- groupadd nginx:创建一个名为 nginx 的组。
- useradd -g nginx -s /sbin/nologin -M nginx:创建一个名为 nginx 的用户,将其主组设置为 nginx,禁止登录 shell,并且不创建主目录。
8.创建临时目录并设置权限
8-1.创建所需的目录
sudo mkdir -p /var/cache/nginx/client_temp
sudo mkdir -p /var/cache/nginx/proxy_temp
sudo mkdir -p /var/cache/nginx/fastcgi_temp
sudo mkdir -p /var/cache/nginx/uwsgi_temp
sudo mkdir -p /var/cache/nginx/scgi_temp
8-2.设置目录的所有者和权限:将这些目录的所有者和组设置为 nginx 用户和组
sudo chown -R nginx:nginx /var/cache/nginx
8-3.创建日志文件并设置权限
sudo mkdir -p /var/log/nginx
sudo touch /var/log/nginx/error.log
sudo chown -R nginx:nginx /var/log/nginx
8-4.查看错误日志(可选)
sudo cat /var/log/nginx/error.log
9.运行Nginx主要命令
9-1.启动 Nginx 服务(必需)
sudo systemctl start nginx
9-2.开机自启
sudo systemctl enable nginx
9-3.重启 Nginx 服务
sudo systemctl restart nginx
9-4.查看 Nginx 服务状态
sudo systemctl status nginx
9-5.停止 Nginx 服务
sudo systemctl stop nginx
9-6.重新加载 Nginx 配置
sudo nginx -s reload
9-7.检查 Nginx 配置的语法错误
sudo nginx -t
9-8.查看 Nginx 配置文件的位置
whereis nginx.conf
9-9.查看nginx版本
nginx -v
四、配置防火墙放行
sudo firewall-cmd --permanent --zone=public --add-service=http
sudo firewall-cmd --permanent --zone=public --add-service=https
sudo firewall-cmd --reload
五、启用fancyindex
1.备份nginx.conf
sudo cp /etc/nginx/nginx.conf /etc/nginx/nginx.conf.bak
2.编辑/etc/nginx/nginx.conf文件,把第43行修改为以下内容
#原内容
41        #access_log  logs/host.access.log  main;
42
43        location / {
44            root   html;
45            index  index.html index.htm;
46        }
47
48        #error_page  404              /404.html;

#修改后内容
41        #access_log  logs/host.access.log  main;
42
43        location /data {
44            alias   /usr/share/nginx/html/data;
45            index  index.html index.htm;
46            fancyindex on;
47            fancyindex_exact_size off;
48            fancyindex_localtime off;
49            charset utf-8,gbk;
50            fancyindex_name_length 255;
51        }
52
53        #error_page  404              /404.html;
3.保存后重新加载 Nginx 配置
sudo nginx -s reload
六、网页访问
http://192.168.2.111/data/
说明:
- /data在系统中的目录为/usr/share/nginx/html/data,用于存放同步源文件。
总结
编译安装主要是为了解决系统、版本不同造成的安装失败。安全方面未能做出详细配置,请不要用在生产上。本次配置主要是能用到二级目录的索引访问,保留根目录方便自建源做更多修改。


 555
555


 被折叠的 条评论
为什么被折叠?
被折叠的 条评论
为什么被折叠?
 到【灌水乐园】发言


