


微信小程序 顶部自定义导航 “navigationStyle”: “custom”
要实现这种效果图
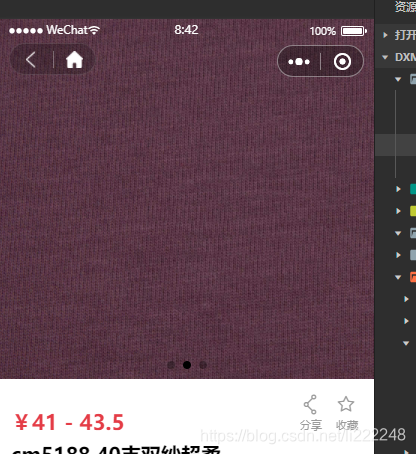
1、在哪个页面上实现自定义导航栏就在哪个页面的 .json 文件中写上: “navigationStyle”: “custom” ,如果在app.json写那就是所有的页面都会变成通栏
{
 "component": true,
"navigationStyle": "custom"
}
2、页面的.wxml代码:
<view class="navbar" style="height:{{navHeight}}px">
 <!-- 左上角 返回按钮 和 home按钮 wx:if="{{showNav}}" 是控制左上角按钮的显示隐藏,首页不显示 -->
 <view class="navbar_left"
  style="top:{{navTop}}px;height:{{jnheight}}px;width:{{jnwidth}}px"
  wx:if="{{showNav}}">
    <!-- 控制返回按钮的显示 -->
    <view bindtap="navBack">
      <image src="/pages/images/re_goodslist.png" mode="widthFix" style="width:40%"></image>
    </view>
    <!-- home按钮 wx:if="{{showHome}}" 是控制左上角 home按钮的显示隐藏-->
    <view class="nav_line" bindtap="navHome" wx:if="{{showHome}}">
      <image src="/pages/images/re_index.png" mode="widthFix" style="width:40%"></image>
    </view>
</view>
 <!-- 中间标题 -->
<view class="navbar_title" style="top:{{navTop}}px;">{{pageName}}</view>
3、页面的.js代码:
 const App = getApp();
Component({
// 组件的属性列表
  properties: {
 pageName: String, //中间的title
	showNav: { //判断是否显示左上角的按钮
  type: Boolean,
  value: true
},
showHome: { //判断是否显示左上角的home按钮
  type: Boolean,
  value: true
}
  },
  // 组件的初始数据
data: {
showNav: true, //判断是否显示左上角的home按钮
showHome: true, //判断是否显示左上角的按钮
},
 lifetimes: {
// 生命周期函数,可以为函数,或一个在methods段中定义的方法名
attached: function() {
  this.setData({
    navHeight: App.globalData.navHeight, //导航栏高度
    navTop: App.globalData.navTop, //胶囊按钮与顶部的距离
    jnheight: App.globalData.jnheight, //胶囊高度
    jnwidth: App.globalData.jnwidth //胶囊宽度
  })
}
},
  // 组件的方法列表
 methods: {
//回退
navBack: function() {
  wx.switchTab({
    url: '/pages/goods/goods'
  })
},
//回主页
navHome: function() {
  wx.switchTab({
    url: '/pages/index/index'
  })
},
 }
})
4、页面的.wxss代码:
.navbar {
width: 100%;
overflow: hidden;
position: fixed;
 top: 0;
 left: 0;
 z-index: 1;
 flex-shrink: 0;
 height: 0;
}
.navbar_left {
display: -webkit-flex;
display: flex;
 -webkit-box-align: center;
-ms-flex-align: center;
  -webkit-align-items: center;
  align-items: center;
 position: fixed;
 left: 10px;
z-index: 999;
line-height: 1;
 border: 1rpx solid rgba(255, 255, 255, .1);
border-radius: 40rpx;
 overflow: hidden;
  background: rgba(0, 0, 0, 0.2);
}

.navbar_left view {
width: 50%;
 display: flex;
 align-items: center;
  justify-content: center;
 z-index: 999;
}

.nav_line {
 border-left: 1rpx solid rgba(255, 255, 255, .9);
}

.navbar_title {
 width: 100%;
 box-sizing: border-box;
 padding-left: 115px;
padding-right: 115px;
height: 32px;
 line-height: 32px;
 text-align: center;
  position: absolute;
  left: 0;
  z-index: 10;
color: #333;
  font-size: 16px;
 font-weight: bold;
  text-overflow: ellipsis;
overflow: hidden;
 white-space: nowrap;
}
6、app.js代码:
App({
 //设置全局对象
 globalData: {
 navHeight: 0,
 navTop: 0,
   jnheight: 0,
   jnwidth: 0,
  },
 onLaunch: function () {
   //设置导航栏
//获取菜单按钮的布局位置信息
 let menuButtonObject = wx.getMenuButtonBoundingClientRect();
 //获取系统信息
  wx.getSystemInfo({
   success: res => {
   //状态栏的高度
   let statusBarHeight = res.statusBarHeight,
   //胶囊按钮与顶部的距离
  navTop = menuButtonObject.top,
  navHeight = statusBarHeight + menuButtonObject.height + (menuButtonObject.top - statusBarHeight) * 2;
  this.globalData.navHeight = navHeight;//导航栏高度
  this.globalData.navTop = navTop;//胶囊按钮与顶部的距离
  this.globalData.jnheight = menuButtonObject.height;//胶囊的高度
  this.globalData.jnwidth = menuButtonObject.width;//胶囊的宽度
},
fail(err) {
  console.log(err);
}
  });
  }
  }
上面就是完整的代码 以下说过我踩的一个坑
顶部给粘性定位时这块背景图就默认白色 我一开始给的粘性定位
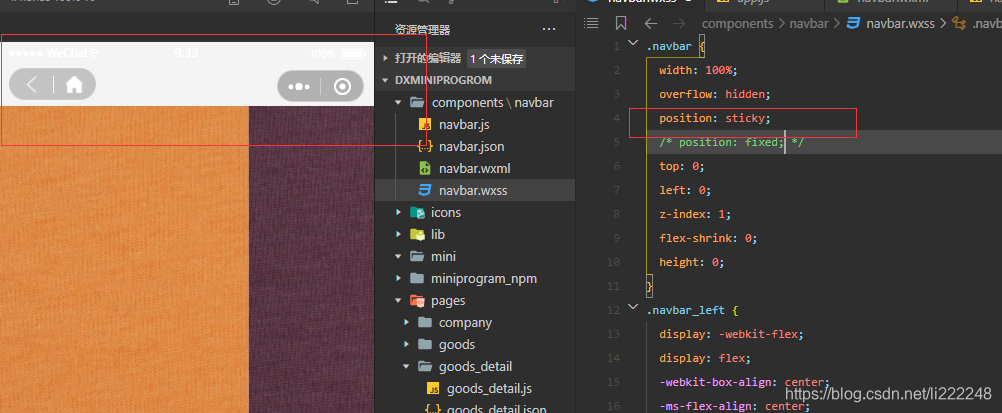
我就把高度去掉 这时候可以变成通栏效果 在调试器上各种型号手机都没问题 但在真机iphone6/7/8上左边自定义的胶囊按钮就不显示了 不把高度去掉又做不成通栏效果 然后各种百度还是无果
然后第二天我看见了这个粘性定位 就试着把它改成固定定位试试
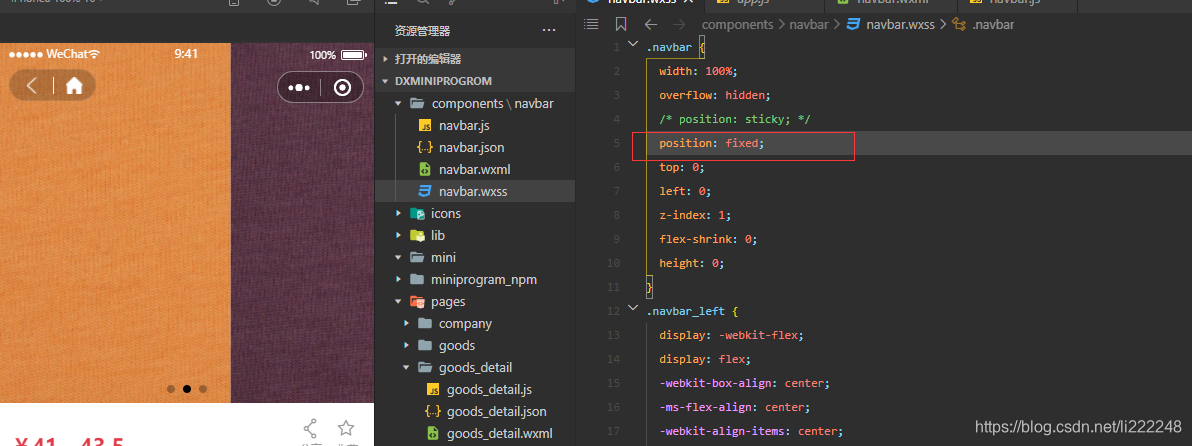
然后就解决了 害 我整了快一下午


 被折叠的 条评论
为什么被折叠?
被折叠的 条评论
为什么被折叠?
 到【灌水乐园】发言


