


1.在资源文件 values 下创建文件 attrs.xml,如下:
<?xml version="1.0" encoding="utf-8"?>
<resources>

    <declare-styleable name="MyFirstCustomerView">
        <attr name="text" format="string" />
        <attr name="textColor" format="color"/>
        <attr name="textSize" format="dimension"/>
        </attr>
    </declare-styleable>

</resources>
- 1
- 2
- 3
- 4
- 5
- 6
- 7
- 8
- 9
- 10
- 11
2.在资源文件 layout 下创建文件 activity_main.xml,如下:
<RelativeLayout xmlns:android="http://schemas.android.com/apk/res/android"
xmlns:tools="http://schemas.android.com/tools"
xmlns:first_customer="http://schemas.android.com/apk/res/com.smart.customer_view_03_19"
android:layout_width="match_parent"
android:layout_height="match_parent"
tools:context="${packageName}</span>.<span class="hljs-subst">${activityClass}" >
<com.smart.customer_view_03_19.customerview.MyFirstCustomerView
android:layout_width="wrap_content"
android:layout_height="wrap_content"
android:padding="@dimen/small_padding"
android:layout_centerInParent="true"
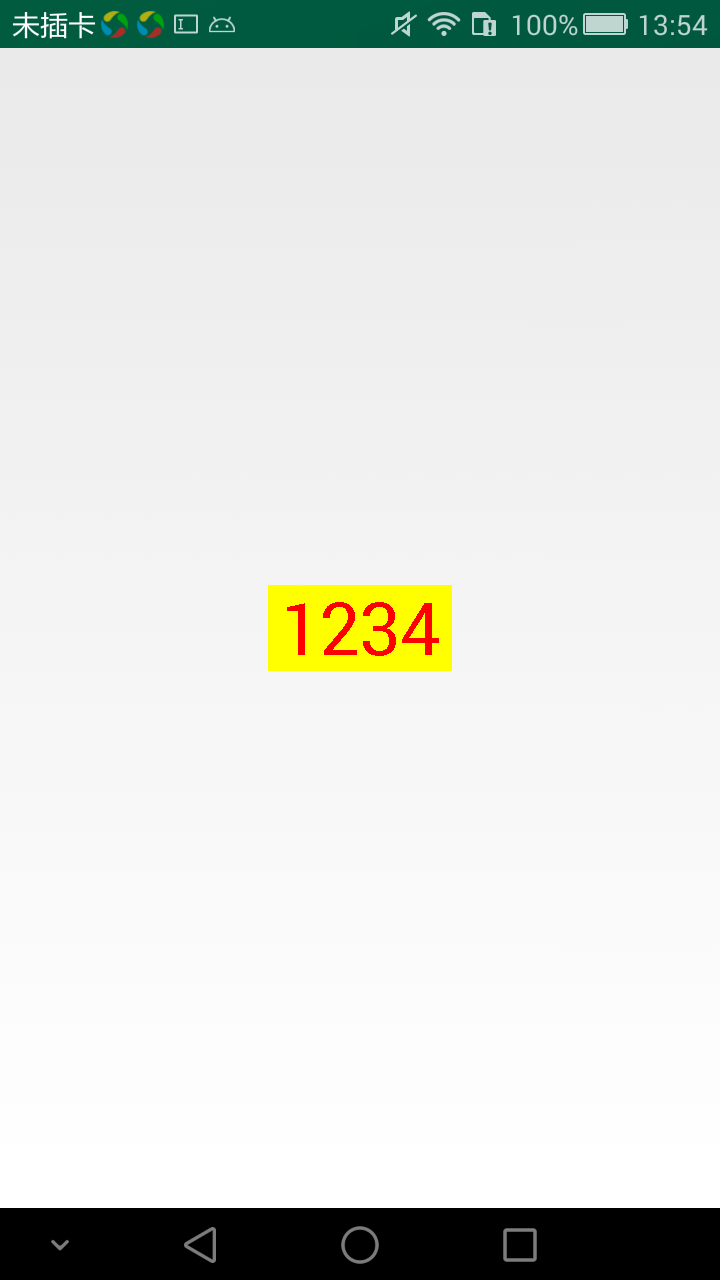
first_customer:text="1234"
first_customer:textColor="@color/green"
first_customer:textSize="@dimen/x_large_font"
/>
</RelativeLayout>
- 1
- 2
- 3
- 4
- 5
- 6
- 7
- 8
- 9
- 10
- 11
- 12
- 13
- 14
- 15
- 16
- 17
- 18
- 19
注意:
第三行 xmlns:first_customer="http://schemas.android.com/apk/res/com.smart.customer_view_03_19" 的作用是在 XML 文件中声明我们自己的命名空间,这样之后 XML 解析器就可以解析我们自定义的属性了。其中:xmlns 是 Extensible Markup Language Name Space的缩写。它的主要作用就是告诉解析器:XML 应该从哪里解析此文件,默认为 Anroid System。
3.创建 MyFirstCustomerView.java,如下:
package com.smart.customer_view_03_19.customerview;

import java.util.HashSet;
import java.util.Random;
import java.util.Set;

import android.content.Context;
import android.content.res.TypedArray;
import android.graphics.Canvas;
import android.graphics.Color;
import android.graphics.Paint;
import android.graphics.Rect;
import android.util.AttributeSet;
import android.util.Log;
import android.util.TypedValue;
import android.view.View;
import android.view.View.OnClickListener;

import com.smart.customer_view_03_19.R;

public class MyFirstCustomerView extends View implements OnClickListener{
    private Context mContext;
    /**
     * 文本
     */
    private String mText;
    /**
     * 文本的颜色
     */
    private int mTextColor;
    /**
     * 文本的大小
     */
    private int mTextSize;

    /**
     * 绘制时控制文本绘制的范围
     */
    private Rect mBound;
    private Paint mPaint;
    public MyFirstCustomerView(Context context) {
        this(context,null);
    }

    //默认情况下,系统调用的是这个构造函数
    public MyFirstCustomerView(Context context, AttributeSet attrs) {
        this(context,attrs,0);
    }

    public MyFirstCustomerView(Context context, AttributeSet attrs, int defStyle) {
        super(context, attrs, defStyle);
        this.mContext = context;
        //获取 TypedArray 对象
        TypedArray _TypedArray = mContext.getTheme().obtainStyledAttributes(attrs,  R.styleable.MyFirstCustomerView, 0, 0);
        try {
            mText = _TypedArray.getString(R.styleable.MyFirstCustomerView_text);
            mTextColor = _TypedArray.getColor(R.styleable.MyFirstCustomerView_textColor, Color.BLACK);
            mTextSize = _TypedArray.getDimensionPixelSize(R.styleable.MyFirstCustomerView_textSize,
                    (int) TypedValue.applyDimension(TypedValue.COMPLEX_UNIT_SP, 16, getResources().getDisplayMetrics()));
        } finally {
            _TypedArray.recycle();
        }
        /**
         * 获得绘制文本的宽和高
         */
        mPaint = new Paint();
        mPaint.setTextSize(mTextSize);
        mPaint.setTextAlign(Paint.Align.CENTER);
        mBound = new Rect();
        Log.i("Tag", "TextLength:" + mText.length());
        mPaint.getTextBounds(mText, 0, mText.length(), mBound);
    }

    @Override
    protected void onMeasure(int widthMeasureSpec, int heightMeasureSpec) {
        Log.i("Tag", "onMeasure():");
        int _WidthMode = MeasureSpec.getMode(widthMeasureSpec);
        int _WidthSpec = MeasureSpec.getSize(widthMeasureSpec);
        int _HeightMode = MeasureSpec.getMode(heightMeasureSpec);
        int _HeightSpec = MeasureSpec.getSize(heightMeasureSpec);
        int _Width;
        int _Height;
        //宽度
        if(_WidthMode == MeasureSpec.EXACTLY){
            _Width = _WidthSpec;
        }else{
            mPaint.setTextSize(mTextSize);
            mPaint.getTextBounds(mText, 0, mText.length(), mBound);
            float _TextWidth = mBound.width();
            _Width = (int) (getPaddingLeft() + _TextWidth + getPaddingRight());
        }
        //高度
        if(_HeightMode == MeasureSpec.EXACTLY){
            _Height = _HeightSpec;
        }else{
            mPaint.setTextSize(mTextSize);
            mPaint.getTextBounds(mText, 0, mText.length(), mBound);
            float _TextHeight = mBound.height();
            _Height = (int) (getPaddingTop() + _TextHeight + getPaddingBottom());
        }

        setMeasuredDimension(_Width, _Height);
    }

    @Override
    protected void onDraw(Canvas canvas) {
        Log.i("Tag", "onDraw():");
        mPaint.setColor(Color.YELLOW);
        Log.i("Tag", "getMeasuredWidth():" + getMeasuredWidth() + "   " + getMeasuredHeight());
        canvas.drawRect(0, 0, getMeasuredWidth(), getMeasuredHeight(), mPaint);

        mPaint.setColor(mTextColor);
        Log.i("Tag", "getWidth():" + getWidth() + "   " + getHeight());
        Log.i("Tag", "mBound.width():" + mBound.width() + "   " + mBound.height());
        canvas.drawText(mText, getWidth() / 2, getHeight() / 2 + mBound.height() / 2, mPaint);
    }
}
- 1
- 2
- 3
- 4
- 5
- 6
- 7
- 8
- 9
- 10
- 11
- 12
- 13
- 14
- 15
- 16
- 17
- 18
- 19
- 20
- 21
- 22
- 23
- 24
- 25
- 26
- 27
- 28
- 29
- 30
- 31
- 32
- 33
- 34
- 35
- 36
- 37
- 38
- 39
- 40
- 41
- 42
- 43
- 44
- 45
- 46
- 47
- 48
- 49
- 50
- 51
- 52
- 53
- 54
- 55
- 56
- 57
- 58
- 59
- 60
- 61
- 62
- 63
- 64
- 65
- 66
- 67
- 68
- 69
- 70
- 71
- 72
- 73
- 74
- 75
- 76
- 77
- 78
- 79
- 80
- 81
- 82
- 83
- 84
- 85
- 86
- 87
- 88
- 89
- 90
- 91
- 92
- 93
- 94
- 95
- 96
- 97
- 98
- 99
- 100
- 101
- 102
- 103
- 104
- 105
- 106
- 107
- 108
- 109
- 110
- 111
- 112
- 113
- 114
- 115
- 116
- 117


 426
426


 被折叠的 条评论
为什么被折叠?
被折叠的 条评论
为什么被折叠?
 到【灌水乐园】发言


