


文章目录
为什么要使用latex
- latex相比于word比较难上手,但是它不需要过多考虑文章中空格、段落、行间距、页边距、字号等一些因素,提高我们论文编写的效率。
- 很多期刊都要求使用latex来编辑,出版社会提供latex模板,还是比较方便的。
- 使用latex参加美赛排版出来的论文比较好看,在内容质量相同的情况下,评委更青睐使用latex排版出来的文章。
第一步 下载vscode
-
以管理员身份运行

2.同意协议

-
更改路径(强烈建议不要安装在c盘,会导致电脑卡顿)(我这里用的是虚拟机,只有一个盘,所以安装在c盘了)
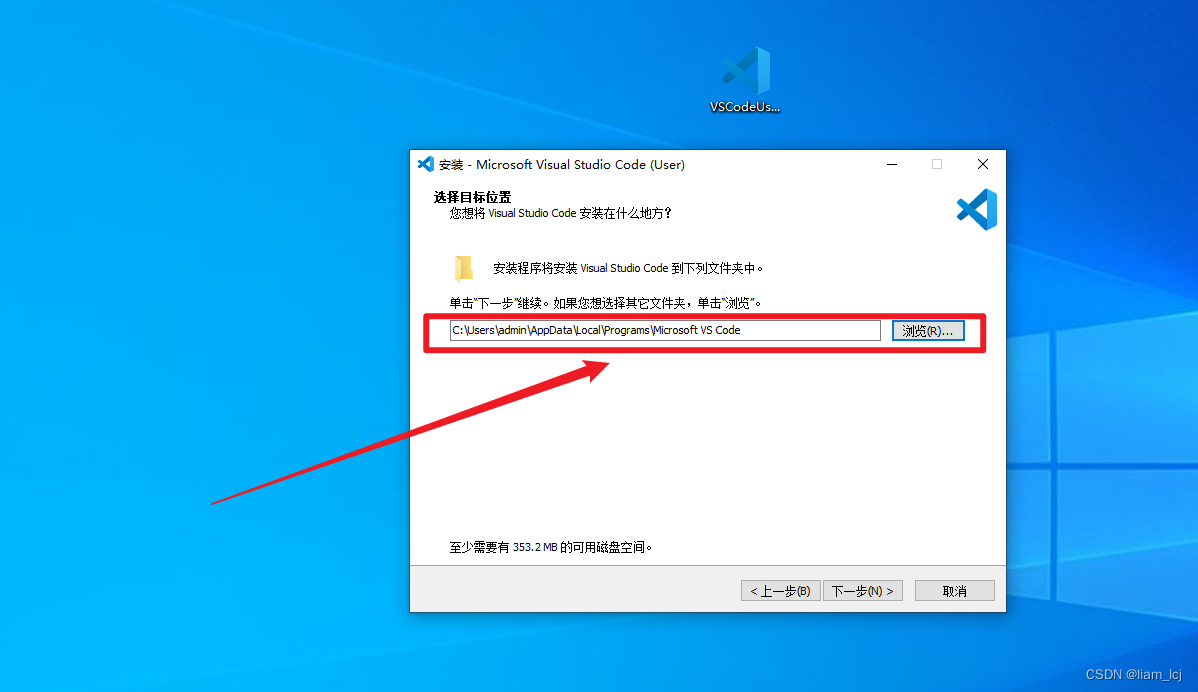
-
下一步

-
安装选择(可以参照我的配置)
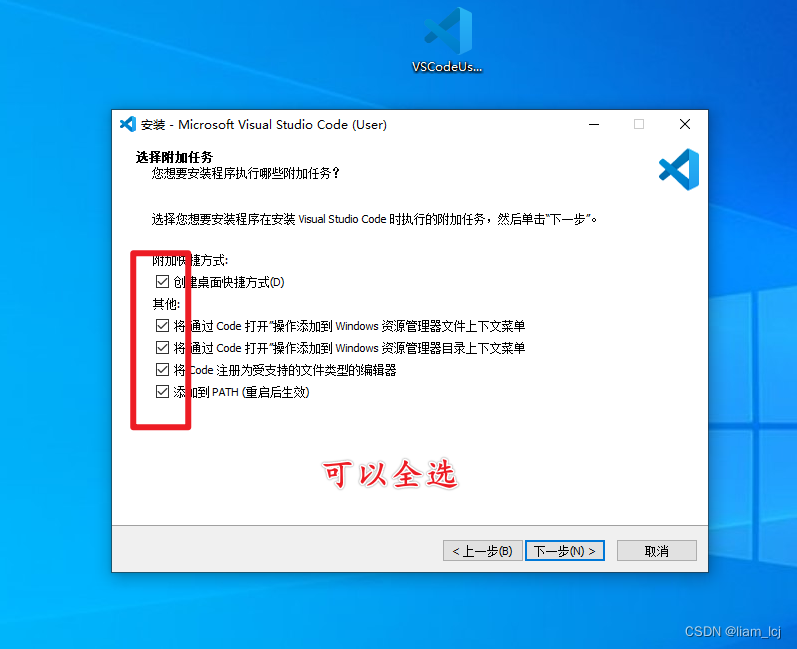
-
安装完成
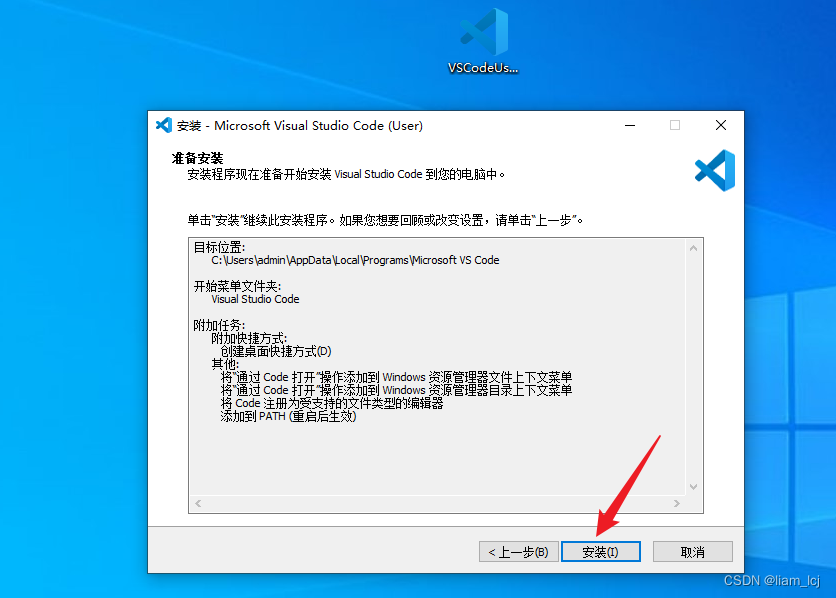
-
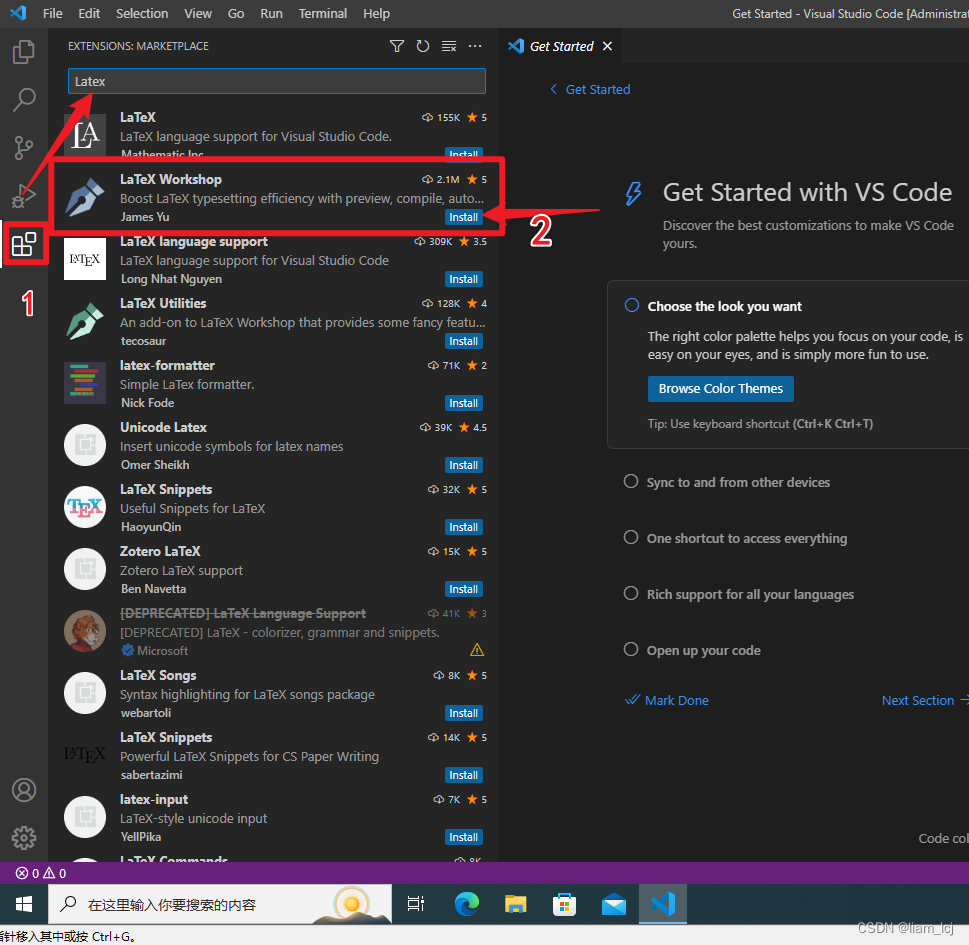
配置vscode环境,安装latex workshop,设置setting.json文件

在花括号内添加一下配置代码(如没有花括号,则自行添加)
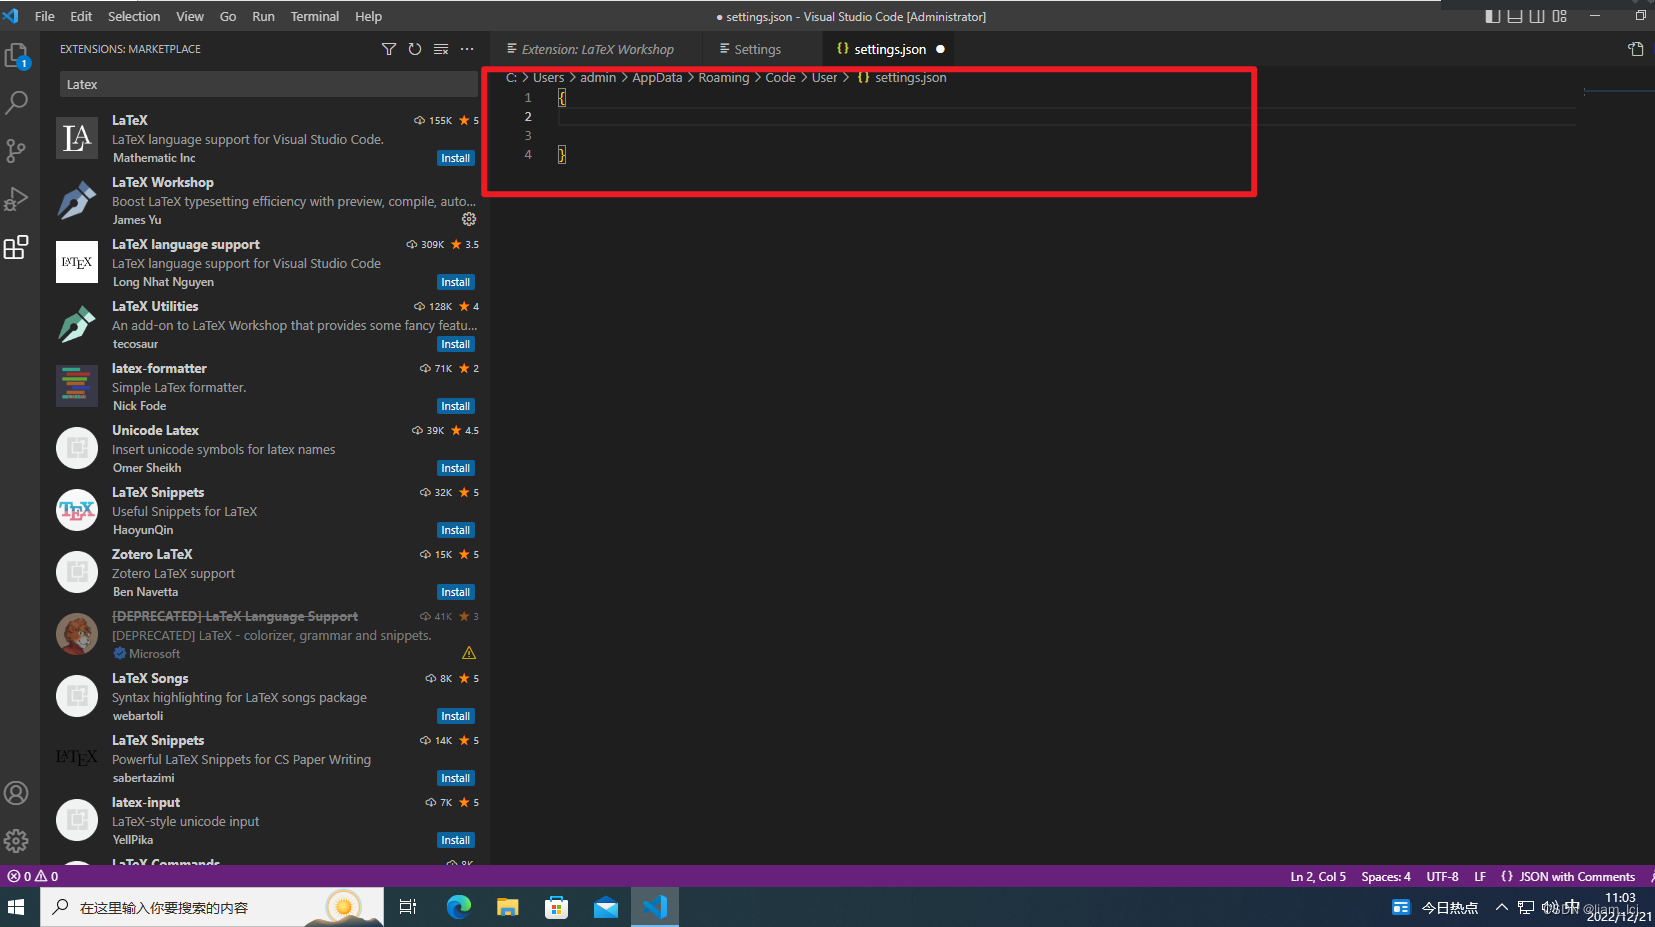
将以下代码添加进花括号内,如果原本setting中有代码的,需要在之前代码的后面加上,。
	"latex-workshop.latex.autoBuild.run": "never",
    "latex-workshop.showContextMenu": true,
    "latex-workshop.intellisense.package.enabled": true,
    "latex-workshop.message.error.show": false,
    "latex-workshop.message.warning.show": false,
    "latex-workshop.latex.tools": [
        {
            "name": "xelatex",
            "command": "xelatex",
            "args": [
                "-synctex=1",
                "-interaction=nonstopmode",
                "-file-line-error",
                "%DOCFILE%"
            ]
        },
        {
            "name": "pdflatex",
            "command": "pdflatex",
            "args": [
                "-synctex=1",
                "-interaction=nonstopmode",
                "-file-line-error",
                "%DOCFILE%"
            ]
        },
        {
            "name": "latexmk",
            "command": "latexmk",
            "args": [
                "-synctex=1",
                "-interaction=nonstopmode",
                "-file-line-error",
                "-pdf",
                "-outdir=%OUTDIR%",
                "%DOCFILE%"
            ]
        },
        {
            "name": "bibtex",
            "command": "bibtex",
            "args": [
                "%DOCFILE%"
            ]
        }
    ],
    "latex-workshop.latex.recipes": [
        {
            "name": "XeLaTeX",
            "tools": [
                "xelatex"
            ]
        },
        {
            "name": "xelatex*2",
            "tools": [
                "xelatex",
                "xelatex"
            ]
        },
        {
            "name": "PDFLaTeX",
            "tools": [
                "pdflatex"
            ]
        },
        {
            "name": "BibTeX",
            "tools": [
                "bibtex"
            ]
        },
        {
            "name": "LaTeXmk",
            "tools": [
                "latexmk"
            ]
        },
        {
            "name": "xelatex -> bibtex -> xelatex*2",
            "tools": [
                "xelatex",
                "bibtex",
                "xelatex",
                "xelatex"
            ]
        },
        {
            "name": "pdflatex -> bibtex -> pdflatex*2",
            "tools": [
                "pdflatex",
                "bibtex",
                "pdflatex",
                "pdflatex"
            ]
        },
    ],
    "latex-workshop.latex.clean.fileTypes": [
        "*.aux",
        "*.bbl",
        "*.blg",
        "*.idx",
        "*.ind",
        "*.lof",
        "*.lot",
        "*.out",
        "*.toc",
        "*.acn",
        "*.acr",
        "*.alg",
        "*.glg",
        "*.glo",
        "*.gls",
        "*.ist",
        "*.fls",
        "*.log",
        "*.fdb_latexmk"
    ],
    "latex-workshop.latex.autoClean.run": "onFailed",
    "latex-workshop.latex.recipe.default": "lastUsed",
    "latex-workshop.view.pdf.internal.synctex.keybinding": "double-click",
第二步 安装texlive
可以直接点击texlive的超链接,也可以使用清华源镜像下载:https://mirrors.tuna.tsinghua.edu.cn/CTAN/systems/texlive/Images/

清华源:

下载完成后,双击装载iso文件

以管理员身份运行安装

修改安装文件路径(强烈建议不要安装在c盘)

第三步 配置latex环境变量
- 打开安装texlive的安装目录,找到win32这个文件夹,复制文件路径。我这里是:
D:\LATEX\texlive\2021\bin\win32
(这个路径每个人的电脑不同,取决于你上一步的安装位置) - 打开环境变量设置界面
点击属性

点击高级系统设置

点击环境变量

点击用户变量中的path,点击编辑

点击新建,粘贴刚刚查到的texlive中win32的路径,记得点击下方确认。

设置系统环境变量

和上面一样添加路径

第四步 测试latex
在vscode中新建一个文件夹,里面新建一个后缀为 .tex 的文件

复制下面代码进去test.tex文件
\documentclass[a4paper]{article}
\usepackage[margin=1in]{geometry} % 设置边距,符合Word设定
\usepackage{ctex}
\usepackage{lipsum}
\title{\heiti\zihao{2} This is a test for vscode}
\author{\songti Ali-loner}
\date{2020.08.02}
\begin{document}
    \maketitle
\begin{abstract}
    \lipsum[2]
\end{abstract}
\tableofcontents
\section{This is a section}
Hello world! 你好,世界 !
\end{document}
依次点击xetex和view in vscode tab 进行编译


 2315
2315


 被折叠的 条评论
为什么被折叠?
被折叠的 条评论
为什么被折叠?
 到【灌水乐园】发言


