


GitLab is an open source GIT repository manager based on Rails and developed by GitLab Inc. It is a web-based GIT repository manager that allows your team to work on code, perform feature requests, track bugs, and test and implement applications. GitLab provides features such as a wiki, issue tracking, code reviews, activity feeds, and merge management. It is able to host multiple projects.
GitLab is available in four editions:
- Gitlab CE (Community Edition) - self-hosted, free and support from the Community forum.
- Gitlab EE (Enterprise Edition) - self-hosted, paid app, comes with additional features.
- GitLab.com - SaaS, free.
- GitLab.io - Private GitLab instance managed by GitLab Inc.
In this tutorial, I will show you step-by-step how to install GitLab CE (Community Edition) on your own Ubuntu 18.04 LTS (Bionic Beaver) server. I will be using the 'omnibus' package provided by GitLab for easy installation.
Prerequisites
- Ubuntu 18.04 Server
- Min RAM memory 4GB - for better performance, use 8GB
- Root privileges
What we will do
- Update Repository and Upgrade Packages
- Install Dependencies
- Install GitLab Community Edition
- Generate SSL Letsencrypt and DHPARAM Certificate
- Configure HTTPS for GitLab
- Configure Ubuntu UFW Firewall
- GitLab Post-Installation
- Testing
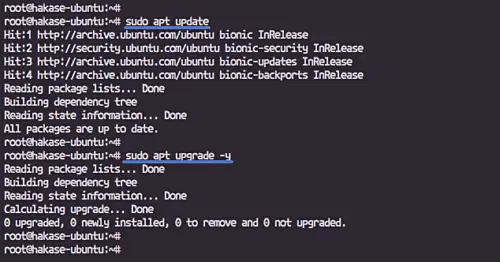
Step 1 - Update Repository and Upgrade Packages
Before installing any packages on the system, update all available repositories and then upgrade all packages on the system.
Run apt commands below.
sudo apt update
sudo apt upgrade -y
Wait for the installation packages that will be upgraded.
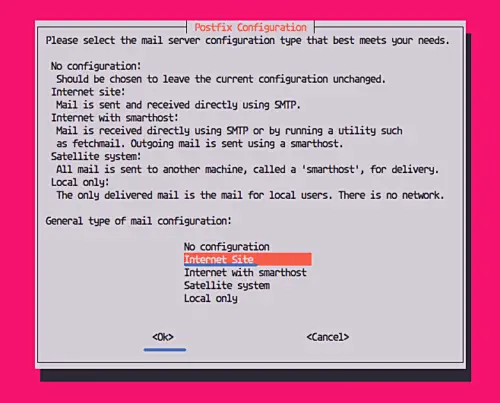
Step 2 - Install Gitlab Dependencies
GitLab needs some packages dependencies for the installation, including curl, postfix, and ca-certificates.
Install GitLab packages dependencies using the apt command below.
sudo apt install curl openssh-server ca-certificates postfix -y
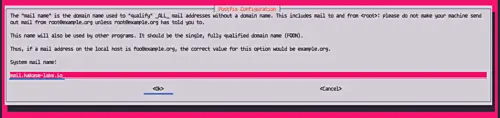
During postfix installation, you will be prompted about the configuration, select 'Internet Site'.
And then enter the server domain name that shall be used for sending an email.
And we're ready to install GitLab on the server.
 最低0.47元/天 解锁文章


 被折叠的 条评论
为什么被折叠?
被折叠的 条评论
为什么被折叠?
 到【灌水乐园】发言


