


stopService.setOnClickListener(new View.OnClickListener() {
@Override
public void onClick(View v) {
Intent stopIntent = new Intent(MainActivity.this, MyService.class);
//调用stopService()方法-传入Intent对象,以此停止服务
stopService(stopIntent);
}
});
}
}

5.运行结果

ps:成功打印了日志,也可以看到我们的界面没有任何的变化
- 上面介绍的Service是最基础的,但只能单机使用,即无法与Activity通信
所以这种方式启动服务只适用于启动以后不需要关闭的一些操作,如果我们需要在启动服务以后,改变其中某种操作的状态,就需要用到service的第二种启动方式
- 接下来将在上面的基础用法上,增设“与Activity通信”的功能,即使用绑定Service服务(Binder类、bindService()、onBind()、unbindService()、onUnbind())
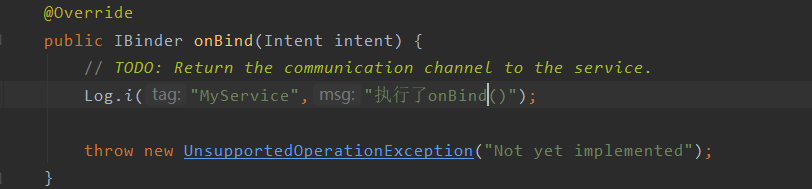
1.重写方法

2.我们再看到 MyService中 这个onBind方法,我们用第二种方法启动服务,一定会回调这个onBind方法,系统就会强制我们返回一个IBinder对象,然后通过activity拿到引用
3.重写MyBinder方法

(因为IBinder接口需要重写九个方法,所以我们找一个已经实现IBinder接口的方法继承---->Binder已经实现了IBinder接口)

4.在主布局文件再设置两个Button分别用于绑定和解绑Service

核心代码:
<?xml version="1.0" encoding="utf-8"?><androidx.constraintlayout.widget.ConstraintLayout xmlns:android=“http://schemas.android.com/apk/res/android”
xmlns:app=“http://schemas.android.com/apk/res-auto”
xmlns:tools=“http://schemas.android.com/tools”
android:layout_width=“match_parent”
android:layout_height=“match_parent”
tools:context=“.MainActivity”>
<Button
android:id=“@+id/startService”
android:layout_width=“wrap_content”
android:layout_height=“wrap_content”
android:layout_centerInParent=“true”
android:layout_marginTop=“235dp”
android:text=“启动服务”
app:layout_constraintEnd_toEndOf=“parent”
app:layout_constraintStart_toStartOf=“parent”
app:layout_constraintTop_toTopOf=“parent” />
<Button
android:id=“@+id/stopService”
android:layout_width=“wrap_content”
android:layout_height=“wrap_content”
android:layout_below=“@+id/startService”
android:layout_centerInParent=“true”
android:layout_marginTop=“38dp”
android:text=“停止服务”
app:layout_constraintStart_toStartOf=“@+id/startService”
app:layout_constraintTop_toBottomOf=“@+id/startService” />
<Button
android:id=“@+id/bindService”
android:layout_width=“wrap_content”
android:layout_height=“wrap_content”
android:layout_below=“@id/stopService”
android:layout_centerInParent=“true”
android:layout_marginTop=“39dp”
android:text=“绑定服务”
app:layout_constraintStart_toStartOf=“@+id/stopService”
app:layout_constraintTop_toBottomOf=“@+id/stopService” />
<Button
android:id=“@+id/unbindService”
android:layout_width=“wrap_content”
android:layout_height=“wrap_content”
android:layout_below=“@id/bindService”
android:layout_centerInParent=“true”
android:layout_marginTop=“24dp”
android:text=“解绑服务”
app:layout_constraintStart_toStartOf=“@+id/bindService”
app:layout_constraintTop_toBottomOf=“@+id/bindService” />
</androidx.constraintlayout.widget.ConstraintLayout>
在Activity通过调用MyBinder类中的public方法来实现Activity与Service的联系
即实现了Activity指挥Service干什么Service就去干什么的功能
5.创建一个MyServiceConnection内部类并且实现两种方法

6.Activity代码
package com.hnucm.a_test12;
import androidx.appcompat.app.AppCompatActivity;
import android.content.ComponentName;
import android.content.Intent;
import android.content.ServiceConnection;
import android.os.Bundle;
import android.os.IBinder;
import android.view.View;
import android.widget.Button;
public class MainActivity extends AppCompatActivity {
Button startService;
Button stopService;
Button bindService;
Button unbindService;
MyService.MyBinder myBinder;
ServiceConnection connection=new MyServiceConnection();
public class MyServiceConnection implements ServiceConnection{
@Override
public void onServiceConnected(ComponentName name, IBinder service) {
myBinder = (MyService.MyBinder) service;
//在Activity调用Service类的方法
myBinder.service_connect_Activity();
}
@Override
public void onServiceDisconnected(ComponentName name) {
}
}
@Override
protected void onCreate(Bundle savedInstanceState) {
super.onCreate(savedInstanceState);
setContentView(R.layout.activity_main);
startService=findViewById(R.id.startService);
startService.setOnClickListener(new View.OnClickListener() {
@Override
public void onClick(View v) {
Intent startIntent = new Intent(MainActivity.this, MyService.class);
//调用startService()方法-传入Intent对象,以此启动服务
startService(startIntent);
}
});
stopService=findViewById(R.id.stopService);
stopService.setOnClickListener(new View.OnClickListener() {
@Override
public void onClick(View v) {
Intent stopIntent = new Intent(MainActivity.this, MyService.class);
//调用stopService()方法-传入Intent对象,以此停止服务
stopService(stopIntent);
}
});
bindService=findViewById(R.id.bindService);
bindService.setOnClickListener(new View.OnClickListener() {
@Override
public void onClick(View v) {
//构建绑定服务的Intent对象
Intent bindIntent = new Intent(MainActivity.this, MyService.class);
//调用bindService()方法,以此停止服务
bindService(bindIntent,connection,BIND_AUTO_CREATE);
//参数说明
//第一个参数:Intent对象
//第二个参数:上面创建的Serviceconnection实例
//第三个参数:标志位
//这里传入BIND_AUTO_CREATE表示在Activity和Service建立关联后自动创建Service
//这会使得MyService中的onCreate()方法得到执行,但onStartCommand()方法不会执行
}
});
unbindService=findViewById(R.id.unbindService);
unbindService.setOnClickListener(new View.OnClickListener() {
@Override
public void onClick(View v) {
unbindService(connection);
}
});
}
}
自我介绍一下,小编13年上海交大毕业,曾经在小公司待过,也去过华为、OPPO等大厂,18年进入阿里一直到现在。
深知大多数Android工程师,想要提升技能,往往是自己摸索成长或者是报班学习,但对于培训机构动则几千的学费,着实压力不小。自己不成体系的自学效果低效又漫长,而且极易碰到天花板技术停滞不前!
因此收集整理了一份《2024年Android移动开发全套学习资料》,初衷也很简单,就是希望能够帮助到想自学提升又不知道该从何学起的朋友,同时减轻大家的负担。

既有适合小白学习的零基础资料,也有适合3年以上经验的小伙伴深入学习提升的进阶课程,基本涵盖了95%以上Android开发知识点,真正体系化!
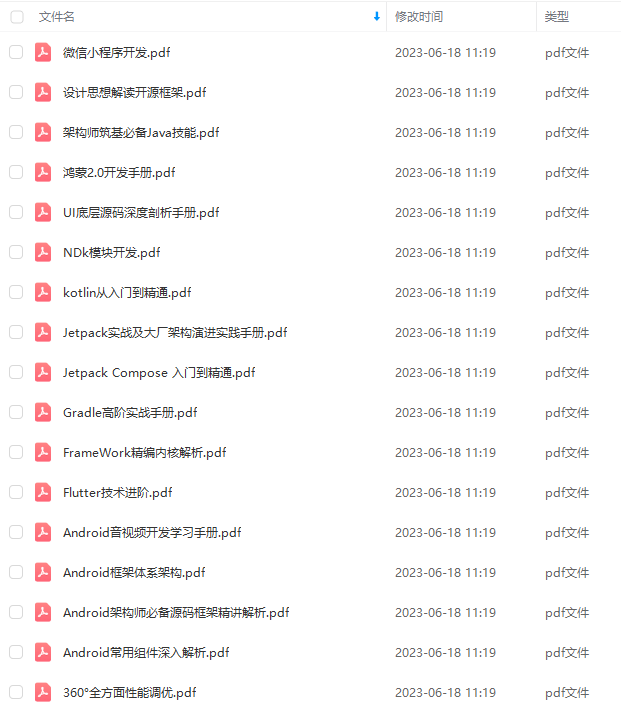
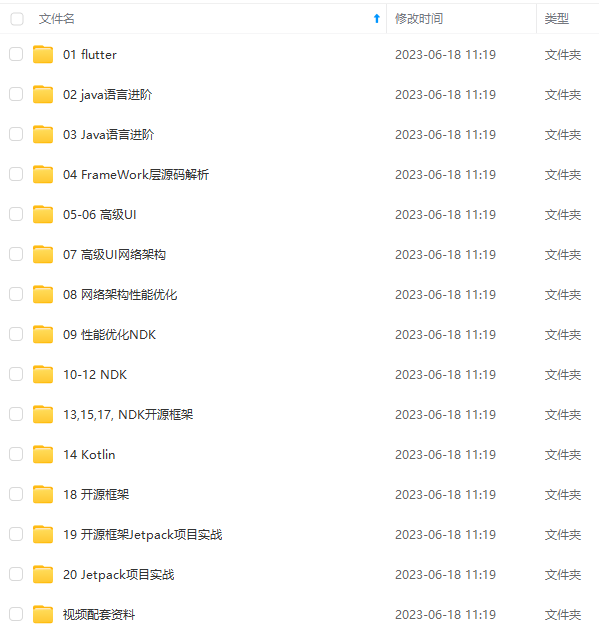
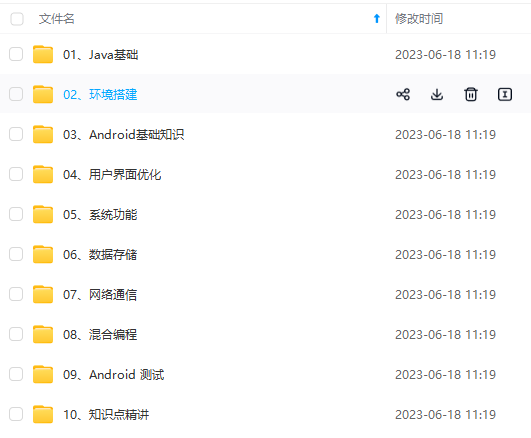
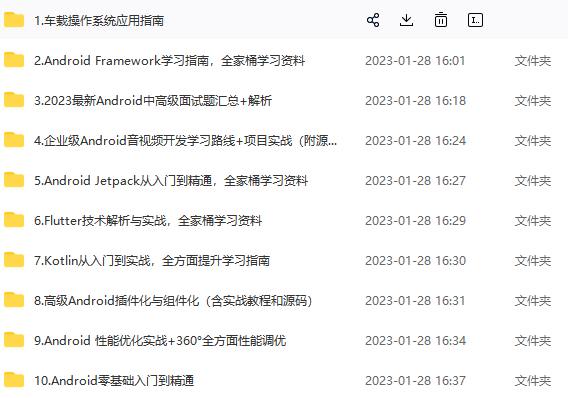
由于文件比较大,这里只是将部分目录大纲截图出来,每个节点里面都包含大厂面经、学习笔记、源码讲义、实战项目、讲解视频,并且后续会持续更新
如果你觉得这些内容对你有帮助,可以添加V获取:vip204888 (备注Android)

写在最后
本次我的分享也接近尾声了,感谢你们在百忙中花上一下午来这里聆听我的宣讲,希望在接下来的日子,我们共同成长,一起进步!!!
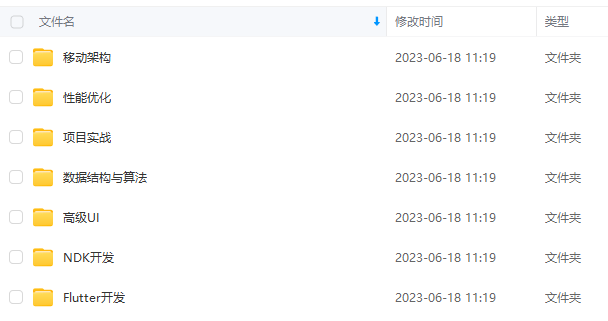
最后放上一个大概的Android学习方向及思路(详细的内容太多了~),提供给大家:

对于程序员来说,要学习的知识内容、技术有太多太多,这里就先放上一部分,其他的内容有机会在后面的文章向大家呈现出来,不过我自己所有的学习资料都整理成了一个文档,一直在不断学习,希望能帮助到大家,也节省大家在网上搜索资料的时间来学习,也可以分享动态给身边好友一起学习!
为什么某些人会一直比你优秀,是因为他本身就很优秀还一直在持续努力变得更优秀,而你是不是还在满足于现状内心在窃喜!希望读到这的您能点个小赞和关注下我,以后还会更新技术干货,谢谢您的支持!
Android架构师之路很漫长,一起共勉吧!
如果你觉得文章写得不错就给个赞呗?如果你觉得那里值得改进的,请给我留言,一定会认真查询,修正不足,谢谢。

~),提供给大家:
[外链图片转存中…(img-anIglKFK-1711912464323)]
对于程序员来说,要学习的知识内容、技术有太多太多,这里就先放上一部分,其他的内容有机会在后面的文章向大家呈现出来,不过我自己所有的学习资料都整理成了一个文档,一直在不断学习,希望能帮助到大家,也节省大家在网上搜索资料的时间来学习,也可以分享动态给身边好友一起学习!
为什么某些人会一直比你优秀,是因为他本身就很优秀还一直在持续努力变得更优秀,而你是不是还在满足于现状内心在窃喜!希望读到这的您能点个小赞和关注下我,以后还会更新技术干货,谢谢您的支持!
Android架构师之路很漫长,一起共勉吧!
如果你觉得文章写得不错就给个赞呗?如果你觉得那里值得改进的,请给我留言,一定会认真查询,修正不足,谢谢。
[外链图片转存中…(img-VnDYpei5-1711912464323)]


 1万+
1万+


 被折叠的 条评论
为什么被折叠?
被折叠的 条评论
为什么被折叠?
 到【灌水乐园】发言


