


1. 准备工作
本步骤的作用:
接入百度登录前,网站需首先进行申请,获得对应的appid与appkey,以保证后续流程中可正确对网站与用户进行验证与授权。
1.1 保存appid和appkey
appid:应用的唯一标识。在OAuth2.0认证过程中,appid的值即为oauth_consumer_key的值。
appkey:appid对应的密钥,访问用户资源时用来验证应用的合法性。在OAuth2.0认证过程中,appkey的值即为oauth_consumer_secret的值。
1.2 官方开发文档
2. 放置“百度登录”按钮
本步骤的作用:
在网站页面上放置“百度登录”按钮,并为按钮添加前台代码,实现点击按钮即弹出百度登录对话框 。
2.1 下载“百度登录”按钮图片,并将按钮放置在页面合适的位置
可以到阿里矢量图库下载更多图标:阿里巴巴矢量图标库 。
2.2 把“百度登录”按钮添加到页面
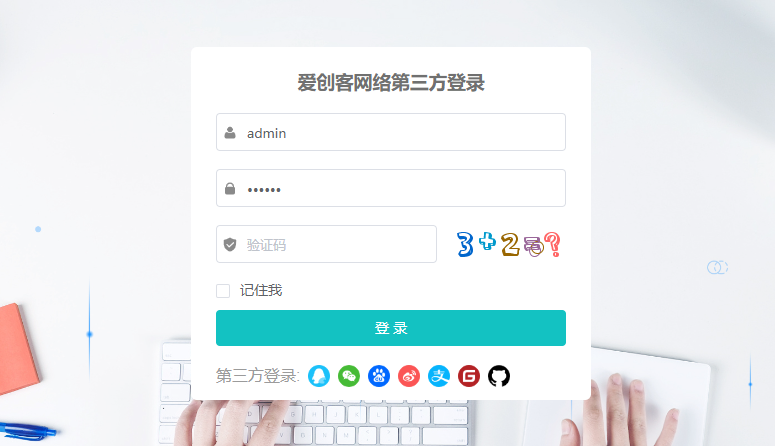
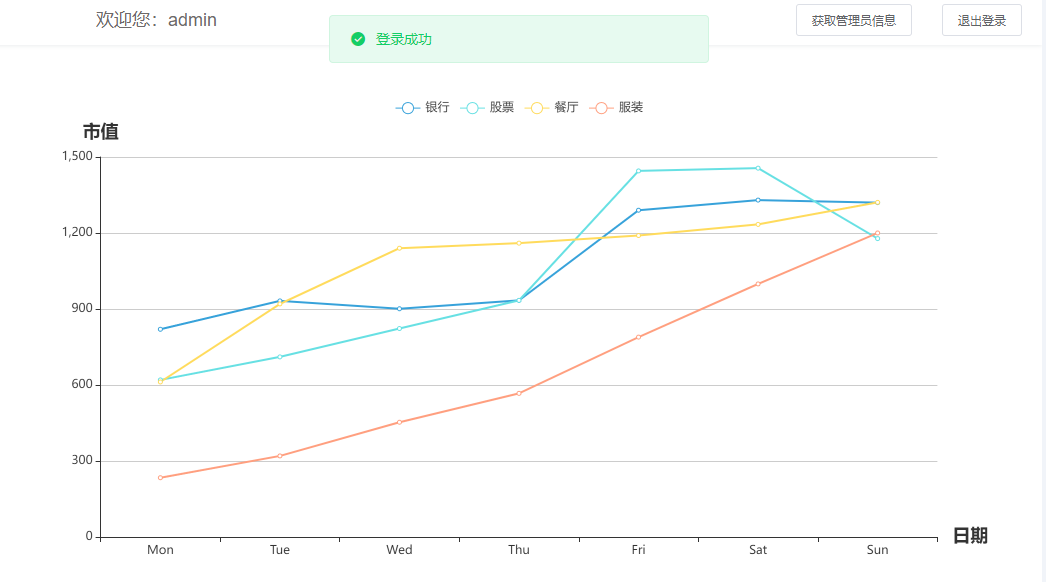
2.2.1 效果演示


2.2.2 前端代码(Vue)
为了实现上述效果,应该为“百度登录”按钮图片添加如下前台代码:
<div style="line-height: 22px;margin:0 0 8px 0;color: #9b9b9b;">
        <span style="vertical-align:middle">第三方登录:</span>
        <img :src="qqIcon" width="22" height="22" style="vertical-align:middle;margin-left: 8px" title="QQ">
        <img :src="baiduIcon" width="22" height="22" style="vertical-align:middle;margin-left: 8px" title="百度">
        <img :src="weiboIcon" width="22" height="22" style="vertical-align:middle;margin-left: 8px" title="微博">
        <img :src="zhifubaoIcon" width="22" height="22" style="vertical-align:middle;margin-left: 8px" title="支付宝">
        <img :src="giteeIcon" width="22" height="22" style="vertical-align:middle;margin-left: 8px" title="Gitee">
        <img :src="githubIcon" width="22" height="22" style="vertical-align:middle;margin-left: 8px" title="GitHub">
</div>
2.2.3 后端代码(Java)
1. 百度登录配置文件信息:
# 百度登录配置
baidu.appID = 6666666(替换成你的)
baidu.appKEY = 666666666666666666(替换成你的)
baidu.redirectURI = https://www.youyoushop.work/baiDuCallback(替换成你的)
baidu.authorizeURL = https://openapi.baidu.com/oauth/2.0/authorize
baidu.accessToken = https://openapi.baidu.com/oauth/2.0/token
baidu.loggedInUser = https://openapi.baidu.com/rest/2.0/passport/users/getLoggedInUser
baidu.userInfo = https://openapi.baidu.com/rest/2.0/passport/users/getInfo
baidu.userFriends = https://openapi.baidu.com/rest/2.0/friends/getFriends
baidu.expireSession = https://openapi.baidu.com/rest/2.0/passport/auth/expireSession
baidu.revokeAuthorization = https://openapi.baidu.com/rest/2.0/passport/auth/revokeAuthorization
baidu.image = http://tb.himg.baidu.com/sys/portraitn/item/
baidu.largeImage = http://tb.himg.baidu.com/sys/portrait/item/
2. 读取配置文件信息常量类:
package com.liyh.constants;

import lombok.Data;
import org.springframework.beans.factory.annotation.Value;
import org.springframework.context.annotation.Configuration;
import org.springframework.context.annotation.PropertySource;

/**
 * 百度登陆常量配置类
 *
 * @author Liyh
 */
@Data
@Configuration
@PropertySource("classpath:config.properties")
public class BaiDuConstants {

    @Value("${baidu.appID}")
    private String appID;

    @Value("${baidu.appKEY}")
    private String appKEY;

    @Value("${baidu.redirectURI}")
    private String redirectURI;

    @Value("${baidu.authorizeURL}")
    private String authorizeURL;

    @Value("${baidu.accessToken}")
    private String accessToken;

    @Value("${baidu.loggedInUser}")
    private String loggedInUser;

    @Value("${baidu.userInfo}")
    private String userInfo;

    @Value("${baidu.userFriends}")
    private String userFriends;

    @Value("${baidu.expireSession}")
    private String expireSession;

    @Value("${baidu.revokeAuthorization}")
    private String revokeAuthorization;

    @Value("${baidu.image}")
    private String image;

    @Value("${baidu.largeImage}")
    private String largeImage;

}
3. Conteoller(获取百度登录的url)
/**
 * 获得跳转到百度登录页的url,前台直接a连接访问
 *
 * @return
 * @throws Exception
 */
@ApiOperation("获得跳转到百度登录页的url")
@GetMapping("/getBaiDuCode")
public ResponseEntity<Object> getBaiDuCode() throws Exception {
    // 授权地址 ,进行Encode转码
    String authorizeURL = baiDuConstants.getAuthorizeURL();

    // 回调地址 ,回调地址要进行Encode转码
    String redirectUri = baiDuConstants.getRedirectURI();

    //用于第三方应用防止CSRF攻击
    String uuid = UUID.randomUUID().toString().replaceAll("-", "");
    // 保存到Redis
    redisUtils.set(BAIDUSTATE + "-" + uuid, uuid, expiration, TimeUnit.MINUTES);

    // https://openapi.baidu.com/oauth/2.0/authorize?
    // response_type=code&
    // client_id=Va5yQR666666666666666uXV4&
    // redirect_uri=http%3A%2F%2Fwww.example.com%2Foauth_redirect&
    // scope=email&
    // display=popup

    // 拼接url
    StringBuilder url = new StringBuilder();
    url.append(authorizeURL);
    url.append("?client_id=" + baiDuConstants.getAppID());
    url.append("&response_type=code");
    // 转码
    url.append("&redirect_uri=" + URLEncodeUtil.getURLEncoderString(redirectUri));
    url.append("&state=" + uuid);

    return ResponseEntity.ok(url);
}
3. 获取授权过的Access Token
3.1 简介
redirect_uri指定的开发者服务器地址,在获取到授权code参数后,从服务端向百度开放平台发起如下HTTP请求,通过code换取网页授权access_token。
注意:access_token长度保留256字符。
3.2 请求用户授权,获取Authorization Code
请求地址:
https://openapi.baidu.com/oauth/2.0/authorize请求参数:
| 必选 | 类型及范围 | 说明 | |
|---|---|---|---|
| client_id | true | string | 申请应用时分配的AppKey。 |
| redirect_uri | true | string | 授权回调地址,站外应用需与设置的回调地址一致,站内应用需填写canvas page的地址。 |
| response_type | true | string | 必须参数,此值固定为“code” |
| scope | false | string | 申请scope权限所需参数,可一次申请多个scope权限,用逗号分隔。 |
| state | false | string | 用于保持请求和回调的状态,在回调时,会在Query Parameter中回传该参数。开发者可以用这个参数验证请求有效性,也可以记录用户请求授权页前的位置。这个参数可用于防止跨站请求伪造(CSRF)攻击 |
| display | false | string | 授权页面的终端类型,取值见下面的说明。 |
返回数据:
| 返回值字段 | 字段类型 | 字段说明 |
|---|---|---|
| code | string | 用于第二步调用oauth2/access_token接口,获取授权后的access token。 |
| state | string | 如果传递参数,会回传该参数。 |
返回示例:
// 请求地址
https://openapi.baidu.com/oauth/2.0/authorize?
response_type=code&
    client_id=Va5yQRHlA4Fq4eR3LT0vuXV4&
    redirect_uri=http%3A%2F%2Fwww.example.com%2Foauth_redirect&
    scope=email&
    display=popup
注意事项:
每一个Authorization Code的有效期为10分钟,并且只能使用一次,再次使用将无效。
3.3 通过Authorization Code获取AccessToken
请求地址:
https://openapi.baidu.com/oauth/2.0/token请求方法:
POST
请求参数:
| 参数名 | 类型 | 是否必须 | 描述 |
|---|---|---|---|
| grant_type | string | 是 | 固定为authorization_code |
| code | string | 是 | 用户授权后得到code |
| client_id | string | 是 | 应用的API Key |
| client_secret | string | 是 | 应用的Secret Key |
| redirect_uri | string | 是 | 该值必须与获取Authorization Code时传递的“redirect_uri”保持一致。 |
返回说明:
| 返回值字段 | 字段类型 | 字段说明 |
|---|---|---|
| access_token | string | 获取到的网页授权接口调用凭证 |
| expires_in | int | access_token的生命周期,单位是秒数。 |
| refresh_token | string | 用于刷新Access Token的Refresh Token,所有应用都会返回该参数**(10年的有效期**) |
| scope | string | Access Token最终的访问范围,即用户实际授予的权限列表(用户在授权页面时,有可能会取消掉某些请求的权限) |
| session_key | string | 基于http调用Open API时所需要的Session Key,其有效期与Access Token一致 |
| session_secret | string | 基于http调用Open API时计算参数签名用的签名密钥 |
{
     "access_token":  "1.a1231231231231234328",
     "expires_in":  86400,
     "refresh_token":  "2.385d55f8615f6666666666c3e39.604800.1293440400-2346678-124328",
     "scope":  "basic  email",
     "session_key":  "ANXxSNjwQDu6666666666662bKaXCdlLxn",
     "session_secret":  "248APxv66666666aK4oZExMB"
}
4. 获取授权用户信息
本步骤的作用:
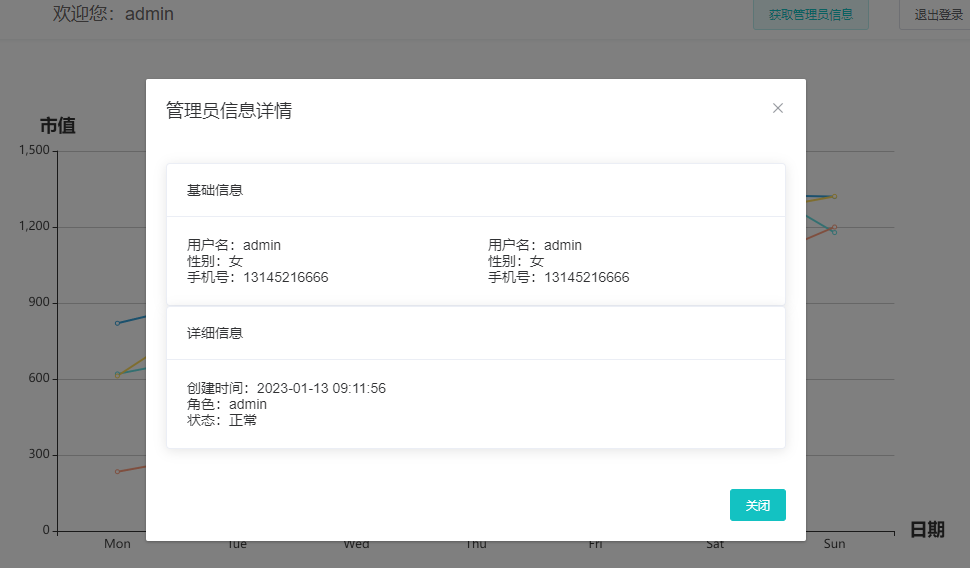
获取access_token之后,开发者可以通过access_token拉取用户信息。
请求地址:
https://openapi.baidu.com/rest/2.0/passport/users/getInfo请求方法:
POST
请求参数:
| 必选 | 类型及范围 | 说明 | |
|---|---|---|---|
| access_token | 是 | string | 采用OAuth授权方式为必填参数,OAuth授权后获得。 |
| get_unionid | 否 | int | 需要获取unionid时,传递get_unionid = 1 |
返回参数:
| 参数名 | 参数类型 | 是否必需 | 示例值 | 描述 |
|---|---|---|---|---|
| openid | string | 是 | oPXyY4O0ZTmUqSX4MRxYDDCccT6Kc9E | 百度用户的唯一标识,对当前开发者帐号、当前应用唯一 |
| unionid | string | 否 | uA91qQ6gAISTuy0mMqoeh7lZ0w6x478 | 百度用户统一标识,对当前开发者帐号唯一 |
| userid | uint | 否 | 67411167 | 老版 百度用户的唯一标识,后续不在返回该字段 |
| securemobile | uint | 否 | 188888888 | 当前用户绑定手机号(需要向开放平台申请权限) |
| username | string | 否 | t***e | 当前登录用户的展示用户名,包含打码"*"号 |
| portrait | string | 否 | e2c1776c31393837313031319605 | 当前登录用户的头像,头像地址拼接使用方法:https://himg.bdimg.com/sys/portrait/item/{$portrait} |
| userdetail | string | 否 | 喜欢自由 | 自我简介,可能为空。 |
| birthday | string | 否 | 1987-01-010000-00-00为未知 | 生日,以yyyy-mm-dd格式显示。 |
| marriage | string | 否 | 0:未知,1:单身,2:已婚3:恋爱4:离异 | 婚姻状况 |
| sex | string | 否 | 0:未知,1:男,2:女 | 性别 |
| blood | string | 否 | 0:未知,1:A,2:B,3:O,4:AB,5:其他 | 血型 |
| is_bind_mobile | uint | 否 | 0:未绑定,1:已绑定 | 是否绑定手机号 |
| is_realname | uint | 否 | 0:未实名制,1:已实名制 | 是否实名制 |
返回值示例:
{
     "openid": "oPXyY4O0ZTmUqSX4MRxYDDCccT6Kc9E",
     "unionid": "uA91qQ6gAISTuy0mMqoeh7lZ0w6x478",
     "userid": "2097322476",
     "username": "u***9",
     "userdetail": "喜欢自由",
     "birthday": "1987-01-01",
     "marriage": "0",
     "sex": "1",
     "blood": "3",
     "is_bind_mobile": "1",
     "is_realname": "1"
}
出错时返回:
{
     "error_code": "100",
     "error_msg": "Invalid parameter"
}
5. 按需刷新access_token
本步骤的作用:
当access_token过期后,可以使用refresh_token进行刷新。refresh_token有效期为十年。
请求地址:
https://openapi.baidu.com/oauth/2.0/token请求方法:
GET
请求参数:
| 参数名 | 类型 | 是否必须 | 描述 |
|---|---|---|---|
| grant_type | string | 是 | 固定为refresh_token |
| refresh_token | string | 是 | 通过access_token获取到的refresh_token参数 |
| client_id | string | 是 | 应用的API Key |
| client_secret | string | 是 | 应用的Secret Key |
返回参数:
| 字段名 | 类型 | 描述 |
|---|---|---|
| access_token | string | 获取到的网页授权接口调用凭证 |
| expires_in | int | Access Token的有效期,以秒为单位 |
| refresh_token | string | 用于刷新Access Token的Refresh Token,所有应用都会返回该参数(10年的有效期) |
| scope | string | Access Token最终的访问范围,即用户实际授予的权限列表(用户在授权页面时,有可能会取消掉某些请求的权限) |
| session_key | string | 基于http调用OpenAPI时所需要的Session Key,其有效期与 Access Token一致 |
| session_secret | string | 基于http调用OpenAPI时计算参数签名用的签名密钥。 |
返回值示例:
{
     "access_token":  "1.a6b1231231231231238",
     "expires_in":  86400,
     "refresh_token":  "2.af3d55f8615fdfd9edb7c4b5ebdc3e32.604800.1293440400-2346678-124328",
     "scope":  "basic  email",
     "session_key":  "ANXxSNjwQDugf8615OnqeikRMu2bKaXCdlLxn",
     "session_secret":  "248APxvxjCZ0VEC43EYrvxqaK4oZExMB"
}
出错时返回:
{
     "error": "expired_token",
     "error_description": "refresh token has been used"
}
6 测试网站(地址),需要的小伙伴可以测试

6.1 每个人做的项目需求不同,可能会出现不同的问题,文章仅供参考
6.2 SpringBoot+Vue实现第三方百度登录(一)
6.3 其他第三方登录方式:第三方登录汇总
7. 源码购买
7.1 简洁版源码(淘宝店铺:爱创客网络)
只包含登录,第三方登录,跳转首页(没有菜单!),技术框架:SpringBoot+SpringSecurity+Mysql+Redis+Vue+ElementUI等
7.2 完整版本源码(淘宝店铺:爱创客网络)
测试地址(测试地址是完整版的):www.youyoushop.work
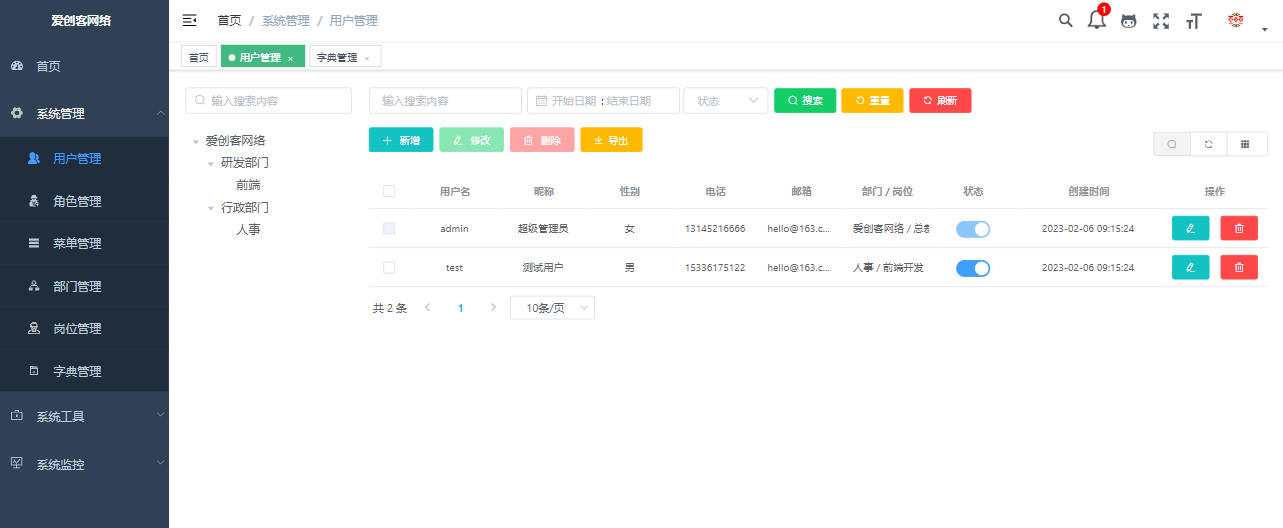
包含登录,注册,第三方登录,完整的系统管理模块,系统工具模块,系统监控模块,系统日志模块,个人中心等,技术框架:SpringBoot+SpringSecurity+Mysql+Redis+Vue+ElementUI等


 1950
1950


 被折叠的 条评论
为什么被折叠?
被折叠的 条评论
为什么被折叠?
 到【灌水乐园】发言


