SpringBoot+Vue实现第三方Gitee登录(一)

11 篇文章 0 订阅
7 篇文章 0 订阅

1. Gitee登录介绍(测试网站:地址

       第三方网站主要通过使用“Gitee登录”接入Gitee开放平台。"Gitee登录”是Gitee开放平台提供给第三方网站的一种服务。“Gitee登录”可以让用户使用Gitee帐号在第三方网站上登录,分享内

容、同步信息,大大降低了用户注册的门槛。

      同时,第三方网站根据用户提供的绑定信息,借助Gitee空间庞大的用户群,使网站的信息能通过好友关系得到进一步的传播,提升网站的访问量和用户数。

     OAuth: OAuth(开放授权)是一个开放标准,允许用户授权第三方网站访问他们存储在另外的服务提供者上的信息,而不需要将用户名和密码提供给第三方网站或分享他们数据的所有内容。

    Gitee登录OAuth2.0:对于用户相关的OpenAPI(例如获取用户信息等),为了保护用户数据的安全和隐私,第三方网站访问用户数据前都需要显式的向用户征求授权。

2. 成为开发者

     开发者通过以下几个步骤,即可接入Gitee开放平台: 注册开发者 → 创建应用 → 获取接口权限。

2.1 注册Gitee账号

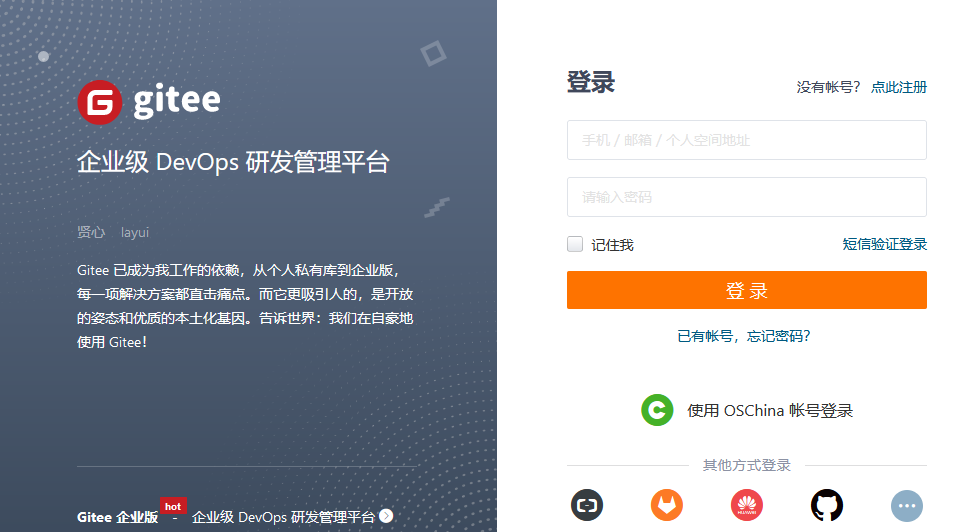
  在Gitee官网按要求注册/登录账号(官网地址:登录 - Gitee.com) ,并完成登录

3. 网站应用及移动应用接入申请

    应用接入前,首先需进行申请,获得对应的appid与appkey,以保证后续流程中可正确对网站与用户进行验证与授权。

3.1 创建应用

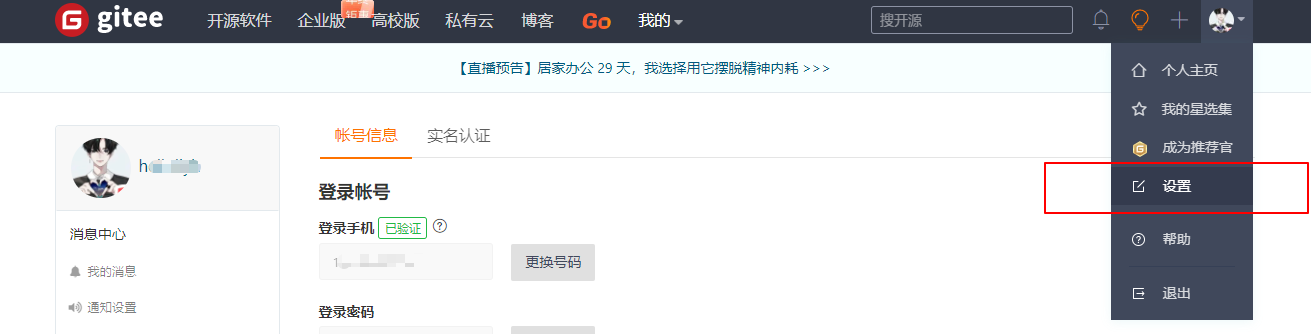
1. 登录成功后,点击“头像”按钮,点击“设置”按钮

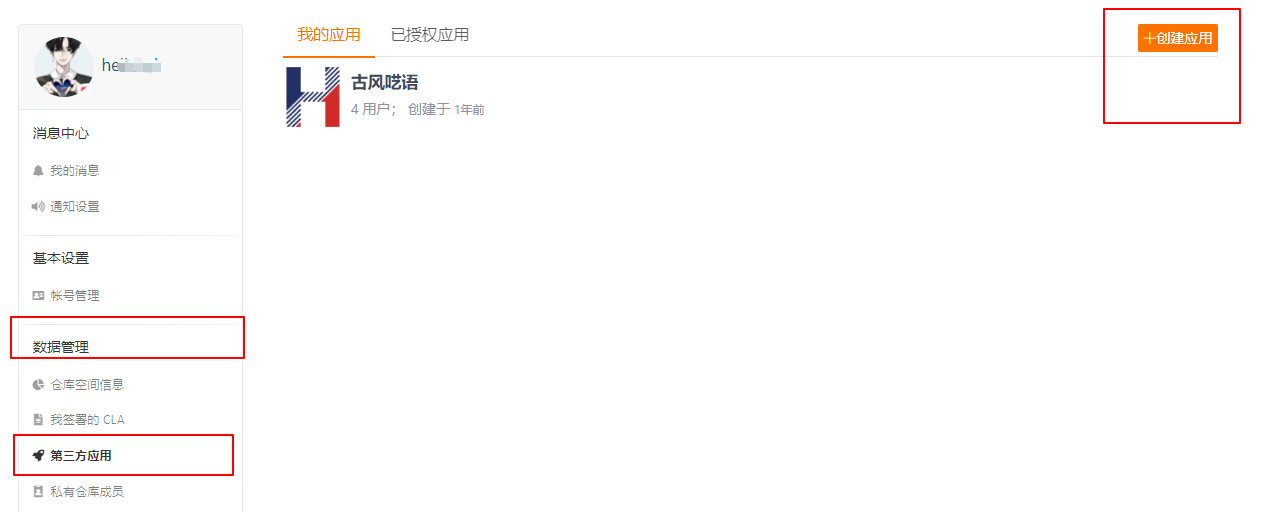
2. 跳转到设置页面,在“数据管理”里面选择“第三方应用”按钮,点击创建应用, 我的已经审核通过并且已经创建过一个应用了。

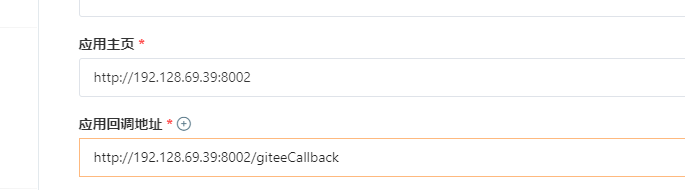
3. 填写应用相关信息,勾选应用所需要的权限。其中:回调地址 是用户授权后,码云回调到应用,并且回传授权码的地址。

注意:Gitee回调地址不需要域名也可以,使用自己电脑ip地址就可以

注意:Gitee回调地址不需要域名也可以,使用自己电脑ip地址就可以

注意:Gitee回调地址不需要域名也可以,使用自己电脑ip地址就可以

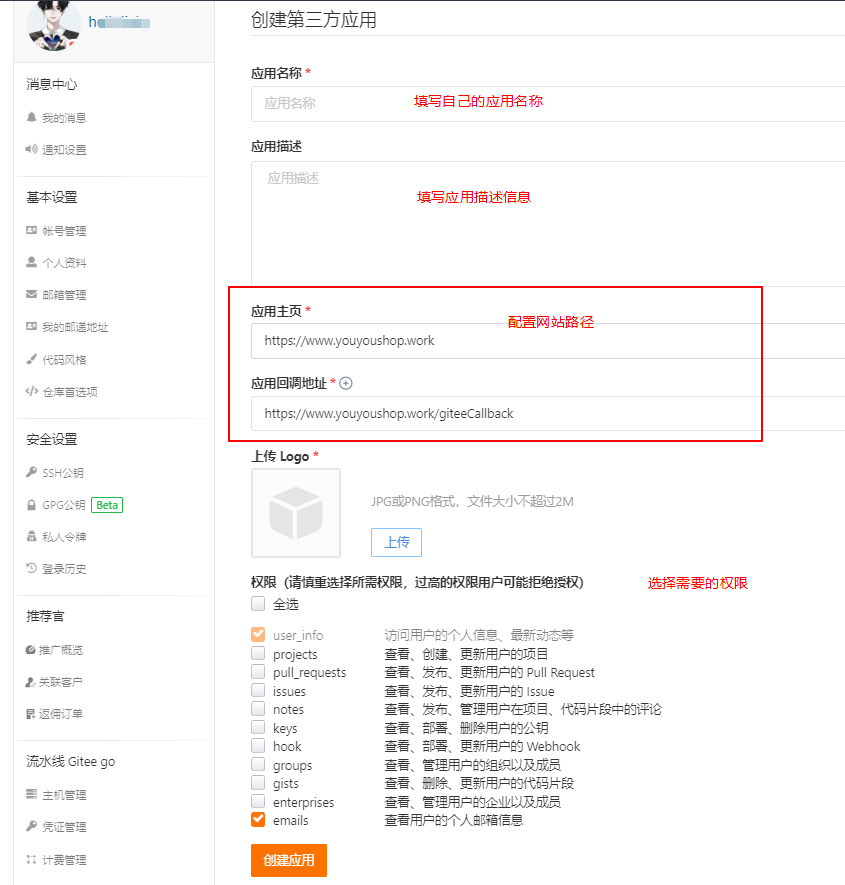
4. 网站信息填写完成,点击“创建应用”后,网站应用创建完成,会生成 Cliend ID 和 Client Secret。他们将会在上述OAuth2 认证基本流程用到。

3.2 到此准备工作结束,网站开发流程(在下篇介绍)

3.3 每个人做的项目需求不同,可能会出现不同的问题,文章仅供参考

3.4 SpringBoot+Vue实现第三方Gitee登录(二)

3.5 其他第三方登录方式:第三方登录汇总

4. 源码购买

4.1 简洁版源码(淘宝店铺:爱创客网络)

只包含登录,第三方登录,跳转首页(没有菜单!),技术框架:SpringBoot+SpringSecurity+Mysql+Redis+Vue+ElementUI等

4.2 完整版本源码(淘宝店铺:爱创客网络)

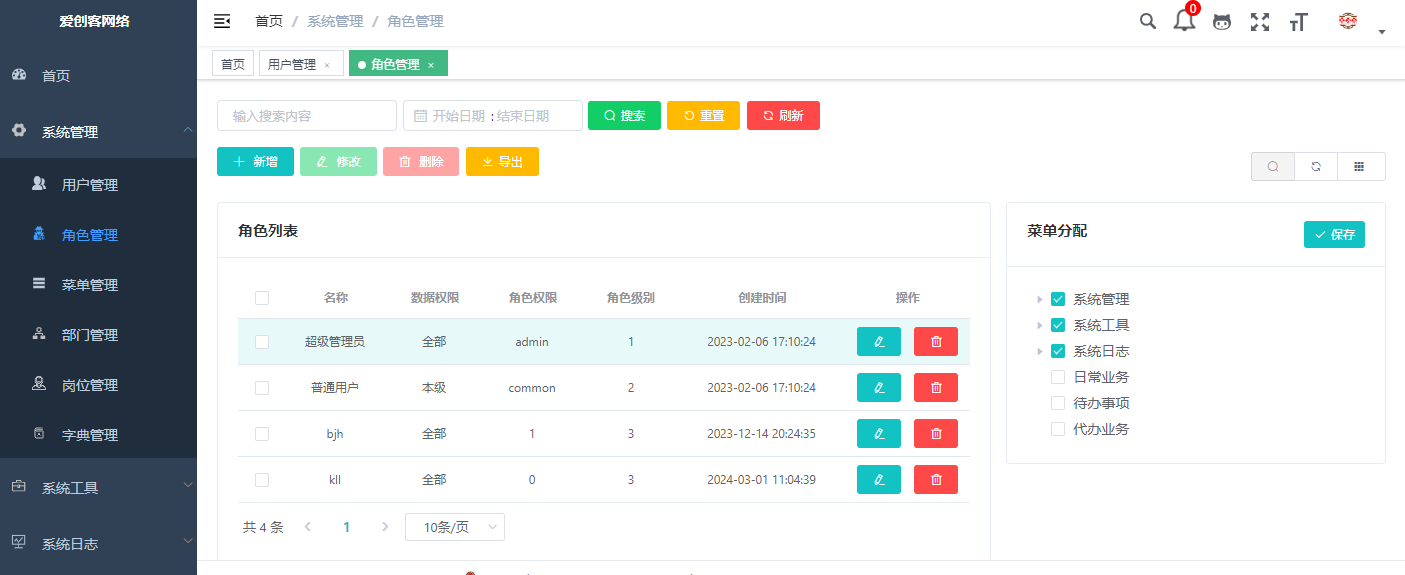
测试地址(测试地址是完整版源码的):www.youyoushop.work

包含登录,注册,第三方登录,完整的系统管理模块,系统工具模块,系统监控模块,系统日志模块,个人中心等,技术框架:SpringBoot+SpringSecurity+Mysql+Redis+Vue+ElementUI等

  • 0
    点赞
  • 3
    收藏
    觉得还不错? 一键收藏
  • 0
    评论
实现第三方qq登录,可以使用QQ互联提供的开放平台接口。具体的步骤如下: 1. 注册成为QQ互联开发者,并创建应用。在创建应用时,需要填写应用的基本信息,并获得AppID和AppKey。 2. 在Spring Boot后端项目中,使用Spring Security实现OAuth2认证。在pom.xml文件中添加以下依赖: ```xml <dependency> <groupId>org.springframework.security</groupId> <artifactId>spring-security-oauth2-client</artifactId> <version>5.3.4.RELEASE</version> </dependency> ``` 3. 在前端Vue项目中,使用Vue CLI创建项目,并安装vue-cli-plugin-qrcode实现生成二维码。在Terminal中运行以下命令: ``` vue create qq-login-demo cd qq-login-demo vue add qrcode ``` 4. 在Spring Boot后端项目中,实现OAuth2的配置。在application.yml文件中添加以下配置: ```yaml spring: security: oauth2: client: registration: qq: clientId: <your app id> clientSecret: <your app key> redirectUriTemplate: "{baseUrl}/login/oauth2/code/{registrationId}" authorizationUri: https://graph.qq.com/oauth2.0/authorize tokenUri: https://graph.qq.com/oauth2.0/token userInfoUri: https://graph.qq.com/user/get_user_info scope: - get_user_info provider: qq: authorizationUri: https://graph.qq.com/oauth2.0/authorize tokenUri: https://graph.qq.com/oauth2.0/token userInfoUri: https://graph.qq.com/user/get_user_info?oauth_consumer_key={clientId}&openid={oauthId} userNameAttribute: nickname ``` 5. 在前端Vue项目中,实现二维码生成。在App.vue文件中添加以下代码: ```vue <template> <div id="app"> <div v-if="!isLogin"> <qrcode :value="qrCodeUrl"></qrcode> </div> <div v-else> <p>{{ userInfo.nickname }}</p> <img :src="userInfo.figureurl_qq_1" alt="头像"> </div> </div> </template> <script> import QRCode from 'qrcode' export default { name: 'App', data() { return { isLogin: false, qrCodeUrl: '' } }, mounted() { this.generateQRCode() }, methods: { async generateQRCode() { const response = await this.$http.get('/qq-login/qr-code') if (response.status === 200) { this.qrCodeUrl = response.data this.isLogin = false } }, async checkLoginStatus() { const response = await this.$http.get('/qq-login/check-login-status') if (response.status === 200) { this.userInfo = response.data this.isLogin = true } } } } </script> ``` 6. 在Spring Boot后端项目中,实现二维码生成和登录状态检查。在QqLoginController.java文件中添加以下代码: ```java @RestController @RequestMapping("/qq-login") public class QqLoginController { private final OAuth2AuthorizedClientService authorizedClientService; private final RestTemplate restTemplate; @Autowired public QqLoginController(OAuth2AuthorizedClientService authorizedClientService, RestTemplate restTemplate) { this.authorizedClientService = authorizedClientService; this.restTemplate = restTemplate; } @GetMapping("/qr-code") public String generateQRCode() { String qrCodeUrl = "https://graph.qq.com/oauth2.0/show?which=Login&display=pc&response_type=code&client_id=<your app id>&redirect_uri=http://localhost:8080/login&state=<random state>"; try { qrCodeUrl = QRCode.from(qrCodeUrl).to(ImageType.PNG).withSize(250, 250).stream().collect(Collectors.toBase64String); } catch (WriterException | IOException e) { e.printStackTrace(); } return "data:image/png;base64," + qrCodeUrl; } @GetMapping("/check-login-status") public Map<String, Object> checkLoginStatus() { OAuth2AuthenticationToken authenticationToken = (OAuth2AuthenticationToken) SecurityContextHolder.getContext().getAuthentication(); OAuth2AuthorizedClient authorizedClient = authorizedClientService.loadAuthorizedClient(authenticationToken.getAuthorizedClientRegistrationId(), authenticationToken.getName()); String accessToken = authorizedClient.getAccessToken().getTokenValue(); String openId = restTemplate.getForObject("https://graph.qq.com/oauth2.0/me?access_token=" + accessToken, String.class); openId = StringUtils.substringBetween(openId, "\"openid\":\"", "\"}"); Map<String, Object> userInfo = restTemplate.getForObject("https://graph.qq.com/user/get_user_info?access_token=" + accessToken + "&oauth_consumer_key=<your app id>&openid=" + openId, Map.class); return userInfo; } } ``` 7. 在前端Vue项目中,实现登录状态检查。在App.vue文件中添加以下代码: ```vue <script> export default { name: 'App', data() { return { isLogin: false, qrCodeUrl: '' } }, mounted() { this.generateQRCode() this.checkLoginStatus() setInterval(() => { this.checkLoginStatus() }, 3000) }, methods: { async checkLoginStatus() { const response = await this.$http.get('/qq-login/check-login-status') if (response.status === 200) { this.userInfo = response.data this.isLogin = true } } } } </script> ``` 至此,我们就成功地实现Spring Boot+Vue代码实现第三方QQ登录的功能。

“相关推荐”对你有帮助么?

  • 非常没帮助
  • 没帮助
  • 一般
  • 有帮助
  • 非常有帮助
提交
评论
添加红包

请填写红包祝福语或标题

红包个数最小为10个

红包金额最低5元

当前余额3.43前往充值 >
需支付:10.00
成就一亿技术人!
领取后你会自动成为博主和红包主的粉丝 规则
hope_wisdom
发出的红包
实付
使用余额支付
点击重新获取
扫码支付
钱包余额 0

抵扣说明:

1.余额是钱包充值的虚拟货币,按照1:1的比例进行支付金额的抵扣。
2.余额无法直接购买下载,可以购买VIP、付费专栏及课程。

余额充值