


1、创建数据库和表
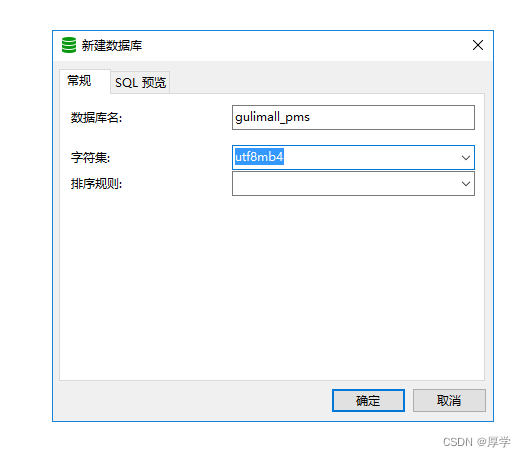
选择该字符集,兼容utf-8
2、使用码云人人开源
人人开源

clone这两个项目
删除掉两个项目的.git
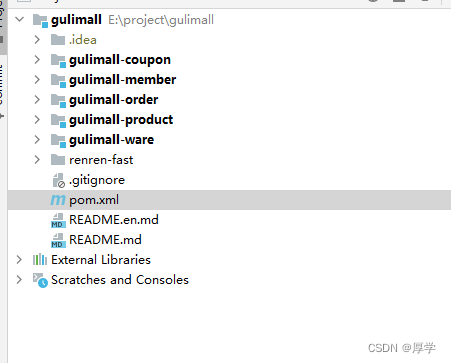
1、将renrenfast放到微服务项目中
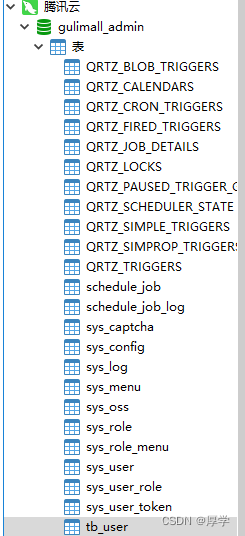
2、初始化renrenfast数据库

3、修改后台服务配置文件:数据库url 、username、password
4、启动后台rerenfast项目

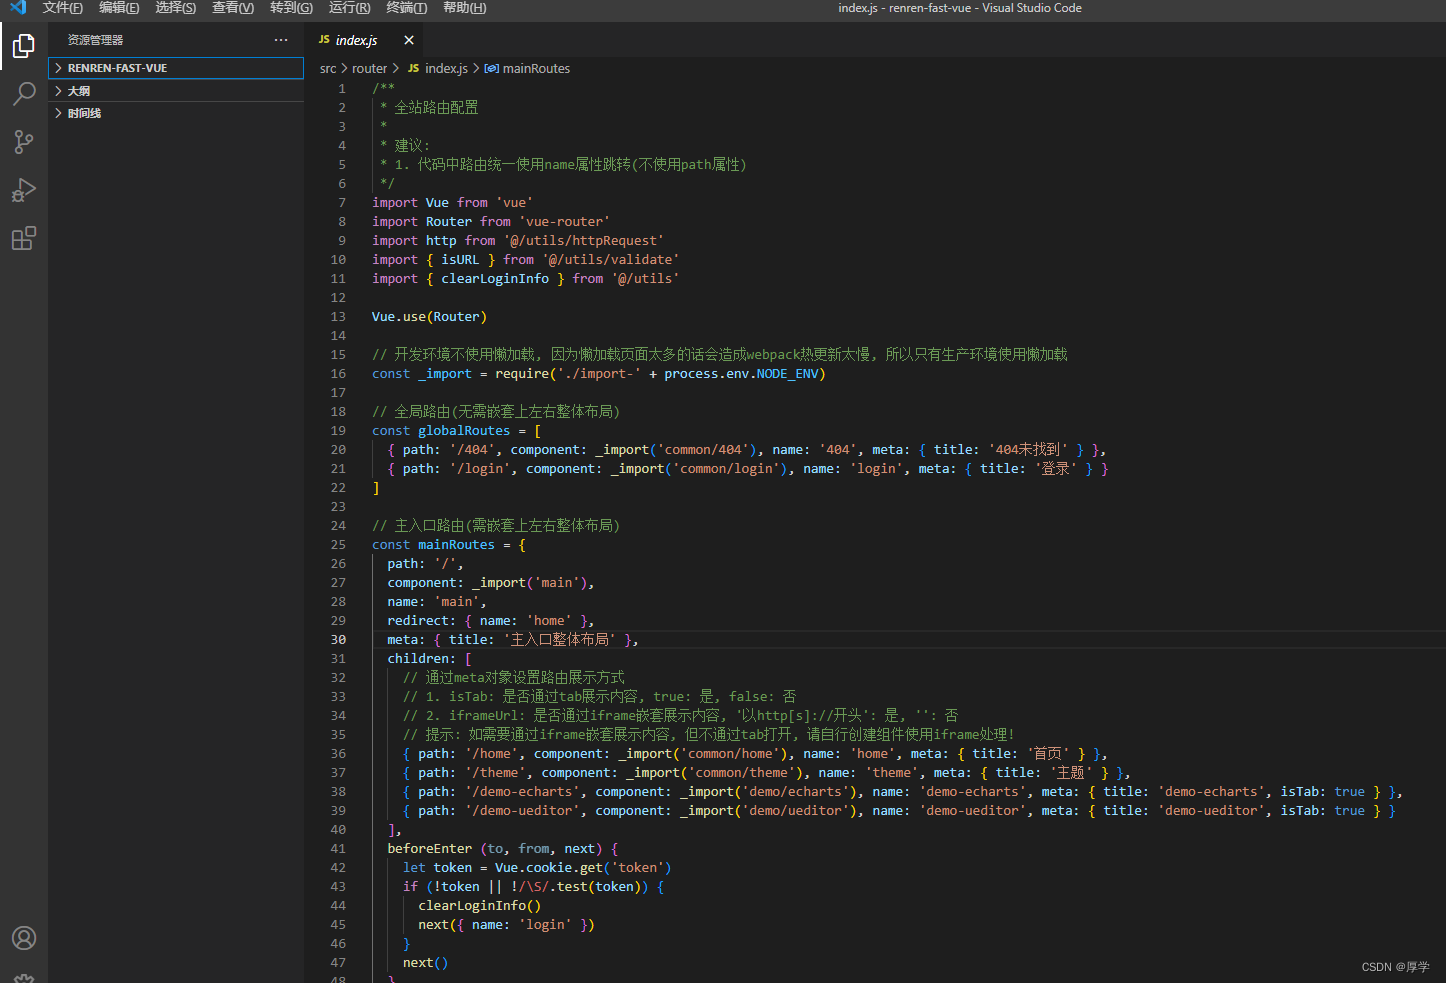
3、前端项目
将项目删掉.git文件后直接拖到vscode
#前端基础
1、安装node.js
https://nodejs.org/en/

2、设值npm镜像仓库地址

3、第一次运行项目:执行npm install

前端项目下载依赖指定版本在package.json

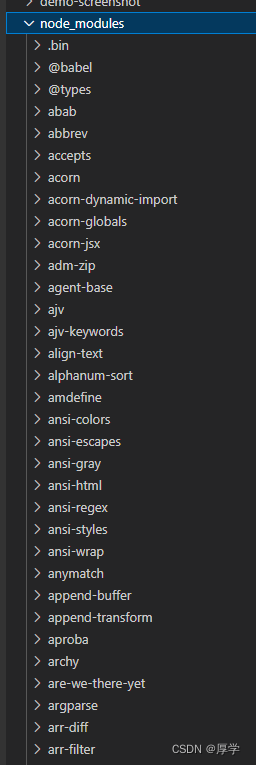
下载完毕的在node_modules
4、运行前端项目
npm run dev

点击登录,有验证码校验。则前后端联调成功
4、逆向工程
下载人人开源代码生成器
https://gitee.com/renrenio/renren-generator
下载好以后删除.git

把项目放置到gulimall里
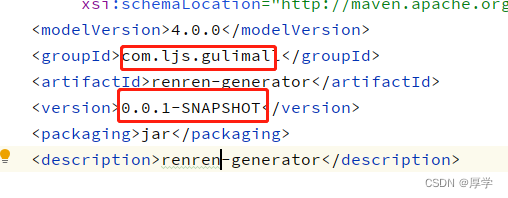
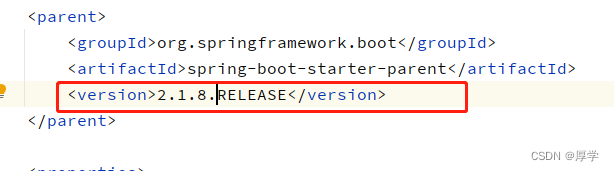
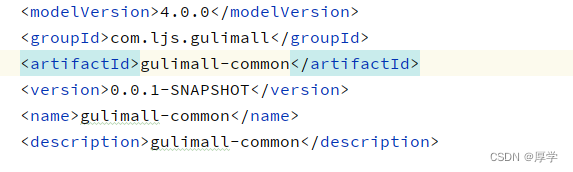
修改pom文件groupId version

4.1 pms工程生成
1、修改application.yml url username password
2、配置generator.properties
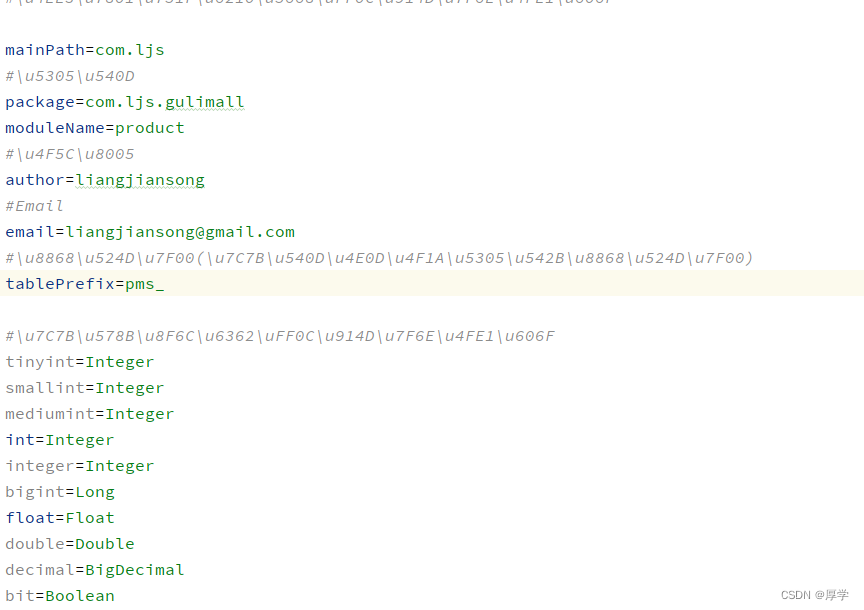
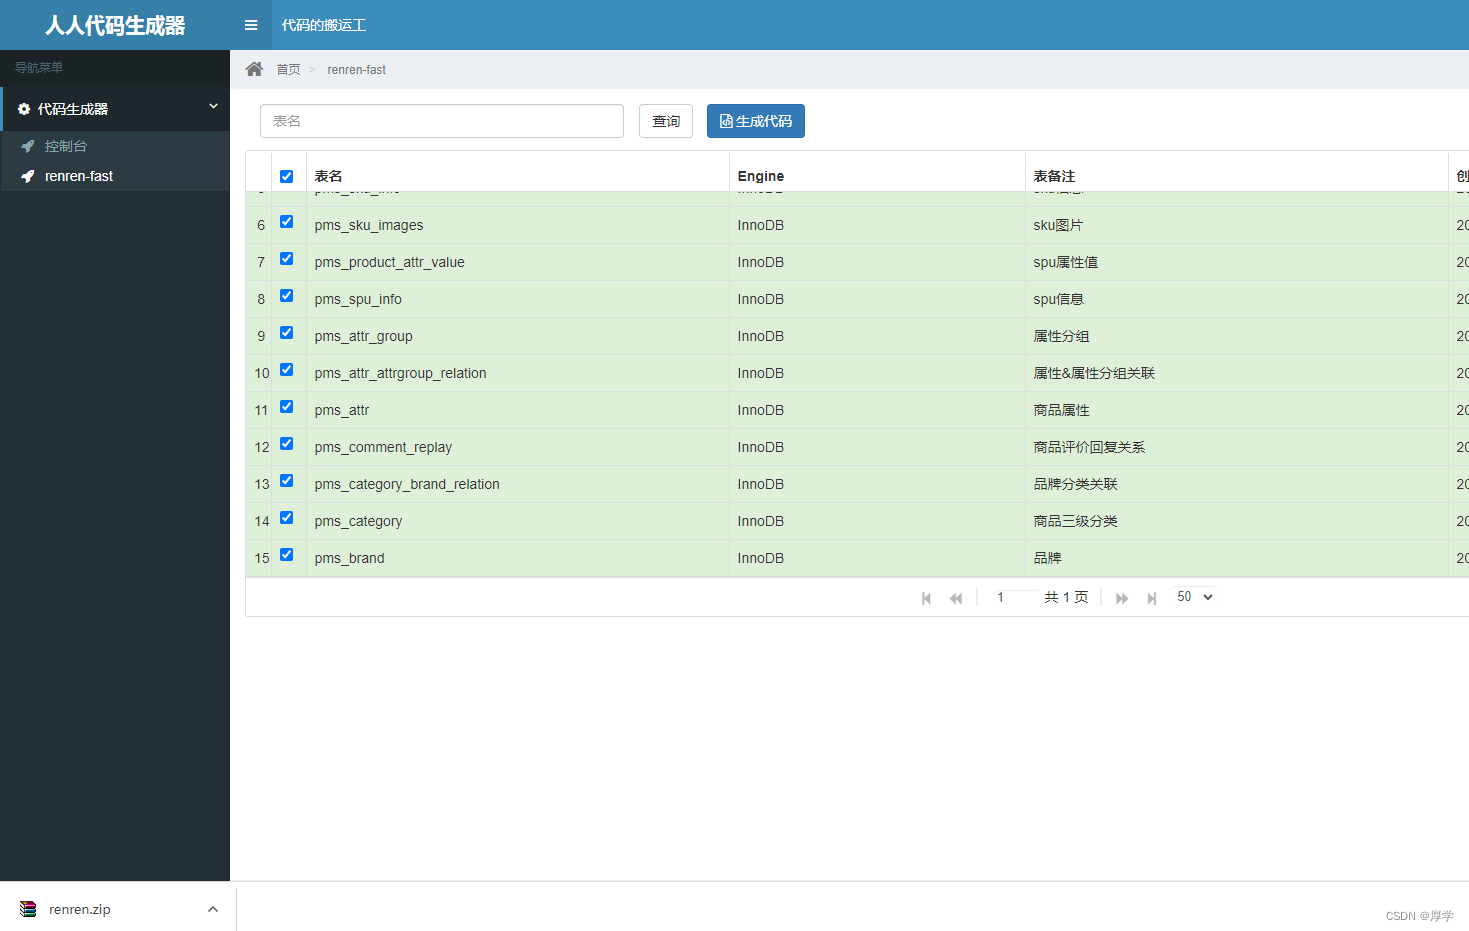
然后启动项目,访问

选择生成代码,下载zip包
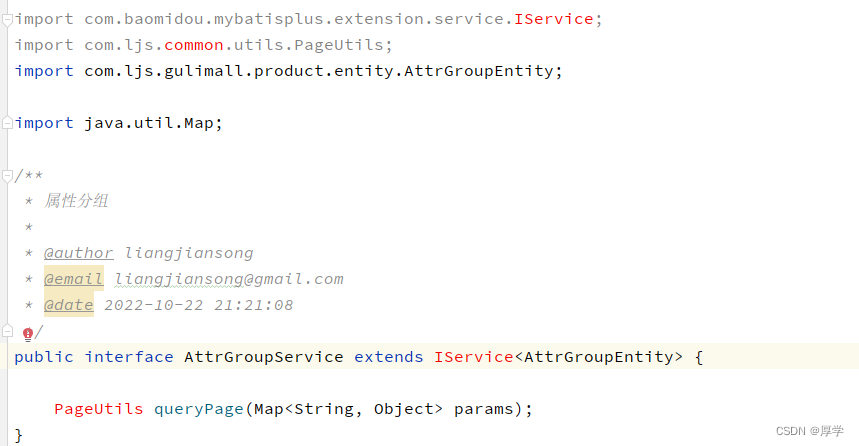
直接把main文件复制过来

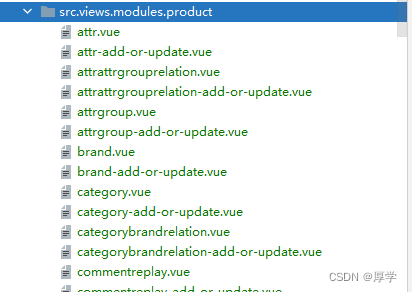
生成的前端代码可以删掉
缺少依赖需要引入
需要创建一个common工程来引入这些依赖
修改common的pom文件
商品服务引入公用服务

#回到公用服务
引入各种依赖
  <!--mybatis plus-->
        <dependency>
            <groupId>com.baomidou</groupId>
            <artifactId>mybatis-plus-boot-starter</artifactId>
            <version>3.2.0</version>
        </dependency>
        <dependency>
            <groupId>org.projectlombok</groupId>
            <artifactId>lombok</artifactId>
            <version>1.18.4</version>
        </dependency>
        <dependency>
            <groupId>commons-lang</groupId>
            <artifactId>commons-lang</artifactId>
            <version>2.6</version>
            <scope>compile</scope>
        </dependency>
          <dependency>
            <groupId>org.apache.httpcomponents</groupId>
            <artifactId>httpcore</artifactId>
        </dependency>
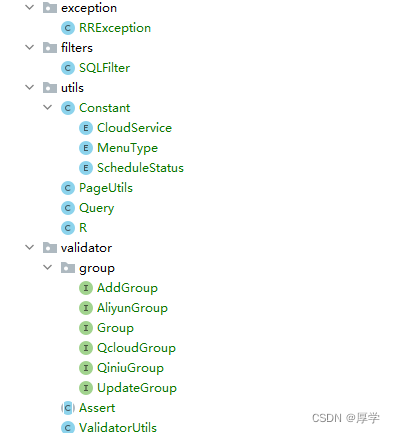
将renrenfast的工具类粘贴过来
controller太多权限注解删起来很麻烦。可以通过修改代码生成器模板的方式:
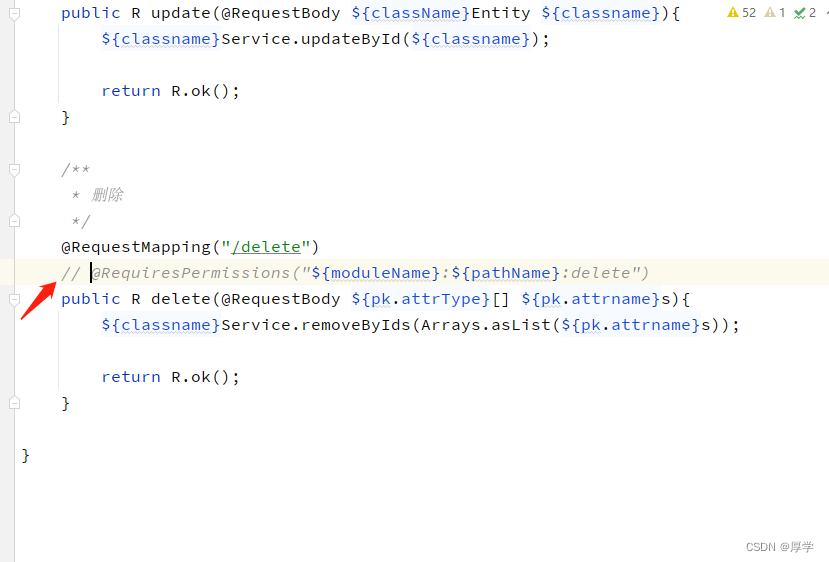
重新执行后复制controller代码到工程里
#如果打包时出现
程序包com.ljs.gulimall.common.utils不存在
找不到符号
修改common的pom.xml
 <plugin>
                <groupId>org.springframework.boot</groupId>
                <artifactId>spring-boot-maven-plugin</artifactId>
                <configuration>
                    <classifier>exec</classifier>
                </configuration>
            </plugin>
4.1.2 mybatisplus集成
1、导入mybatisplus依赖
已做
2、common服务导入mysql驱动
 <dependency>
            <groupId>mysql</groupId>
            <artifactId>mysql-connector-java</artifactId>
        </dependency>
3、product项目配置数据源
application.yml
spring:
  datasource:
    username: root
    password: xxx
    url: jdbc:mysql://175.178.76.109:3309/gulimall_pms?useUnicode=true&characterEncoding=utf-8
    driver-class-name: com.mysql.jdbc.Driver
4、启动类配置mapperScan注解告知mysql的dao层
@MapperScan("com.ljs.gulimall.product.dao")
5、告知mysql sql映射文件配置
applcation.yml
mybatis-plus:
  mapper-locations: classpath:/mapper/**/*.xml
6、设置mysql自增主键
mybatis-plus:
  mapper-locations: classpath:/mapper/**/*.xml
  global-config:
    db-config:
      id-type: auto
7、使用单元测试
单元测试在同一个项目下,必须同一个包

GulimallProductApplicationTest
package com.ljs.gulimall.product;
import com.ljs.gulimall.product.entity.BrandEntity;
import com.ljs.gulimall.product.service.BrandService;
import org.junit.Test;
import org.junit.runner.RunWith;
import org.springframework.beans.factory.annotation.Autowired;
import org.springframework.boot.test.context.SpringBootTest;
import org.springframework.test.context.junit4.SpringRunner;
@RunWith(SpringRunner.class)
@SpringBootTest
public class GulimallProductApplicationTest {
@Autowired
private BrandService brandService;
@Test
public void contextLoad(){
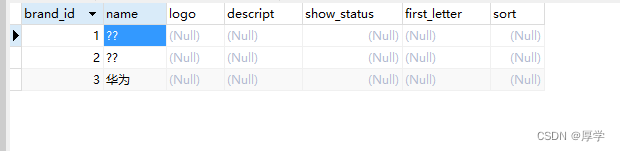
BrandEntity brandEntity = new BrandEntity();
brandEntity.setName("华为");
brandService.save(brandEntity);
System.out.println("插入成功");
}
}

mybatisplus初级教程
批量修改
List<BrandEntity> list = new ArrayList<>();
        BrandEntity brandEntity = new BrandEntity();
        brandEntity.setBrandId(1L);
        brandEntity.setName("小米");
        list.add(brandEntity);
        BrandEntity brandEntity1 = new BrandEntity();
        brandEntity1.setBrandId(2L);
        brandEntity1.setName("oppo");
        list.add(brandEntity1);
        boolean b = brandService.updateBatchById(list);
        System.out.println("修改成功");

查询
  List<BrandEntity> list = brandService.list(new QueryWrapper<BrandEntity>().gt("brand_id", 1L));
        list.forEach((item) -> {
            System.out.println(item);
        });

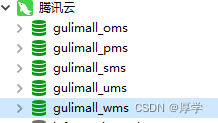
4.2 其他服务逆向工程生成
同理
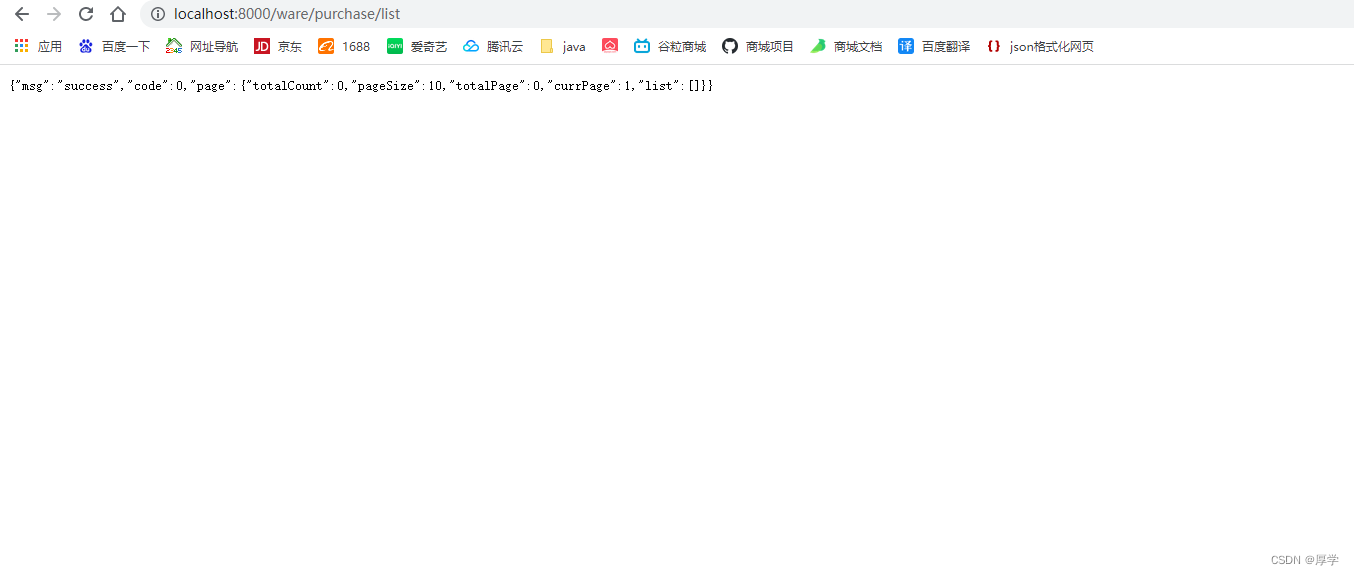
order服务
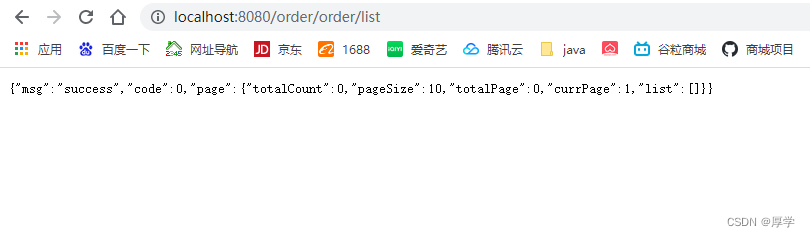
优惠券服务
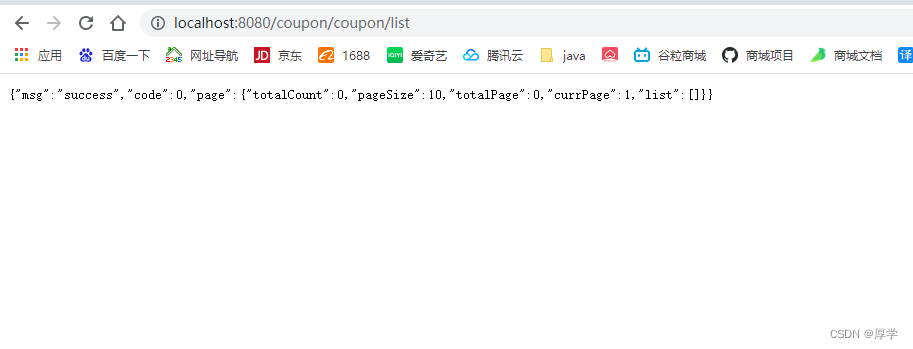
会员服务

库存服务


 909
909


 被折叠的 条评论
为什么被折叠?
被折叠的 条评论
为什么被折叠?
 到【灌水乐园】发言


